Magento2 installation on Mac OS include several steps to install and can be installed in a variety of ways. Let’s make the installation process as simple as possible. Here we will be using MAMP to provide the Web Server Environment. Alternatively you can also use XAMPP which is a similar tool as MAMP. You can also follow my blogs for magento2 installation on Windows and Linux.
MAMP stands for M (Mac OS) A (Apache) M(MySQL) P (PHP, Perl or Python). It is a tool to setup Web Development Environment easily. You can download MAMP from www.mamp.info/en/downloads/ .
Prerequisites:
MAMP Server should be installed on your computer. You can download it from here. It is recommended that while installing MAMP, remove the previous versions of MySQL and Php and install the recommended versions as mentioned below.
Magento2 has certain requirements which are listed below.
- Apache Version 2.2 or 2.4
- PHP Version Php-5.6.5 – 5.6.x, Php-7.0.13 – 7.0.x and Php-7.1.x
- MySQL Version 5.6.x or higher
- Php Extensions: bc-math, curl, gd, imagemagick 6.3.7 or later, intl, mbstring, mcrypt, mhash, openssl, pdo/mysql, mysqli, simplexml, soap, xml, xsl, zip, and json, iconv (for php 7 only).
Your MAMP server must meet the Magento2 prerequsites mentioned above. Please take care of the supported PHP version. I will be installing using latest version of php 7.0.x on Apache 2.4.
Installation:
Magento 2.x can be installed in two ways-
- Using Composer.
- Without using Composer.
We will discuss both the ways. You may choose the one which suits you best.
Composer is a dependency manager for PHP. Composer will manage the dependencies you require on a project by project basis. This means that Composer will pull in all the required libraries, dependencies and manage them all in one place.
This tutorial assumes that you have downloaded and installed MAMP Web Server environment on your MAC OS X system. If not, download it from here.
Step-1: Configuring MAMP
Go to Applications section on your Mac OS and launch the WAMP application. Click on to Preferences section on your MAMP and configure the settings as per requirement. We will use the default MAMP port 8888 for Apache and port 8889 for MySQL for this demo.
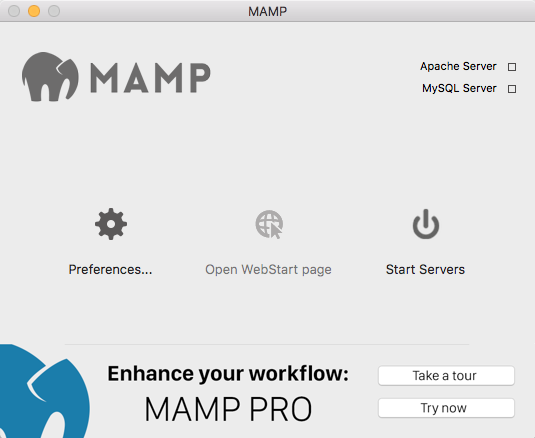
Now we will select latest version of Php 7.0.x and use Apache as our Web Server.
The last thing to do in configuring MAMP is to make the MAMP php configuration as the default configuration. Your machine may still be using the built-in OS X PHP version, and not the MAMP one.
To Check, type the below command to see which binary it is using.
|
1 |
which php |
If it is using “/usr/bin/php” or any similar system binary, you may get some error in later point of time like missing PHP modules (ext-mcrypt and ext-intl). The error my look like below.
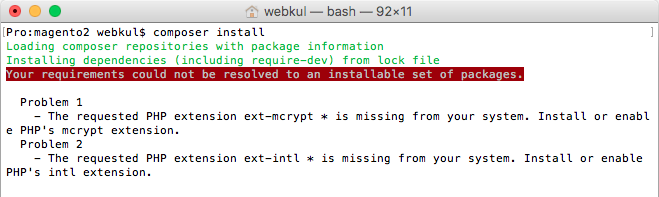
To correct the settings in advance, you must configure to use the MAMP php packages. To rectify it, do the following.
|
1 |
sudo nano ~/.bash_profile |
Now see if the correct path of MAMP Php configuration is mentioned in the file. If not, correct it keeping in mind the correct php version. The MAMP php path must be similar as below.
|
1 |
export PATH=/Applications/MAMP/bin/php/php7.0.15/bin:$PATH |
Next run the below command to make it the default php path.
|
1 |
source ~/.bash_profile. |
Now you are good to go. You can follow the next steps to install Magento2 on your Mac.
Step 2: Install Magento2 Package:
a). Without Composer
we can download the Community Edition package with full dependencies from the official website i.e. https://magento.com/tech-resources/download
We will download Magento package in zip format for this demo. Select the latest Magento 2.x Community Edition in zip format and click on download. After download, go to the Download folder and double click on the Magento2 zip file to extract its contents. Then copy the extracted folder to htdocs folder in the MAMP installation directory. Rename the extracted folder to “magento2”.
b). With Composer
Now let us download and install the latest version of magento2. At the time of this blog, the latest version is 2.2.6.
To install magento2 with composer, first create the Access keys of magento marketplace. If you have an account on Magento Marketplace, simply signin and generate the access keys. If you don’t have an account, create an account by registering yourself on marketplace.magento.com
For generating Access keys, login in to magento marketplace and from the top right corner of the page where your user name is displayed, navigate to My profile > Marketplace > My products > Access Keys
Now create a new pair of Access keys. You need to provide the public Key as username and Private Key as password when prompt.
First install composer on the server.
|
1 2 3 |
sudo wget -O /usr/local/bin/composer http://getcomposer.org/composer.phar sudo chmod +x /usr/local/bin/composer cd /Applications/MAMP/htdocs/ |
The syntax for installing magento2 through composer is as follows.
composer create-project –repository=https://repo.magento.com/ magento/project-community-edition <install-directory-name>
You can use the below command for installing magento2 latest version through composer.
|
1 |
composer create-project --repository=https://repo.magento.com/ magento/project-community-edition magento2 |
For installing a specific version of magento2, mention the magento version at the end of the command as follows.
|
1 |
composer create-project --repository=https://repo.magento.com/ magento/project-community-edition magento2 v2.2.6 |
During this process, you will be asked to provide the username and password. Provide the generated Access Keys where the public Key is the username and Private Key is the password. Also, you will be asked whether you want to store the credentials in auth.json. You can select “n” if you don’t wish to save your credentials on the server.
Next is to change the ownership of the magento2 directory. Replace “username” by your current login username.
|
1 |
sudo chown -R username: magento2 |
If you have followed the MAMP configuration step properly, your installation should run without error. If you face any error regarding permission, try running “sudo chmod -R 775 /path to magento2”. But avoid running it in production environment for security reasons.
Now you can proceed to next step to create the database.
Step-3: Creating Database:
You need to create a database for your Magento2. You Can do so by accessing the MyPhpAdmin Page in browser or through logging in through the terminal and creating the database. To create, first open your favorite web browser and enter the url “http://localhost:8888/phpmyadmin” and press enter to open your phpmyadmin page.
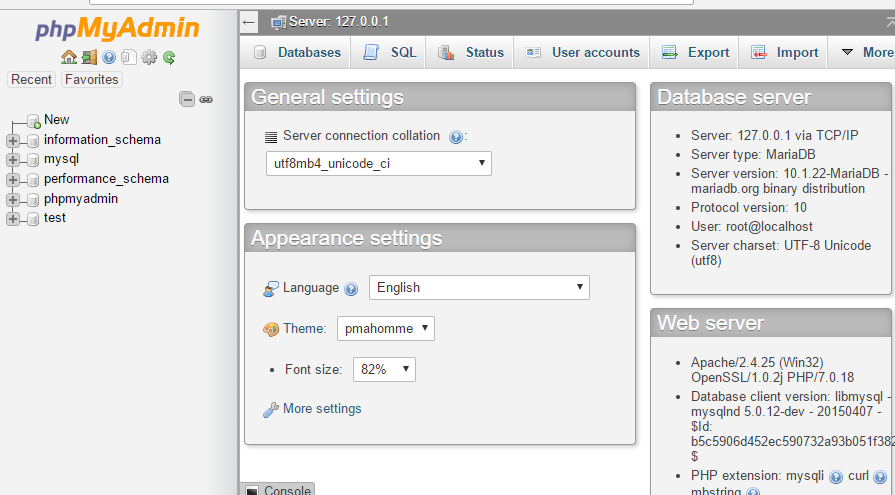
Next, create a database by the name magento2 by clicking on “new” button in the menu section present on the left.
Then give the database name i.e. magento2 and click on create button. A database will now be created by the name magento2.

Step-4: Install Magento2:
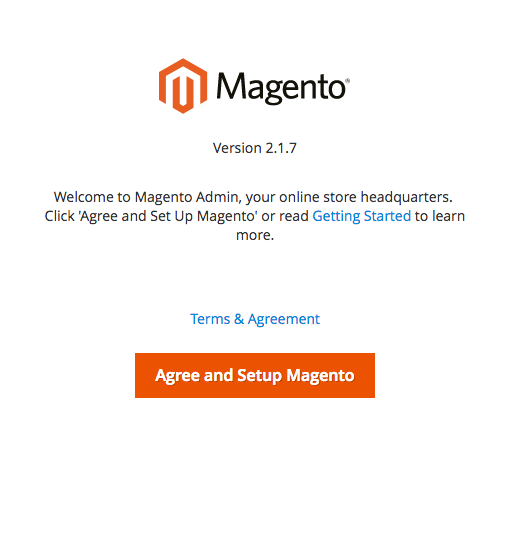
After creating the database, the next step is to install the Magento2. First open your web browser, and enter the url “http://localhost:8888/magento2” and hit enter. You will get a Magento Installer screen. It may take some time to open up the first time. Click on Agree and Setup Magento to start installation.
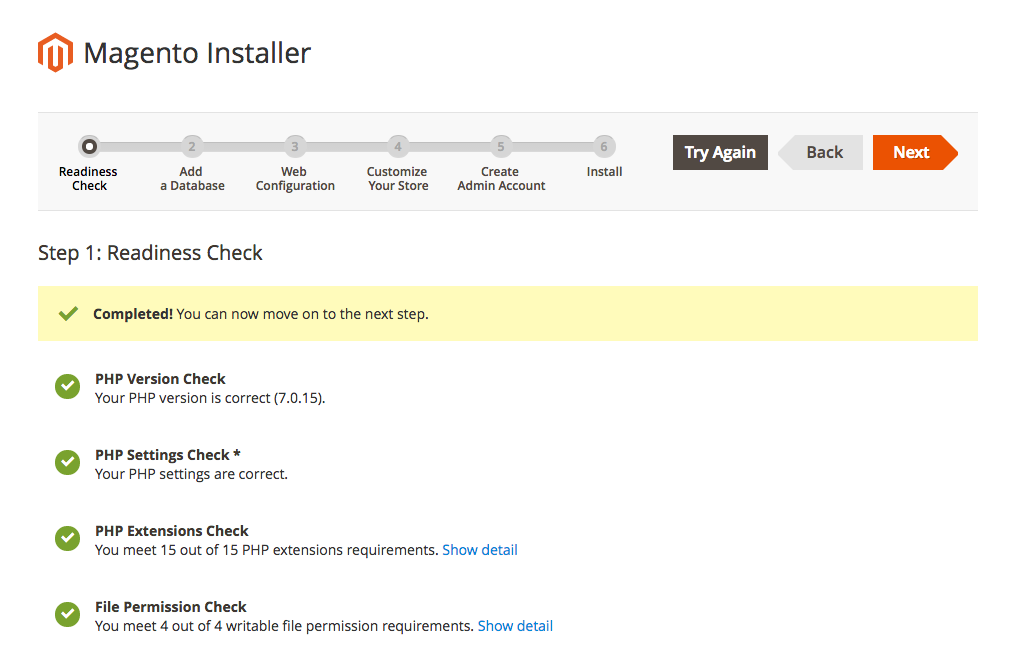
Click on readiness check to verify if all the dependencies are present. Then click on next to configure the database.
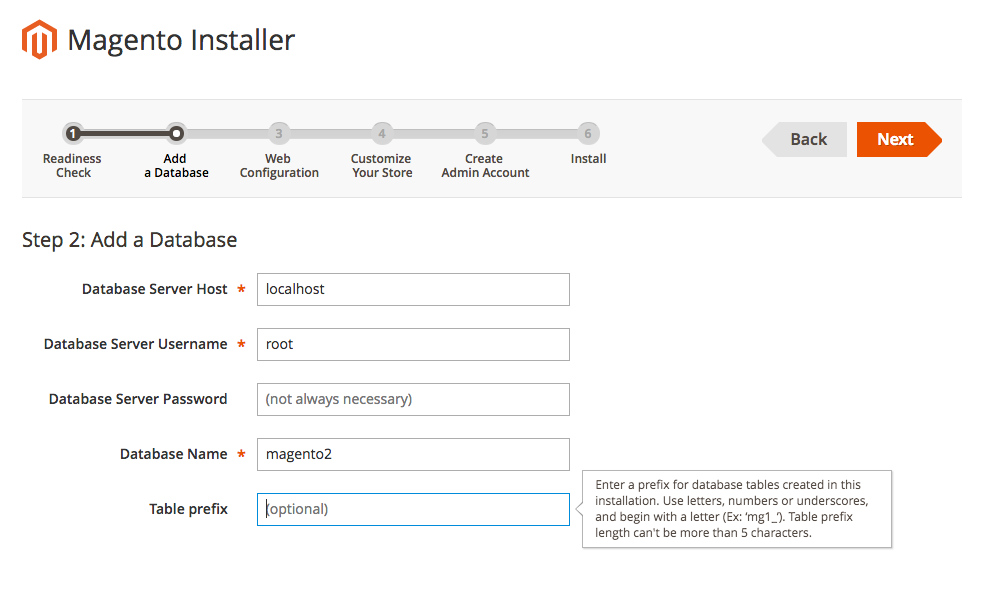
Next step is to configure the database. Provide the database Server host, database user, database name and table prefix details as shown below. Here you can also use “127.0.0.1” in place of “localhost” in case you come across some loopback errors.
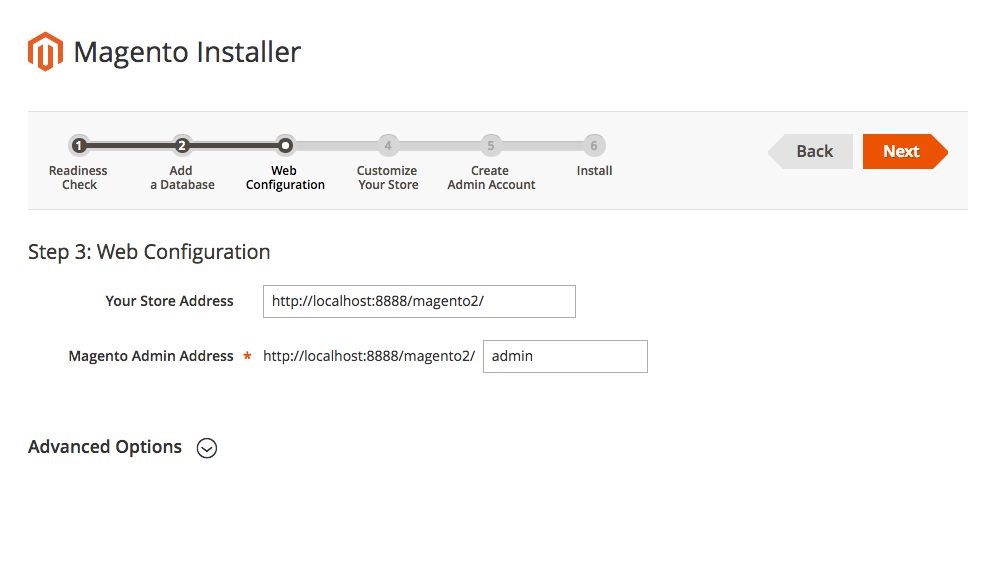
In the web Configuration, your store url and admin url address are shown. You can modify admin url as per your need as shown below.
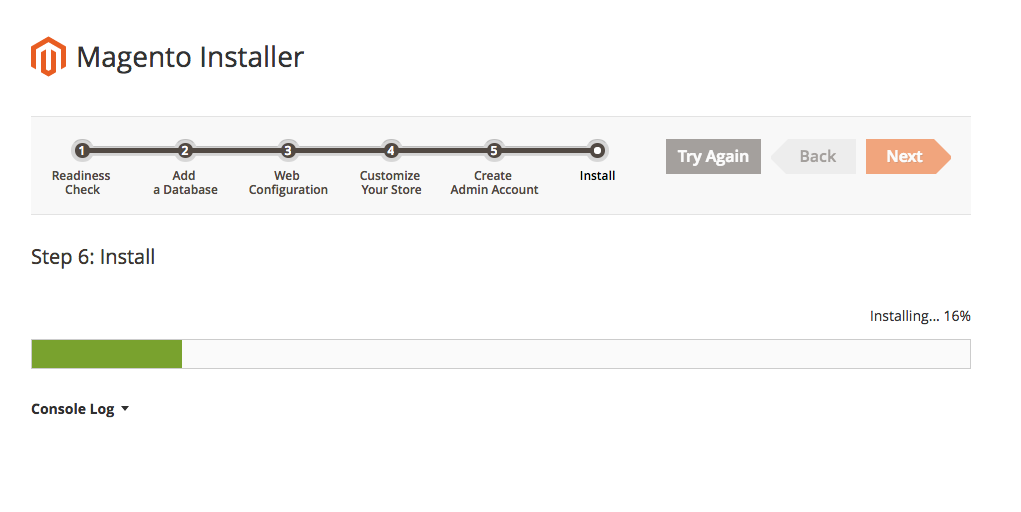
Next you can configure the Default Time Zone, Currency, and Language and click next. Create your admin account and click next. Finally click on install to fully install your Magento2.
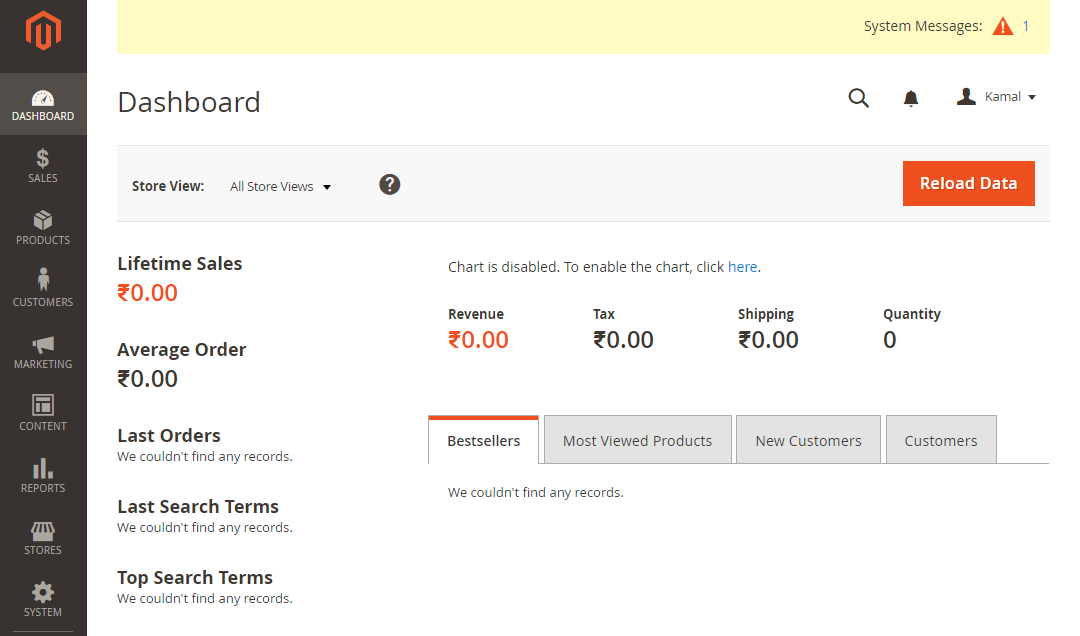
After installation, you will be displayed Magento admin information and database information. Use the admin credentials to login to your admin panel later.
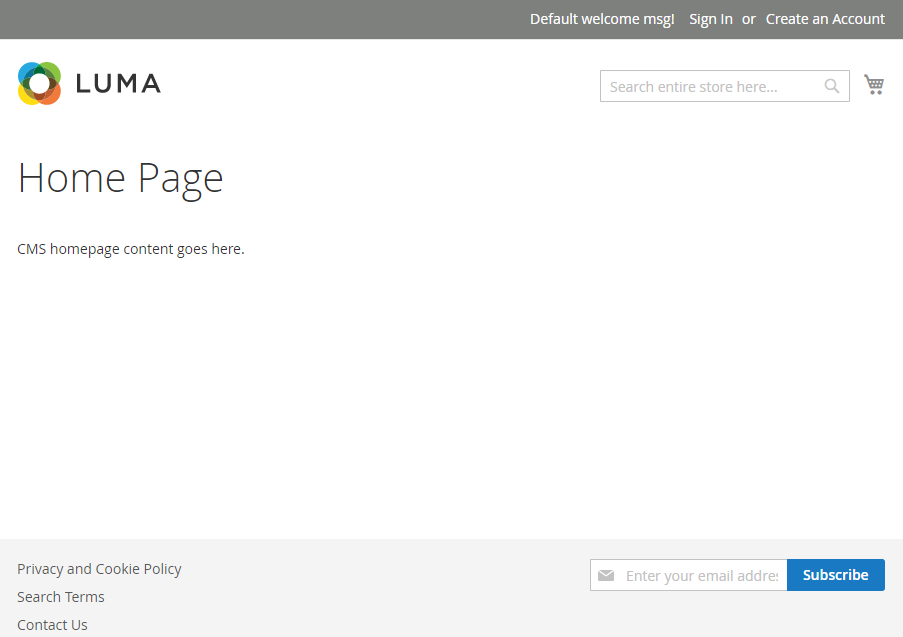
Step-5: Accessing Magento2:
Congratulations!! You have successfully configured Magento2 on your MAC OS.
You Can now Access your Magento home page and admin panel using the below urls and your admin credentials.
Magento Home Page: http://localhost:8888/magento2
Magento Admin Page: http://localhost:8888/magento2/admin
Thanks for your time… Enjoy…..!!!
In case of any help or query, please contact us.

7 comments
30 9 * * * php magento_installation_path/bin/magento cron:run
SQLSTATE[HY000] [1049] Unknown database ‘magento2
After running bin/magento indexer:reindex
Set your magento cron jobs to resolve the error.