In this blog, we will install Magento2. on our Windows machine using XAMPP Server. You can also follow my blogs for Magento2 installation on Linux and Mac OS. Magento 2 installation takes several steps before it finally get installed but i will try to make it easy and simple. Magento 2.x can be installed in two ways-
- Using Composer.
- Without using Composer.
Composer is a dependency manager for PHP. Composer will manage the dependencies you require on a project by project basis. This means that Composer will pull in all the required libraries, dependencies and manage them all in one place.
This tutorial assumes that you have downloaded and installed XAMPP Web Server environment on your Windows system. If not, download and install it from https://sourceforge.net/projects/xampp/
Prerequisites:
XAMPP Server should be installed in your computer. You can download it from https://sourceforge.net/projects/xampp/
Magento 2.1 has certain requirements which are listed below.
- Apache Version 2.2 or 2.4
- PHP Version Php-5.6.5 – 5.6.x, Php-7.0.13 – 7.0.x and 7.1.x
- MySQL Version 5.6.x or higher
- Php Extensions: bc-math, curl, gd, imagemagick 6.3.7 or later, intl, mbstring, mcrypt, mhash, openssl, pdo/mysql, mysqli, simplexml, soap, xml, xsl, zip, and json, iconv (for php 7 only).
Installation:
Step-1: Configuring XAMPP:
To start with the installation, the first thing to do is to run your XAMPP Web Environment and Start Apache and MySQL Service.
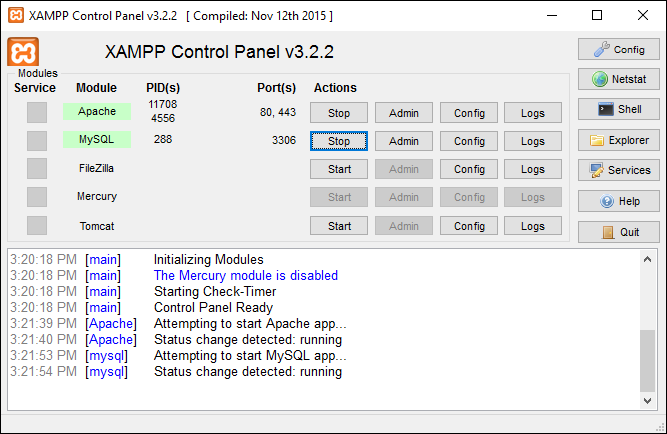
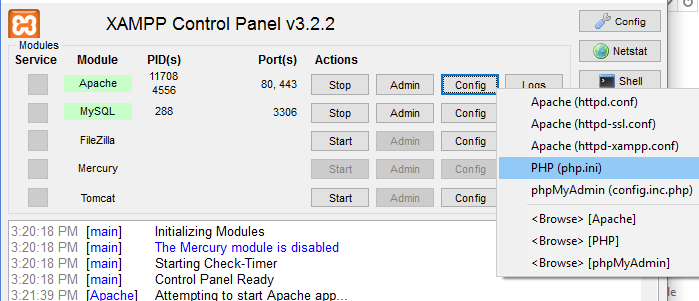
But before you proceed further, you must enable the required php extensions. To do so, click on the “config” button of apache and select php.ini configuration file.
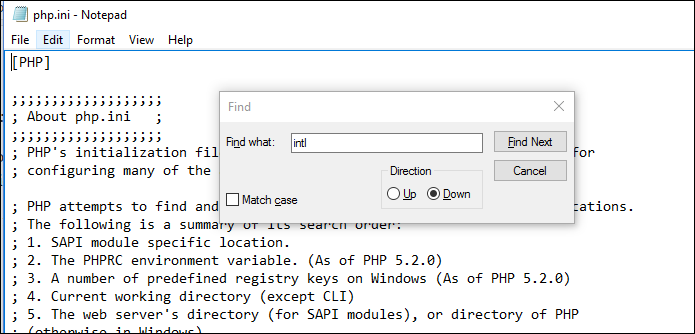
In the configuration file enable the extension “intl” and “xsl” by finding the lines for the extensions by pressing “ctrl+f” and searching the extensions. Then remove the semicolon before the line to uncomment it. Finally save the file and close it. Now, Stop and Start the Apache Service.
Rest of the php extensions are enabled by default. If not, you can enable it now or even later on if we get any error indicating the requirement of other php extensions.
Step-2: Download Magento2:
You can download Magento 2.x on your Windows machine in zip format. Alternatively, you can also clone it using the Git GUI software from https://github.com/magento/magento2
So let’s download the Magento 2.x setup files. Here we will install Magento in both ways i.e. with and without composer.
a). With composer:
Here, we will Download and use Magento 2.x zip file from:- https://github.com/magento/magento2/releases
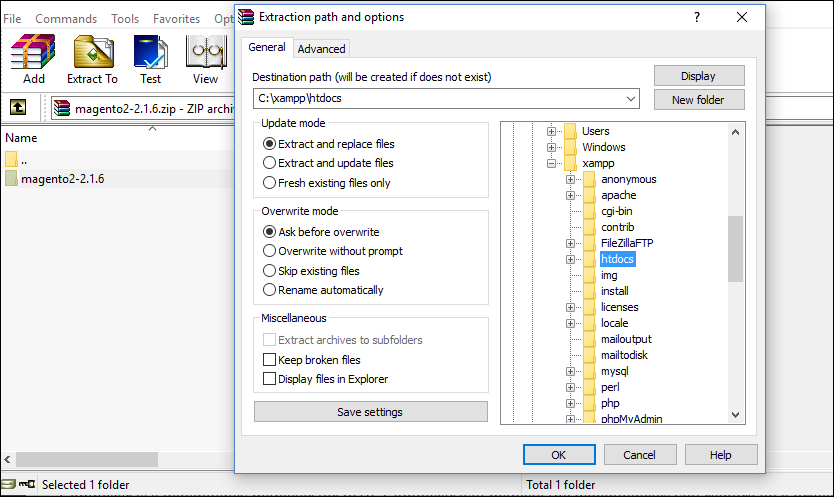
After downloading it, you need to extract the zip file in the htdocs folder present in the XAMPP installation directory. Now right click the downloaded Magento2 zip file and select extract files. Select the destination path to the htdocs folder and click OK.
Now go to htdocs folder and you will find the extracted Magento folder. Rename this folder to Magento2.
At this point of time, you have successfully copied the required Magento files on your Apache directory. You can now skip the next section for installation without composer and continue from step-3.
b). Without composer:
To install Magento2 , we can download the Community Edition package with full dependencies from the official website i.e. https://magento.com/tech-resources/download
Select the latest Magento 2.x Community Edition in zip format and click on download. After download, create a folder in htdocs folder in xampp installation directory. For example, “C: > xampp > htdocs > magento_2”.
Now go to download location of the zip file, press and hold shift key and right click the downloaded Magento2 zip file. From the available options, select extract files option. For this, you need to have WinRAR application for extracting zip files pre-installed. Now select the destination path to the new “magento2” folder and click OK. This will extract the files in that folder.
At this point of time, you have successfully copied the required Magento files on your Apache directory. You can now skip step-3 and step-4 and continue from step-5 for creating database for Magento.
Step 3: Download and install Composer:
First download and install composer on your windows machine. You can easily install the Composer-Setup.exe file using the default settings or you can also make some changes as per requirement in settings while installation.
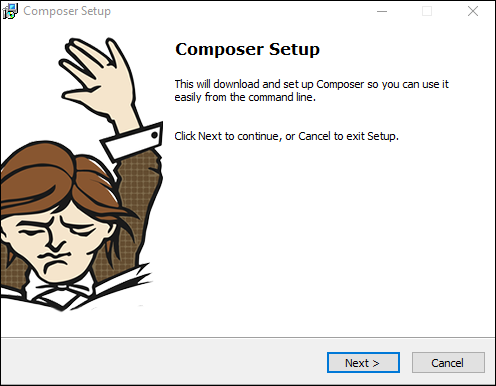
To install, click on the Composer-Setup.exe file. The Composer installation wizard will appear. click next.
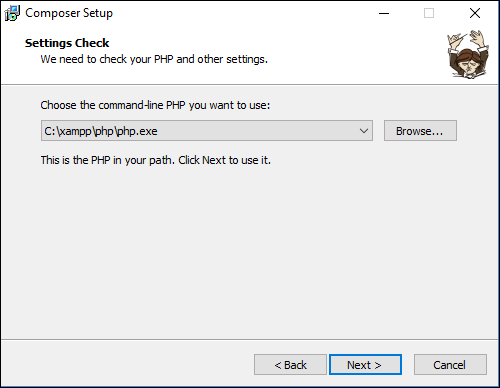
Next you have to specify the path of php.exe file. Provide the path and click next

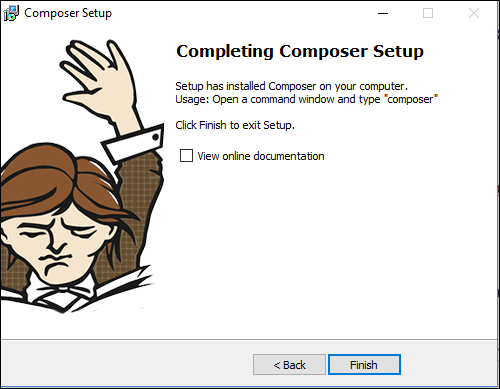
In next step, you will be asked for proxy settings. You can skip the step if you don’t require by clicking. Install the composer by clicking finish.
Step 4: Install Magento2 dependencies using Composer:
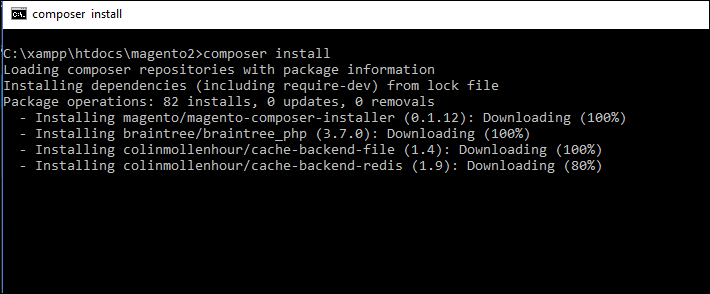
After you have extracted the zip file, go to the Magento2 folder again present inside the htdocs folder. Hold the Shift key and right click, and Select “Open command window here”. This will open command prompt on that location.
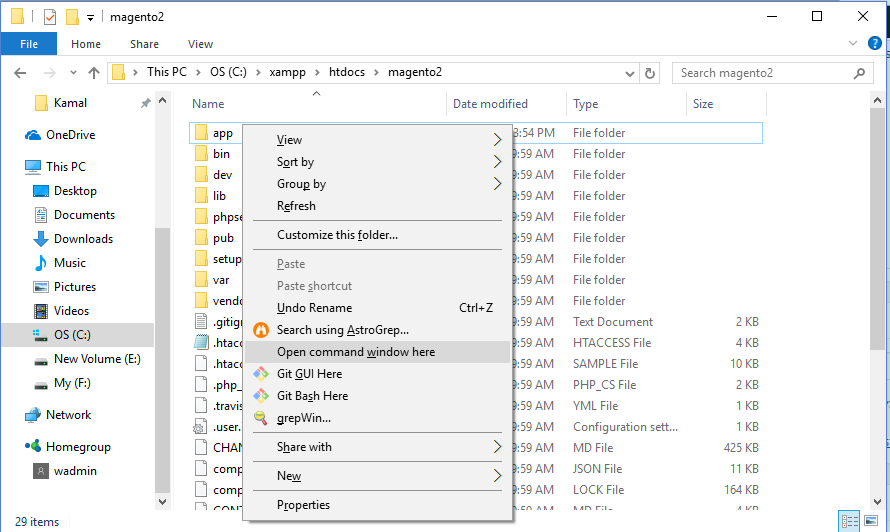
Now to install Magento2 dependencies automatically on your localhost, run the command “composer install” on the command prompt. This will install the required dependencies for Magento2.
Note : If you get any error regarding requirement for php extensions while executing the command, you can always enable it as discussed in step-1 and then run the command.
Step-5: Creating MySQL Database:
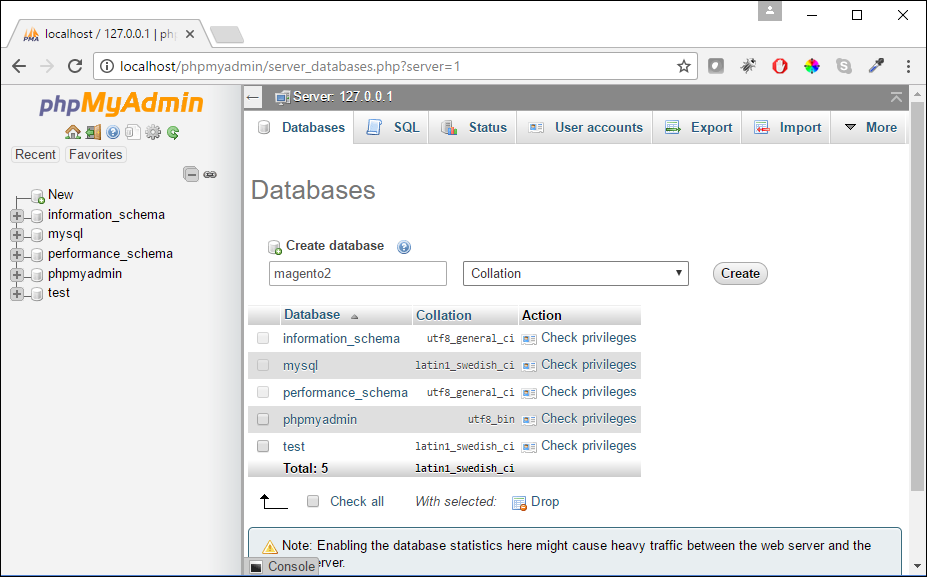
You need to create a database for your Magento2. To create, first open your favorite web browser and enter the url “http://localhost/phpmyadmin” and press enter to open your phpmyadmin page.

Next, create a database by the name magento2 by clicking on “new” button in the menu section present on the left.
Give the database name i.e. magento2 and click on create button. A database will now be created by the name magento2.
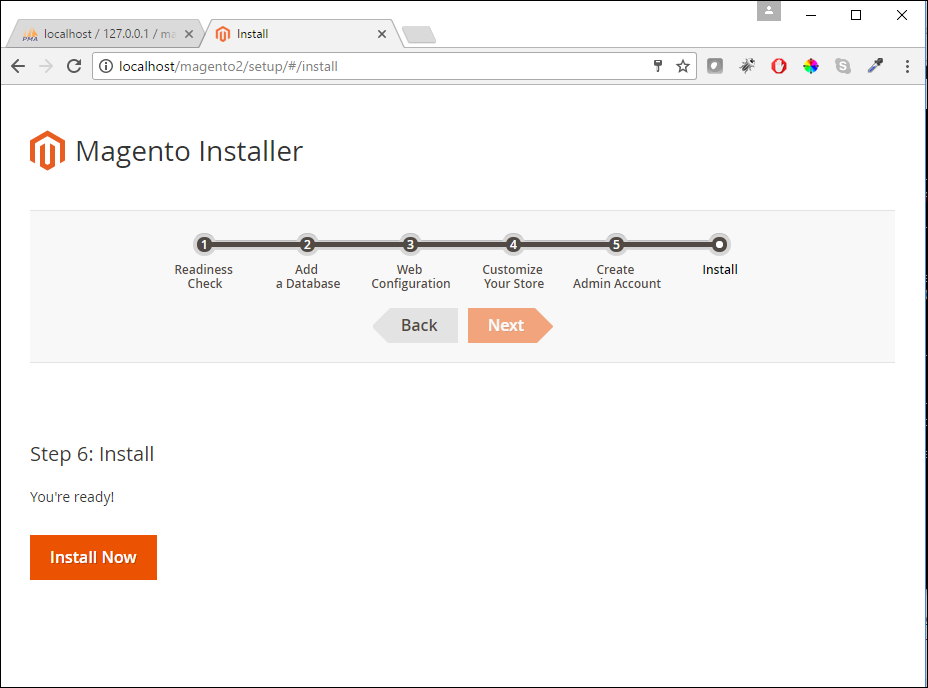
Step 6: Install Magento2:
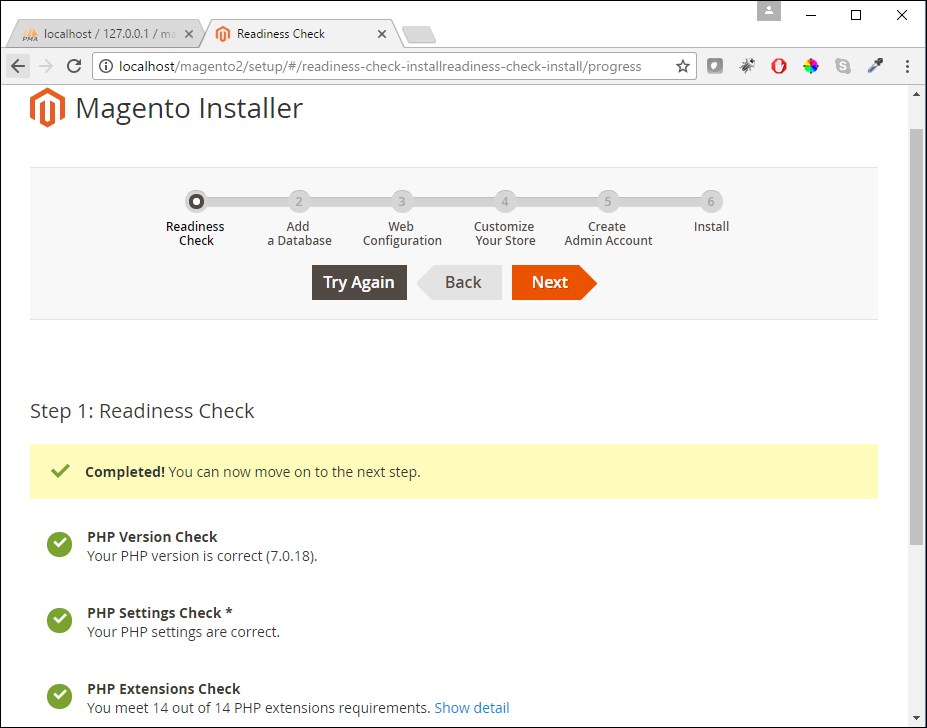
After creating the database, the next step is to install the Magento2. First open your web browser, and enter the url “http://localhost/magento2” and hit enter. You will get a Magento Installer screen. Click on readiness check to verify if all the dependencies are present. Click on next to configure the database.
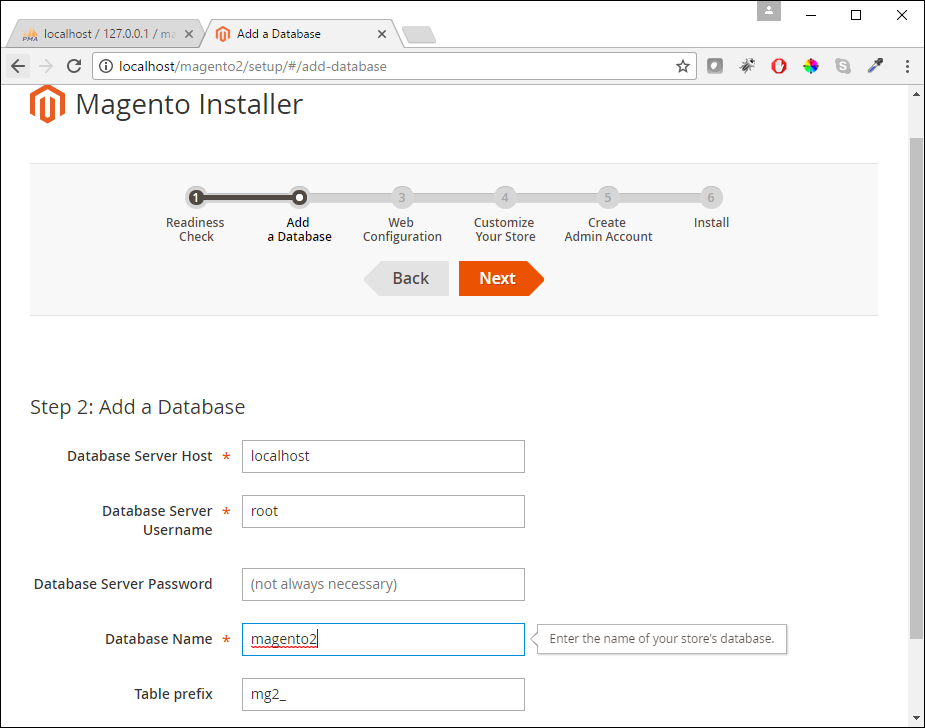
Next step is to configure the database. Provide the database name and other details as shown below.
In the web Configuration, your store url and admin url address are shown. You can modify admin url as per your need as shown below.

Next you can configure the Default Time Zone, Currency, and Language and click next. Create your admin account and click next. Finally, click on install to fully install your Magento2.
After installation, you will be displayed Magento admin information and database information. Use the admin credentials to login to your admin panel later.
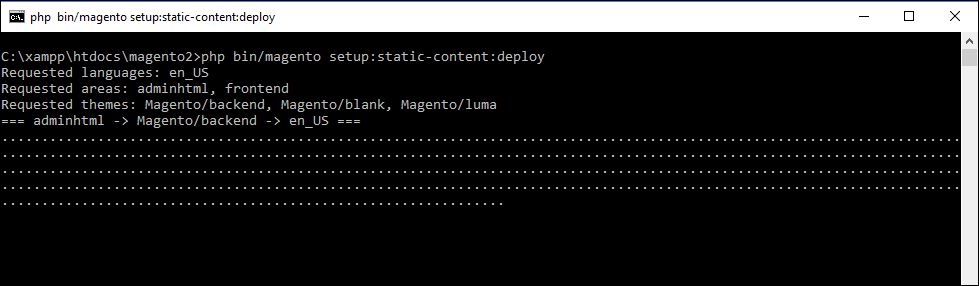
Step-7: Deploy Static Content:
After the installation, its time to setup the static content to deploy the cache system for static resources of Magento.
Go to the Magento2 directory and right click holding down the shift key and select “Open command window here”. In the command prompt run “php bin/magento setup:static-content:deploy”. After successful deployment of the static files, the installation process is completed.
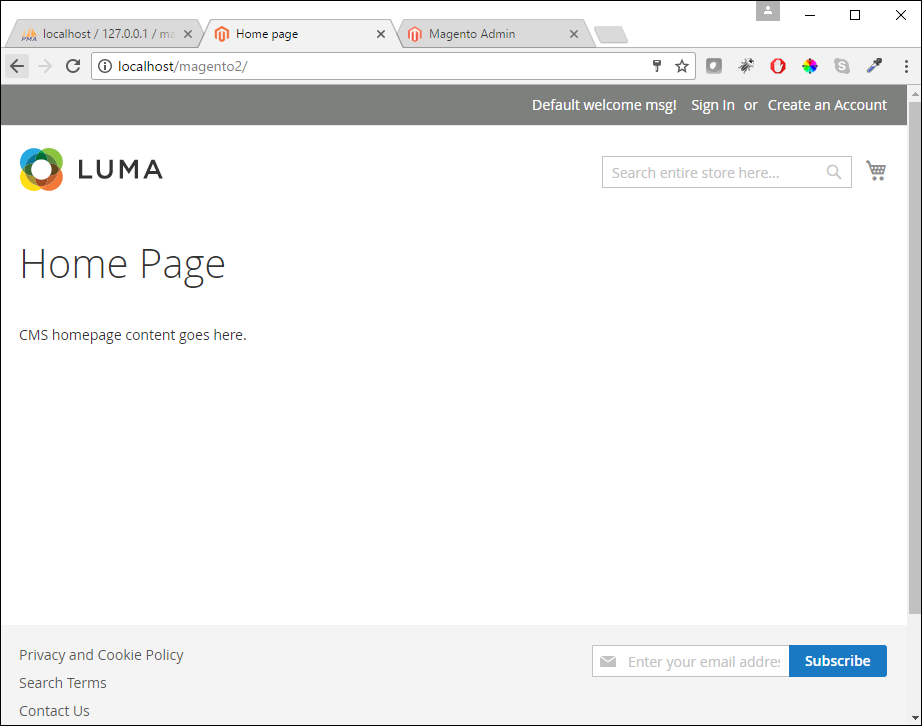
Step-8: Accessing Magento2:
Congratulations!! You have successfully configured Magento2 on your Windows System.
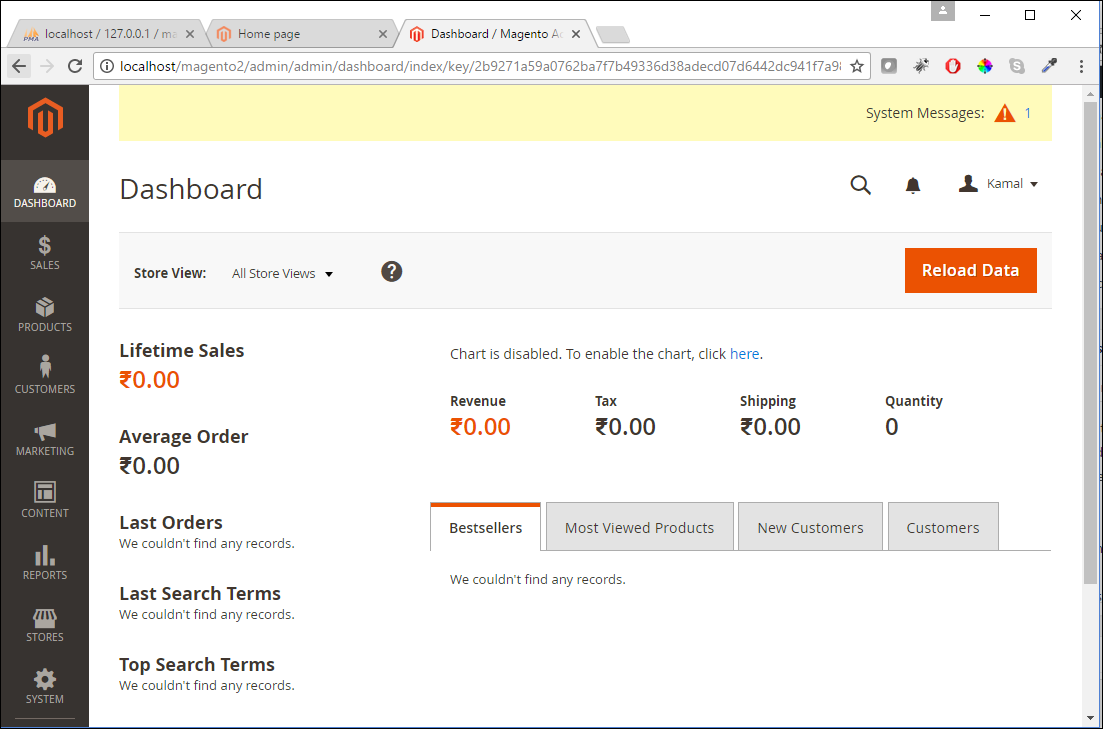
You Can now Access your Magento home page and admin panel using the below urls and your admin credentials.
Magento Home Page: http://localhost/magento2
Magento Admin Page: http://localhost/magento2/admin
Thanks for your time… Enjoy…..!!!
In case of any help or query, please contact us.

4 comments
Thank you very much Kamal!