In this article, we will show you all the steps to install WordPress and enable and configure the WooCommerce plugin on AWS.
WordPress is a free and open-source content management system based on PHP and MySQL. To install it on AWS, you need to set up a required environment for installation.
Requirements to install WordPress :
- OS: Ubuntu 20.04
- Web Server: Apache2
- Database: MySQL 8.0
- PHP: php7.4
STEP 1: Install Apache2, MYSQL, PHP 7.4, and its modules
Apache, PHP, and Mysql databases are needed for the WordPress backend. All three applications can be configured with these commands.
|
1 2 3 4 5 6 7 8 9 10 11 12 13 14 15 |
sudo apt update sudo apt install apache2 sudo systemctl start apache2.service sudo systemctl enable apache2.service sudo apt-get install -y software-properties-common sudo add-apt-repository ppa:ondrej/php sudo apt-get update sudo apt install php7.4 libapache2-mod-php7.4 php7.4-common php7.4-gmp php7.4-curl php7.4-soap php7.4-bcmath php7.4-intl php7.4-mbstring php7.4-xmlrpc php7.4-mysql php7.4-gd php7.4-xml php7.4-cli php7.4-zip |
STEP 2: Install MYSQL Server In your System
Case 1: If you are using a Local Database Server
|
1 2 3 4 5 6 7 8 9 10 11 12 13 |
sudo apt-get install mysql-server sudo mysql -u root -p create database wordpressdb; CREATE USER 'wordpressuser'@'localhost' IDENTIFIED BY 'wordpress'; GRANT ALL ON wordpressdb.* TO 'wordpressuser'@'localhost' WITH GRANT OPTION; flush privileges; exit; |
Case 2: If You Are Using AWS RDS
Amazon RDS handles routine database tasks, such as provisioning, patching, backup, recovery, failure detection, and repair.
You do not need to worry about anything, everything is managed at the AWS end.
Firstly you have to launch an RDS and then configure it with your AWS EC2 instance
Follow the instructions below if you are using an AWS RDS:
|
1 2 3 4 5 6 7 8 9 10 11 12 13 |
sudo apt install mysql-client sudo mysql -h yourrdsendpoint -u username -p CREATE DATABASE wordpressdb; CREATE USER 'wordpressuser'@'%' IDENTIFIED BY 'wordpress'; GRANT ALL ON wordpressdb.* TO 'wordpressuser'@'%' WITH GRANT OPTION; FLUSH PRIVILEGES; EXIT; |
STEP 3: SSH User Creation
Presently, we were in our server’s root user but due to security issues, we can not keep our application code in the directories of the root user.
So, we have to create another SSH with limited access rights.
Create an SSH user who will be the owner of the application code. Here, we created an SSH user with the name “woocommerce” You can pick any name you want.
|
1 |
sudo adduser woocommerce |
Eventually, this prompts a password window where you can set the password. And, the remaining fields can be left empty by simply pressing the enter key.
Additionally, after creating a user, we will switch to the newly created user.
STEP 4: Install WordPress CMS
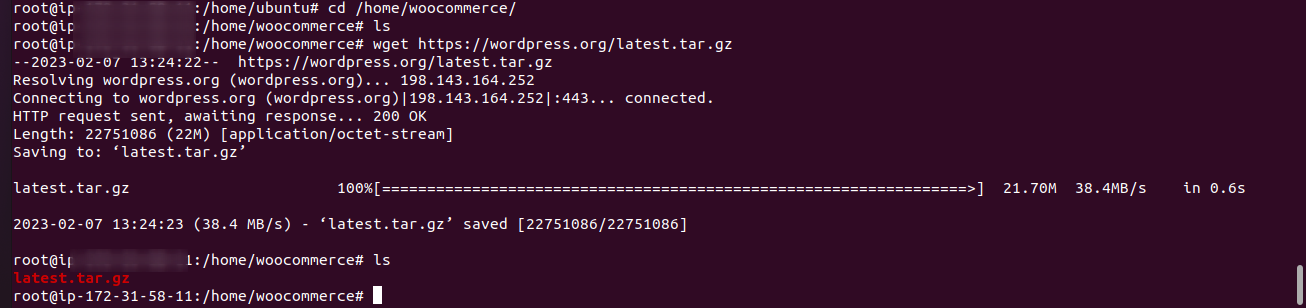
Go to your root and download the latest WordPress File
|
1 2 3 4 5 |
cd /home/woocommerce wget https://wordpress.org/latest.tar.gz |
After downloading, a directory named “wordpress” will be created inside the public HTML directory.
STEP 5: Apache configurations
However, to support the web pages we will configure Apache and we need to switch again to the root user for the required configurations.
|
1 |
sudo nano /etc/apache2/sites-enabled/000-default.conf |
After executing the above command, we have to define the Domain name and the DocumentRoot Path.

Save it, and exit after this.
Furthermore, configure the envvars file using executing the below command:
|
1 |
sudo nano /etc/apache2/envvars |
And find these lines :

Modify the Apache SSH username in this way :

configure apache2.conf file using the following command:
|
1 |
sudo nano /etc/apache2/apache2.conf |
Now, you will find the block code shown below:

Modify it to the following code:

STEP 6: Run the below commands
To set the permission on the WordPress root directory
|
1 2 3 |
sudo chmod -R 755 /home/woocommerce/wordpress sudo chown -R woocommerce:woocommerce /home/woocommerce/wordpress sudo service apache2 restart |
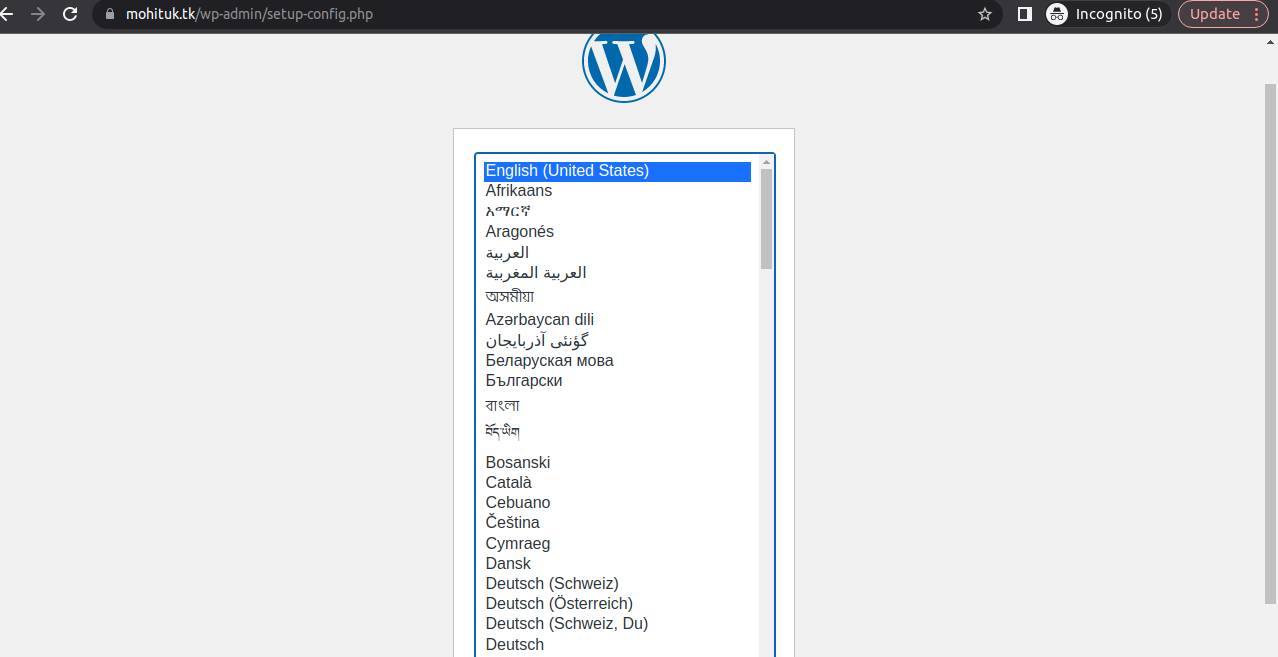
Now, Go to the browser and hit your domain
Select your preferred language
define your database details in the below step and proceed ahead
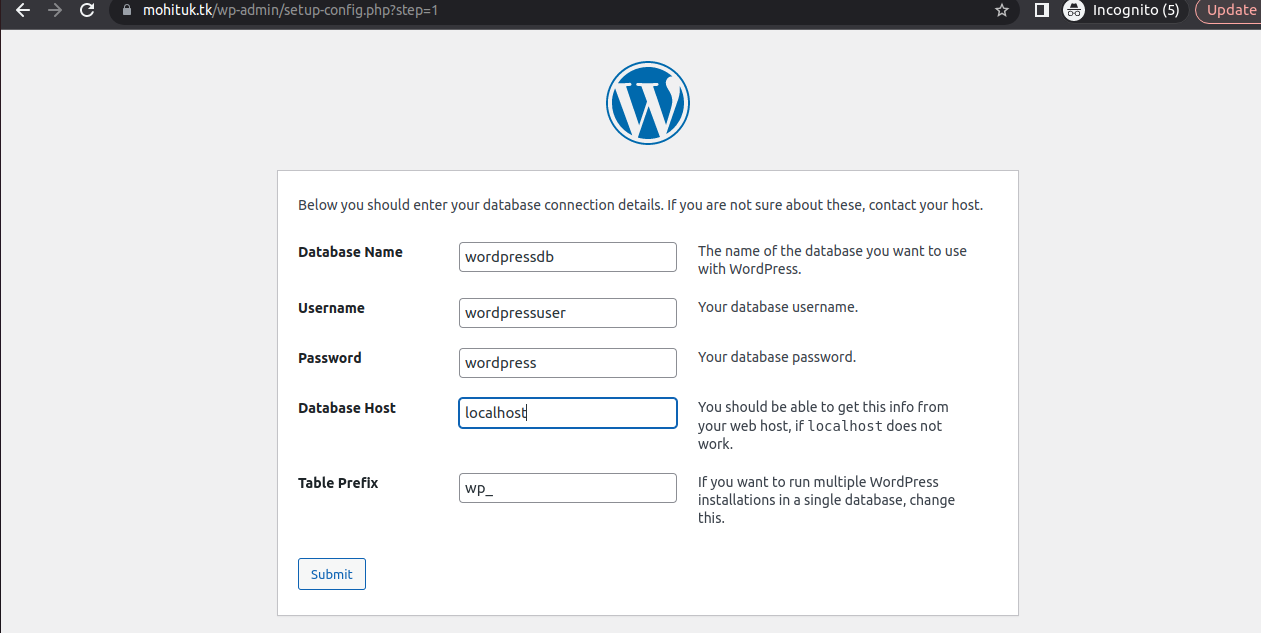
Now, Click on Submit and install WordPress.
Here, WordPress has been successfully installed.
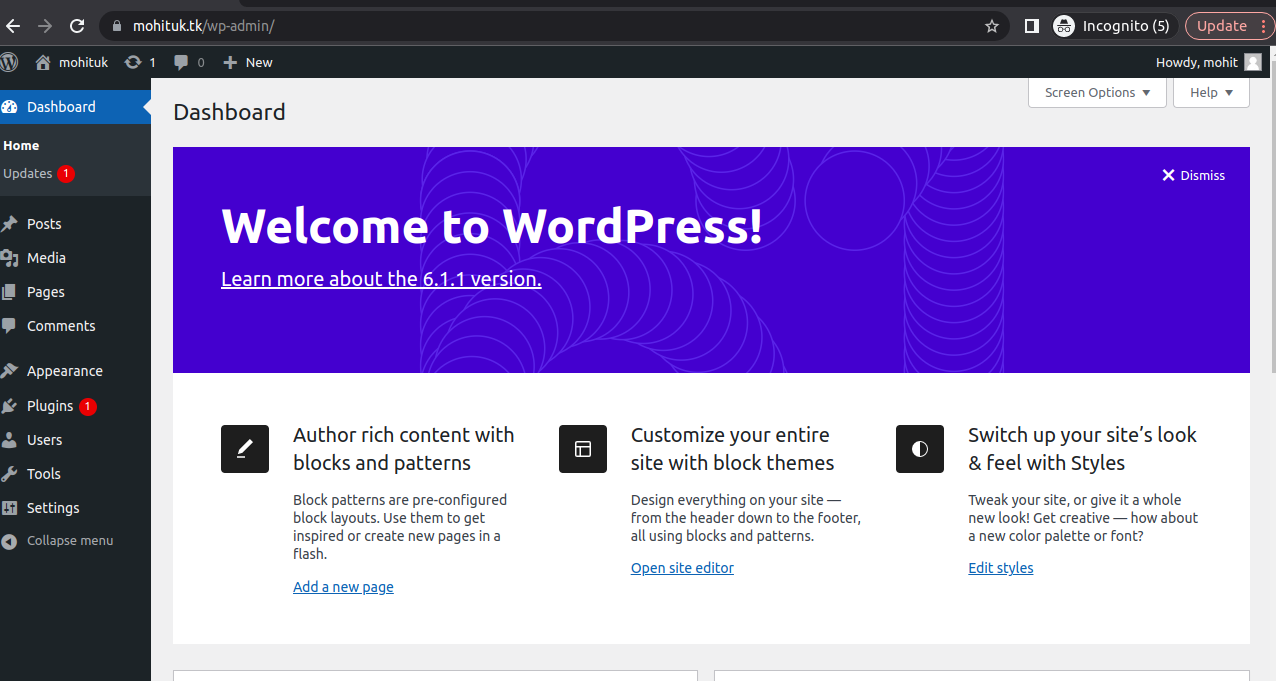
STEP 7: How to install WooCommerce on AWS
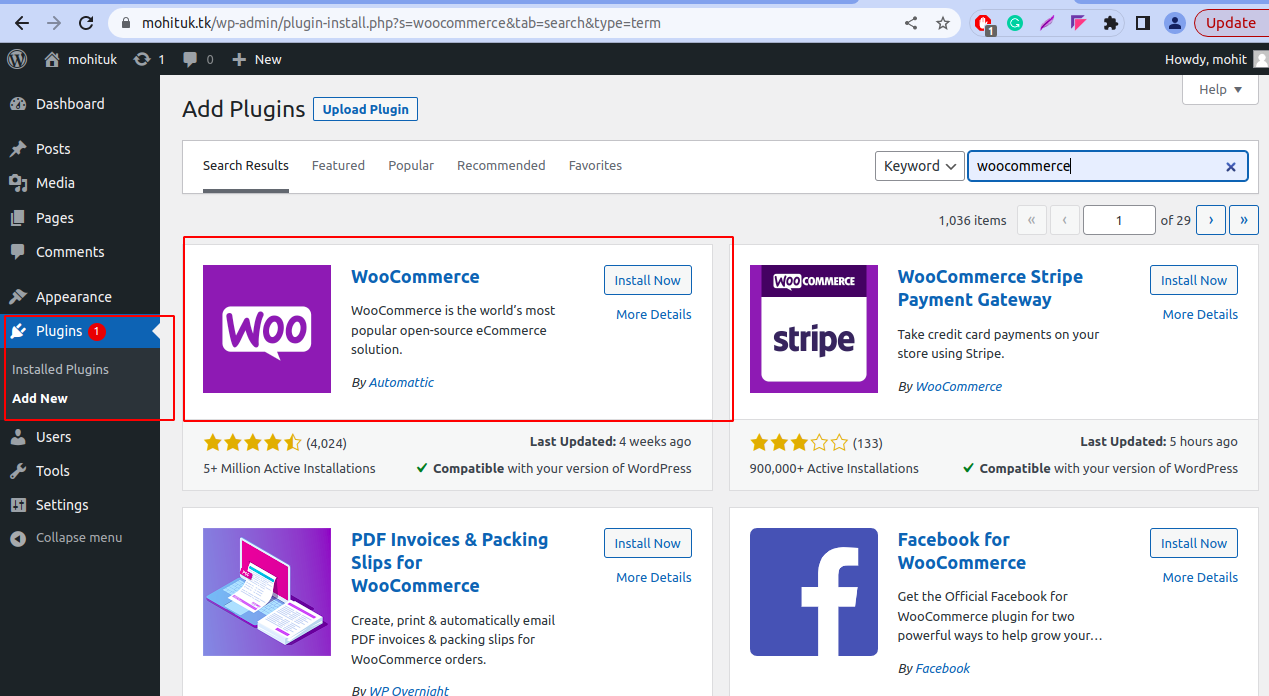
- Log in to the WordPress Dashboard.
- Click on Plugins and Add New.
- Type WooCommerce into the search field and click Search Plugins.
- Select WooCommerce
- Click Install Now.
- Then click Enable to Install WooCommerce.
- Confirm the installation by clicking Yes.
- During the installation, the WooCommerce quick installation wizard appears. We recommend you always run this installation. If it does not appear, click on WooCommerce and select Preferences.
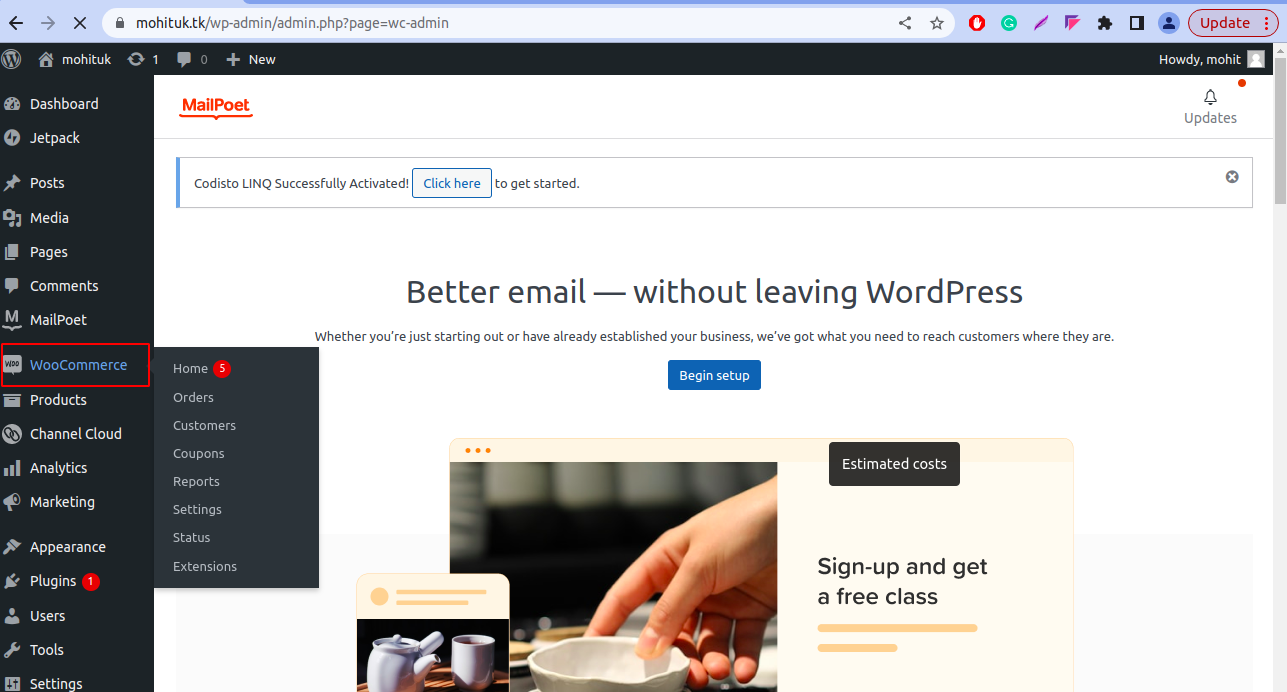
- After installation. New items “WooCommerce” and “Products” are visible in your WordPress dashboard.
Now, start the installation by clicking on the ‘Install now’ button and wait for the operation to be completed.
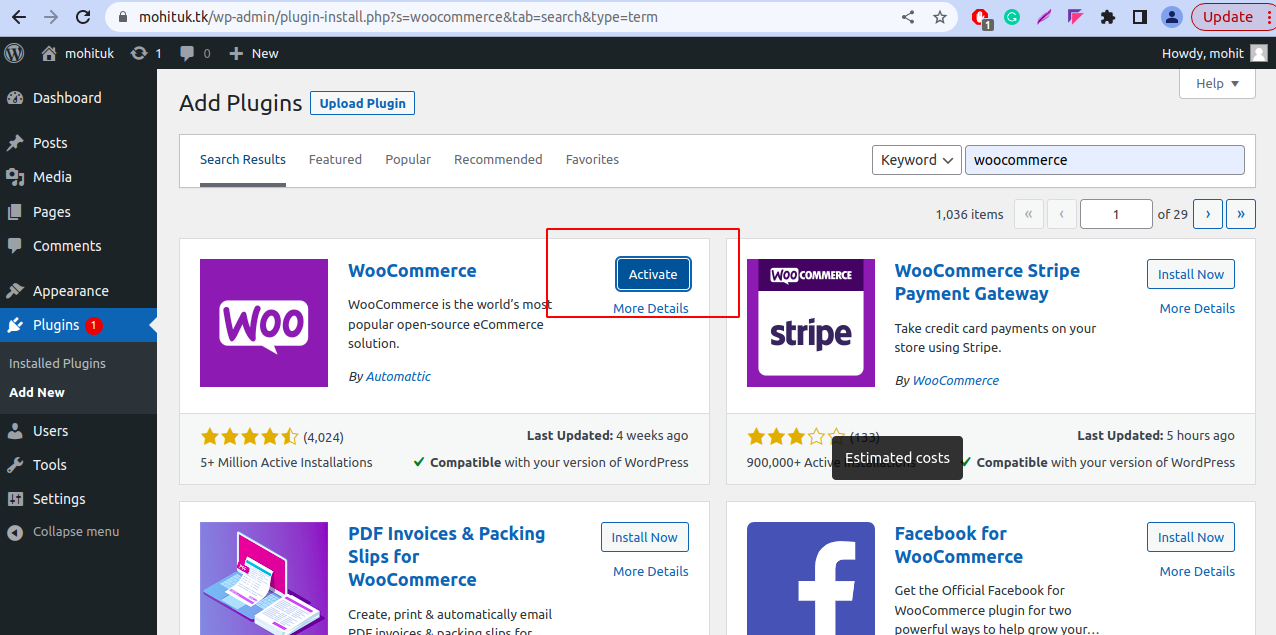
Finally, click on the ‘Activate’ button: the WooCommerce configuration procedure will start.

Fill out the required information and click on the “Continue” Button.
Finally, you will be recommended some particularly useful plugins that can be installed immediately.
You can check how to configure the Free Self-signed certificates from Let’s Encrypt.
Need Support?
Thank You for reading this Blog!
For further more interesting blogs, keep in touch with us. Also if you need any kind of support, simply raise a ticket at https://webkul.uvdesk.com/en/.
For further help or queries, please contact us or raise a ticket.

Be the first to comment.