What is AWS Elastic Beanstalk:
Elastic Beanstalk helps you to manage and deploy apps in the AWS Cloud rapidly without having to worry about the infrastructure that supports those applications.
However, It automatically takes care of the capacity provisioning, load balancing, scaling, and application health monitoring for your applications.
What is QloApps:
QloApps is a free and open-source hotel reservation system and booking engine.
The administrators can add their own hotel rooms with descriptions, features, rates, and other details using QloApps Hotel Reservation.
Users can rapidly check the availability of rooms and make reservations. Also, the site administrator can change data and check the status of bookings.
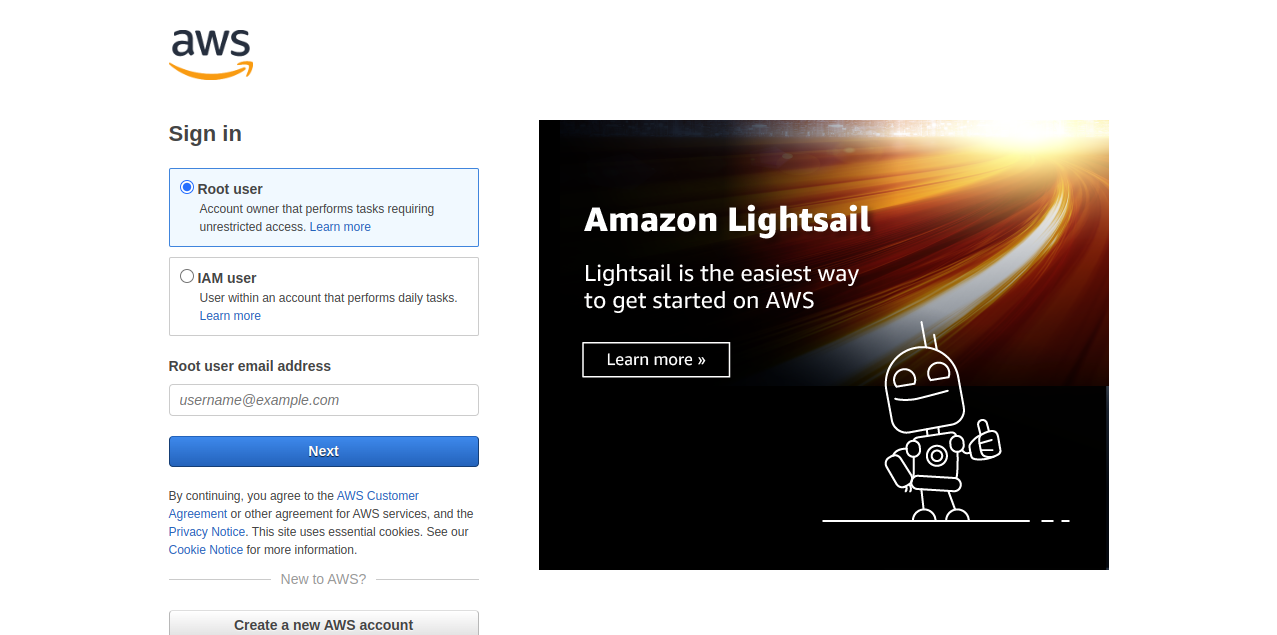
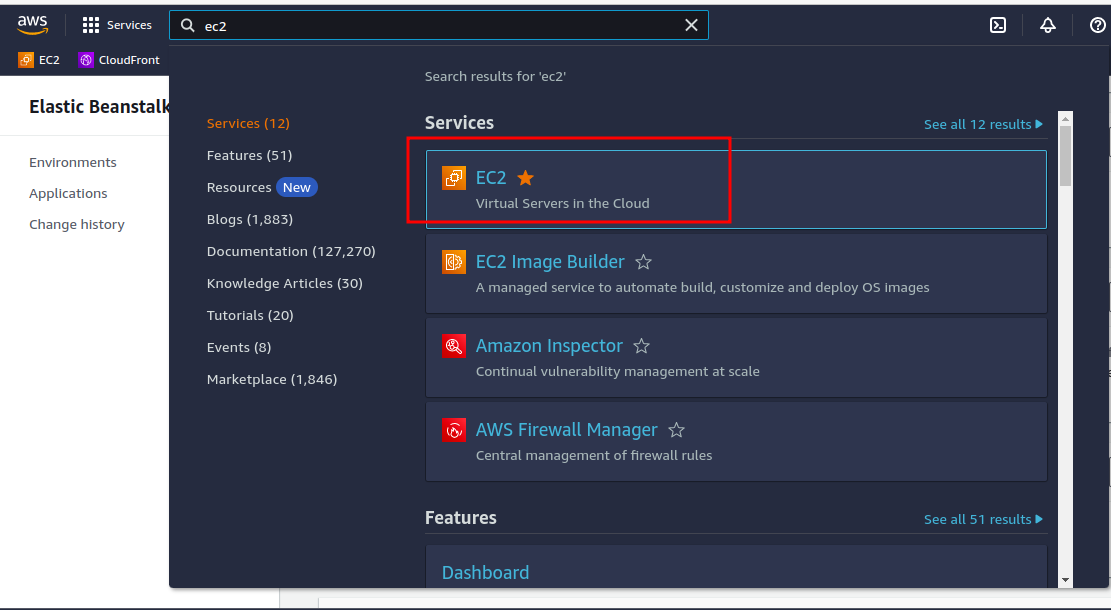
Step1 – Log in to your AWS account
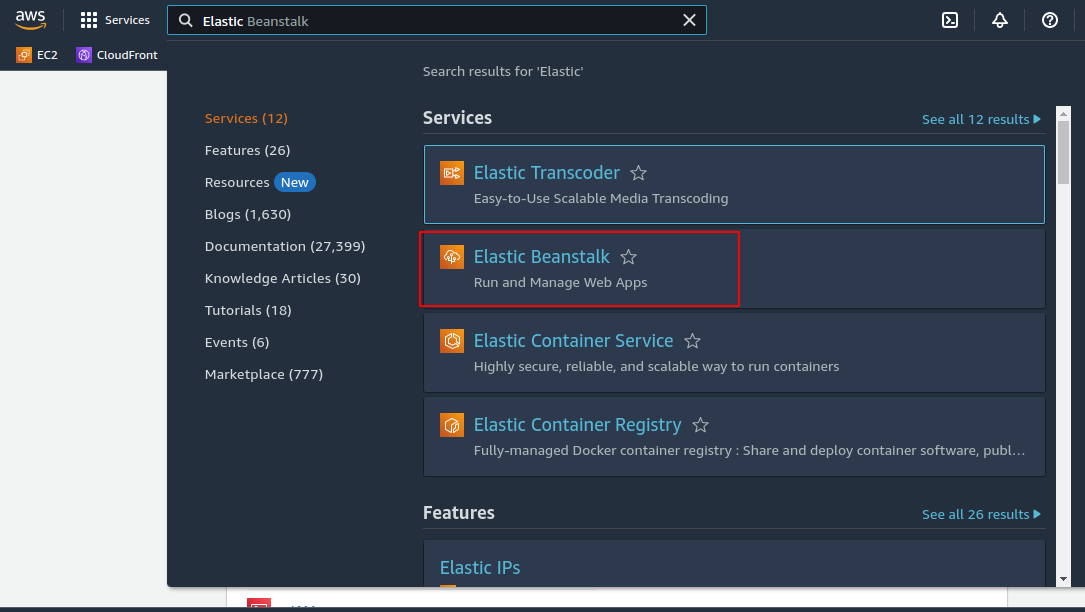
Step2 – Search for Elastic Beanstalk
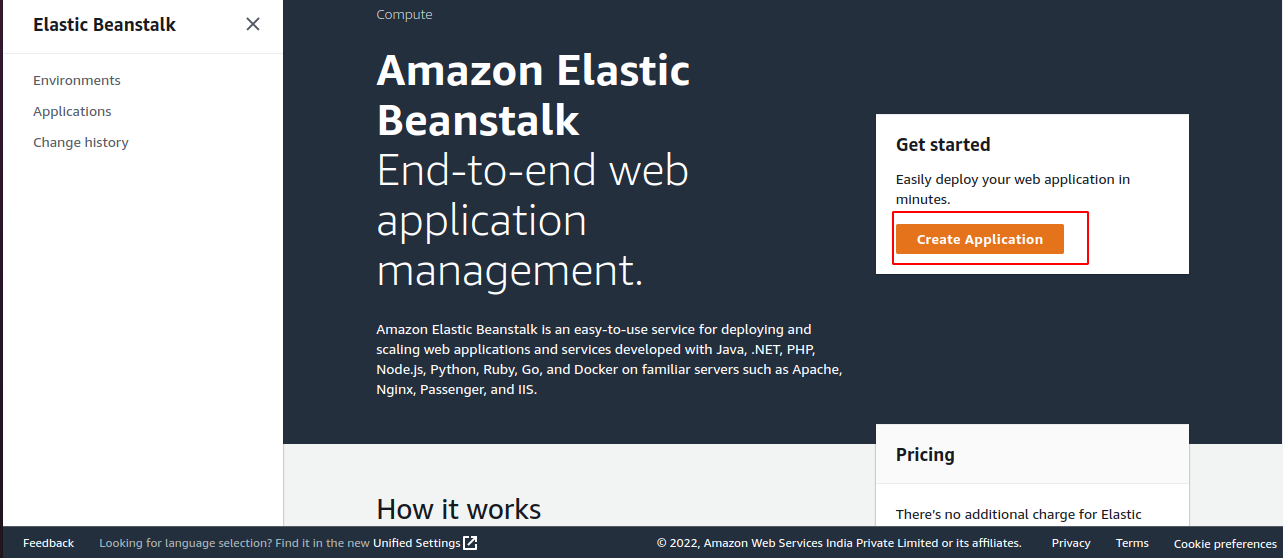
Step 3- Create a Web Application
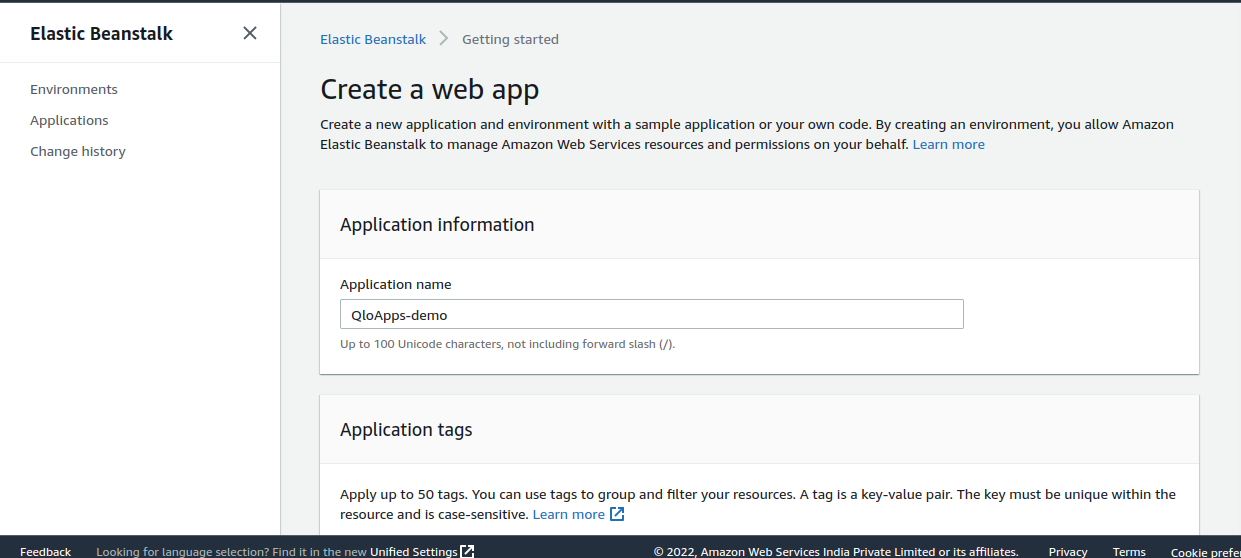
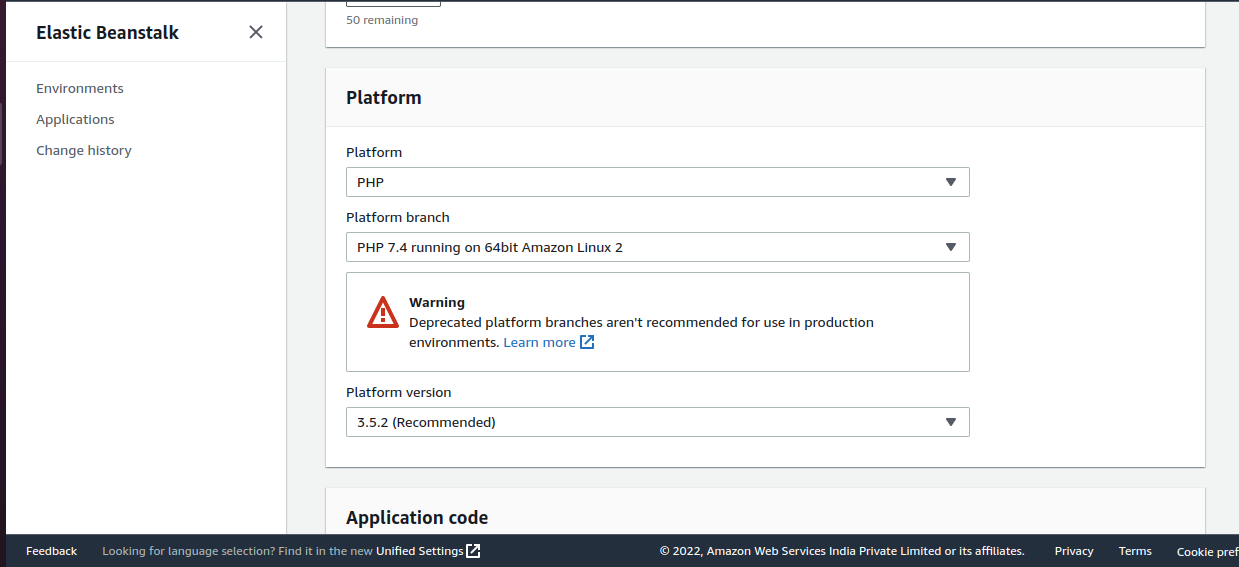
Step 4 – Configuring an application in Elastic Beanstalk
Now, here we will be providing our Application name, Platform, PHP version, etc.
QloApps supports PHP version 7.4.
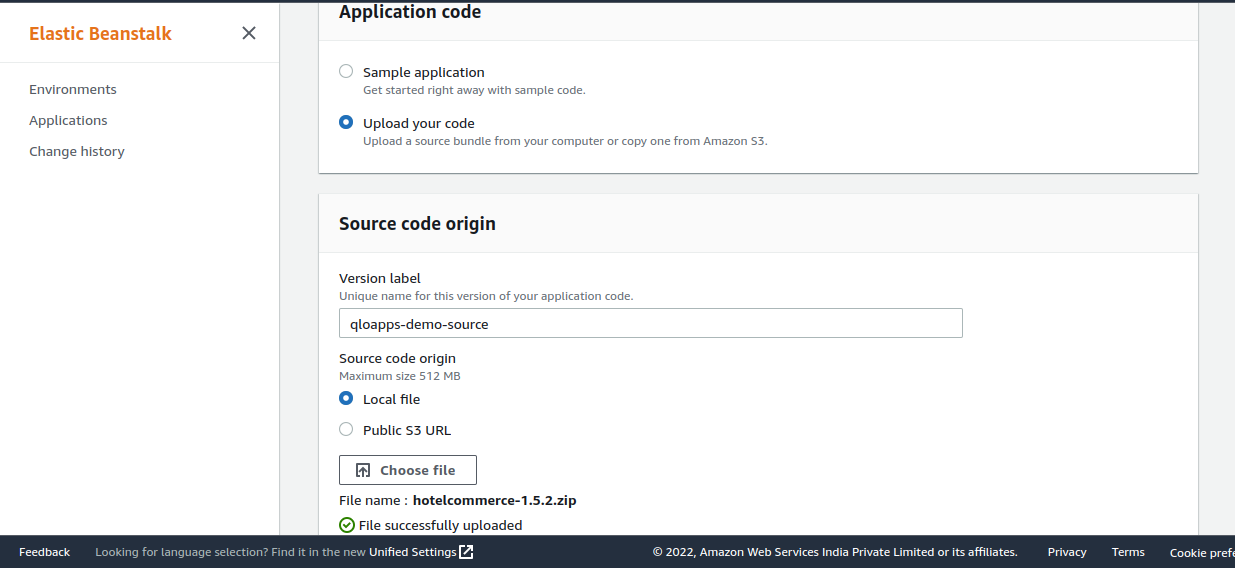
Then download the QloApps source code zip file from here and upload the zip file by clicking on the “Choose file” button.
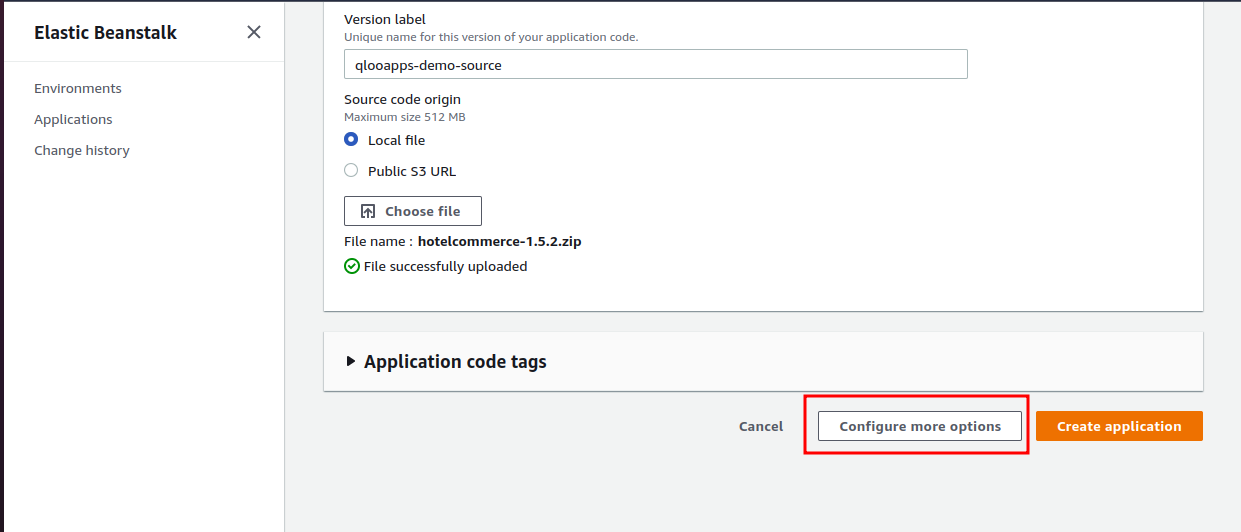
Now, Click on the “Configure more options” button to customize your application environment.
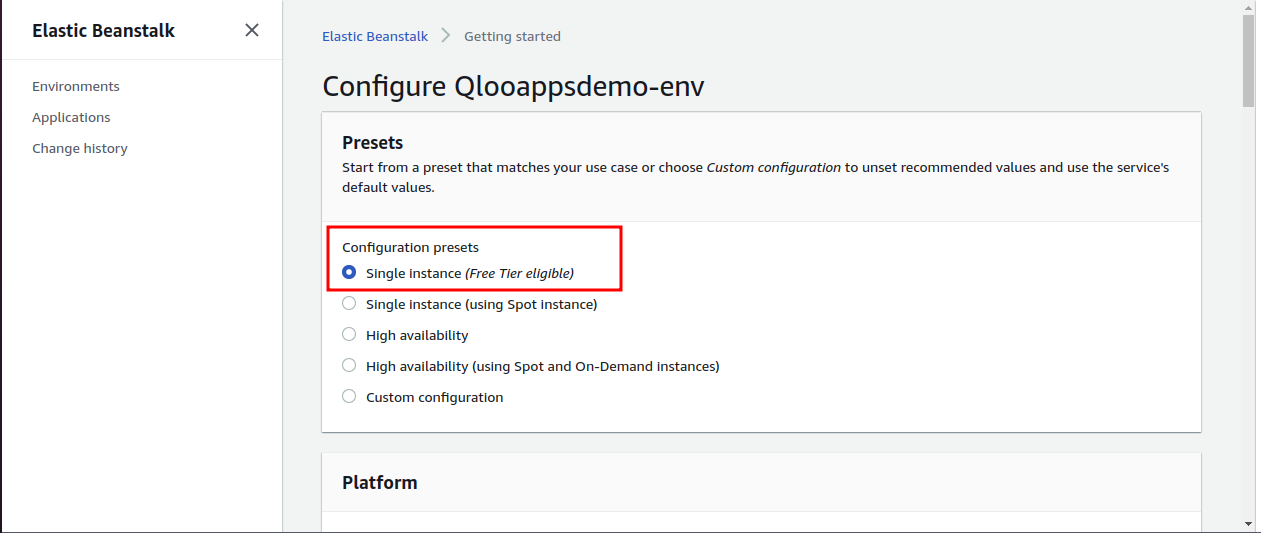
Now select the below option
We are selecting this option as it will create a Single instance that is under the free tier policy of AWS.
If you want to select another option then that option will not come under the free tier policy of AWS.
Step 5- Create a key pair for SSH
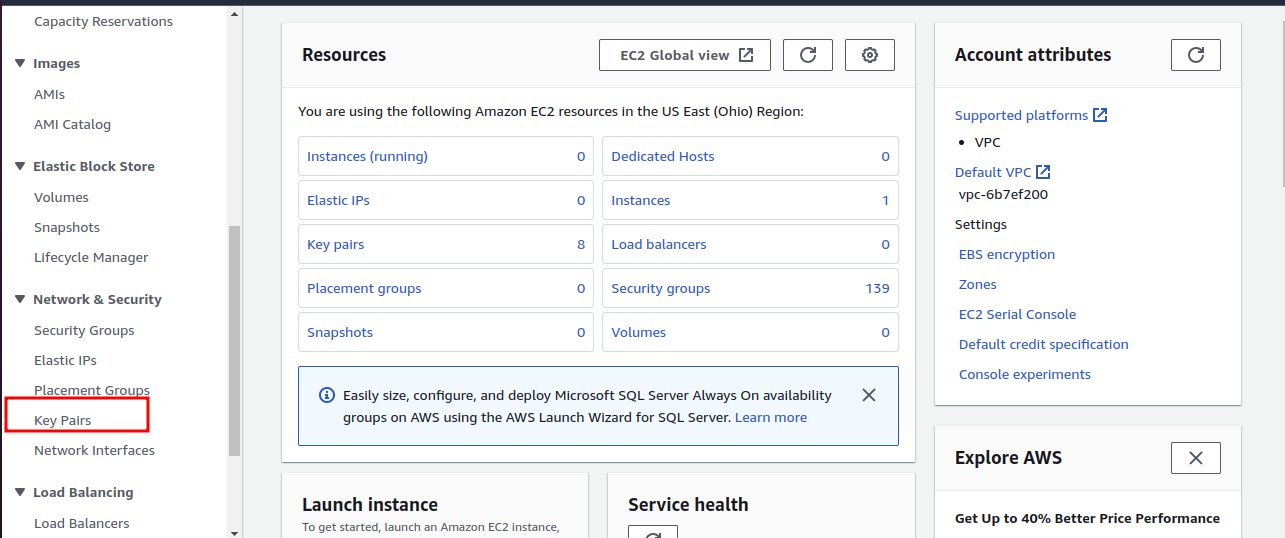
Now we are going to create a Key pair to login into the server which is created by Elastic Beanstalk for that open AWS EC2 service in another tab:
Then click on the Key Pairs section to create a new key pair:
Next, Click on Create Key Pair

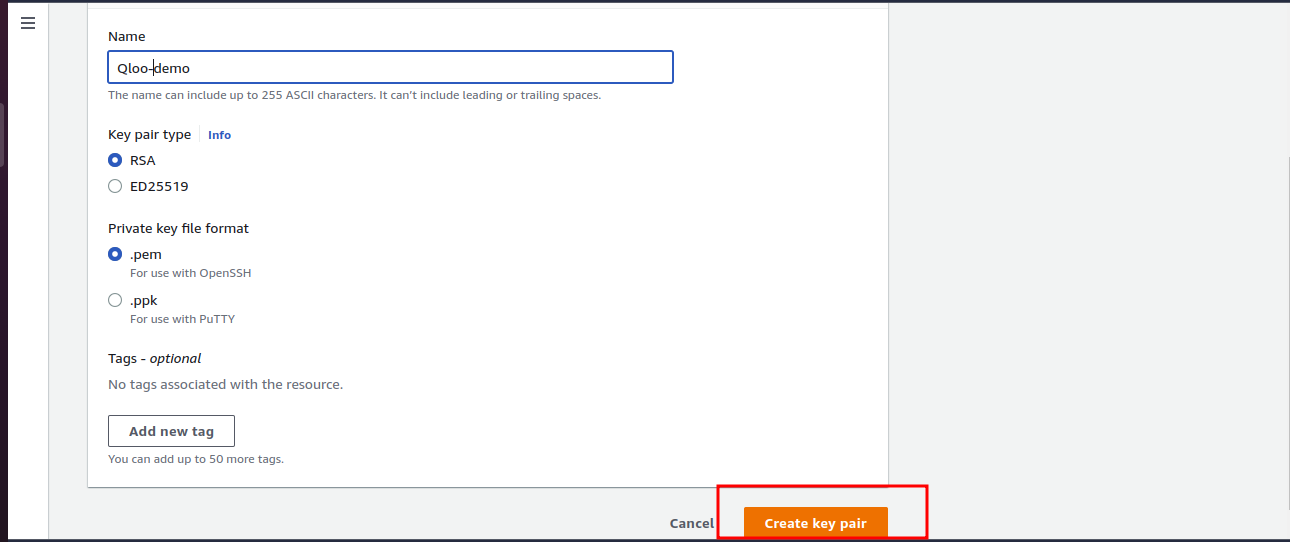
Now do the below configurations and click on “Create key pair”
You can choose the pem option if you are using Linux and the ppk option if you are using a Windows system.
This way we have created the key pair that we will use to ssh into the server.
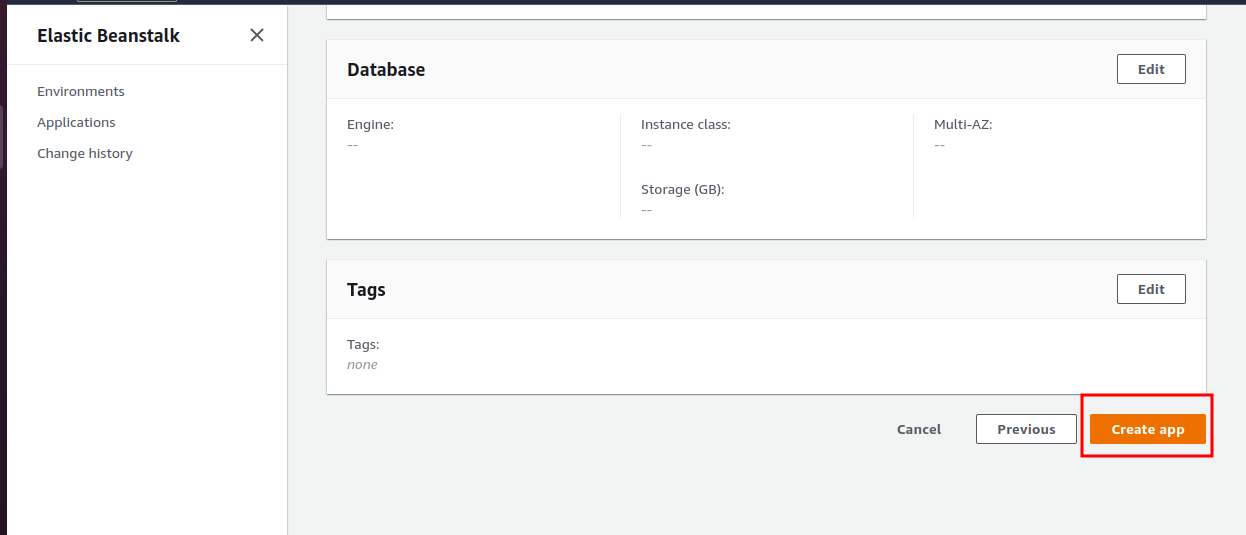
Now, Go back to your Elastic Beanstalk dashboard and click on “Create app”
After this it will start creating your environment it will take some time like 5 min approx and you will see all the operations or events that it will be performing in the background.
Step 6- Attaching Key pair to the Instance
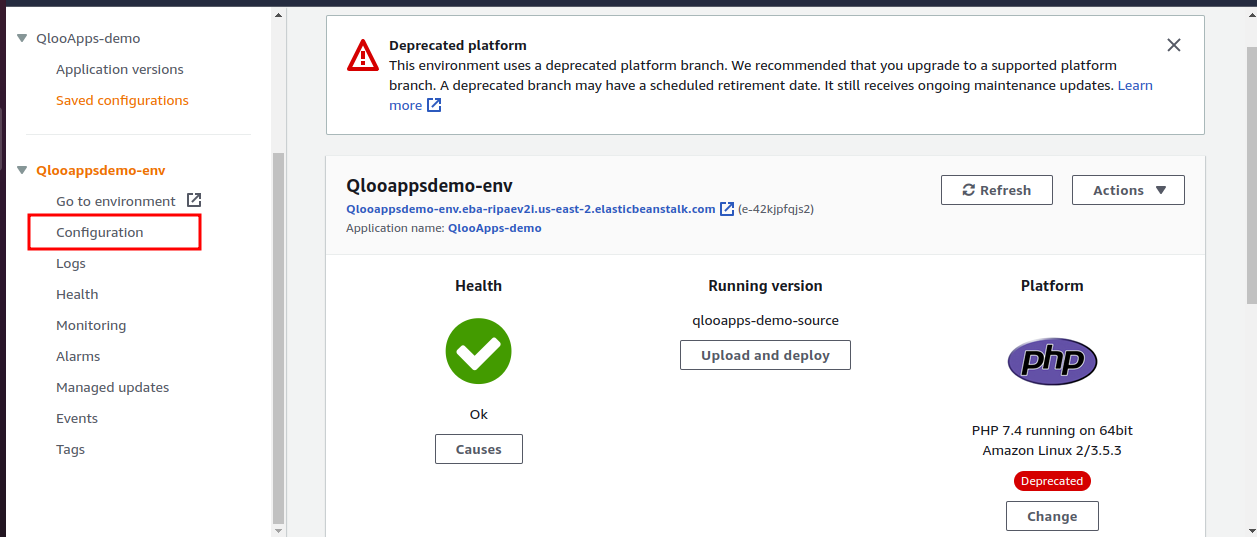
To attach the Key pair, click on the configuration option on the right-hand side as shown in the below image
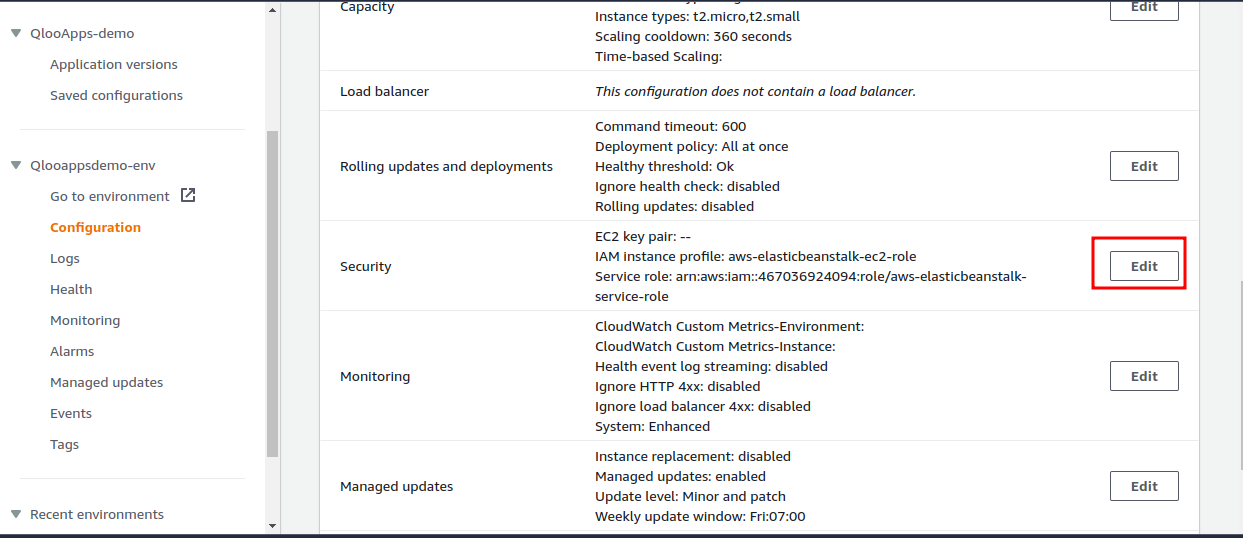
After that go to the “Security” section and click on the edit button
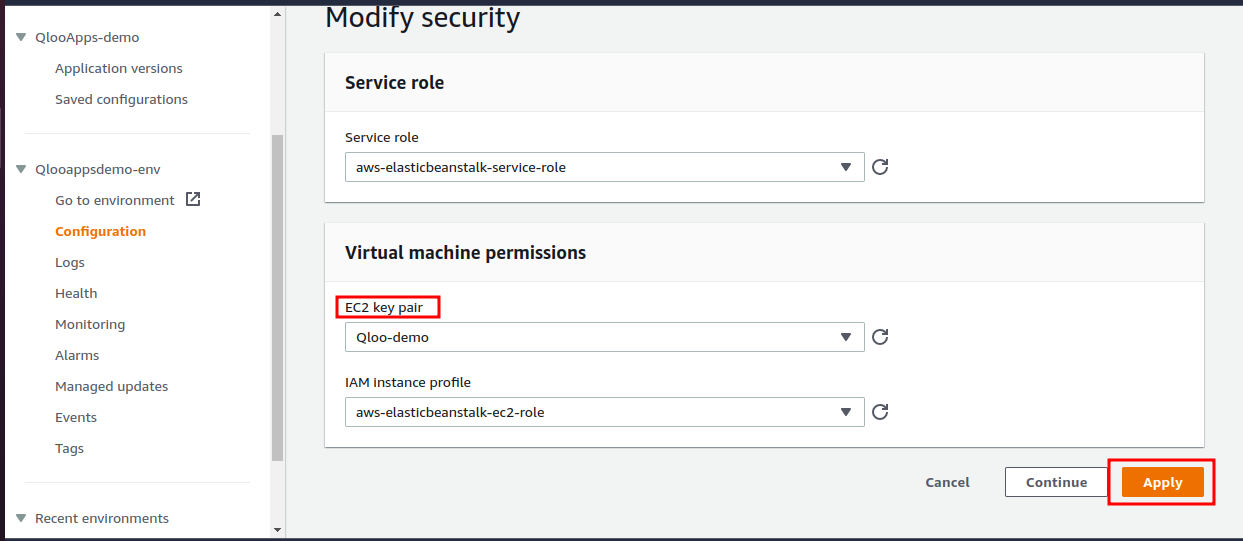
Choose the key pair that you have created in the above step, then click on Apply and confirm:
Step 7- Installation of QloApps
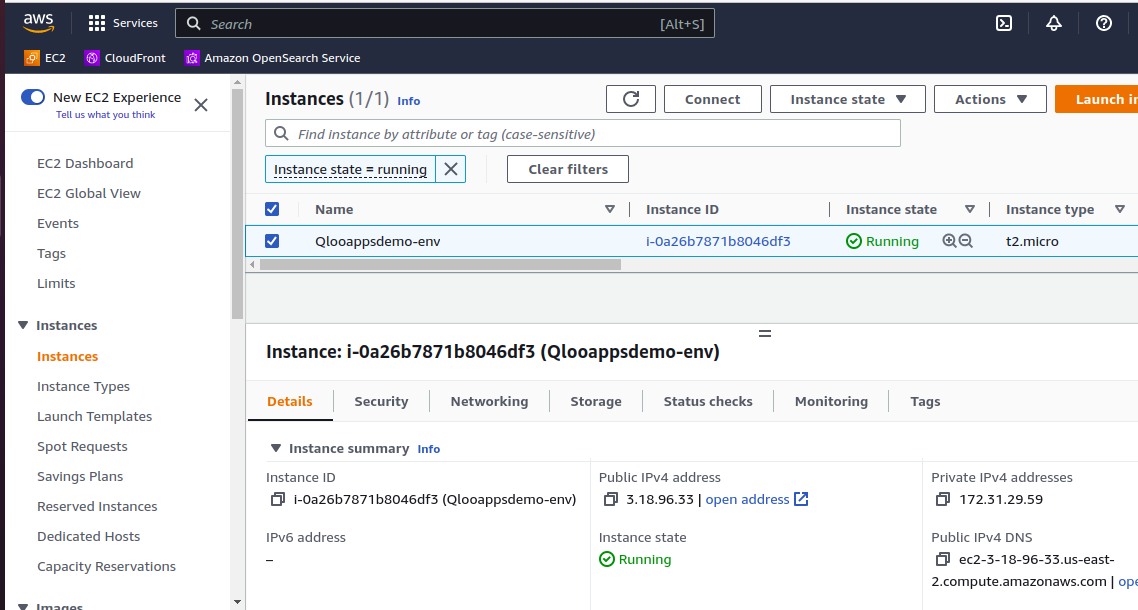
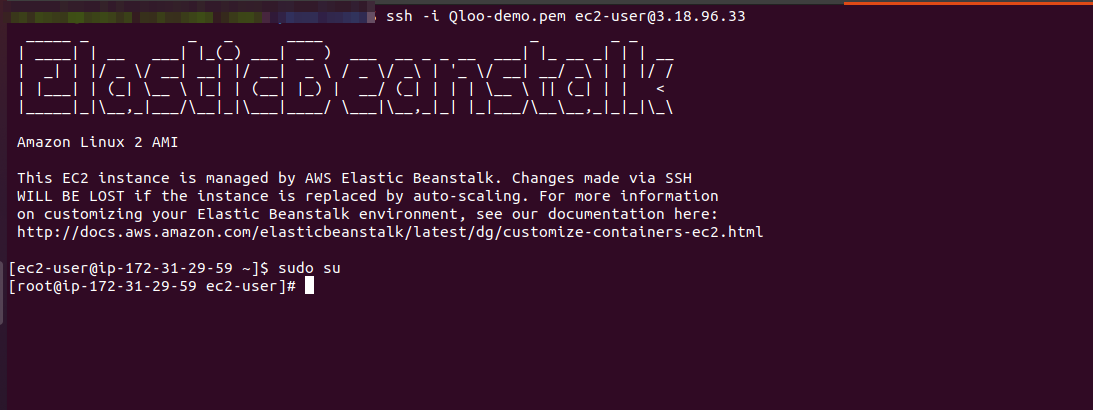
Go to Ec2–> Instances–> Copy its public IPv4 address for ssh:
Run the below command in the terminal:
|
1 2 |
chmod 400 (pem key name) |

|
1 2 |
ssh -i (pem-key-name) ec2-user@(public-ip) sudo su |
Further, Make some changes to the php.ini file:
|
1 |
vi /etc/php.ini |
allow_url_fopen = On
memory_limit = 128M
upload_max_filesize = 16M
max_execution_time = 500
Save and exit, the php.ini file, and then run the below command:
|
1 2 |
service php-fpm restart |
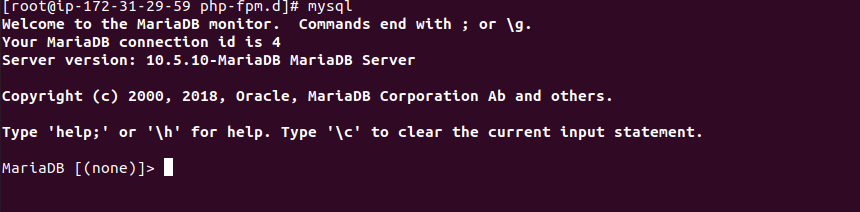
Now Install the MariaDB server:
|
1 2 3 4 |
amazon-linux-extras enable mariadb10.5 yum install mariadb -y service mariadb start mysql |
After running all the above commands successfully you should get the following screen
Let’s now create a database:
|
1 2 3 4 5 6 7 |
create database qlooapps; CREATE USER 'qlouser'@'localhost' IDENTIFIED BY 'Admin@1234'; GRANT ALL ON qlooapps.* TO 'qlouser'@'localhost' WITH GRANT OPTION; flush privileges; exit; |
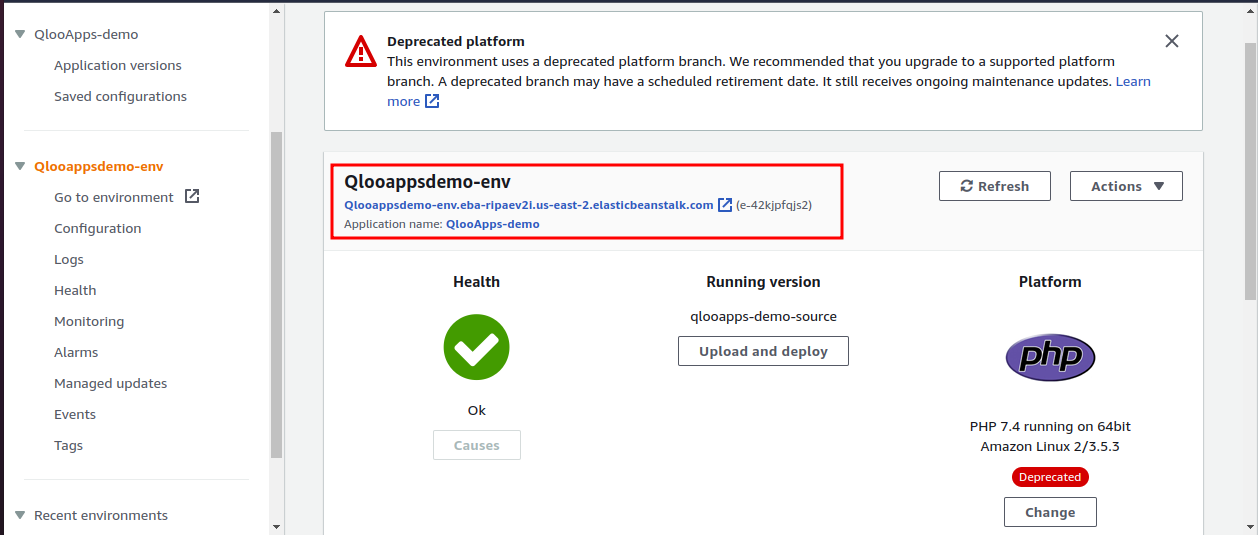
Go to your Elastic Beanstalk Environment then you will get the URL as shown below hit it:
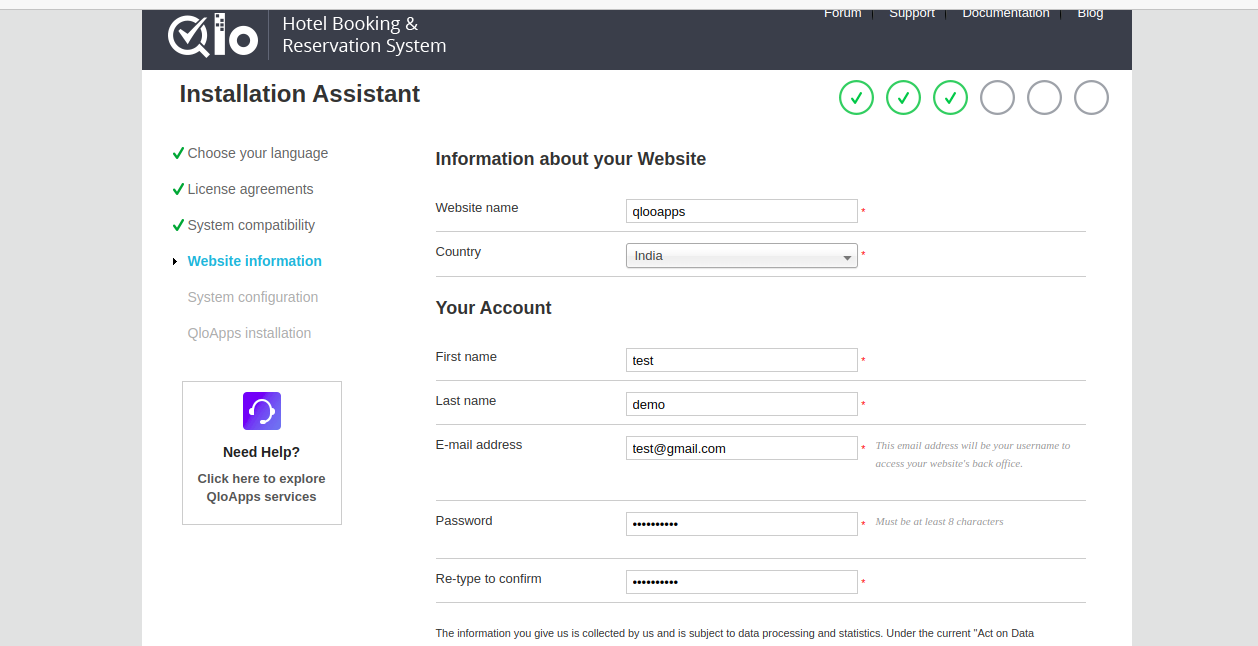
Once you click on the highlighted link you will be redirected to the new tab and there in the URL you have to append “hotelcommerce-1.5.2” at the end of the URL (Shown below figure).
Click on Next

Fill up all the required details:
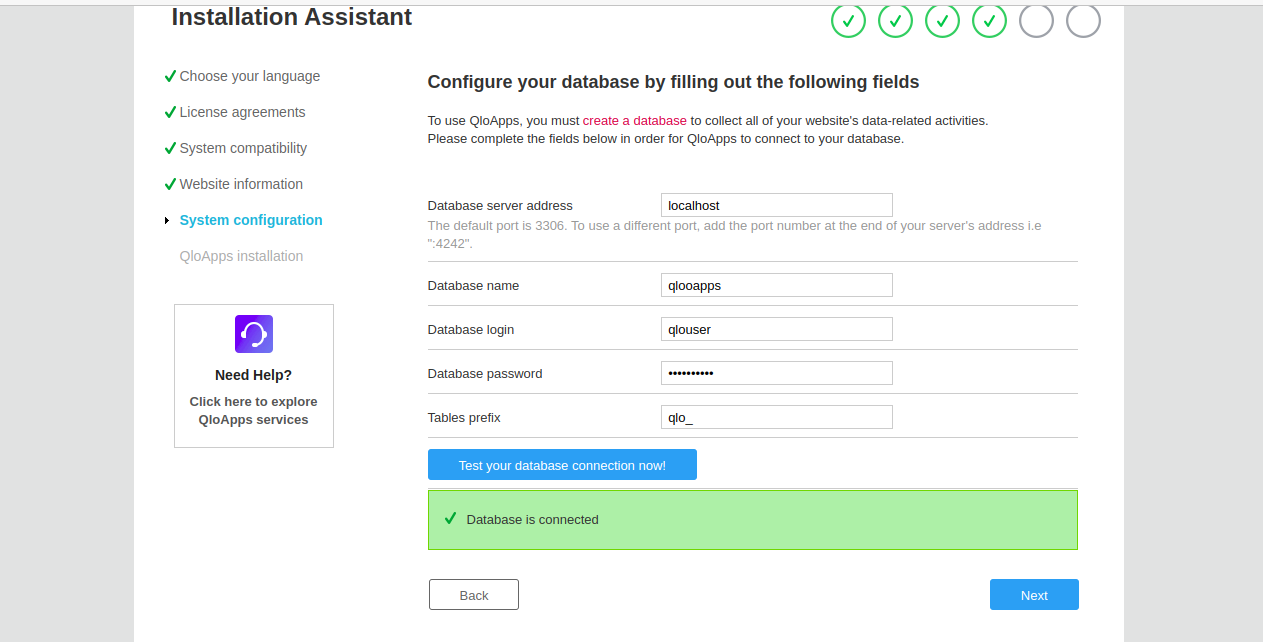
Enter the DB details and test your DB connection:
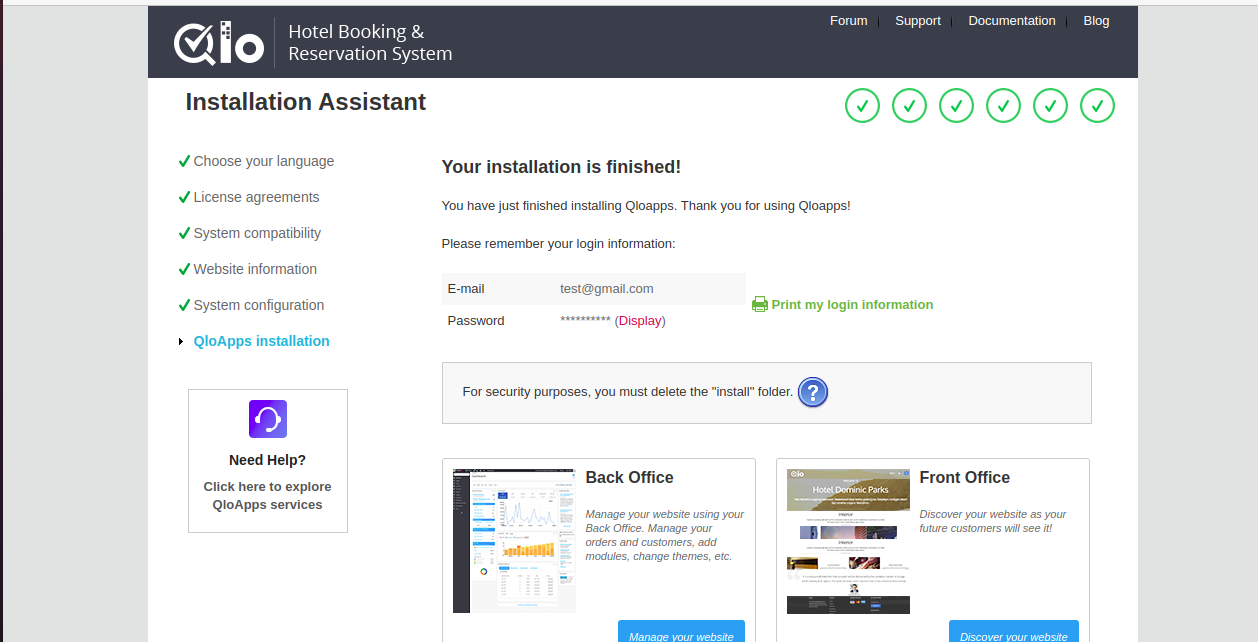
Click on next, and as a result, it will start installing QloApps after completion of installation you will get the below screen.
Note down your login information so that we can log in to your account.
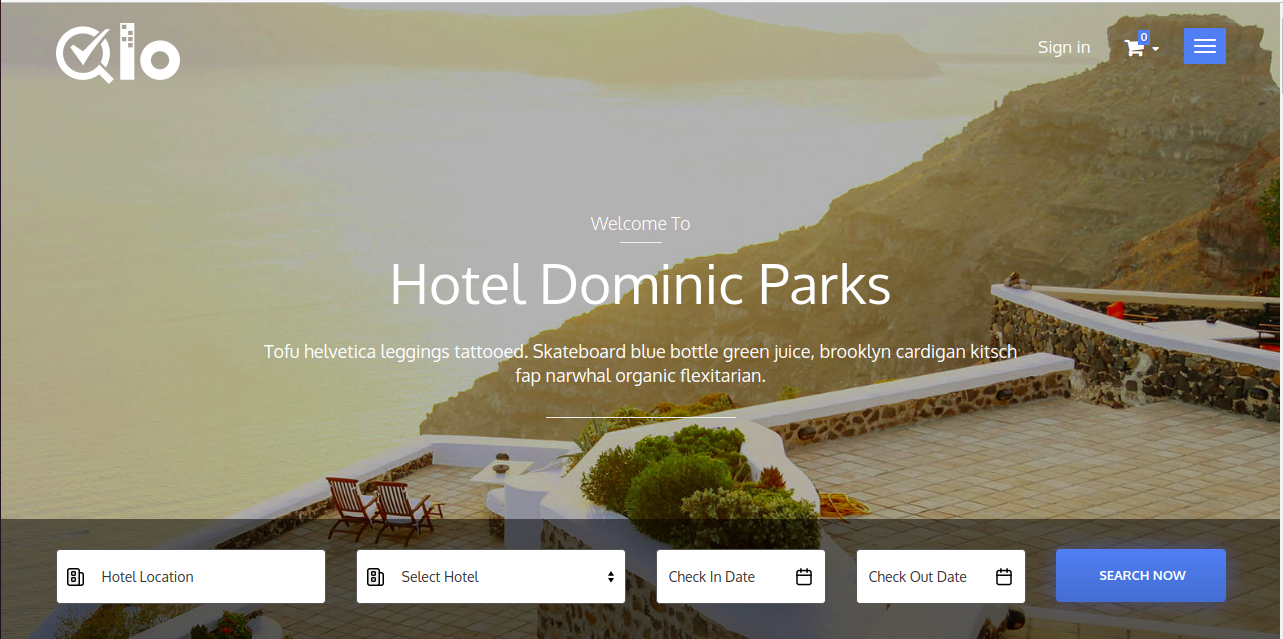
Click on “Discover your website” and you will get the below screen:
After that click on “Manage Your Website”, and you will get the below screen:
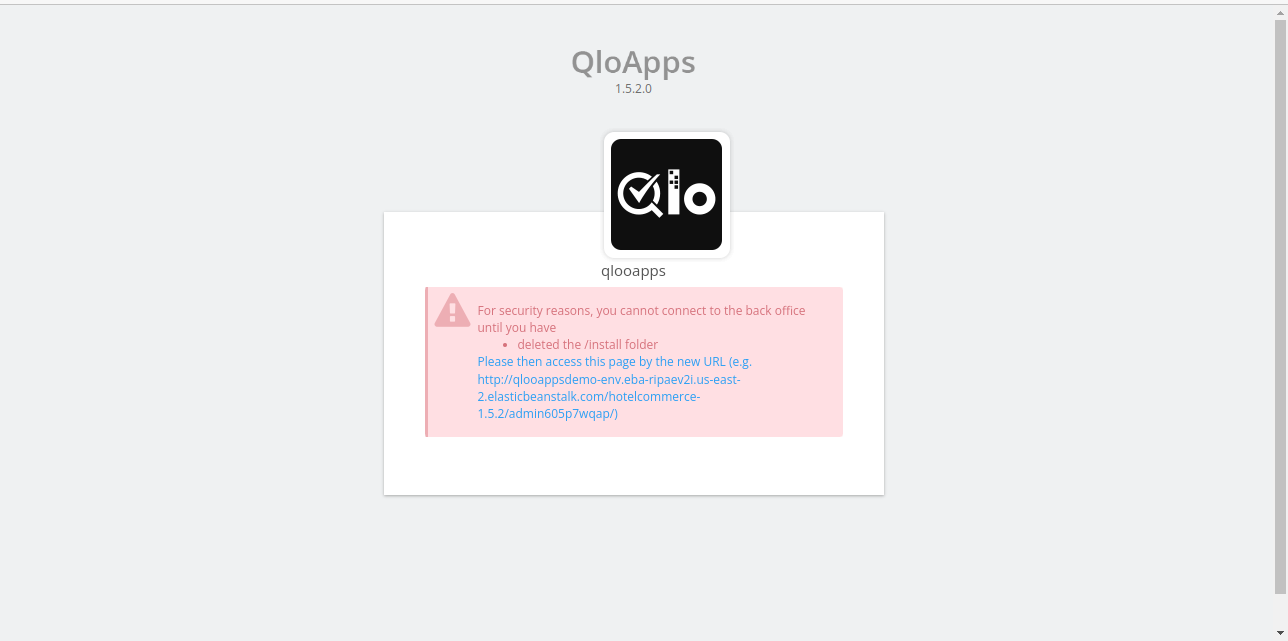
To remove this you have to go to your server and run the below command:
|
1 2 3 |
rm -rf /var/www/html/hotelcommerce-1.5.2/install/ |
Next, click on the link that is given in the above screen you will get the below page:
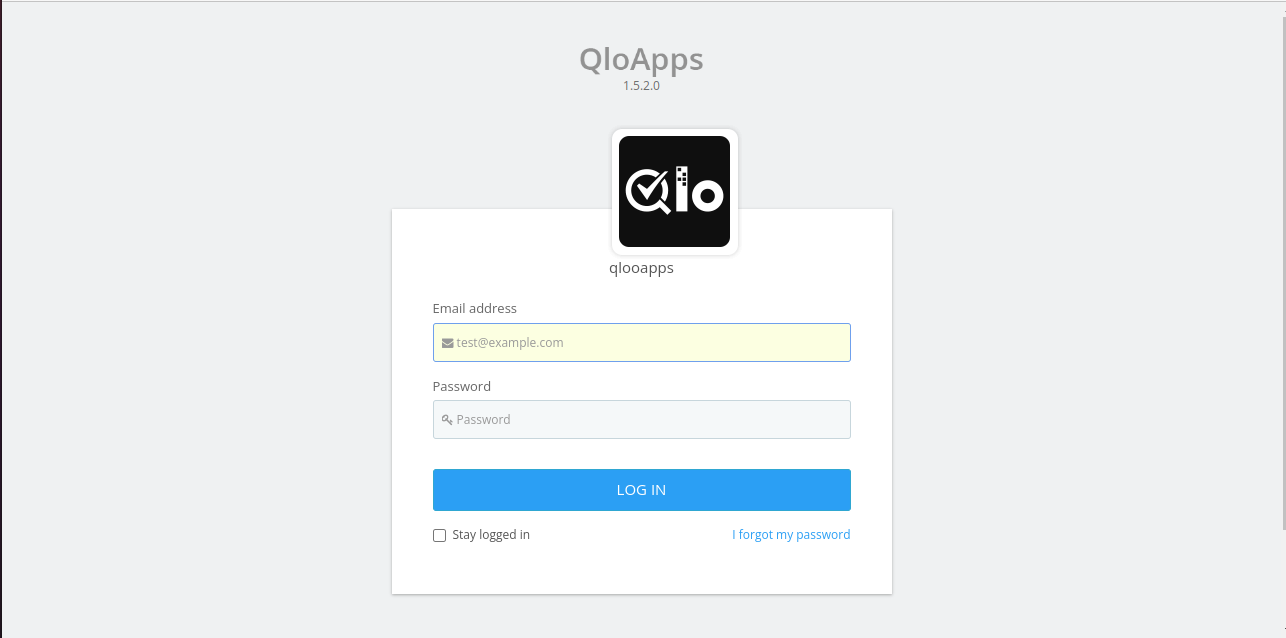
Login Using your credentials
Need Support?
Thank You for reading this Blog!
For further more interesting blogs, keep in touch with us. Also if you need any kind of support, simply raise a ticket at https://webkul.uvdesk.com/en/.
For further help or queries, please contact us or raise a ticket.

Be the first to comment.