INTRODUCTION
A Network Load Balancer functions at the fourth layer of the Open Systems Interconnection (OSI) model. It can handle millions of requests per second.
After the load balancer receives a connection request, it selects a target from the target group for the default rule.
It attempts to open a TCP connection to the selected target on the port specified in the listener configuration.
STEPS TO SET UP A NETWORK LOAD BALANCER
Step 1:
Create two EC2 instances.
Step 2:
Now that EC2 instances are created, install the Apache web server on both of them.
Execute the following commands on both your instances to install Apache:
|
1 2 3 |
sudo apt update sudo apt install apache2 systemctl status apache2 |
This should give you an output of status showing active.
Step 3:
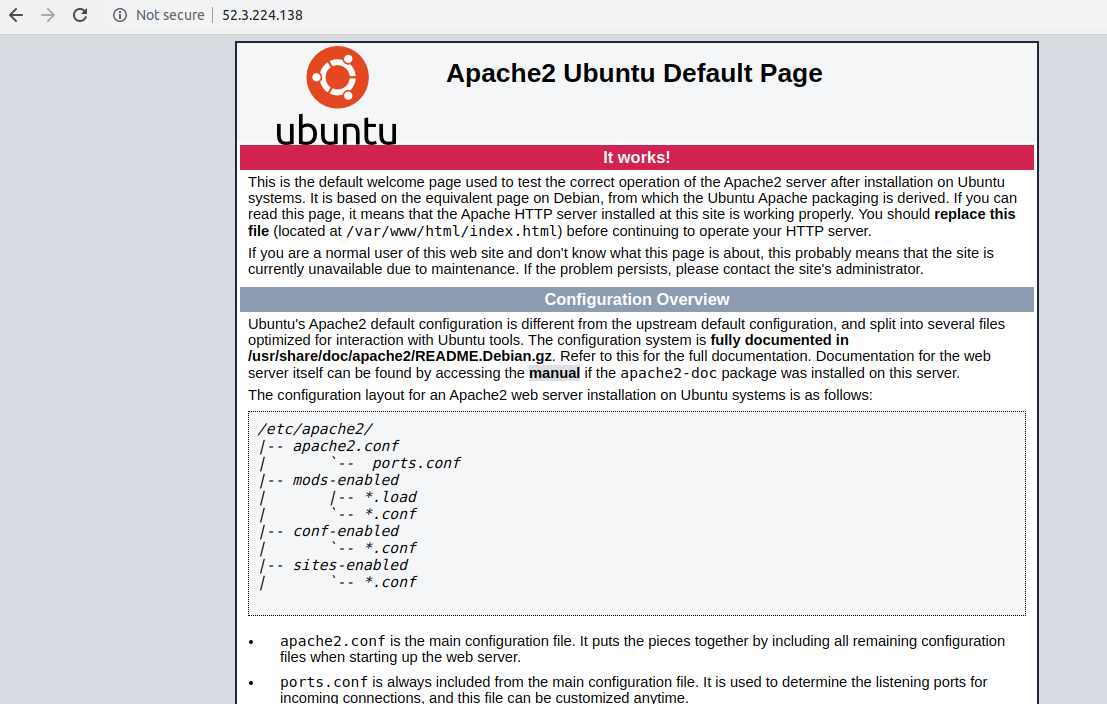
Now when you visit the public IP of your instances you should see a page that says “Welcome to Apache”.
Since we need to differentiate between the two servers, let us change the display to “Welcome to Apache – Server1” and the other to “Welcome to Apache – Server2”.
Go to the directory:
|
1 2 |
cd /var/www/html sudo vim index.html |
Change the H1 tag from “Welcome to Apache” to “Welcome to Apache – Server1” on one instance and “Welcome to Apache – Server2” on the other.
Step 4:
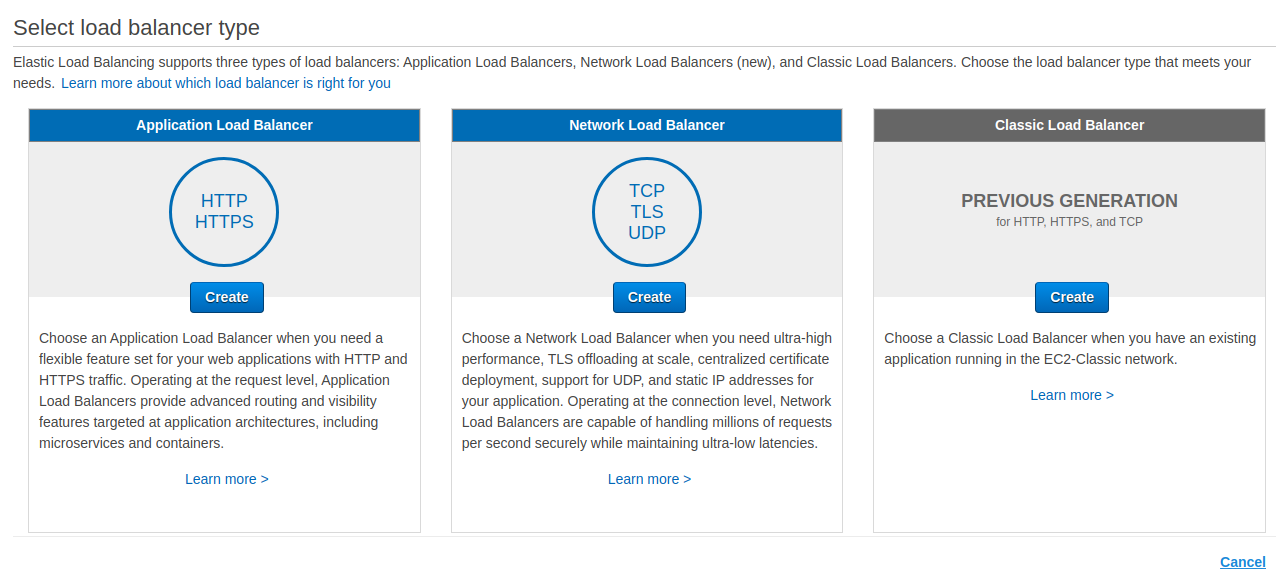
Create a Network Load Balancer.
In the navigation pane, under LOAD BALANCING, choose load balancer. Choose Create load balancer. On the Select Load Balancer type page, choose Create Network Load Balancer.
Step 5:
Configure the load balancer, and type the name. For Scheme either select Internet-facing or Internal.
In this case, I’ve chosen internet-facing. Internet-facing routes requests from clients to the target over the internet.
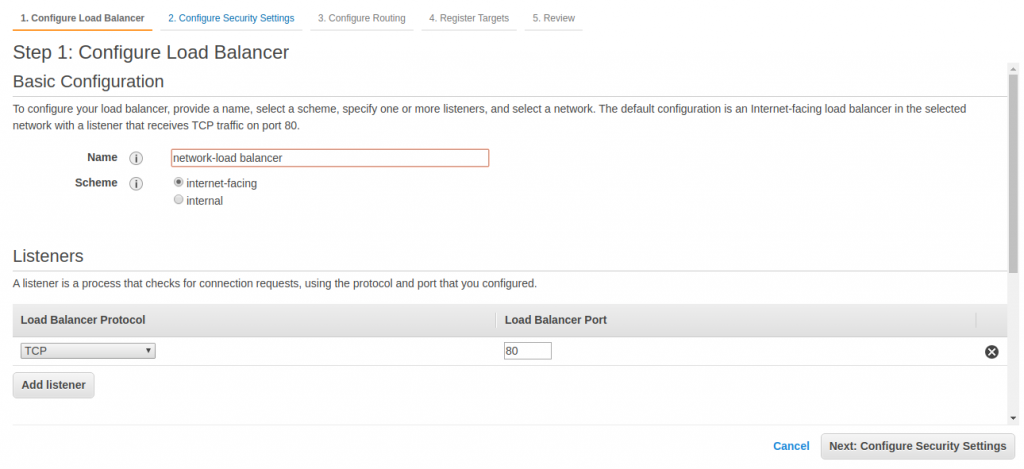
For Listeners, the default is to accept TCP traffic on port 80. In case you want to add another listener, you can choose Add Listener.
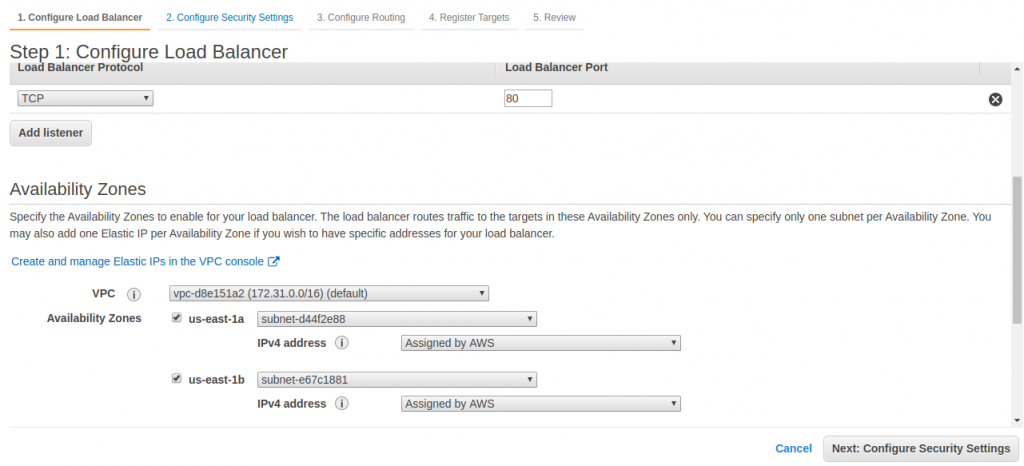
Step 6:
For configuring the Availability Zone, select the AWS VPC that you’ve used to create your EC2 instances.
If you’ve created your instances in different Availability Zones, then select those availability zones and subnet for that particular Availability Zone.
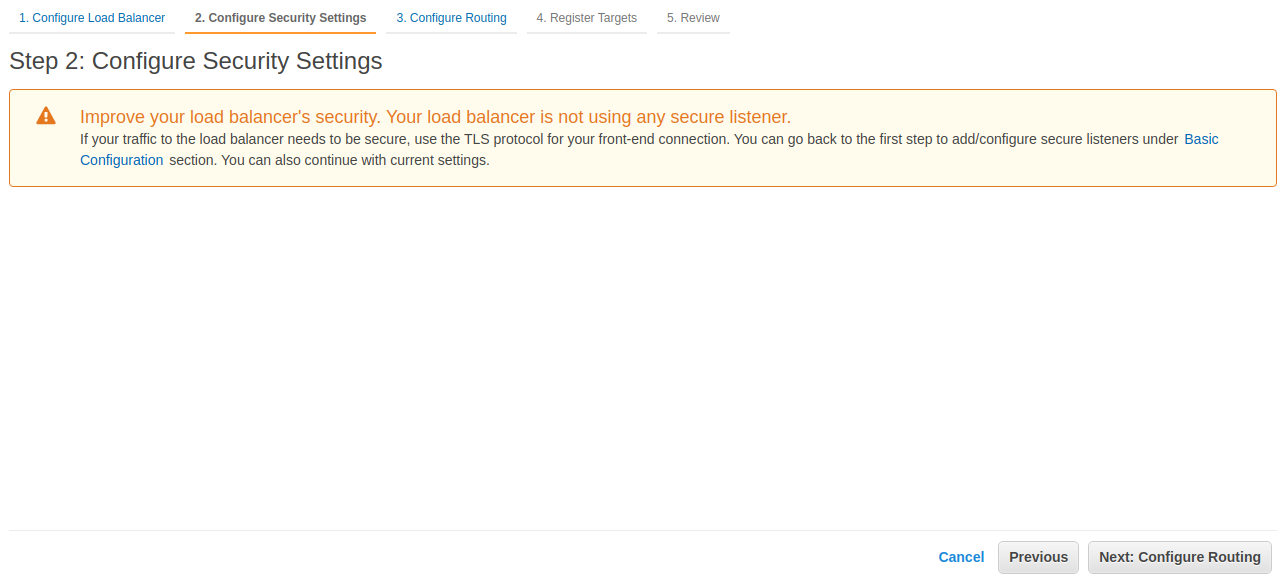
Step 7:
Select Next: Configure Security Settings. You’ll see a warning as shown in the picture below. But it’s just a warning and you can ignore it.
In my case, I am allowing TCP traffic on port 80. You can also allow traffic on TLS port 443 to get a secure TCP connection and accordingly security settings will be configured.
Step 8:
For Target Group, keep the default setting a new target group. For Name, type in the name.
Set Protocol and Port as required.
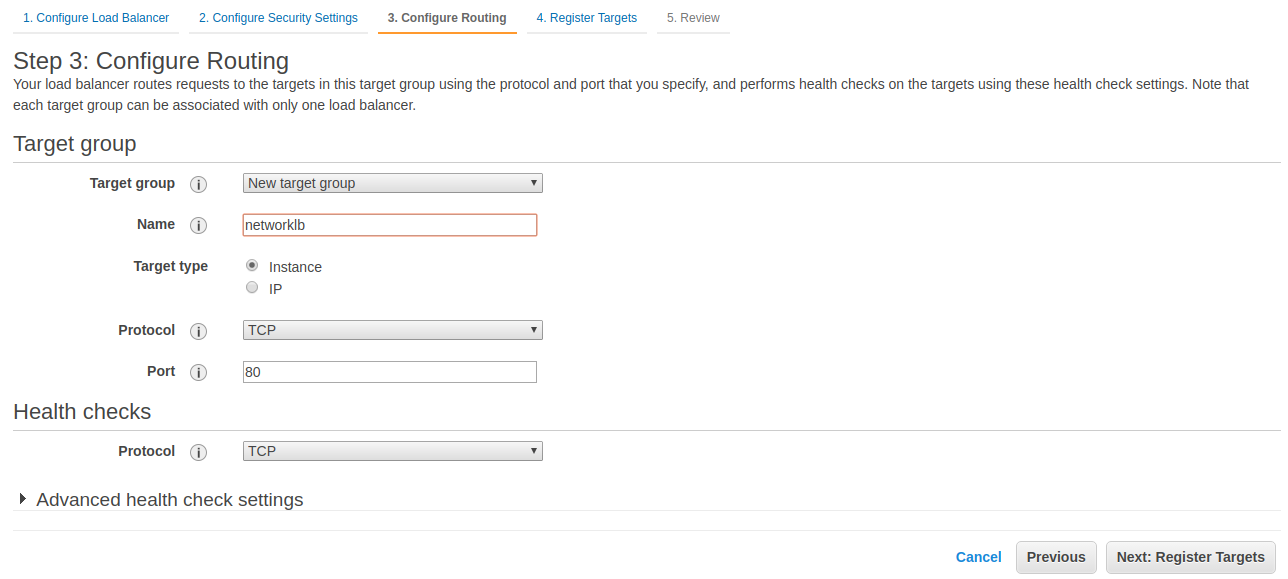
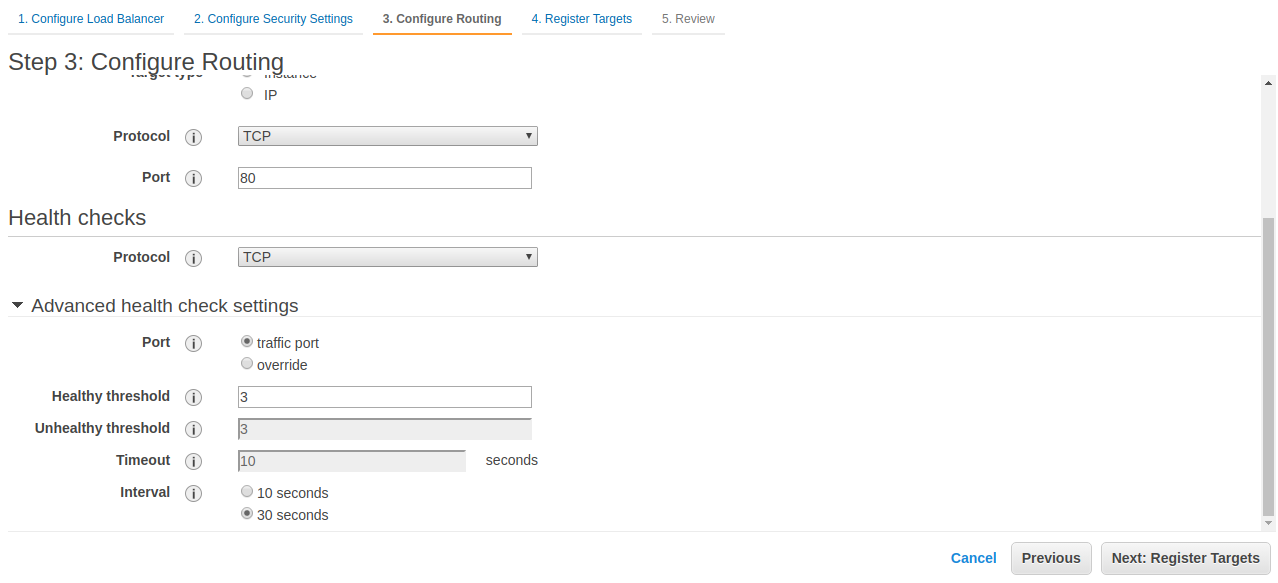
Keep the health checks with the default settings.
Step 9:
Click on Next: Register Targets
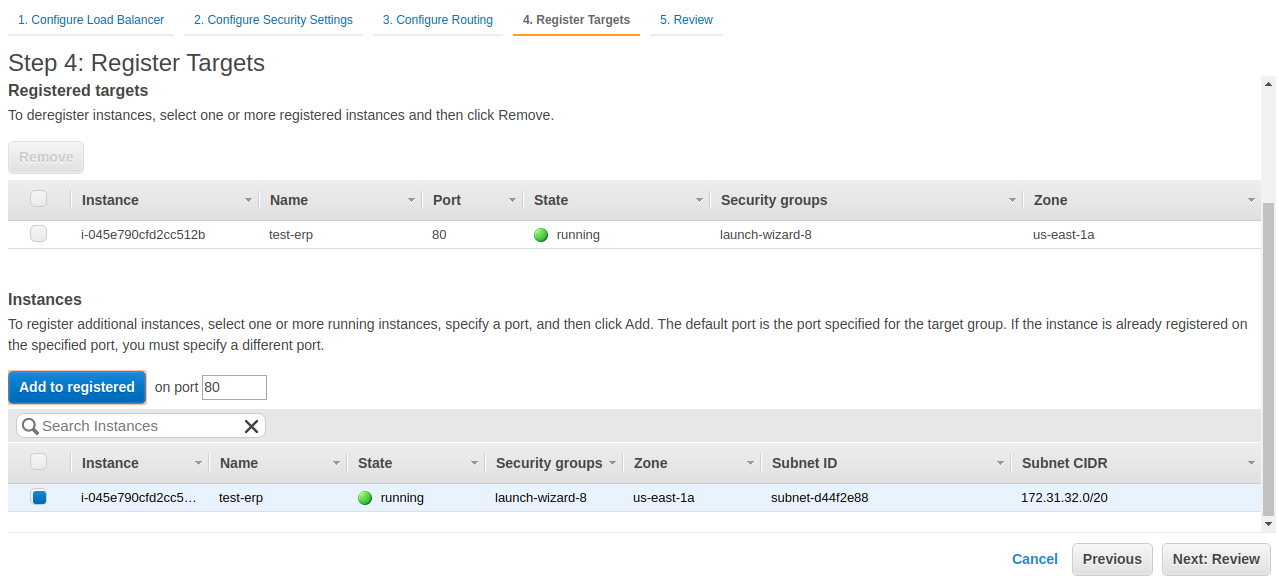
Register your instances with the target group and click on Next: Review your Load Balancer and then finally click on Create.
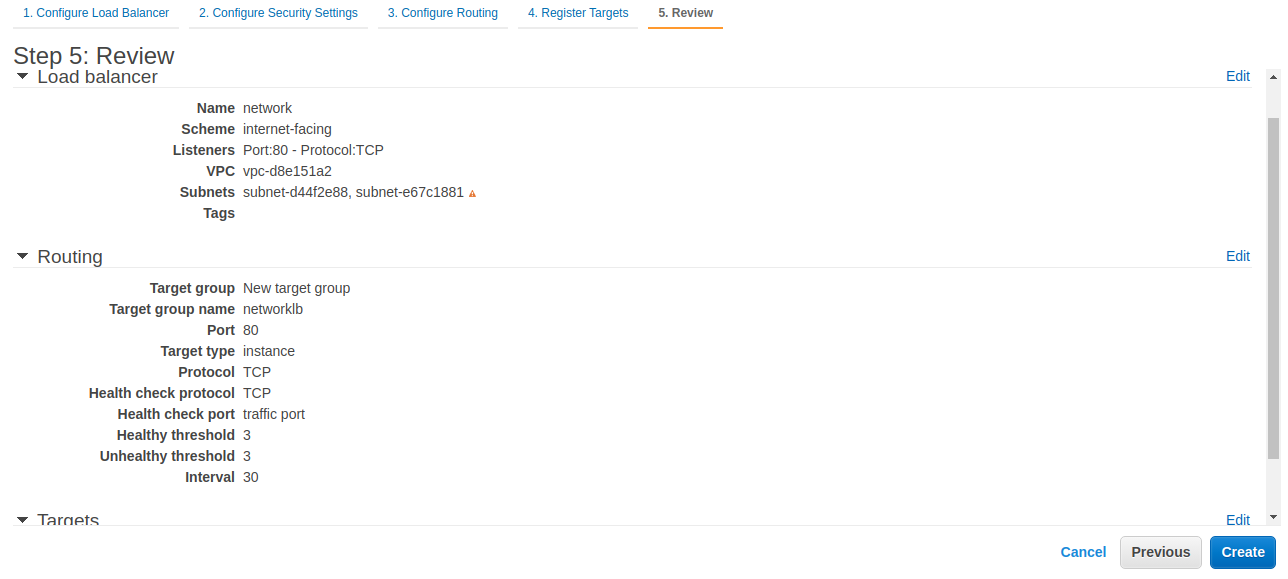
Step 10:
Click on Create, you’ll see that your Load Balancer is getting provisioned.
Now copy your Load Balancer’s DNS Name and paste it on a browser. The Apache web page will be displayed.
The traffic will be handled by this network load balancer and will be distributed accordingly on both EC2 instances.
In case of any help or query, please contact us or raise a ticket.

Be the first to comment.