Introduction
Meet Zaraz, the ultimate third-party tool manager designed to revolutionize your web experience.
In a digital world where speed, security, and privacy are paramount, Zaraz takes the lead by seamlessly moving third-party tools to the cloud, freeing them from your browser’s constraint.
Say goodbye to the hassle of altering your website’s code – with Zaraz, integrating analytics tools, advertising pixels, widgets, and other third-party essentials has never been more effortless.
In this blog, we will explore the ZARAZ and provide a step-by-step guide to configure it with Cloudflare using the tool Google Analytics, a widely used content delivery network (CDN) and DNS provider.
Why ZARAZ?
- Unlock the potential for lightning-fast website performance without the typical slowdowns caused by third-party tools.
- Elevate your developer experience with Zaraz’s user-friendly dashboard, enabling effortless incorporation of numerous third-party tools with minimal code adjustments.
- Shield your website from potential threats by limiting the attack surface. Compromised third-party scripts can serve as vulnerable entry points for malicious attackers.
Zaraz Architecture
The Zaraz architecture is distinctive for its heavy reliance on the Cloudflare Workers platform. But what exactly are Cloudflare Workers?
They serve as a platform designed to enable serverless functions to operate as close to the end user as possible.
These workers are first-party workers, meaning they are managed directly by Cloudflare itself. The foundation of Zaraz is the Cloudflare network, which powers Zaraz at its edge locations.
In simple terms, the serverless code is ‘cached’ on the network and executes when it receives the appropriate type of request.
Here’s how the Zaraz architecture functions:
When a user loads a page, the response includes the Zaraz HTML script inline within it. Subsequently, other Zaraz scripts are fetched, enabling an%MCEPASTEBIN%d triggering the web API.
This web API comprises three main methods:
- Zaraz Track: This method allows you to track events, such as signups or clicks on the page.
- Zaraz Set: It enables you to set user, page, or session properties, such as user IDs or session IDs.
- Zaraz E-commerce: This is a specialized API for tracking all e-commerce actions, ranging from product views to the cart addition process.
Configuring ZARAZ with Cloudflare
Step 1: Sign up for the Cloudflare Account
To get started, the first step is to sign up for a Cloudflare account. Once you have created your account, follow the provided instructions to verify your domain.
This verification step is essential to ensure that Zaraz can work seamlessly with your Cloudflare account.
Step 2: Set up Cloudflare’s Zaraz
Look for the “Zaraz” tab in the menu, and click on it to access the Zaraz settings.
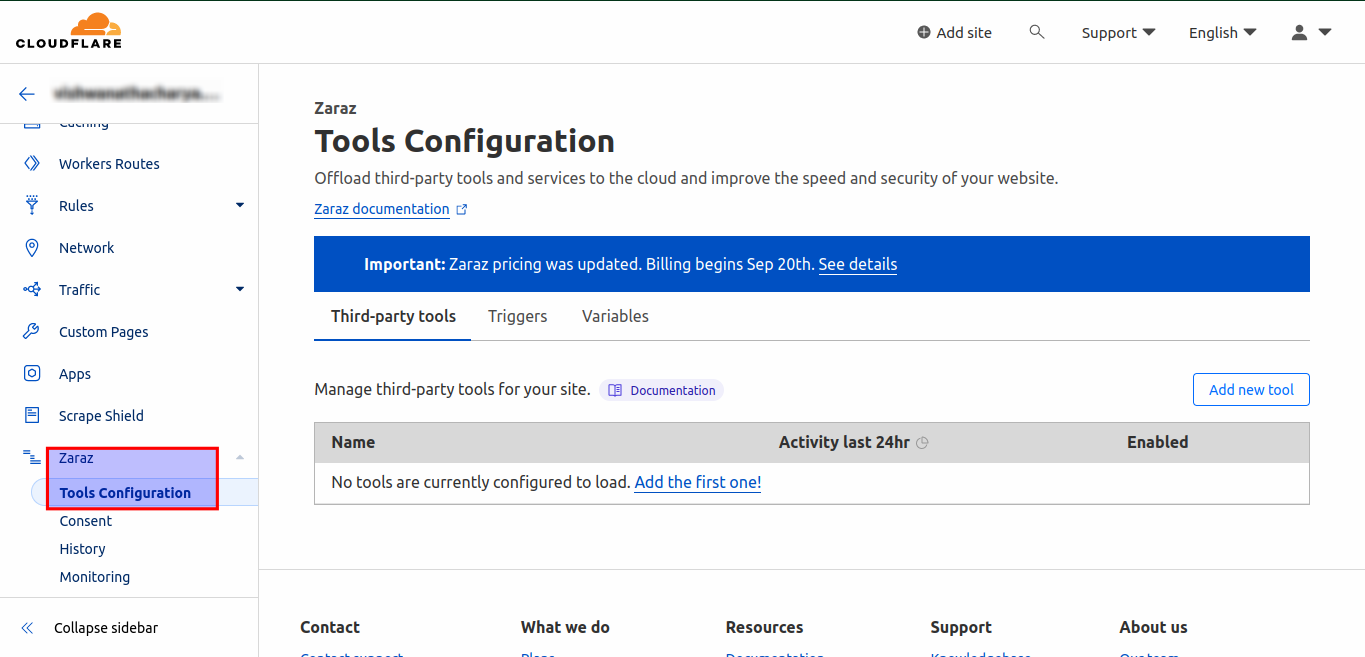
In the dashboard, you will find a variety of features and tools that you can enable to optimize your website.
Depending on your needs, select the specific features you require.
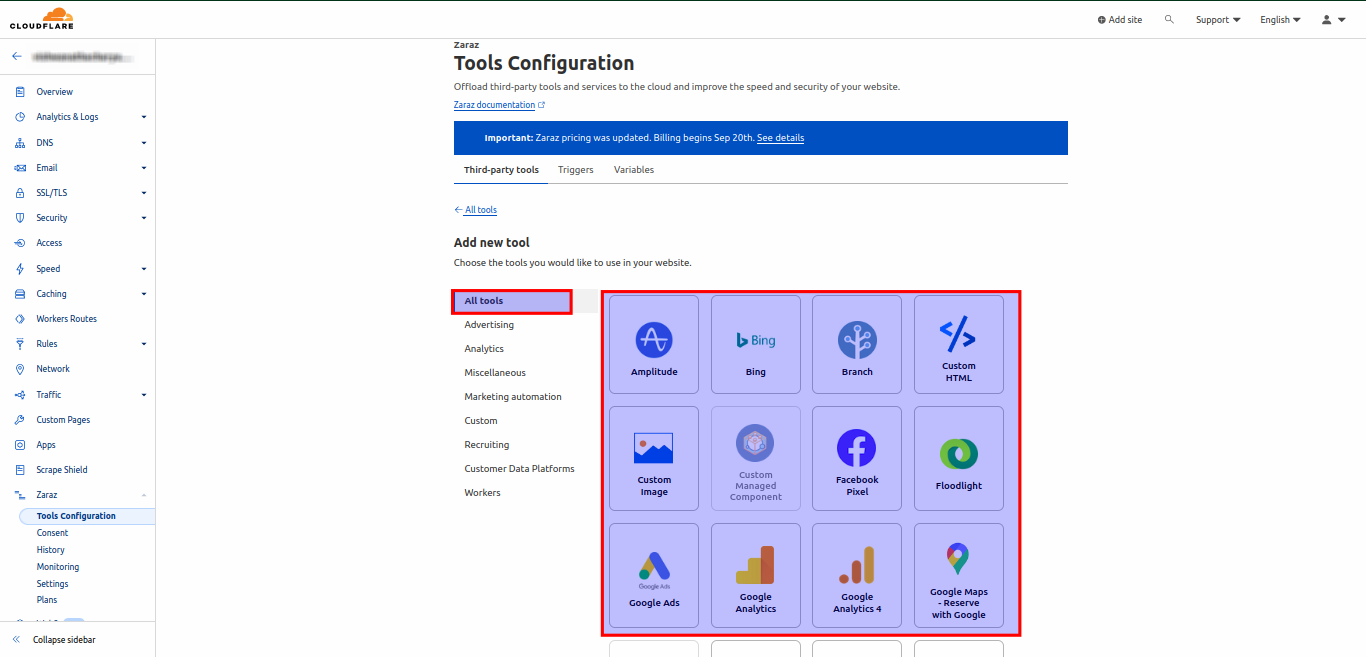
You can choose any of the tools mentioned above. Here I’m using Google Analytics to set up.

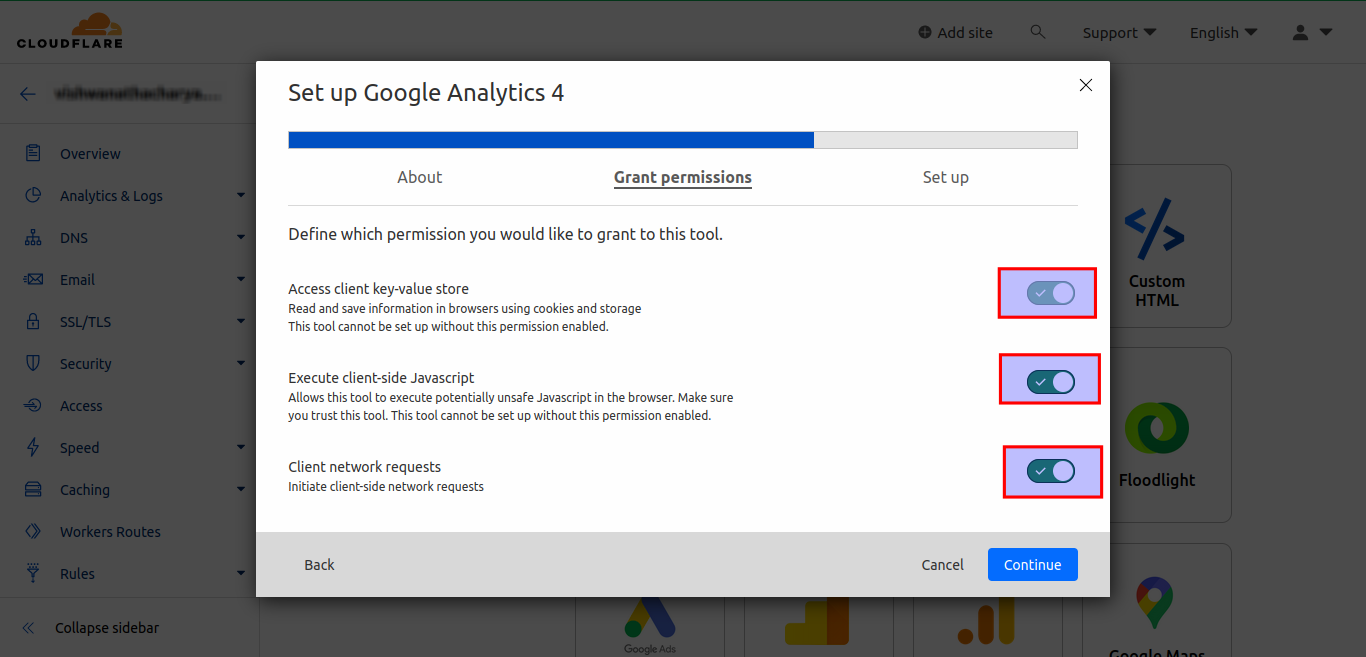
Grant required permissions to set up Google Analytics 4.
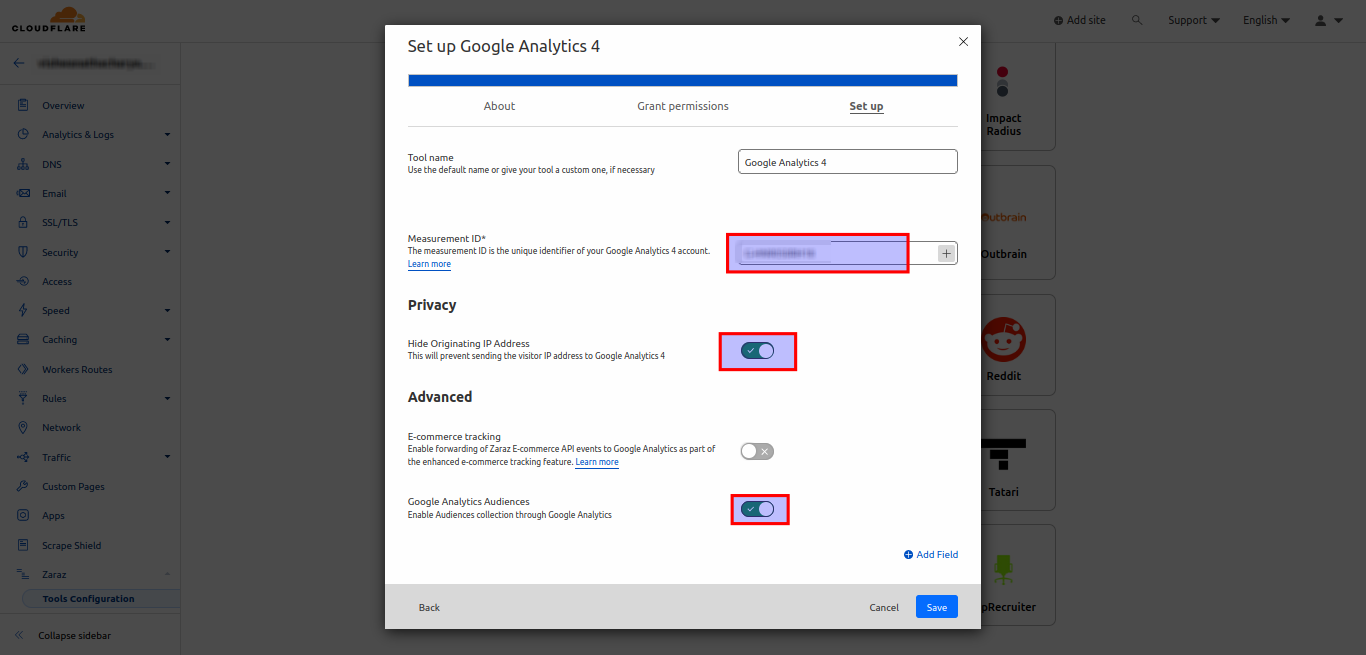
Now, the question is “How you will get the MeasurementID to fill in the above screenshot?”. To get this ID, please follow the below steps:
How to Add Google Analytics 4 to Cloudflare’s Zaraz?
Step 1: Log in to your Google Analytics Account
Click on the setting icon in the left navbar at the bottom then you will be redirected to the new page attached below.

Step 2: Create an Account
Click on the Create account button and enter the account name as required.

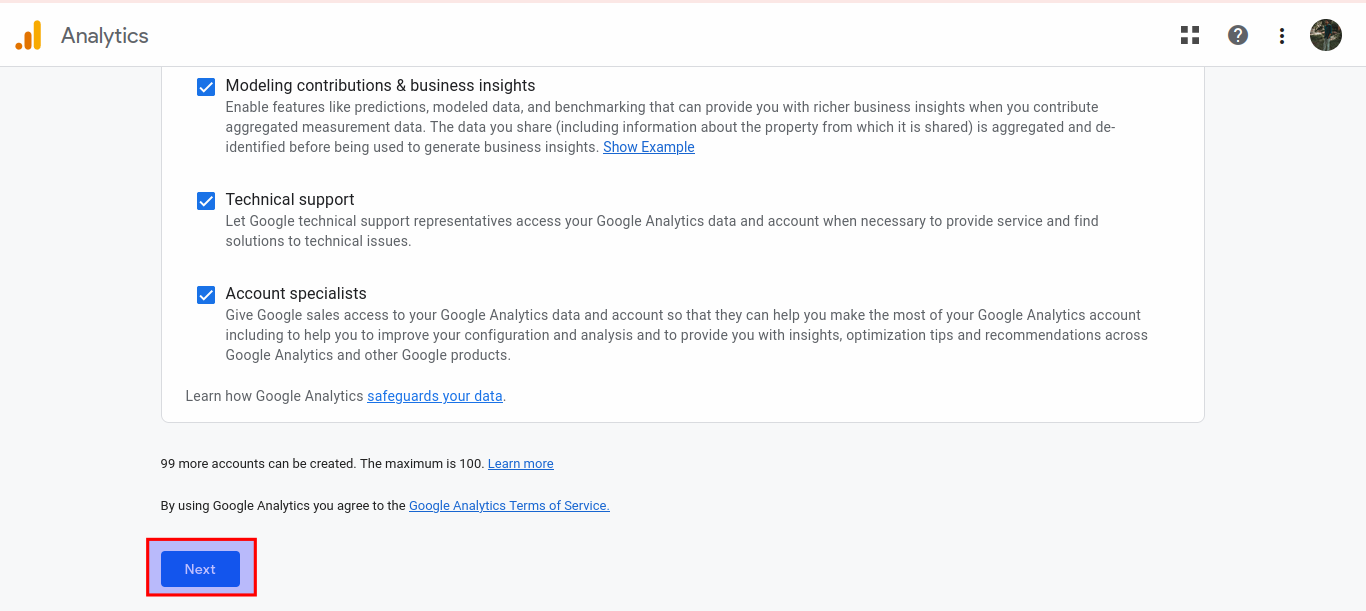
Step 3: Agree to terms and Conditions
Once the name is entered, check the boxes and click on the next button.
Step 4: Add property Details
Change the time and currency according to your requirements and click on the next button.

Step 5: Add the domain name
Now you have to enter your domain name and then click on the next button.

Then define your business industry and size like – Small scale, medium, large, or Very large-scale business, and proceed accordingly.

Step 6: Choose your Business Objective
Check in the boxes to choose your Business Objective for the reports that are personalized to your business.
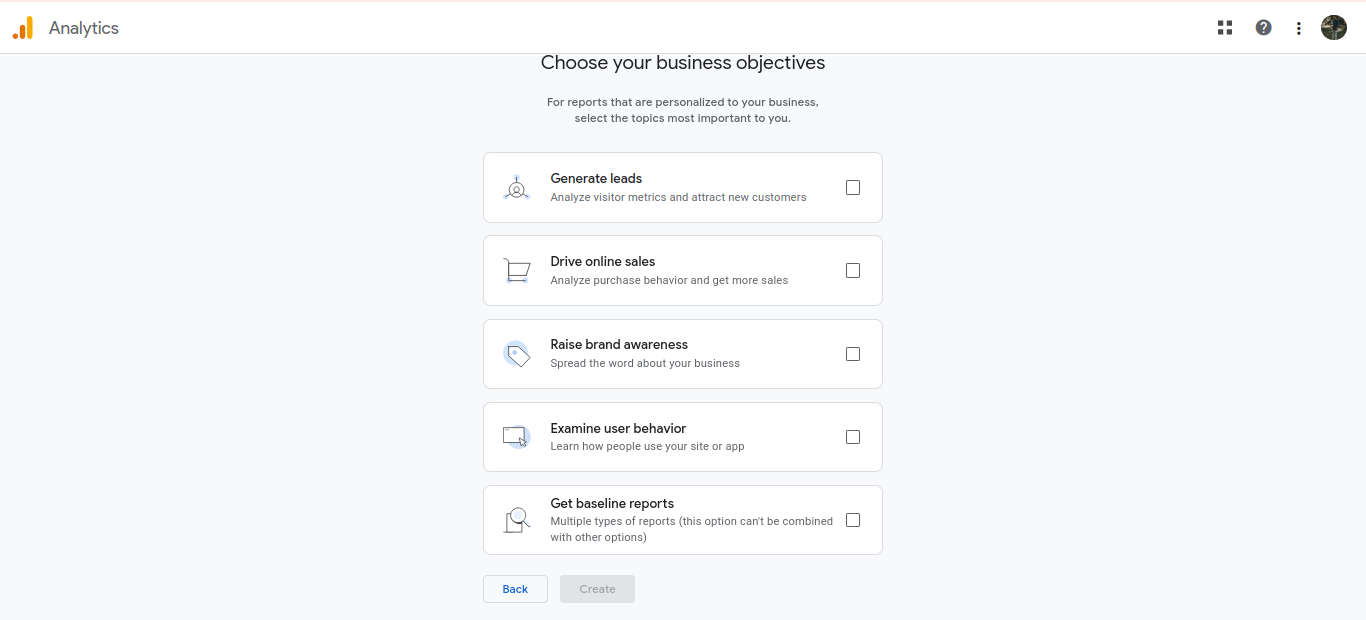
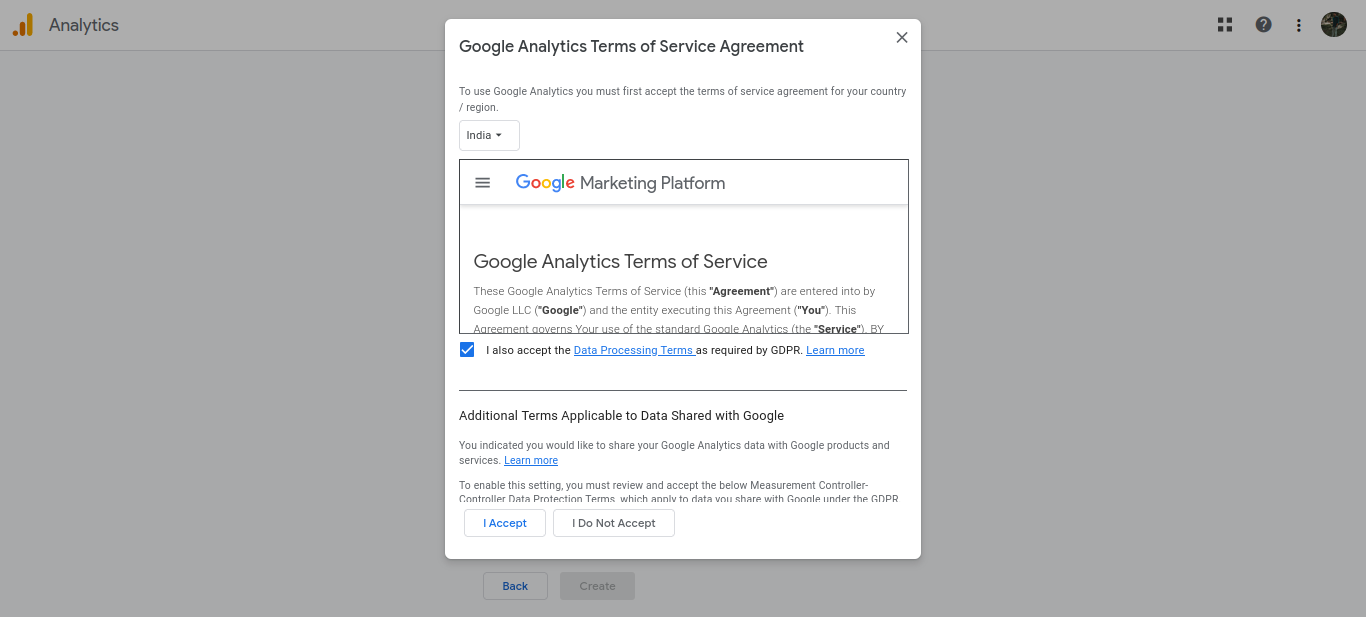
Then click on the Create button and then accept the policy in the next step and proceed accordingly.
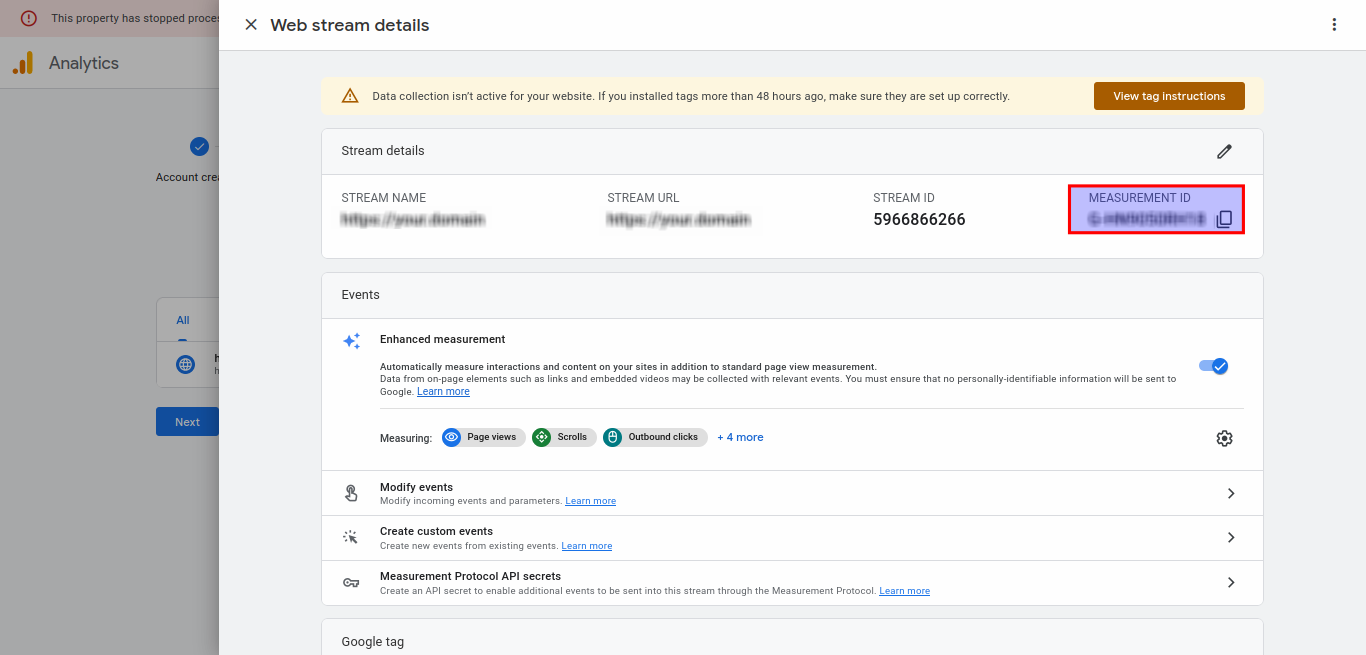
Step 7: Get the MeasurementID
Once done with all the above steps, accept the policy and you will see the attached screenshot in which measurement-id is mentioned to be used in the configuration.
To know about its pricing, you can refer to Cloudflare Zaraz Pricing.
Conclusion
ZARAZ, combined with the power of Cloudflare, provides a robust solution to optimize website performance and deliver a seamless user experience.
By following this guide, you can leverage the benefits of ZARAZ and Cloudflare to enhance your website’s speed, improve rankings, and ultimately provide a better online experience for your visitors.
Embrace these cutting-edge technologies to stay ahead in the competitive digital landscape.
Need Support?
Thank You for reading this Blog!
For further more interesting blogs, keep in touch with us. If you need any kind of support, simply raise a ticket at https://webkul.uvdesk.com/en/.
You may also visit our Odoo development services and quality Odoo Extensions.
For further help or queries, please contact us or raise a ticket.

Be the first to comment.