Introduction
Amazon S3 Extension for Magento 2 allows the users to store the static files and media content to be uploaded on the Amazon S3 bucket and get them retrieved directly from the S3 bucket.
This module uses Amazon S3 for file storage and CloudFront for content delivery. As a result, due to the elimination of unnecessary pauses, the site or page will load faster and cater to huge traffic.
Amazon S3 (Simple Storage Service)
It is a cloud storage service offered by AWS (Amazon Web Services).
Using the module, the store admin can upload downloadable products, media files, product content, and images of all product types from their local disk to the Amazon S3 server.
Note:
- A customer must have an Amazon AWS account to access the Amazon S3 services.
Features
- Support all Magento 2 product types.
- All media files of all types of products (like product images, media in the product description, short description, editing images, etc) are stored and retrieved from the Amazon Simple Storage Service (Amazon S3) bucket.
- Flexible settings to configure the module settings.
- Set the server(Local/Amazon) on which the file should be uploaded.
- Store and download the files from Amazon S3 Server.
- Check the bucket availability in just a click.
- The CloudFront feature is also available.
- Customers can download the files from the Amazon Server irrespective of time and place.
- Also, the extension is fully open-source and easy to use.
- Now cache images are served from Amazon S3 Server and CloudFront as well.
- One can save Static files on the Amazon S3 server.
Installation
Unzip the respective extension zip and then merge the “packages” folders into the project root directory.
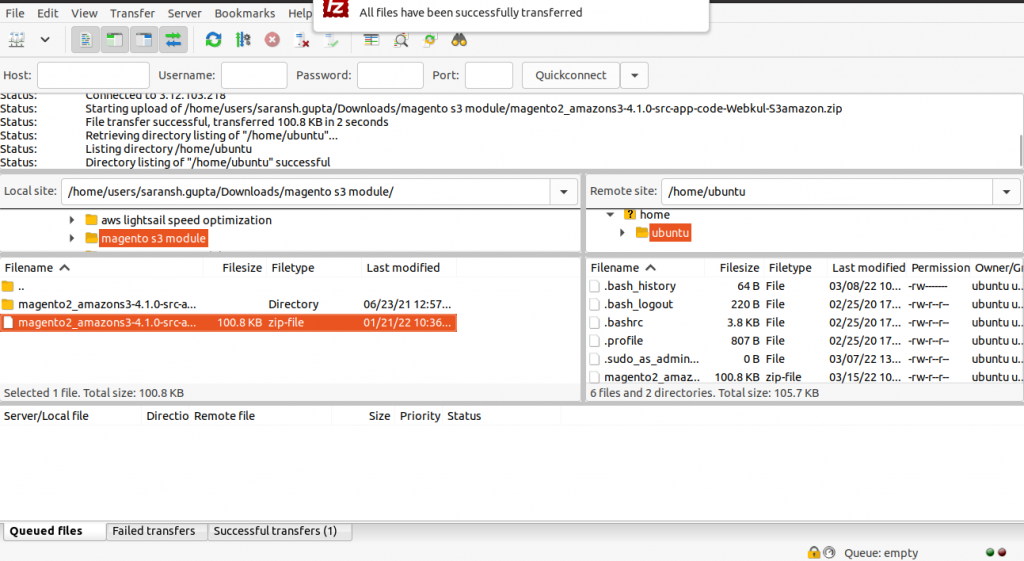
To complete the setup, run the commands mentioned below:
php bin/magento setup:upgrade
composer require aws/aws-sdk-php
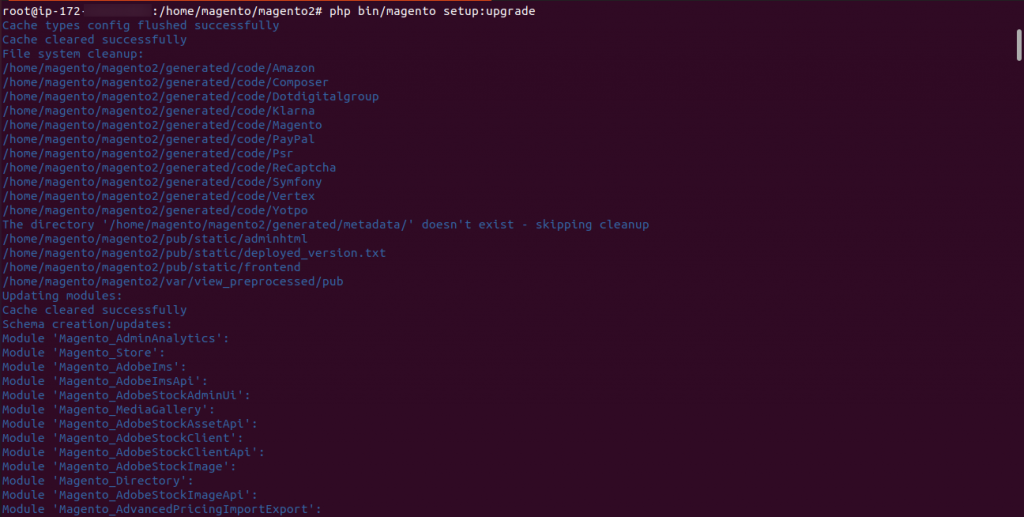
php bin/magento setup:di:compile

php bin/magento setup:static-content:deploy -f

In Addition, Give permissions to the Magento directory by Enabling Requisite Commands.
sudo chmod -R 755 /home/magento/magento2
sudo chown -R magento:magento /home/magento/magento2
Additionally, after running the aforementioned commands, browse to ->System->Cache management in the Magento admin panel to flush the cache.
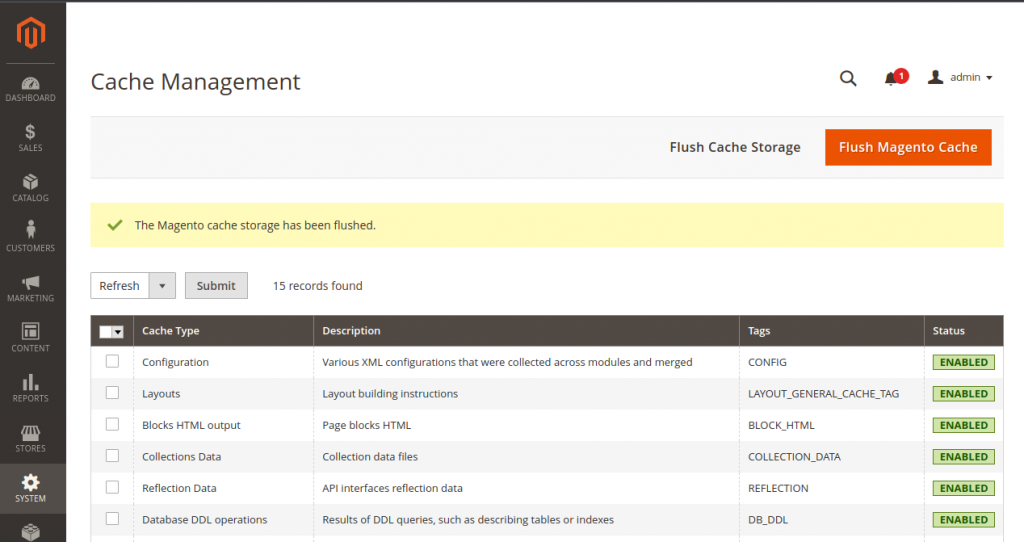
That’s it, now just execute the project on your specified domain.
Setting Up Amazon S3 Server Credentials
(i) To start with, create a new AWS account by using Sign-up.
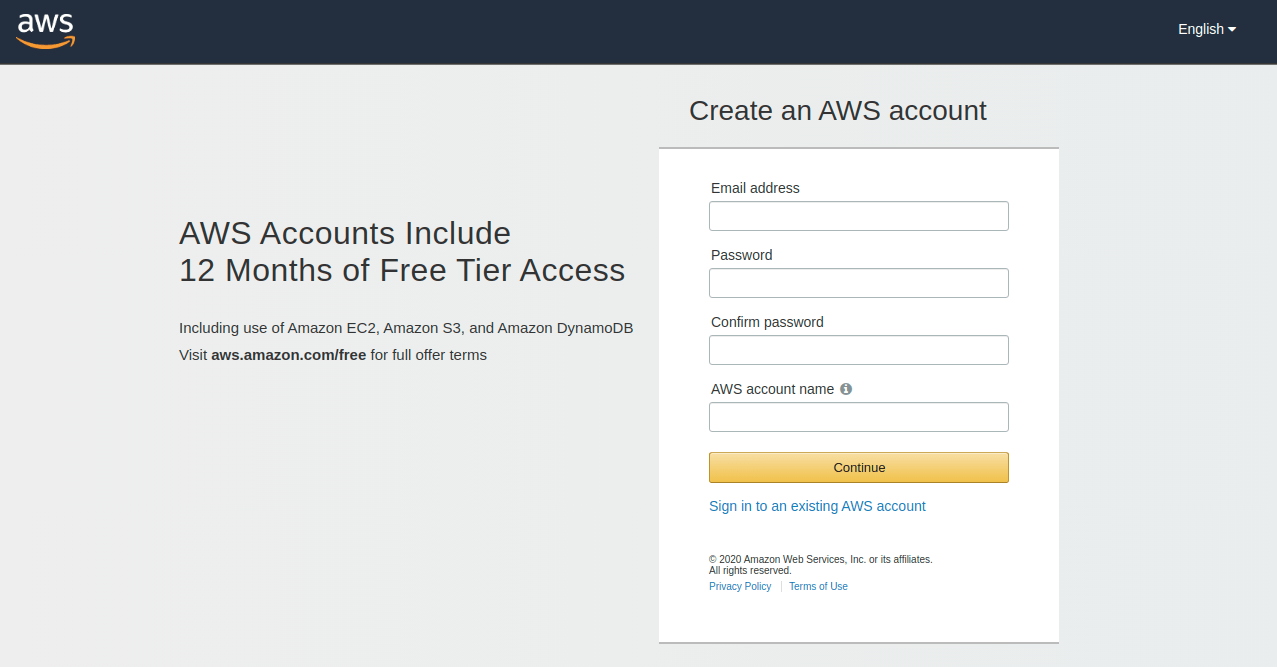
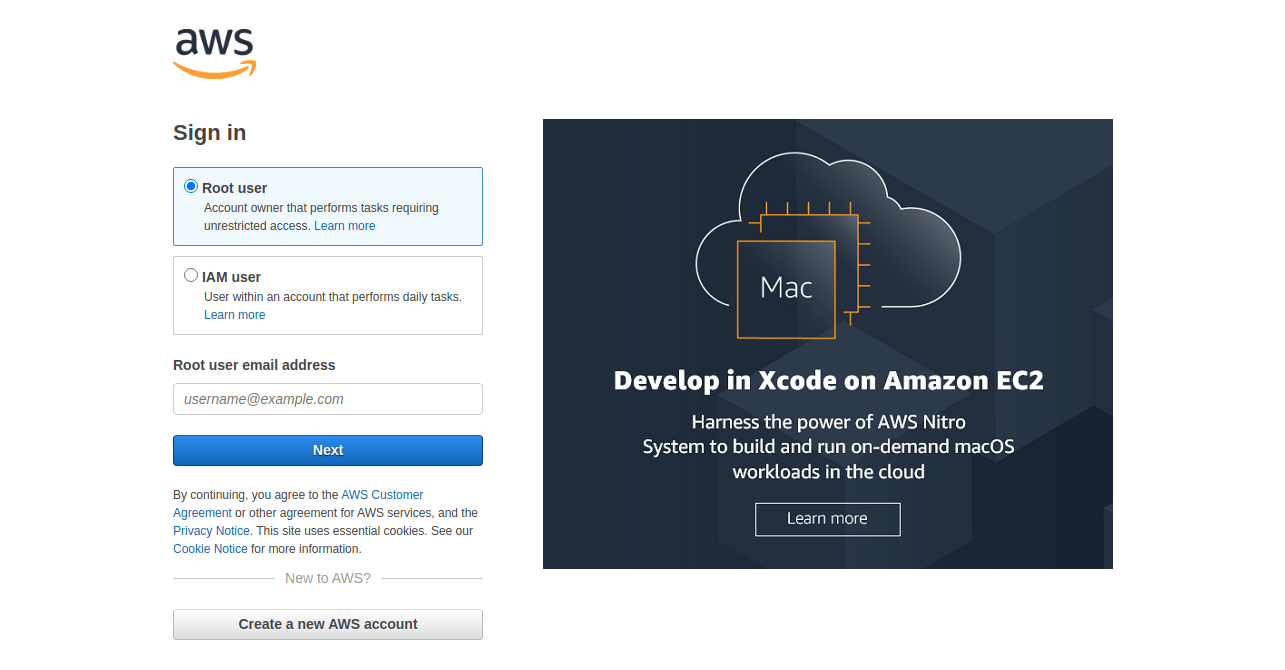
(ii) And then log in to your AWS account by signing in.
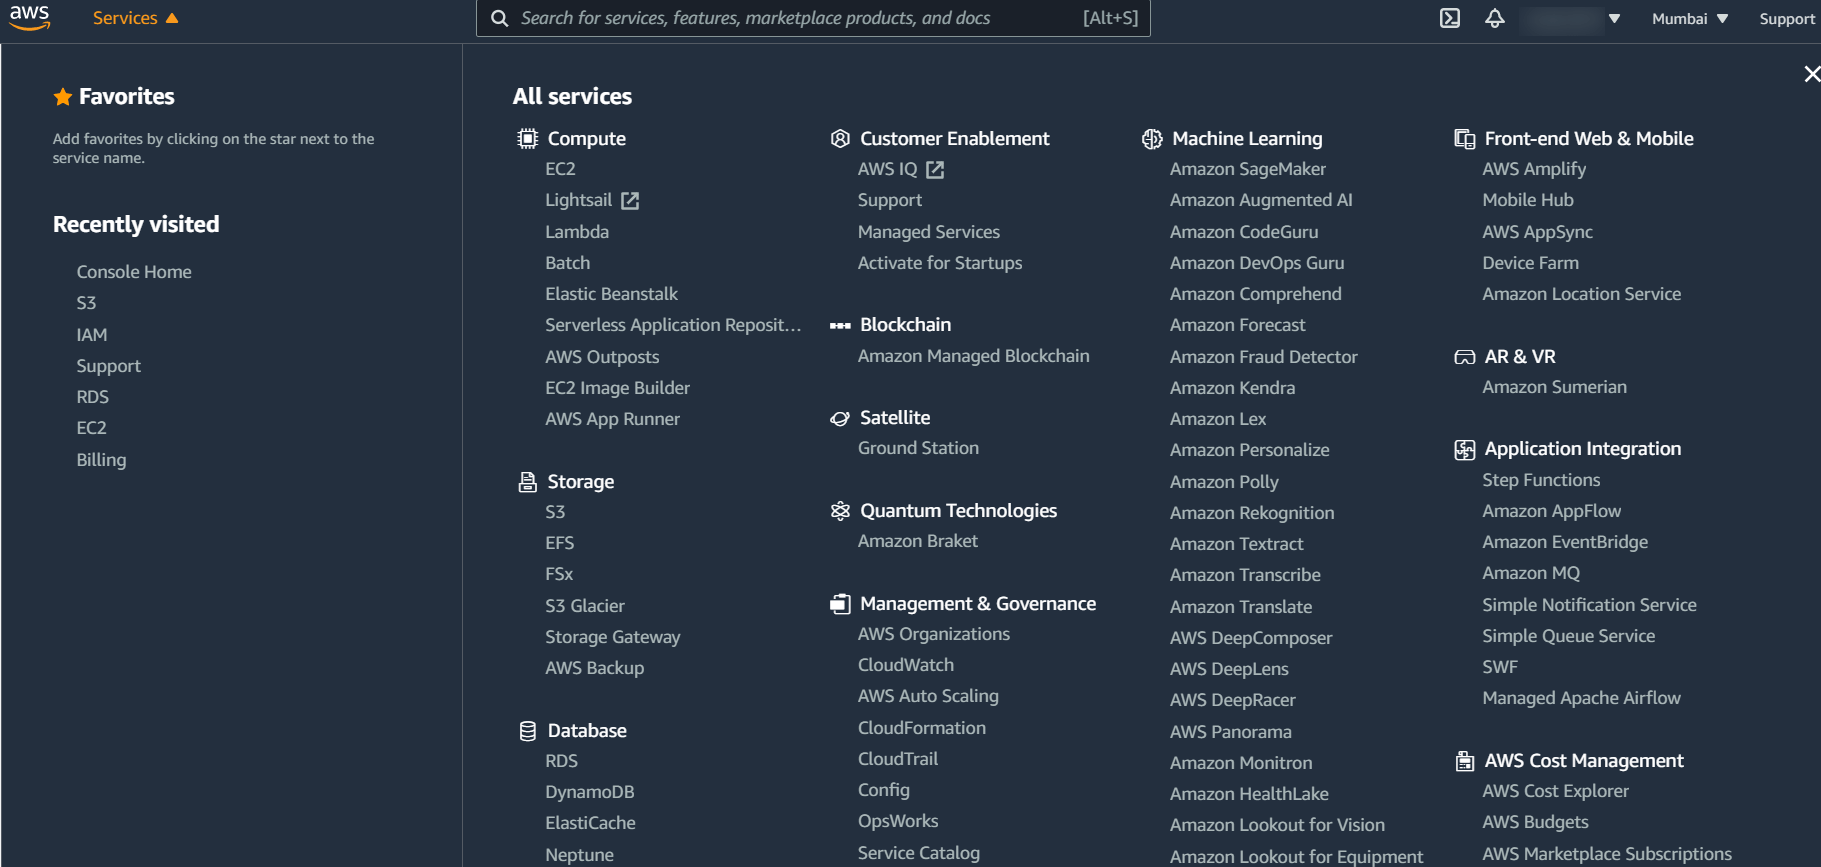
(iii) After your account has been successfully created, select the S3 among the available AWS services or you can search for an S3 service in the search box.
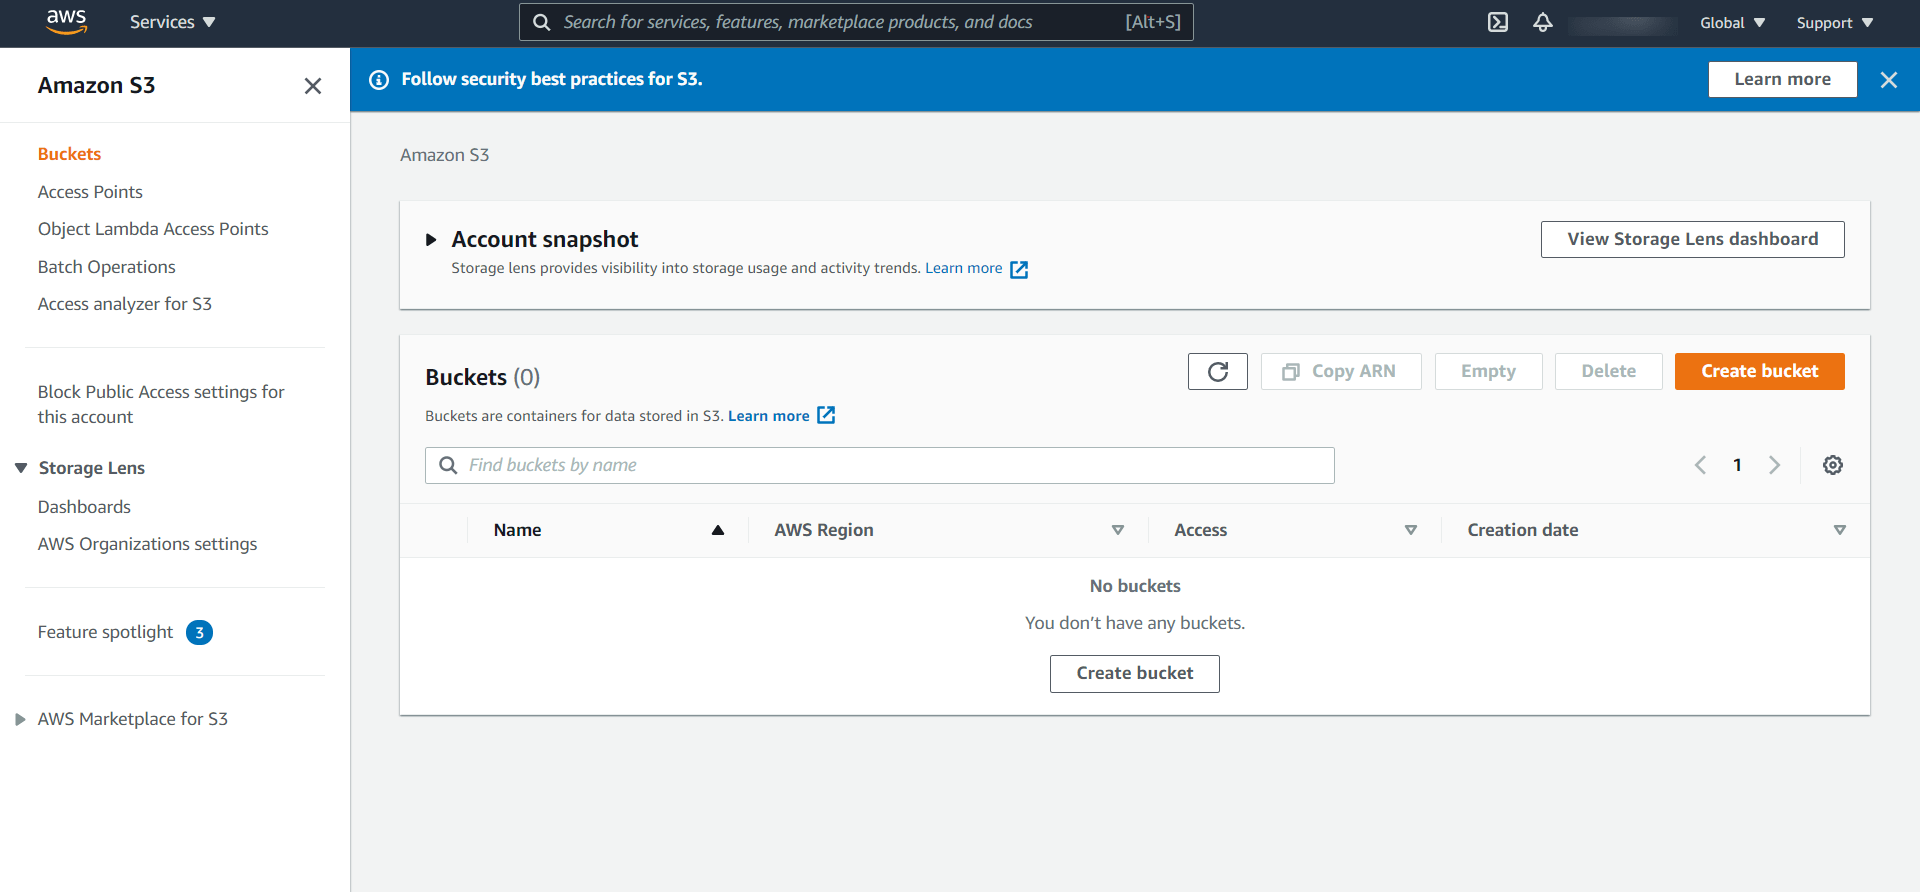
(iv) This will take you to a page where you can view your created buckets or create a new bucket. To create a new bucket, choose to create a bucket from the drop-down menu.
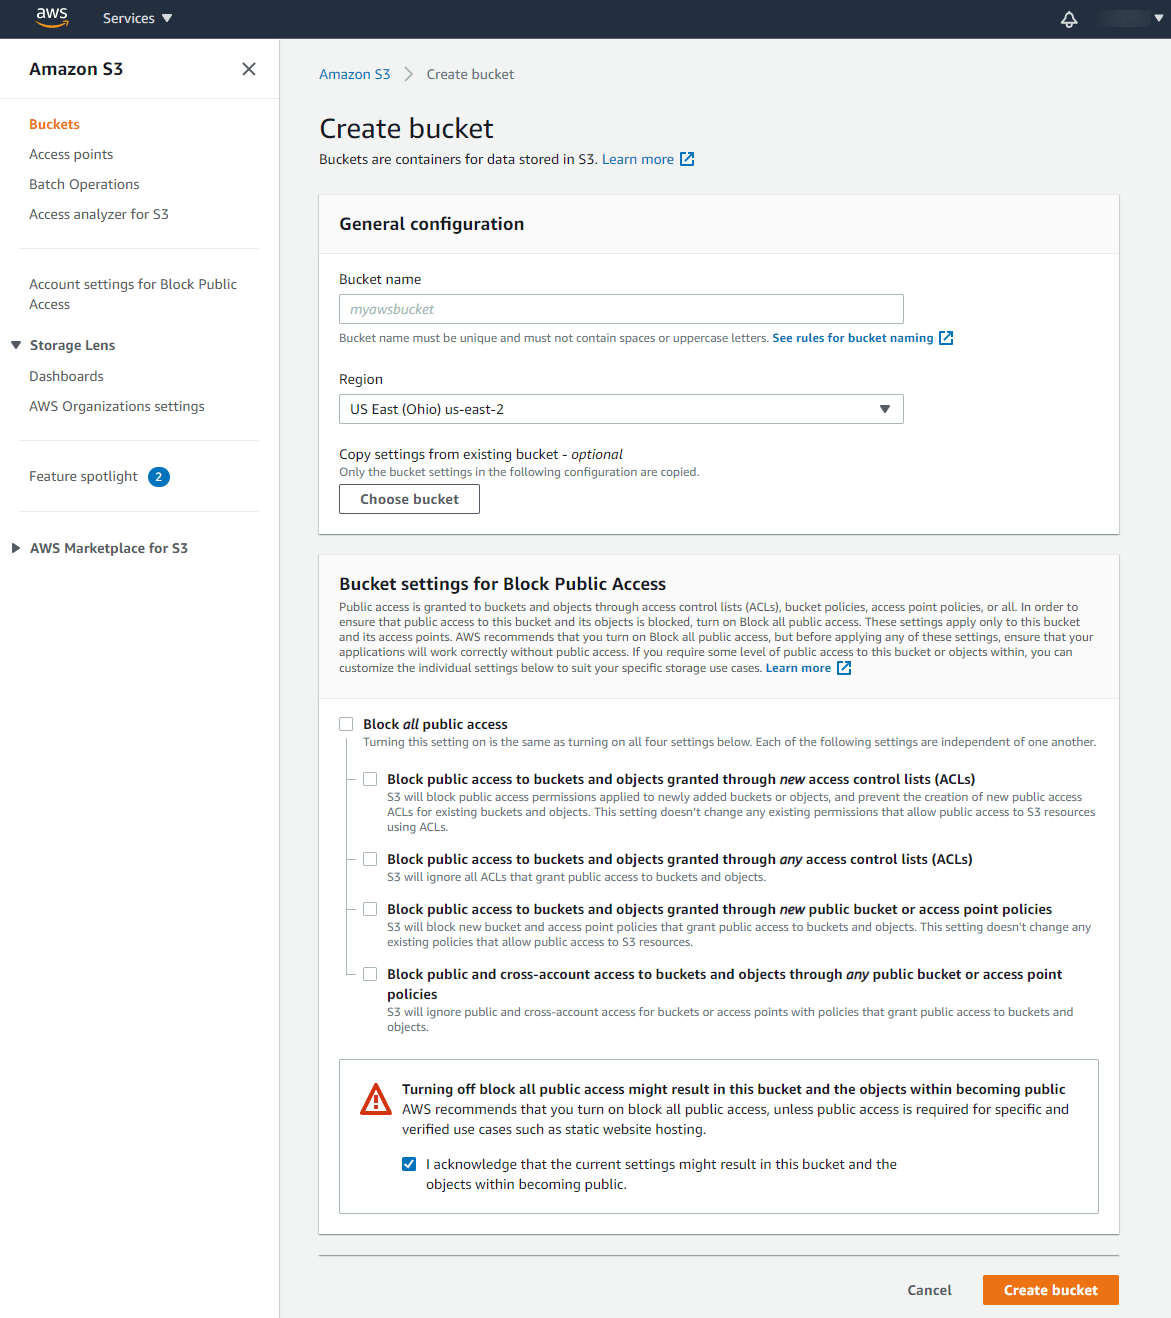
(v) After pressing the Create bucket button, you’ll be taken to the Create bucket tab, where you’ll need to fill in all of the necessary information to create a new bucket.
Then, at the bottom, press Create bucket.
Note:- Make sure to uncheck the “Block all public access”.
(vi) Here you can upload the files and create a folder to save the data. Also, you can view the saved data.

(vii) Click IAM under Security, Identity & Compliance to create an access key ID and a secret access key.

(viii) Click Users in the IAM dashboard to view and delete existing users, as well as add a new one.
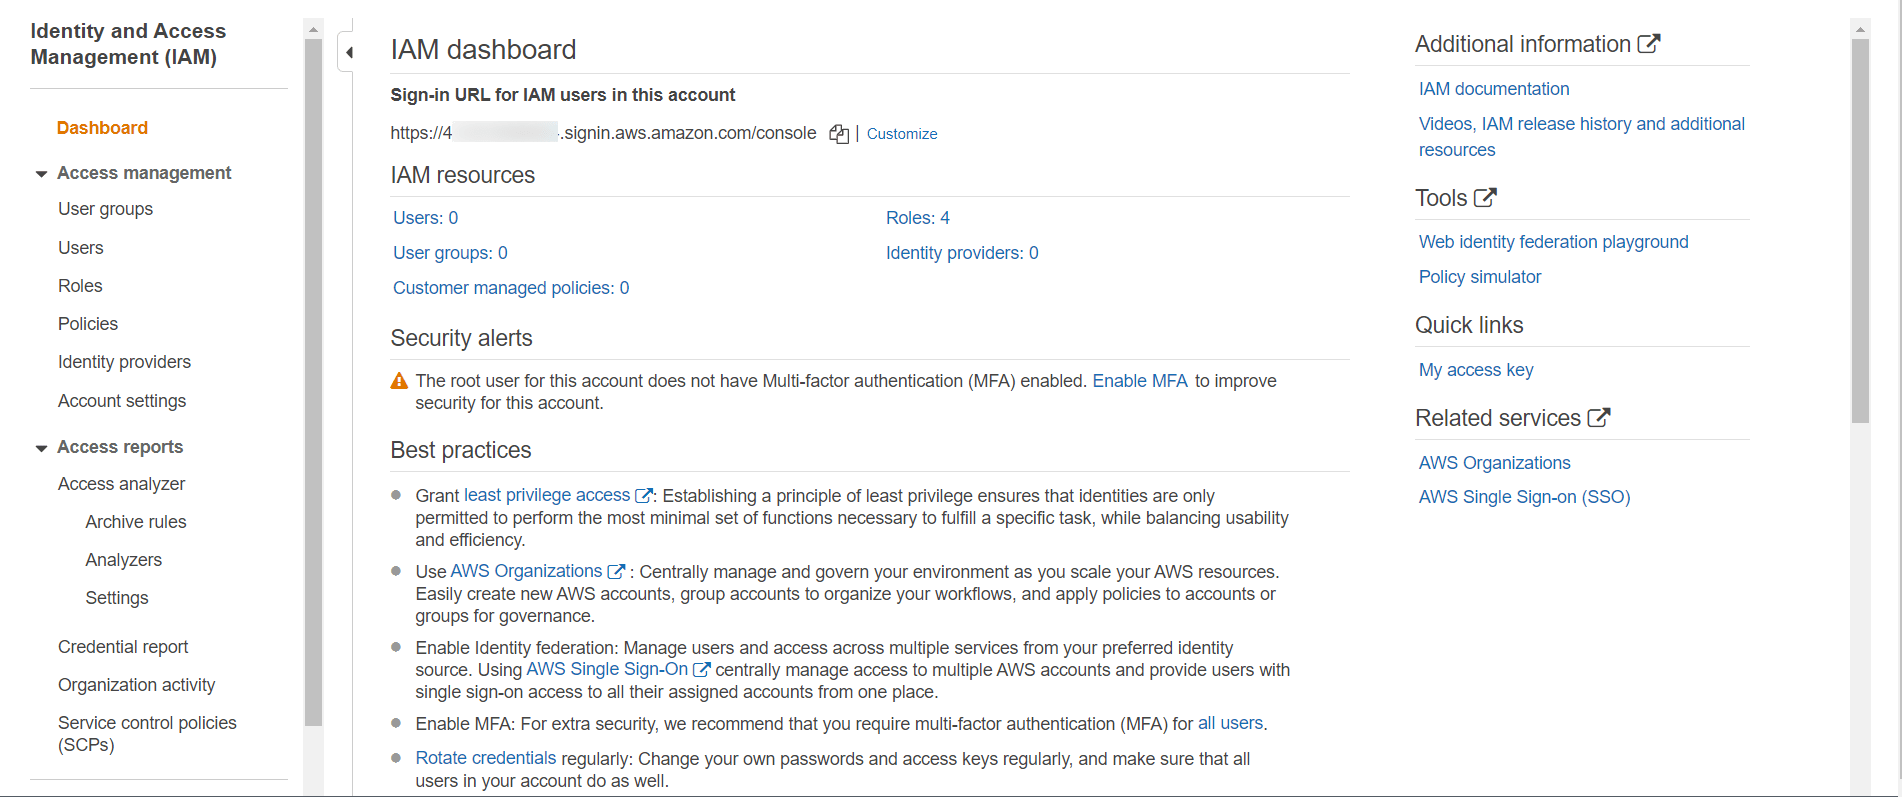
- After that, you’ll be taken to a new page with Add and Delete users options.

- Enter your IAM Username.
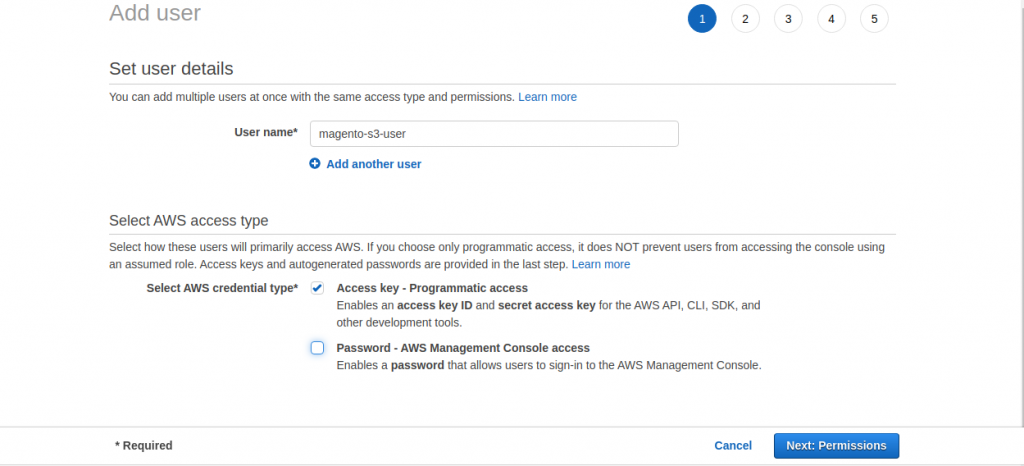
- Click on the next and then attach existing policies directly.
- After that, search for Amazon S3 Full Access, and AmazonS3OutpostsFullAccess, check the box.
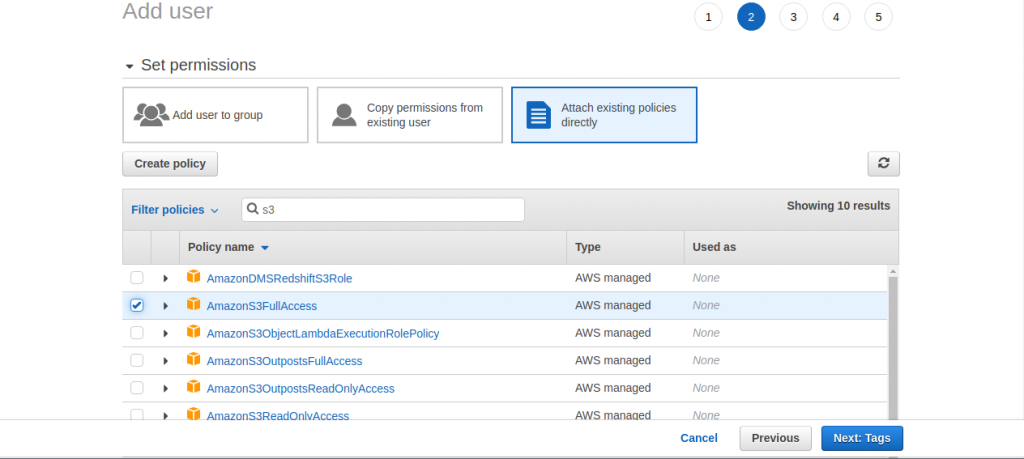

- Press two times next, and then click Create User.
- You’ll see a success message page with your security credentials for the newly developed user.

Note:
- Please be ensure that you have Amazon S3 Full Access to allow Read and Write access to an object in an S3 bucket and additional permissions for console access.
Amazon S3 Extension Configuration
The admin can customize the module settings after installing the extension by going to Stores > Configuration > Amazon S3 as seen below:
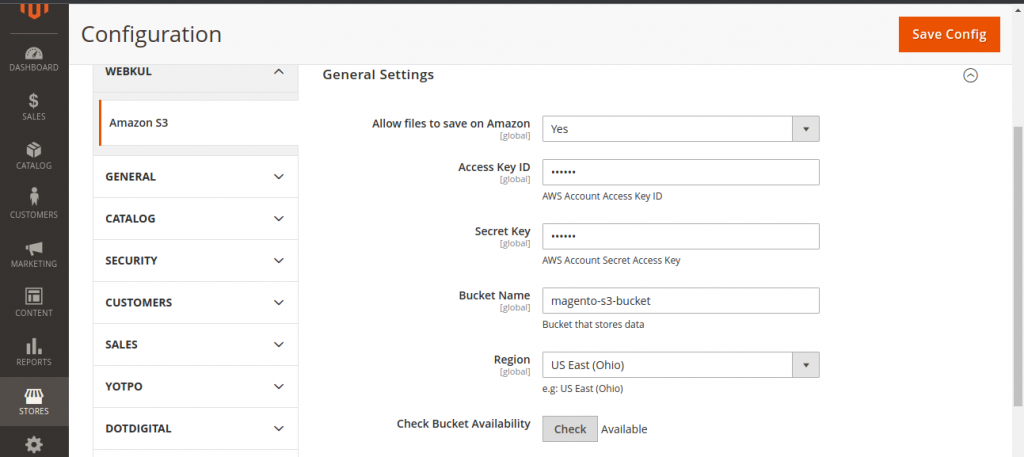
Open the Magento Admin Panel and fill in the following information.
- Allow files to save on Amazon: If you wish to save the file on the Amazon server, Click the icon; otherwise, leave it blank.
- Access Key ID: Enter the access key that you’ll get after creating an IAM User.
- Secret Key: Enter the secret key that you will receive after the creation of the IAM User.
- Bucket Name: Insert the name of the Amazon bucket you have created in the S3 account.
- Region: Select the bucket’s region that you specified when you created the bucket in your S3 account.
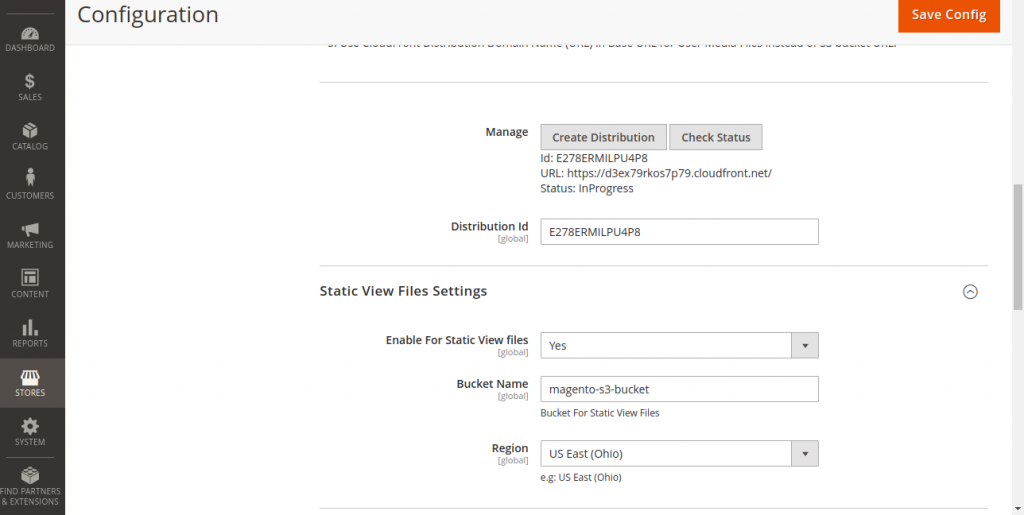
Check the availability of the bucket and then click Create Distribution.
Create Distribution: To create an AWS CloudFront Distribution ID, click the Create Distribution option.
Check Status: To get the Domain Name (URL) and Distribution Status, click the Check Status button.
Distribution Id: After saving the configuration, the distribution ID will appear.
The Static View File Settings part of the admin settings requires the admin to configure fields like Enable for Static View Files, Bucket Name, Region, and Cache-Control, as seen in the image above.
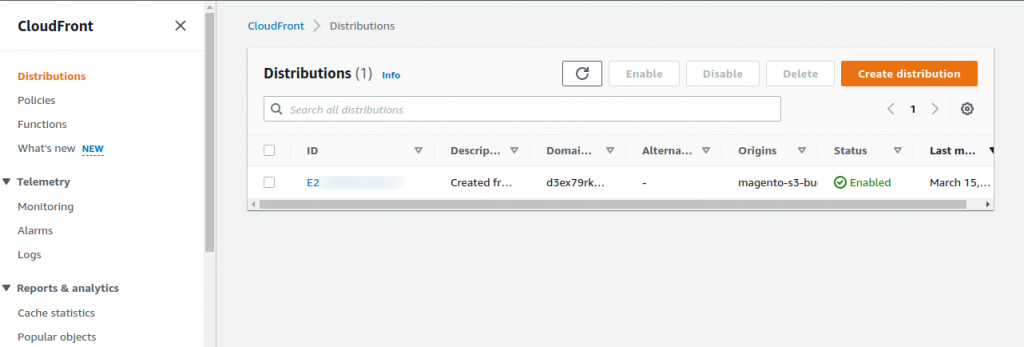
You can check the created distribution ID in your AWS account or create a new one as shown below:
Under the configuration option, navigate to Advanced> System>storage configuration media. For setting up the Media Storage Configuration.
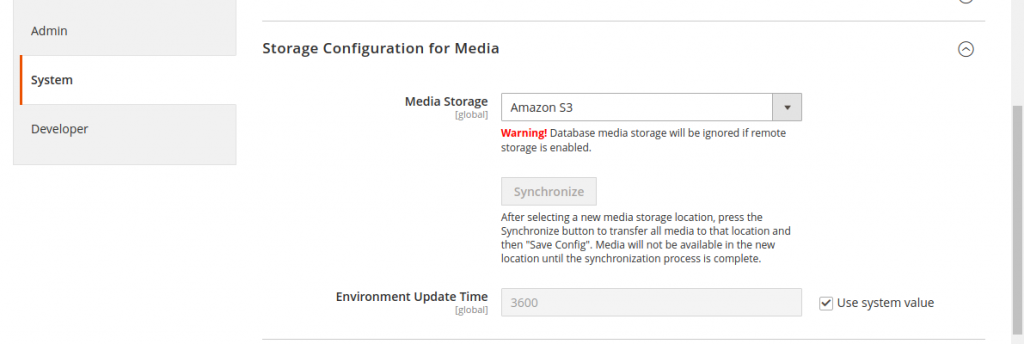
Now, click the Synchronize button and wait a few seconds to see whether the synchronization was successful. And then “Save Config“.
To configure the Base URLs settings, go to the web sub-menu option under the general setting option.
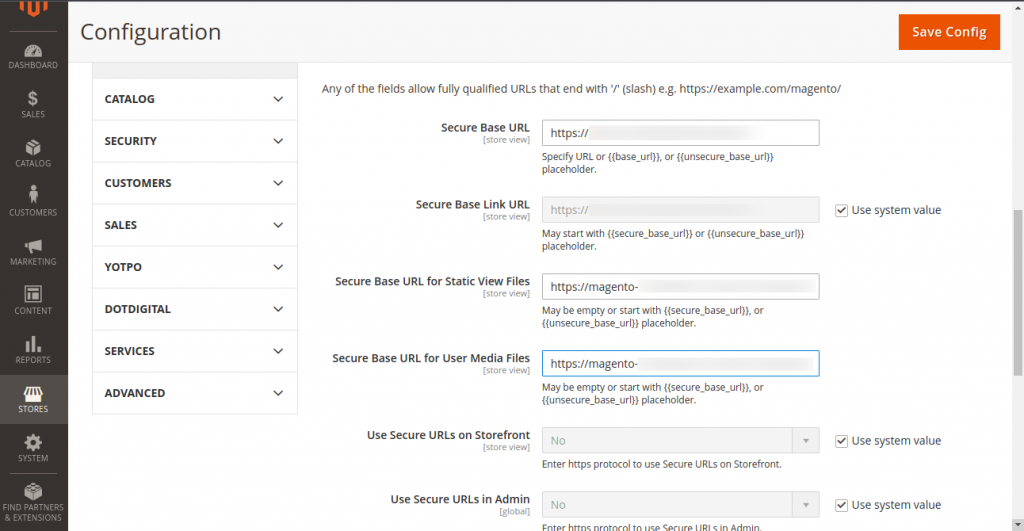
Furthermore, once the CloudFront configuration is complete, you’ll need to replace the bucket URL with the CloudFront URL to serve files from CloudFront.
The content is now served from the S3 bucket. So, this is all for the Amazon S3 extension module of Magento.
Thanks For Reading!
At last, we hope it works for you! And during this blog, you have found something valuable.
Keep in touch!!
In case of any help or query, please contact us or raise a ticket.


Be the first to comment.