We learned how to install Magento 2.4.6 on Ubuntu and macOS in our previous blogs. Now, in this blog, we’ll switch to Learn Magento 2.4.6 Installation on Windows.
Installation Requirements For Magento 2.4.6:
Operating systems
- Distributions of Linux, including RedHat Enterprise Linux (RHEL), CentOS, Ubuntu, Debian, macOS, and Windows.
Memory requirement
- Magento2 requires 4 GB or higher RAM.
Composer
- Composer 2.x will be supported by Magento.
Web servers
- Apache 2.4
Database
- MySQL 8.0
- MariaDB 10.4
PHP
Magento 2.4.6 supports PHP 8.2
Elasticsearch
- As of 2.4.6 Magento, MySQL is no longer available for search purposes. You’re supposed to use Elasticsearch.
- Elasticsearch 2.x, 5.x, and 6.x are no longer supported by Magento.
To get detailed information about system requirements, just visit the mentioned link: https://experienceleague.adobe.com/docs/commerce-operations/installation-guide/system-requirements.html?lang=en
What We’re Going To Use:
- OS: Windows 10
- SERVER: Apache 2
- RAM: 4 GB
- PHP: 8.2
- MariaDB: 10.4
- Composer: 2.6.3
- Elasticsearch: 7.17.0
Magento 2.4.6 Installation On Windows
So let’s move to the installation part.
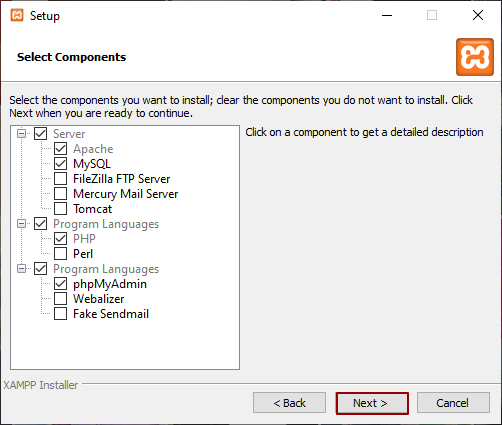
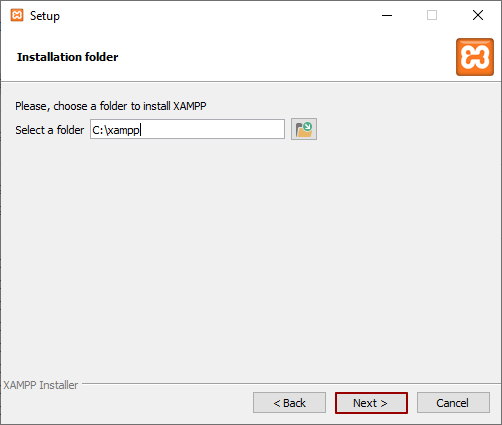
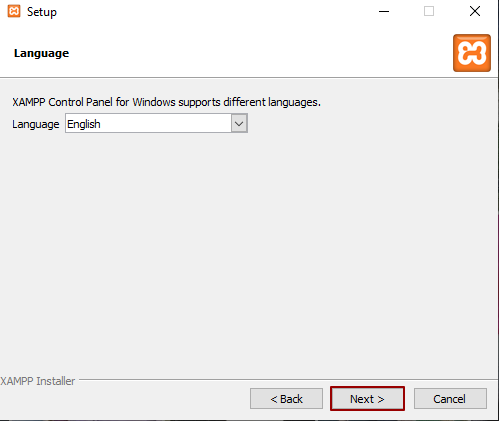
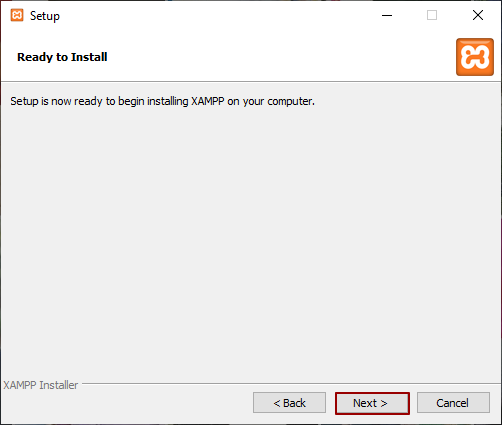
STEP 1: Download and Configure the XAMPP Web server.
Firstly, download the XAMPP Web Server version 8.2.4 to set up the environment for Magento2 Community Edition. After that, tap “Next” in every setup window and Install the XAMPP Web Server.


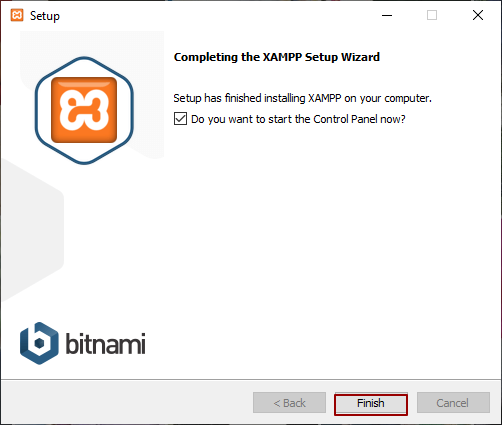
After successful installation, run your XAMPP Web Environment and Launch Apache and MySQL Services.
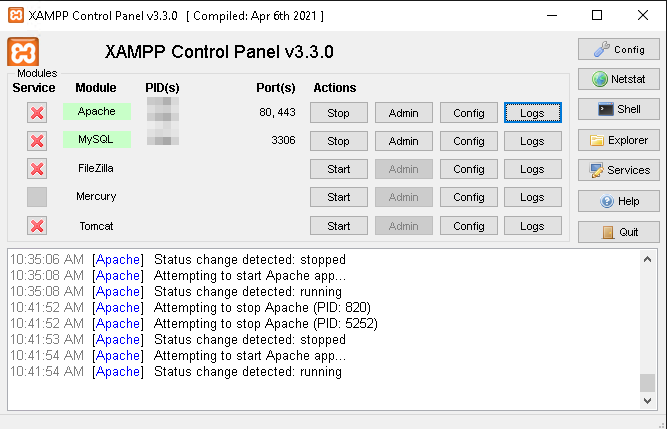
Before proceeding further, you need to allow the requisite PHP extensions. So, just tap the apache “config” button and select the php.ini configuration file.
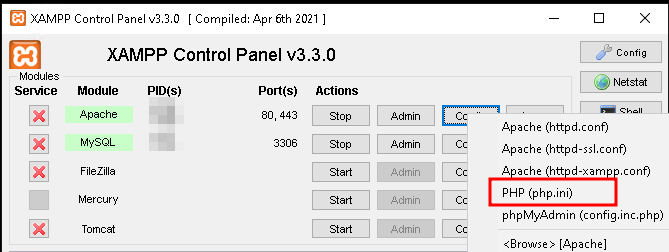
Enable “intl“, “xsl“, “soap“, “gd”, “sodium”, “zip”, and “sockets” extensions in the configuration file by searching for the extensions by pressing ‘ctrl+f’ as shown in the below images. Then remove the semicolon to uncomment it before the line.


Now Save and close the file at last. Stop and restart the Apache.
Note: By default, the rest of the PHP extensions are enabled. If it’s not then you can enable it now or even later by following the above way. In case, if you get any error defining the necessity of any other PHP extension.
Configure php settings
In php.ini file, search and change the following values as
below
max_execution_time=18000
max_input_time=1800
memory_limit=2G
Now Save and close the file at last. Stop and restart the Apache.
STEP 2: Download Magento 2 By Using The Composer.
Upon completion, download the Magento 2 Community Edition zip file from the mentioned link: https://github.com/magento/magento2/releases
Extract the Zip file in the htdocs folder of the XAMPP installation directory after it has been downloaded. To do that, right-click the Magento2 zip file, select extract files, and then select the htdocs destination path and press OK.
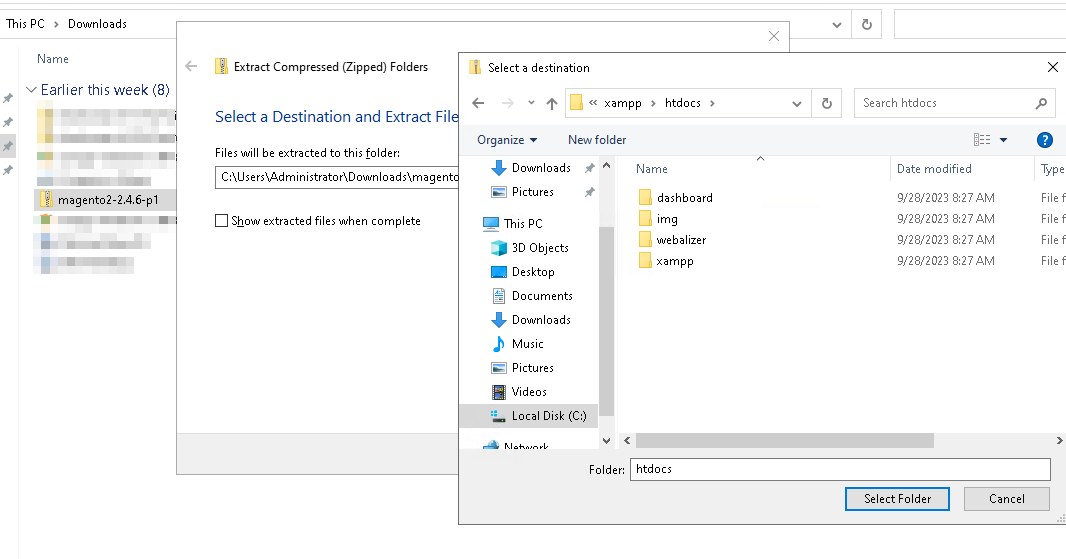
Now go to the folder htdocs and find the extracted Magento folder. Rename this folder to Magento2.
STEP 3: Open the “Gd2.php” file located as per the following path:
magento2\lib\internal\magento\framework\image\adaptor\Gd2.php
find the below lines;
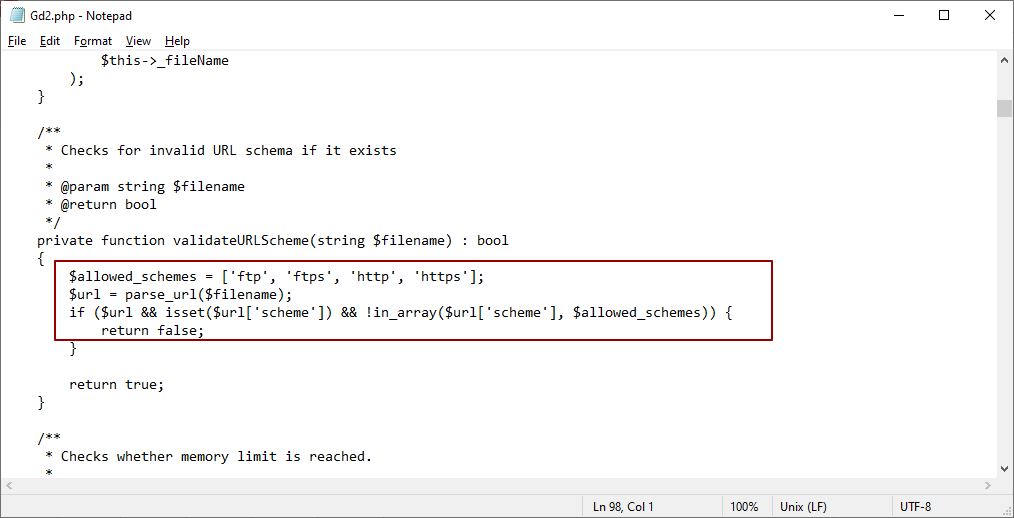
and then replace it with,
$allowed_schemes = [‘ftp’, ‘ftps’, ‘http’, ‘https’];
$url = parse_url($filename);
if ($url && isset($url[‘scheme’]) && strlen($url[‘scheme’]) > 1 && !in_array($url[‘scheme’], $allowed_schemes)) {
return false;
and at last, save the file and exit.
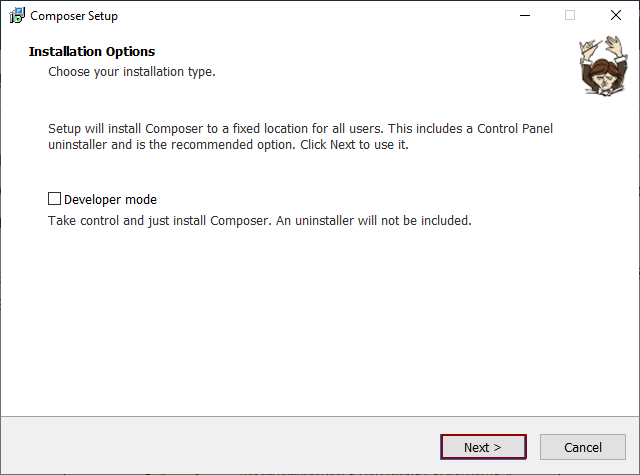
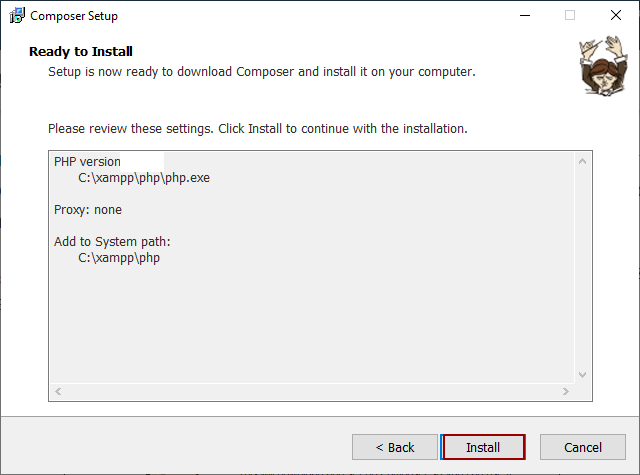
STEP 4: Download and install Composer:
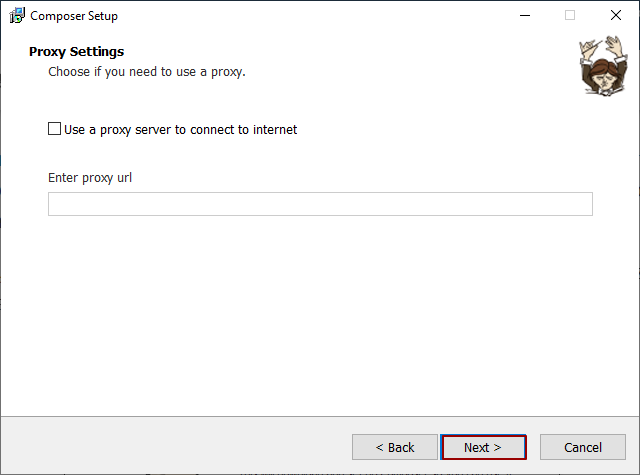
On your Windows system download Composer by using the link: https://getcomposer.org/Composer-Setup.exe and then install it. Tap “Next” in every setup window and Install the composer.
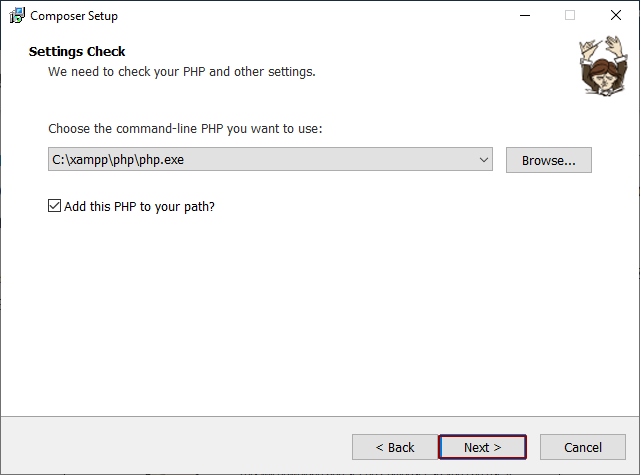
The php.exe file path must be defined next. Provide the path and then click “Next”
STEP 5: Install Magento2 dependencies using Composer.
Now execute the below commands in the command prompt to install the required Magento2 dependencies on your local host.
|
1 2 3 4 |
cd C:\xampp\htdocs\magento2 composer install |
STEP 6: Download and Install The Elastic Search
Download Elasticsearch from the mentioned link: https://www.elastic.co/downloads/past-releases/elasticsearch-7-17-0 and install it.
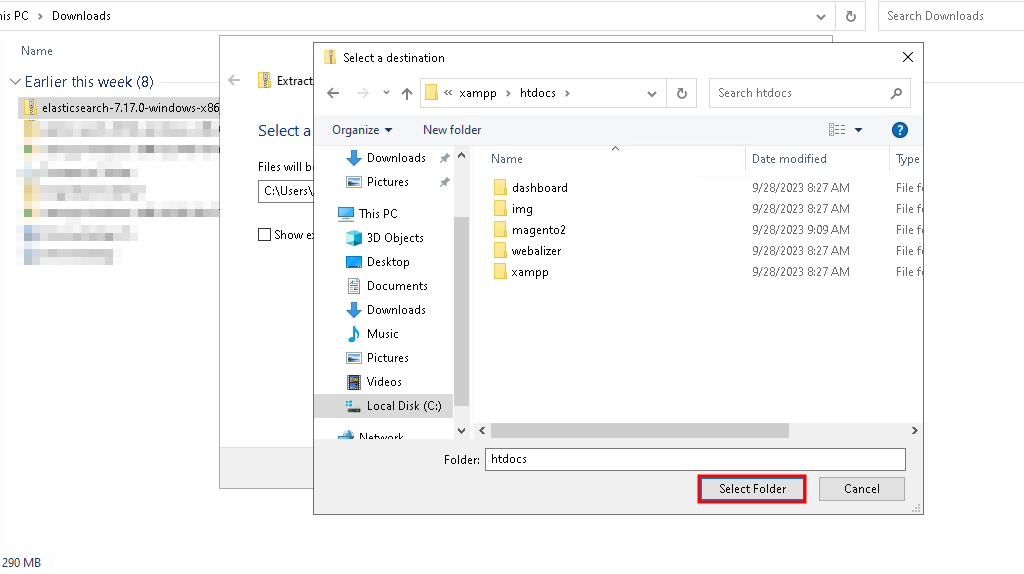
Extract the Zip file in the htdocs folder of the XAMPP installation directory after it has been downloaded. To do that, right-click the elasticsearch zip file and select extract files, and then select the htdocs destination path and press ‘Select’.
After successful extraction, run the bash file as an administrator.

You will get the output below.
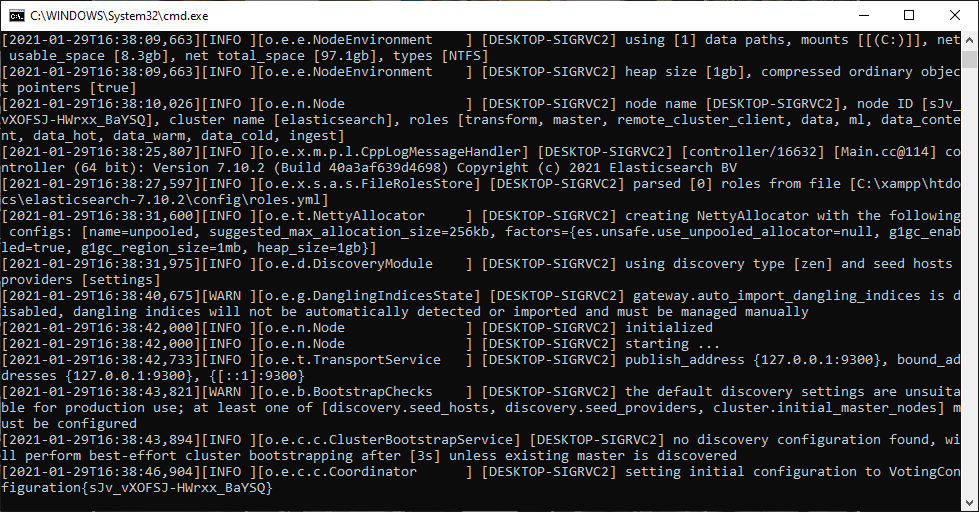
Note: Please don’t close this window until the completion of the Magento 2.4 installation. Otherwise, it will show up an error.
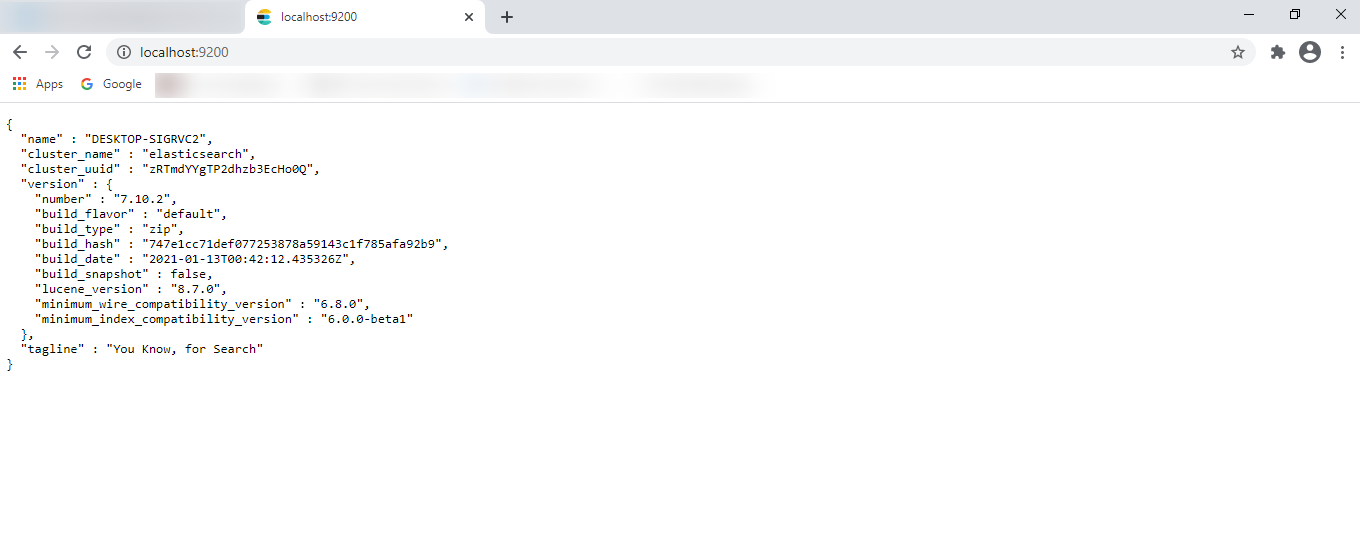
Please wait for a while to get the installation done. Then type “localhost:9200” in the browser and you’ll get details of the installed Elasticsearch extension.
The output will be identical as seen in the image below:
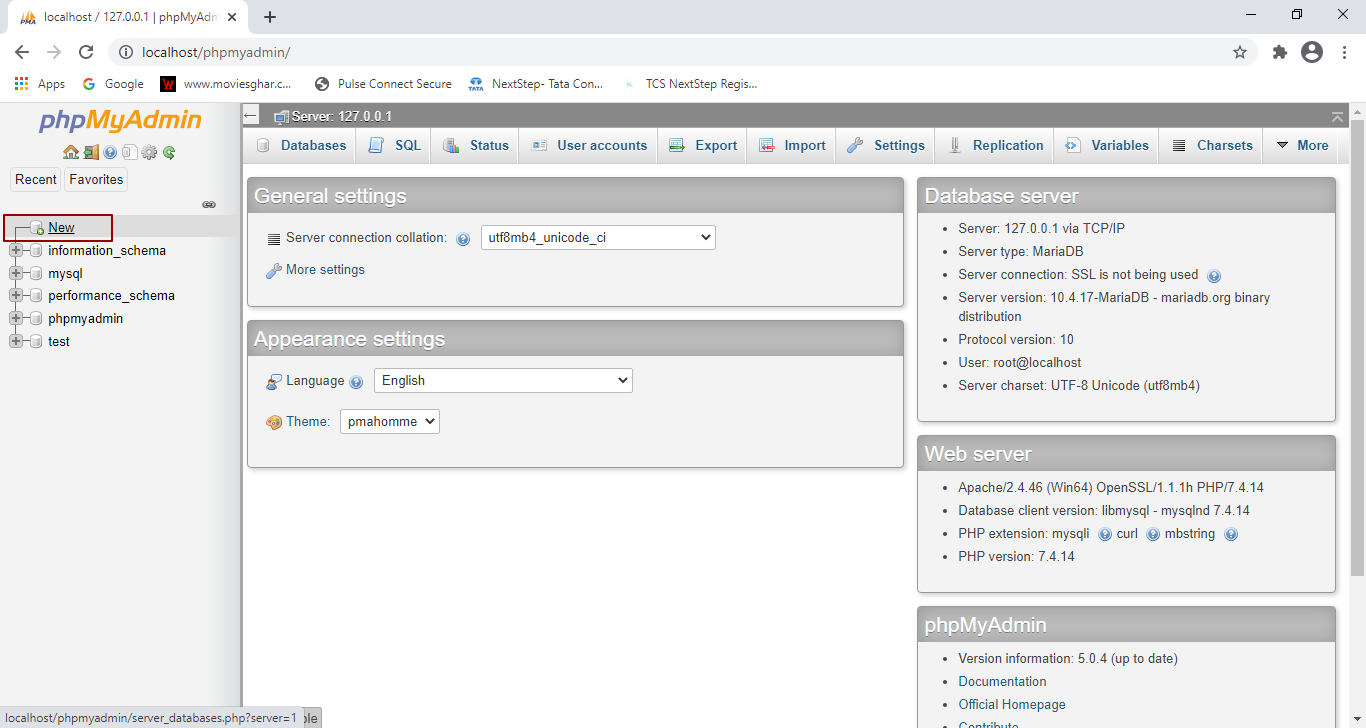
STEP 7: MySQL Database Creation.
For Magento2, we have to create a database. Firstly, open the web browser and hit the URL “http://localhost/phpmyadmin” to open the PHPMyAdmin page. Then, by using the “new” button in the menu section on the left, create a database by the name “magento2” or by another name of your choice.

STEP 8: Magento Installation
After creating the database, the next step is to install Magento2.
Execute The Commands Below To Install Magento 2 By Using The Required Variables Such As Host, Database Name, Username, Password, Etc.
|
1 2 3 |
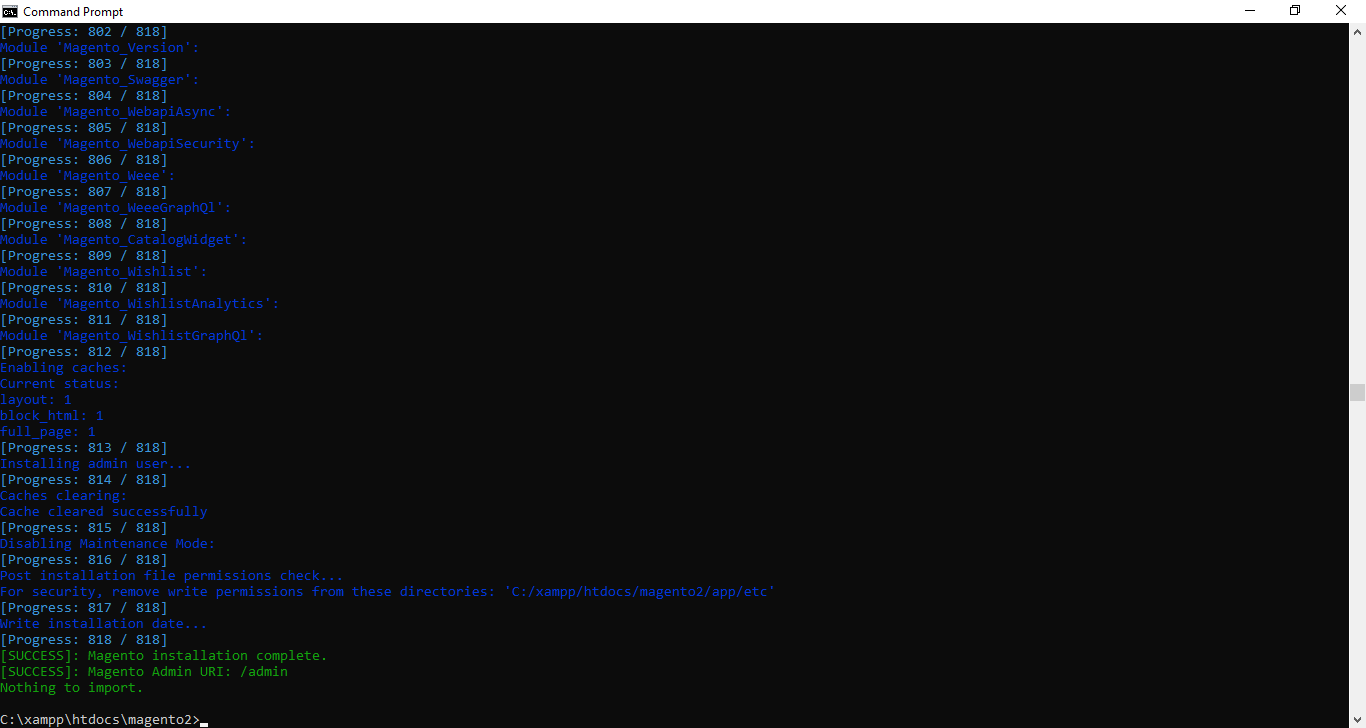
php bin/magento setup:install --base-url=http://your-public-ip --db-host=localhost --db-name=magento2 --admin-firstname=admin --admin-lastname=admin [email protected] --admin-user=admin --admin-password=admin123 –language=en_US --currency=USD --timezone=America/Chicago –use-rewrites=1 --backend-frontname=admin |
when this command is successfully executed, the output will be identical as seen in the image below:
STEP 9: Now, open the “Validator.php” file located as per the following path:
magento\lib\internal\magento\framework\View\Element\Template\File\Validator.php
Find these lines;
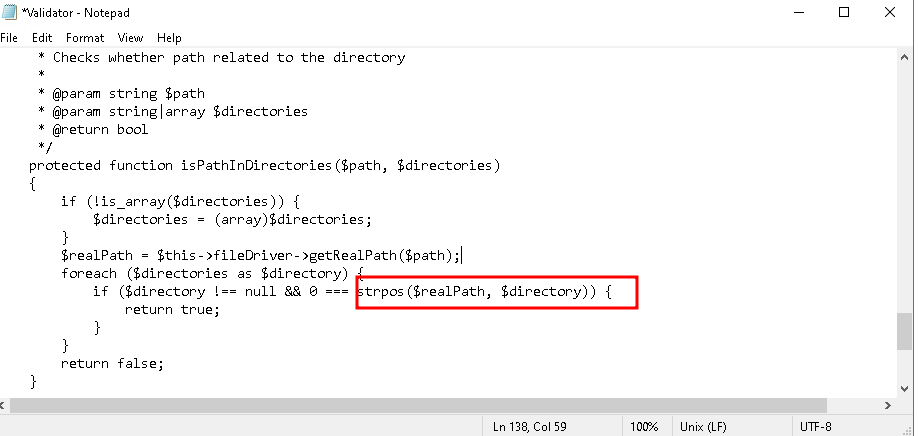
and then modify it to,
strpos($path, $directory)
and at last, save the file and exit.
Now, Open The “di.xml“ File Located As Per The Following Path:
magento2/app/etc/di.xml
Find these lines;
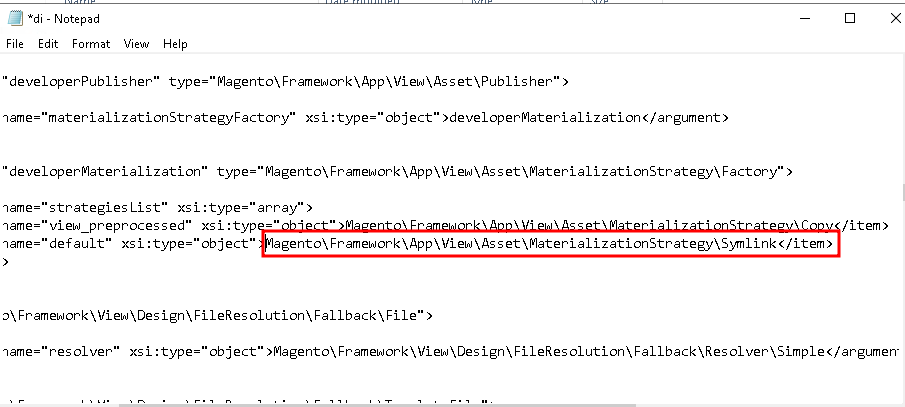
and then modify it to,
Magento\Framework\App\View\Asset\MaterializationStrategy\Copy
and at last, save the file and exit.
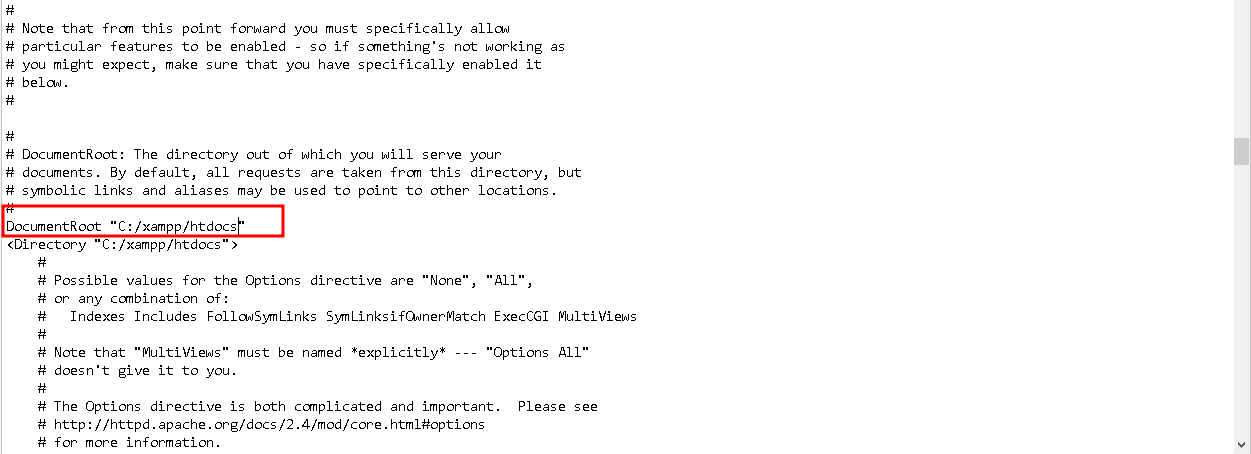
STEP 10: Server Configurations
To access the website on IP we have to make certain changes in the httpd.conf.
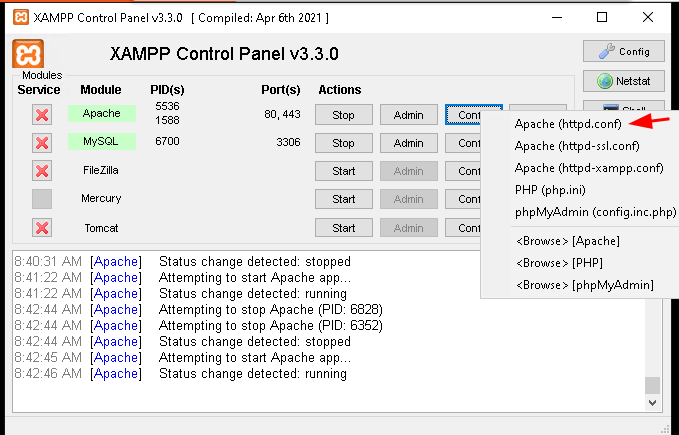
So, just tap the apache “config” button and select the httpd.conf configuration file.
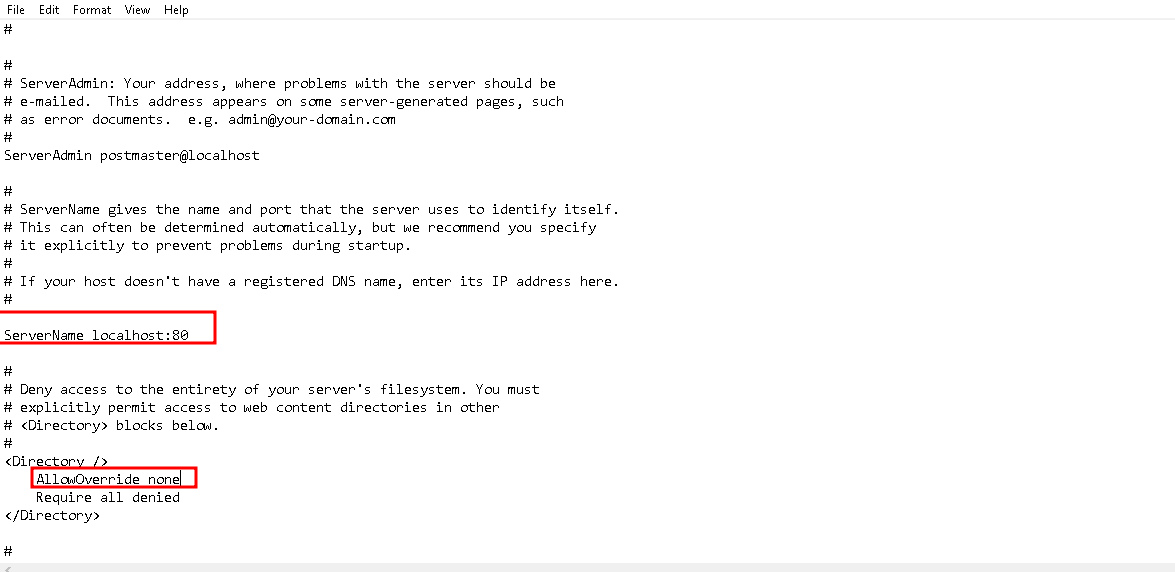
Then find these lines and replace them with
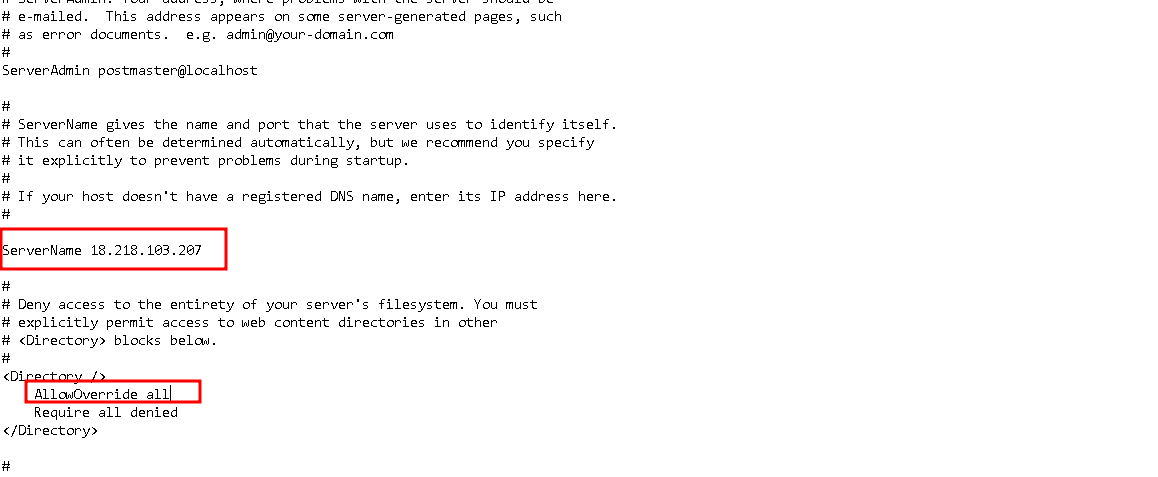
Make sure you enter your IP address here in my case it is as above shown below.
Next, find below the lines
Replace them with
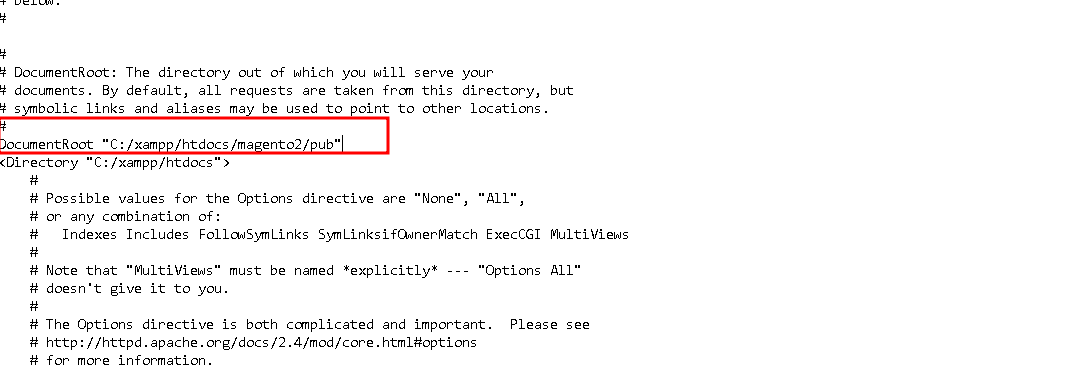
Save and close the file at last. Stop and restart the Apache.
Step11 – Enable Requisite commands.
|
1 2 3 4 5 6 |
php bin/magento indexer:reindex php bin/magento setup:upgrade php bin/magento setup:static-content:deploy -f php bin/magento cache:flush |
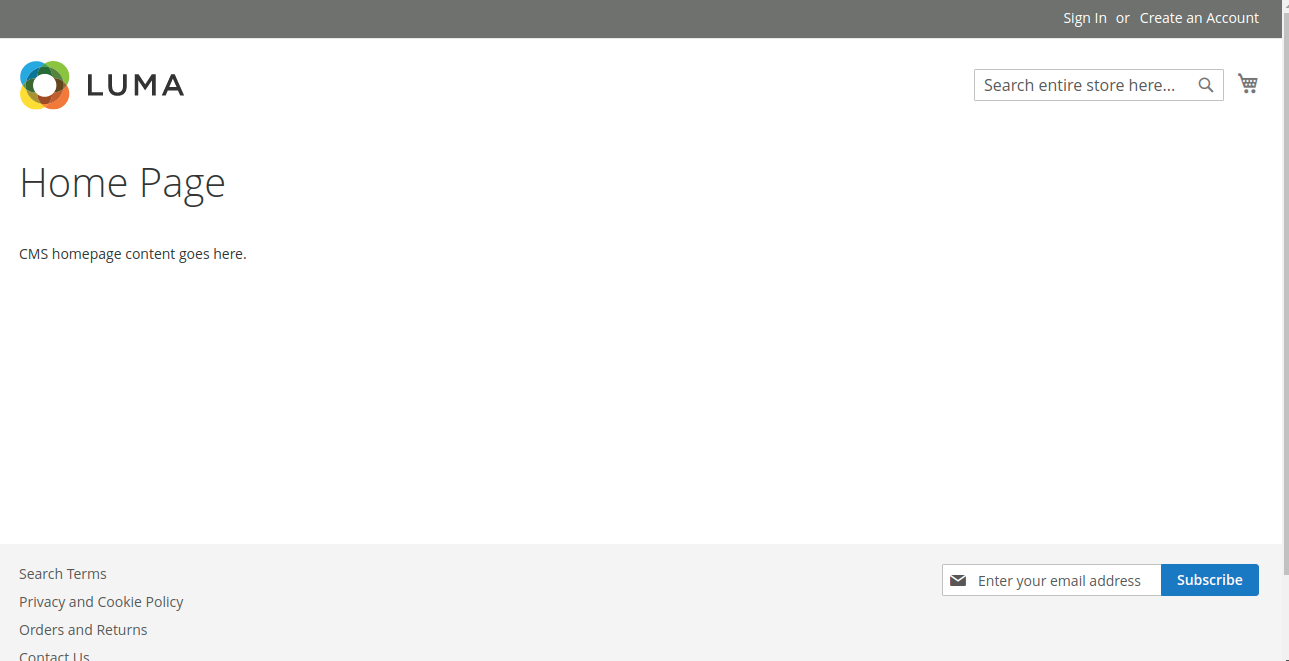
while the installation of Magento2 has been completed. Go to your browser and enter the IP address or your domain name. As a result, the homepage of your default eCommerce website will be like this:
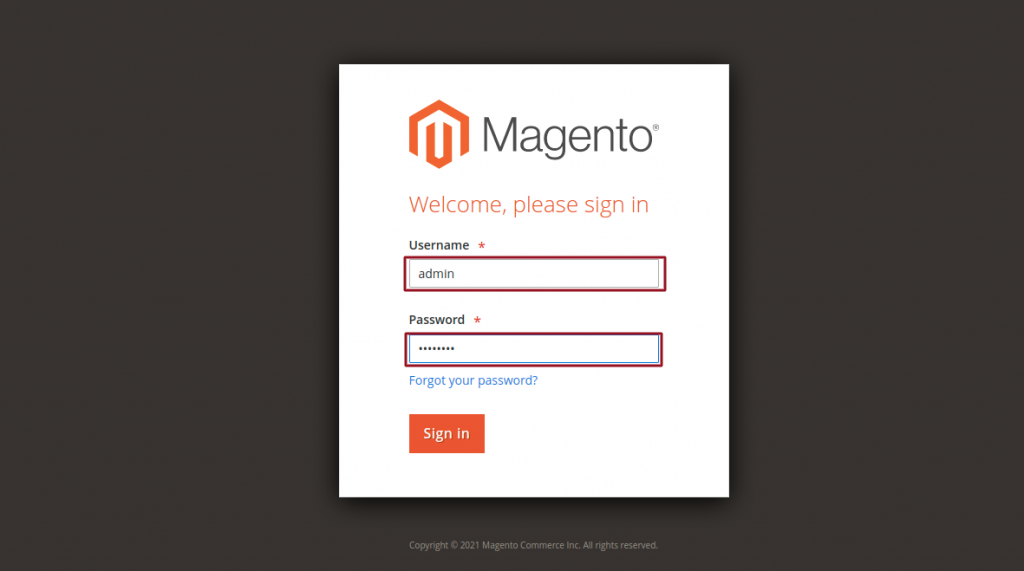
STEP 12: Magento Configuration.
After all the above steps, you can now access your admin panel by using your credentials. Therefore, the admin login will open as in the image below.
At last, the admin panel is accessible. In addition, this is what the default admin dashboard looks like.
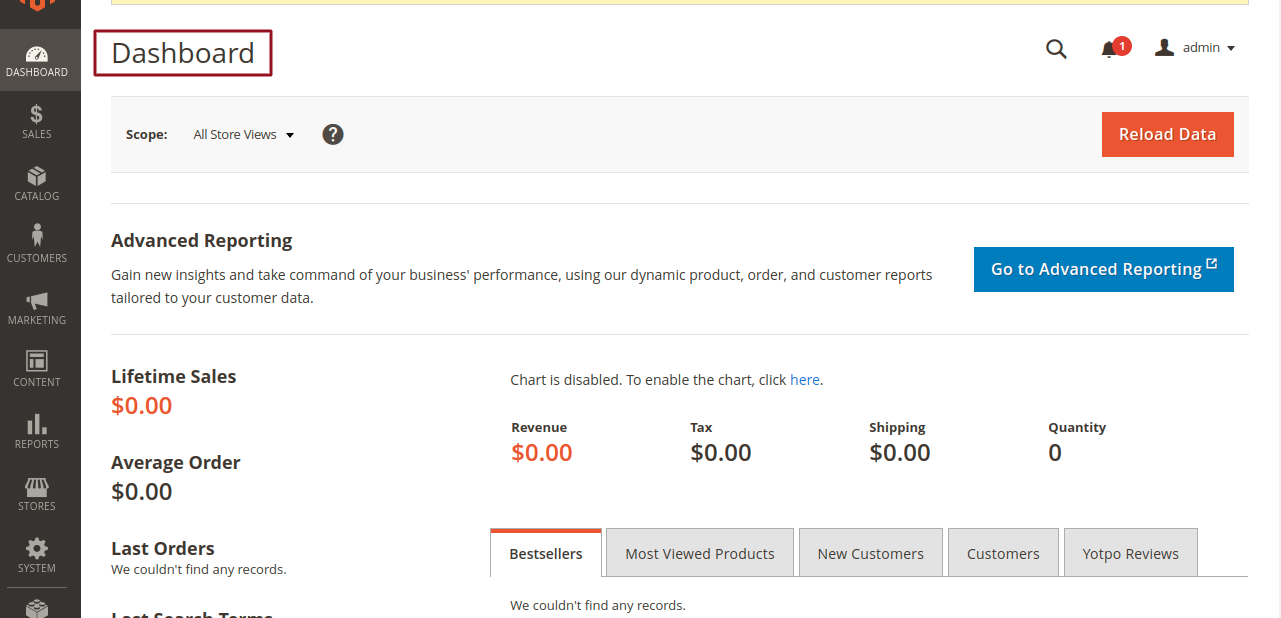
In short, your eCommerce platform is ready to use.
Need Support?
Thank You for reading this Blog!
For further more interesting blogs, keep in touch with us. If you need any kind of support, simply raise a ticket at https://webkul.uvdesk.com/en/. Also, visit our useful OpenCart modules.
For further help or queries, please contact us or raise a ticket.

Thanks for your help.