In this blog, we’ll learn Magento 2.4 Installation On macOS. You can also follow my blogs for Magento 2.4 Installation on Ubuntu 20.04 and Windows.
Installation Requirements For Magento 2.4:
Operating systems
- Distributions of Linux, including RedHat Enterprise Linux (RHEL), CentOS, Ubuntu, Debian, macOS.
Memory requirement
- Magento2 requires 2GB or higher RAM.
Composer
- Composer 2.x cannot be supported by Magento.
Web servers
- Apache 2.4
- Nginx 1.x
Database
- MySQL 8.0
- MariaDB 10.4
PHP
Magento supports PHP 7.4.0
Elasticsearch
- As of 2.4.0 Magento, MySQL is no longer available for search purposes. You’re supposed to use Elasticsearch.
- Elasticsearch 2.x, 5.x, and 6.x are no longer supported by Magento.
To get detailed information about system requirements, just visit the mentioned link: https://devdocs.magento.com/guides/v2.4/install-gde/system-requirements.html
What We’re Going To Use:
- OS: macOS Catalina 10.15
- SERVER: Apache 2
- RAM: 8 GB
- PHP: 7.4
- MY SQL: 8.0
- Composer: 1.10
- Elasticsearch: 7.10
Magento 2.4 Installation On macOS
So let’s move to the installation part.
STEP 1: Installing Homebrew by execute the command below:
|
1 2 3 4 5 |
/bin/bash -c "$(curl -fsSL https://raw.githubusercontent.com/Homebrew/install/master/install.sh)" git -C /usr/local/Homebrew/Library/Taps/homebrew/homebrew-core fetch –unshallow /usr/local/bin/brew update |
Now, Setting up the environment.
STEP 2: Install Apache2
|
1 2 3 4 |
brew install httpd brew services start httpd |
(i) Apache Configuration
However, to support the web pages we will configure apache.
|
1 2 3 |
nano /usr/local/etc/httpd/httpd.conf |
Check for the following after opening the httpd.conf file:
listen 8080
And just like the image below, change this to “listen 80“

Now, made some changes to the DocumentRoot directory. You will find the following lines as shown below:

Besides that, change this to :

The next setting for your configuration is “Allowing Overrides“. Although, you will find it as shown below:
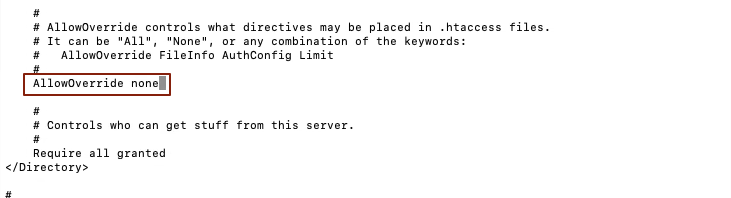
Modify it to:
AllowOverride all
Now, the rewrite_module need to be enabled. Just navigate to:

Uncomment this module so that we can use this module for Magento 2. We do so as follows:
|
1 2 3 |
LoadModule rewrite_module lib/httpd/modules/mod_rewrite.so |
Similarly, in the directory, we need to define the local user and the group we are using. The variables, by default, look like:

It would look like that,

Save and exit, httpd.config file and then run the command below:
|
1 2 3 |
brew services restart httpd |
STEP 3: Install MYSQL Server for database creation by executing the following commands and when a password is asked after the below three commands, simply press ENTER
|
1 2 3 4 5 6 7 8 9 10 |
brew install mysql brew services start mysql /usr/local/mysql/bin/mysql -u root -p create database magento3; CREATE USER 'magento3user'@'localhost' IDENTIFIED BY 'magento3'; GRANT ALL PRIVILEGES ON *.* to 'magento3user'@'localhost'; flush privileges; exit; |
STEP 4: Setting and installing PHP 7.4 and its modules
The commands necessary to manually install PHP 7.4 on macOS are listed below. Check the package names correctly on your macOS terminal.
|
1 2 3 4 |
brew install php@7.4 brew services start php@7.4 |
(i) PHP Configuration
PHP would not run if we try running PHP on Apache just like we do. For this purpose, we have to return to our httpd.config file by executing the command below:
|
1 2 3 |
nano /usr/local/etc/httpd/httpd.conf |
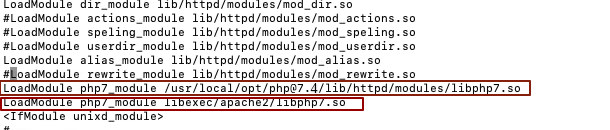
Now, adding up the path to PHP 7.4 module in httpd.conf file
LoadModule php7_module /usr/local/opt/[email protected]/lib/httpd/modules/libphp7.so LoadModule php7_module libexec/apache2/libphp7.so
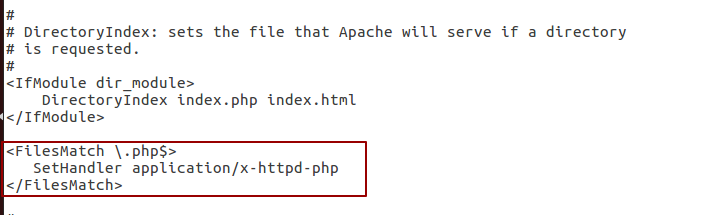
Additionally, you will find the “DirectoryIndex index.html” as shown below:

After finding it, update it as follows:
DirectoryIndex index.php index.html
and add the following:
<FilesMatch \.php$>
SetHandler application/x-httpd-php
</FilesMatch>
It will be similar to,
Save the file and restart the apache service after performing this action.
|
1 2 3 |
brew services restart httpd |
In the ~/.zshrc file, add the path to PHP 7.4 installation with the command line:
|
1 2 3 4 5 |
Now, update the file <strong><span style="color:#530951" class="has-inline-color">~/.bash profile</span> </strong>and <strong><span style="color:#530951" class="has-inline-color">connect the path to PHP 7.4</span></strong> by running the commands: |
|
1 2 3 |
Meanwhile, make some changes to php.ini file
|
1 2 3 |
nano /usr/local/etc/php/7.4/php.ini |
max_execution_time = 360
memory_limit = -1
upload_max_filesize = 1024M
short_open_tag = On
date.timezone = America/Chicago
Save and exit, php.ini file and then run the command below:
|
1 2 3 |
brew services restart httpd |
STEP 5: After the above steps, install the composer
brew install composer
brew install wget
/usr/local/Cellar/composer/2.0.8/bin
wget https://getcomposer.org/download/1.10.17/composer.phar
mv composer.phar composer
chmod -R 755 composer
STEP 6: Download Magento by using the composer:
To install magento2 with composer, first, create the Access keys of Magento marketplace. If you have an account on Magento Marketplace, simply sign in and generate the access keys. If you don’t have an account, create an account by registering yourself on marketplace.magento.com
For generating Access keys, login into Magento marketplace, and from the top right corner of the page where your user name is displayed, navigate to My profile > Marketplace > My products > Access Keys
After all, create a new pair of Access keys. You need to provide the public Key as a username and the Private Key as a password when prompt.
|
1 2 3 |
sudo composer create-project --repository=https://repo.magento.com/ magento/project-community-edition magento3 |
STEP 7: In addition, Enable requisite permissions and restart Apache2
|
1 2 3 4 |
sudo chmod -R 755 /Users/wadmin/www/magento3 sudo chown -R wadmin:admin /Users/wadmin/www/magento3 |
STEP 8: Similarly, Install the Elastic Search to move further
|
1 2 3 4 5 |
brew install elasticsearch brew services start elasticsearch brew services restart --all |
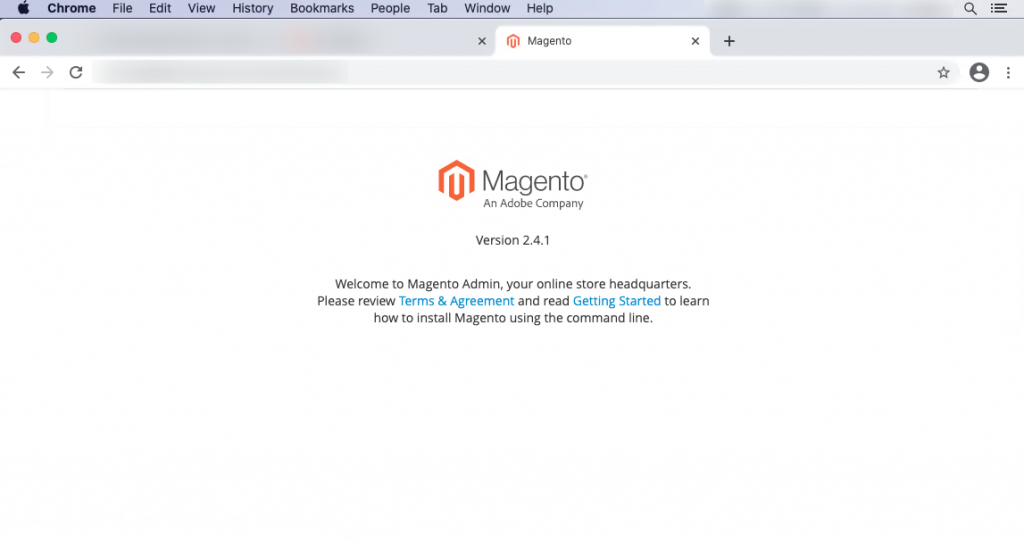
The next step is to install Magento2. Open your browser first and enter “http://localhost/magento2”. You will get the output as similar below.
STEP 9: Likewise, execute the commands below to install Magento 2 by using the required variables such as host, database name, username, and password, etc.
|
1 2 3 4 |
cd /home/magento/magento3 bin/magento setup:install --base-url=http:// Public IP Address or Domain Name --db-host=localhost --db-name=magento3 --db-user=magento3user --db-password=magento3 --admin-firstname=Admin --admin-lastname=User [email protected] --admin-user=admin --admin-password=admin123 --language=en_US --currency=USD --timezone=America/Chicago --use-rewrites=1 |
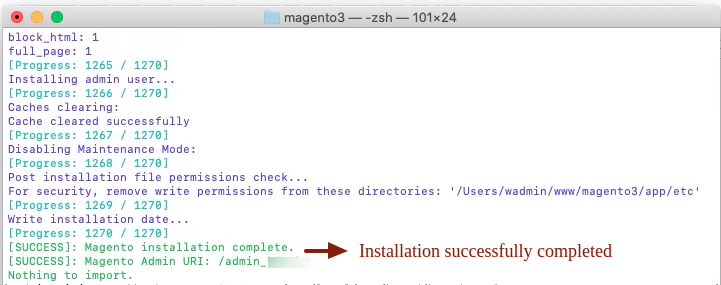
when this command is successfully executed, the output will be identical as seen in the image below:
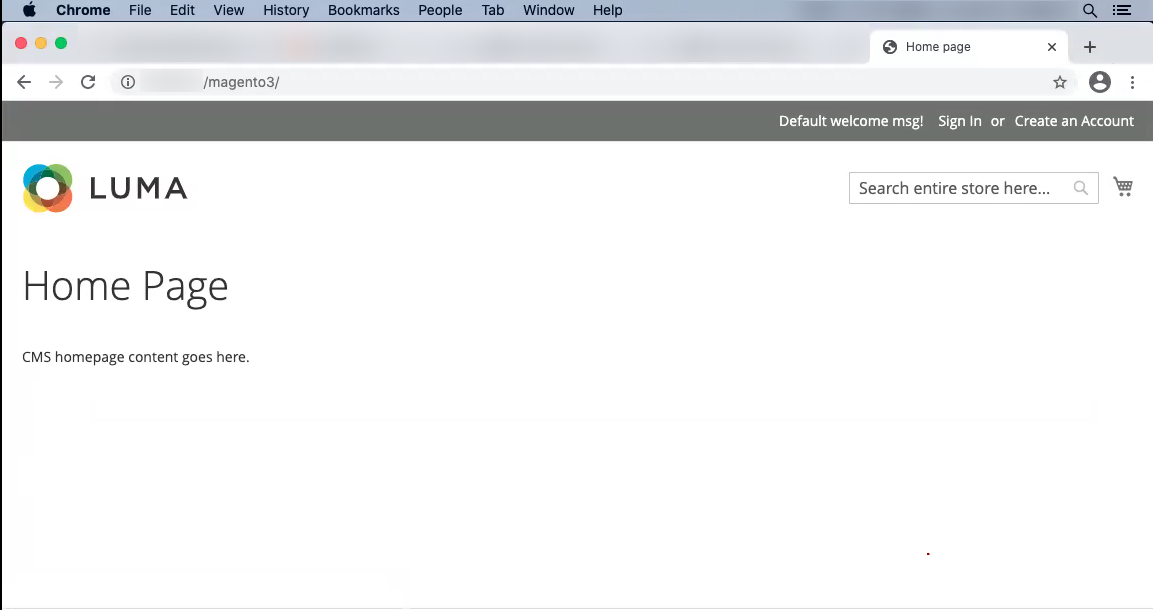
while the installation of Magento2 has been successfully completed, go to your browser and enter the IP address or your domain name. As a result, the homepage of your default eCommerce website will be like this:
STEP 10: Magento configuration
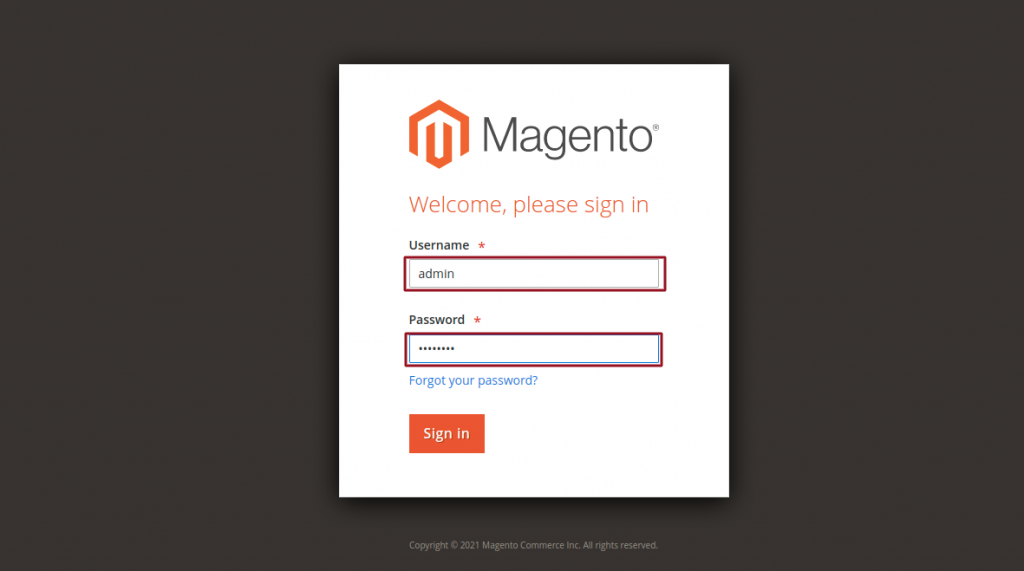
After all the above steps, you can now access your admin panel by using your credentials. Therefore, the admin login will open as in the image below.
You can’t log in to Magento Admin Panel after installation since two-factor authentication has been implemented in Magento2.4 and won’t be allowed you to log in. Hence, a page similar to the one below will open.
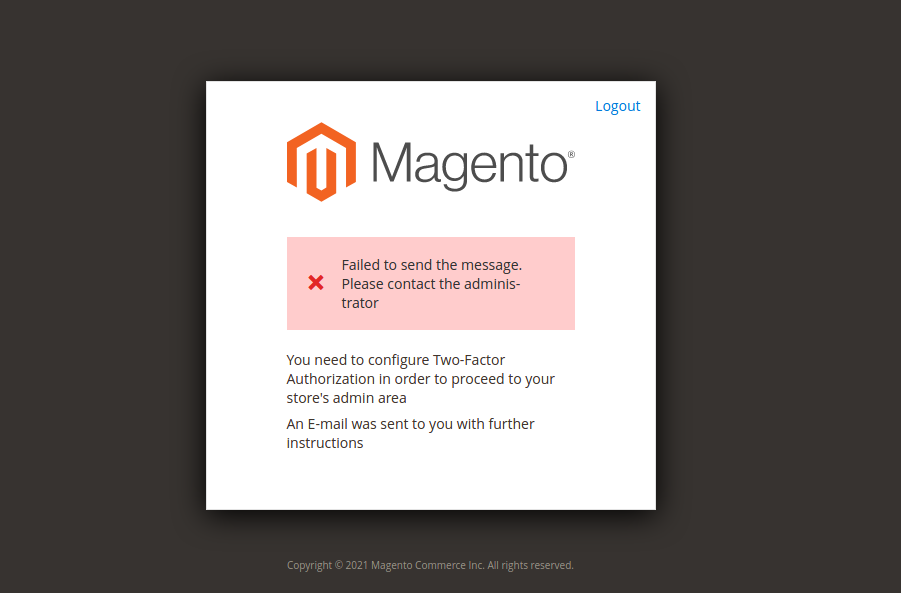
Moreover, to log in, we need a working email id. And then Magento sends an email to conduct the authentication on the given email id. In that case, the 2-factor authentication module must need to be disabled and later set up by the admin panel. Thus, we can disable 2FA by using the below command in the Magento web root directory:
bin/magento module:disable Magento_TwoFactorAuth
**We highly recommend you to continue with 2-factor authentication**
It looks like,

At last, the admin panel is accessible. In addition, this is what the default admin dashboard looks like.

In short, your eCommerce platform is ready to use.
Thanks For Reading!
At last, we hope it works for you! And during this blog, you have found something valuable.
Keep in touch!!
In case of any help or query, please contact us or raise a ticket.

Be the first to comment.