
In our previous blog, we discussed serverless architecture and AWS lambda functions along with their benefits.
Here in this blog, we will discuss how we can create a basic lambda function in AWS.
Our Usecase
The lambda function that we are going to use is just a simple Lambda function that will show all the EC2 instances in your AWS account whether they are running or not.
We are not using any kind of filters here but if you want to use filters then you can add commands to your code accordingly.
This function will only list down all the ec2 instances irrespective of in which AWS region they are.
Here is the code –
|
1 2 3 4 5 6 7 8 9 10 11 12 13 14 15 16 17 |
import json import boto3 ec2 = boto3.resource('ec2') def lambda_handler(event, context): instances = ec2.instances.filter() for instance in instances: print(instance.id) return { "statusCode": 200, "body": True } |
Runtime – Python 3.7
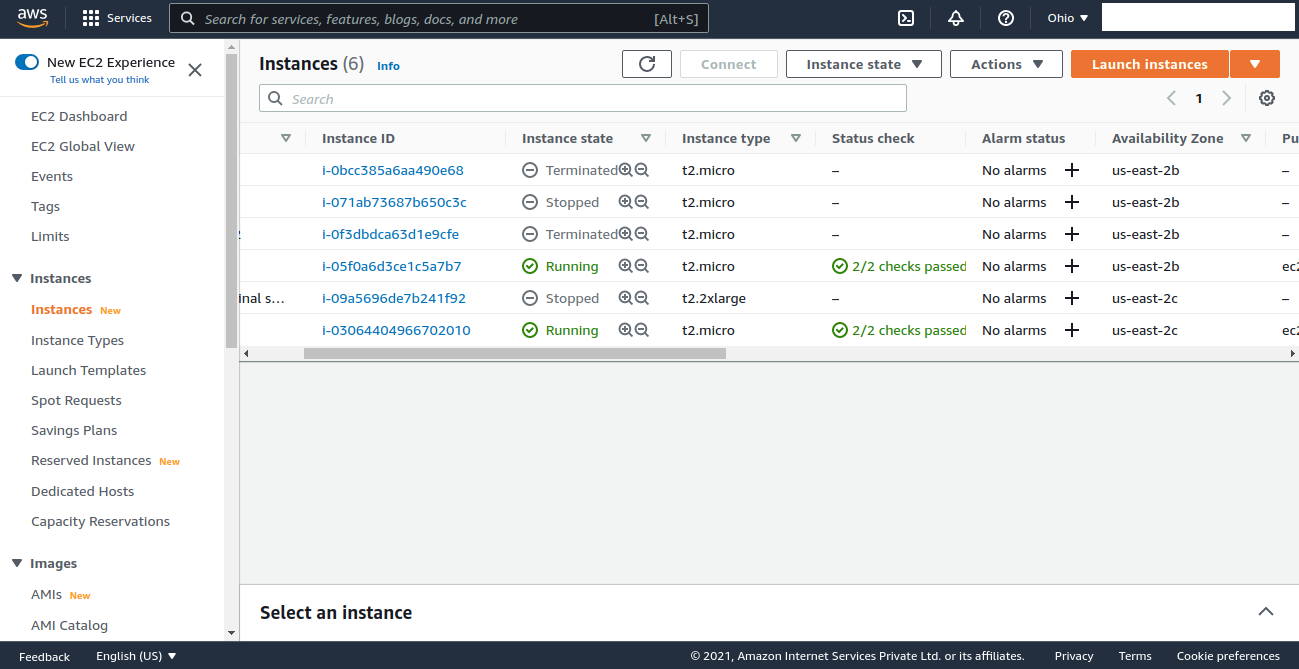
And here are the EC2 instances that we are going to list using the Lambda Function –
Supported Languages
We are using Python in our code. But, if you wish then you can create a lambda function using any of the following Supported Languages –
- NodeJS
- Python
- Go
- Java
- Ruby
- .Net
- C#
Let’s create a Lambda Function in AWS
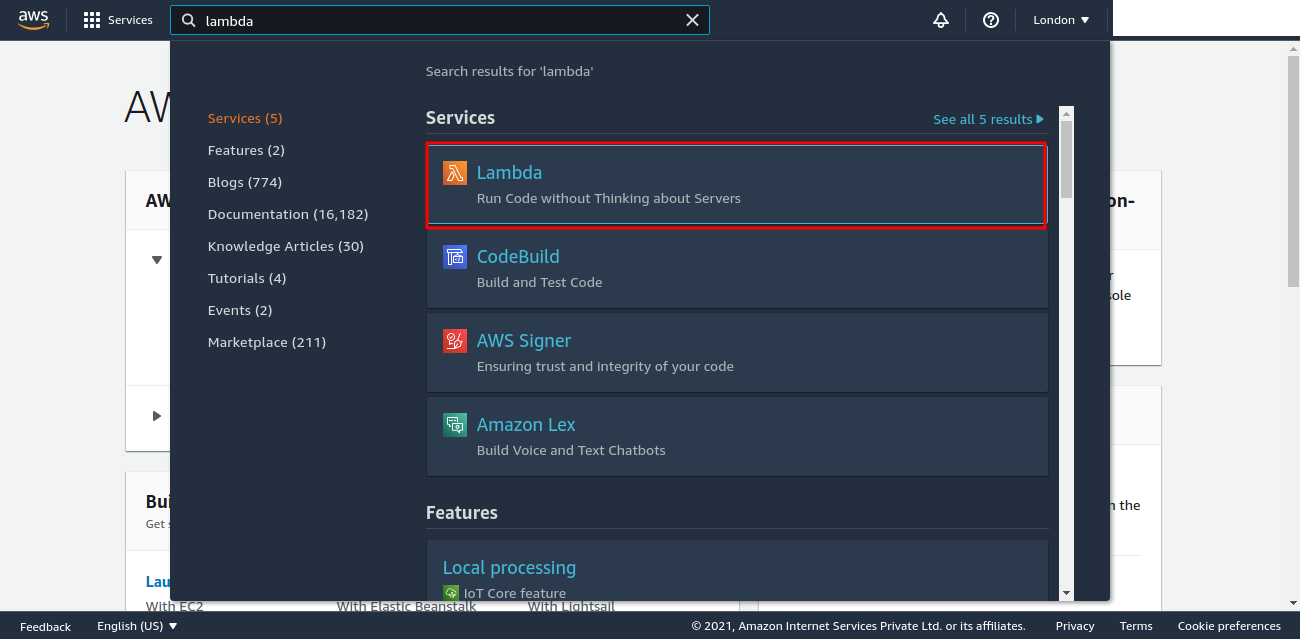
Step 1 – Search for Lambda
Now search for the ‘Lambda’ service under your AWS management console.
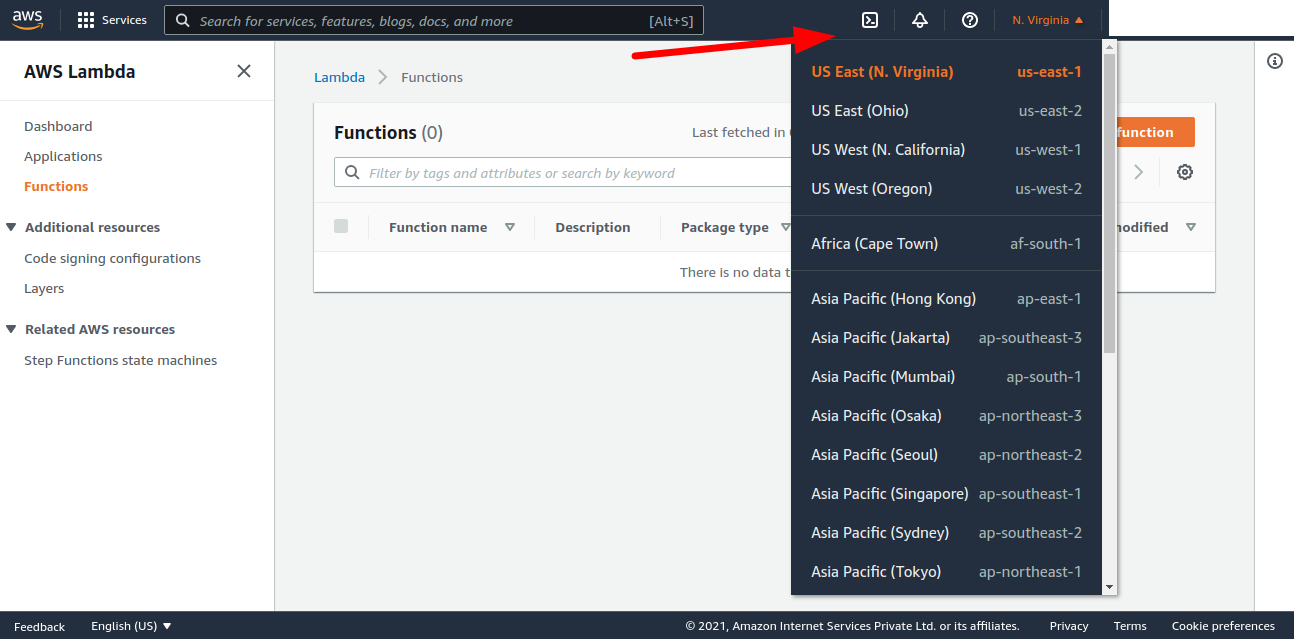
Step 2 – Choose the AWS region
Then, select the ‘AWS region’ where you want to create the function from the following available regions or where your server is already running.
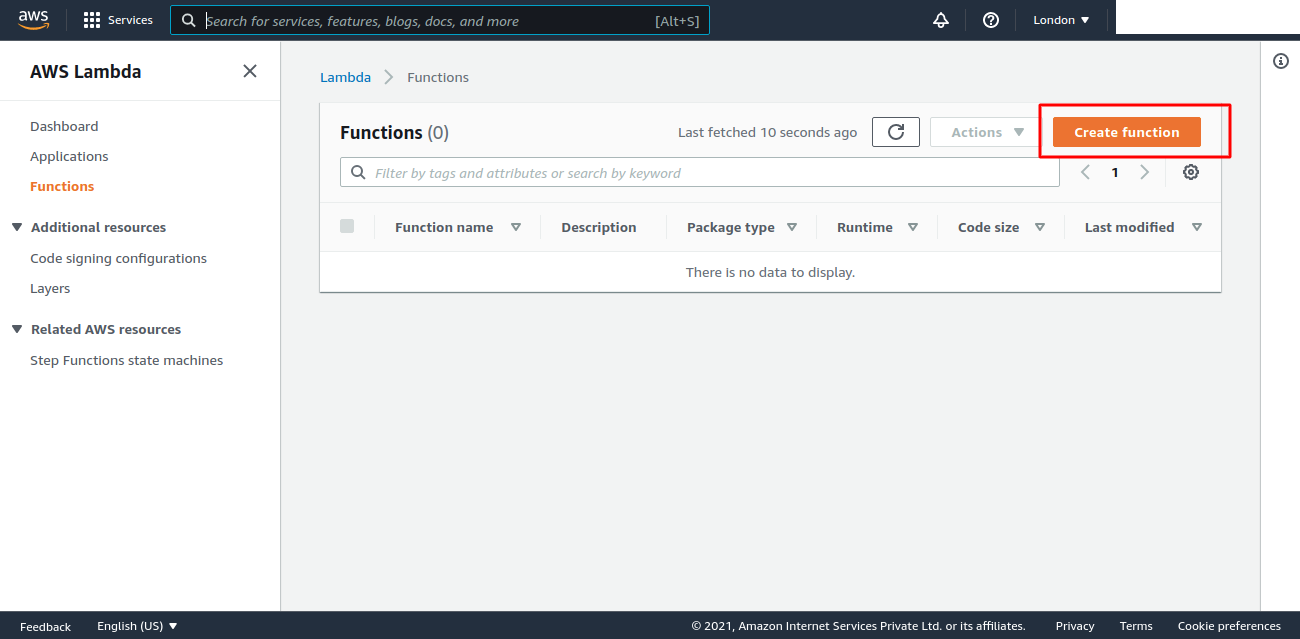
Step 3 – Create a Lambda function
Under the AWS lambda console, click on ‘create function’. Here on this page, you will find all your existing lambda functions here.
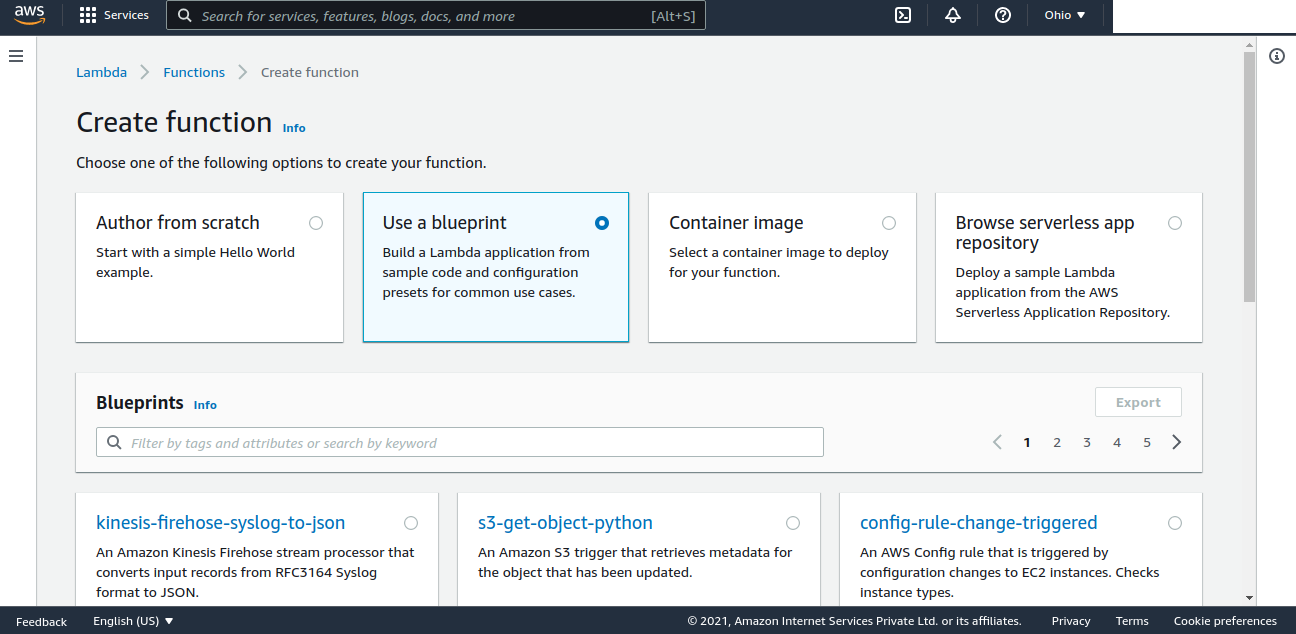
Step 4 – Choose ‘Use a Blueprint’
Choose any of the following to create your Lambda function, we have chosen the ‘Use a Blueprint’ option.
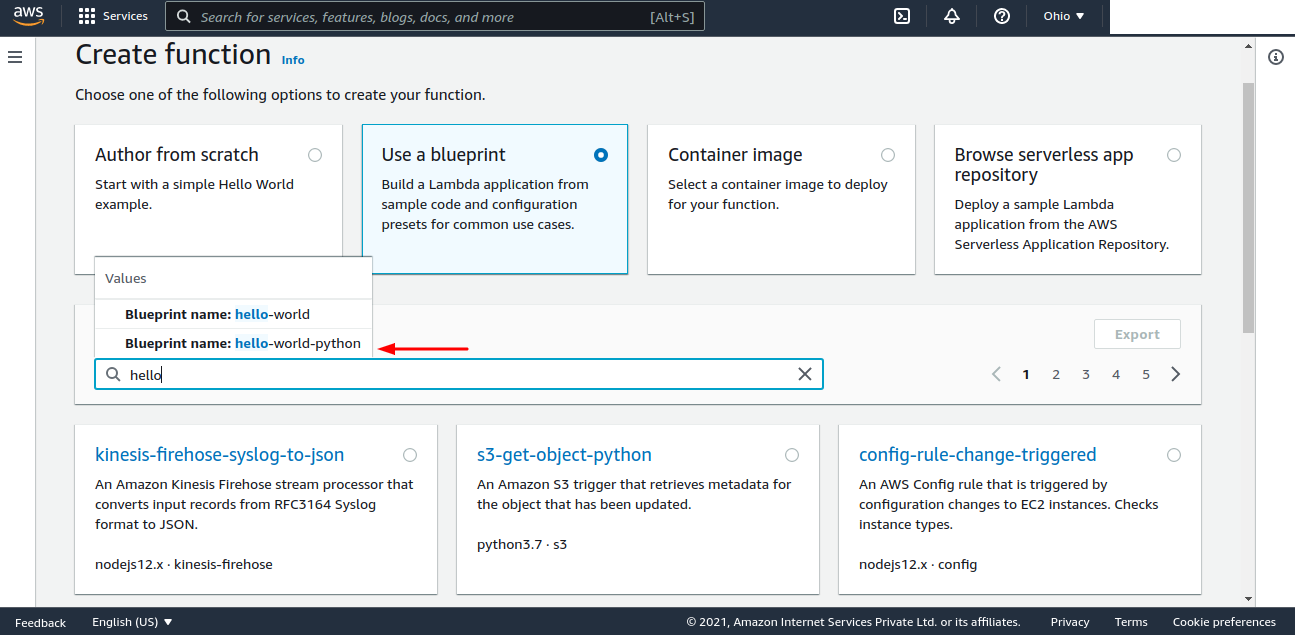
Step 5 – Choose ‘Hello-word’ Blueprint
Under Blueprints, search for ‘Hello-word’ and choose ‘Hello-word-python’ Blueprint.
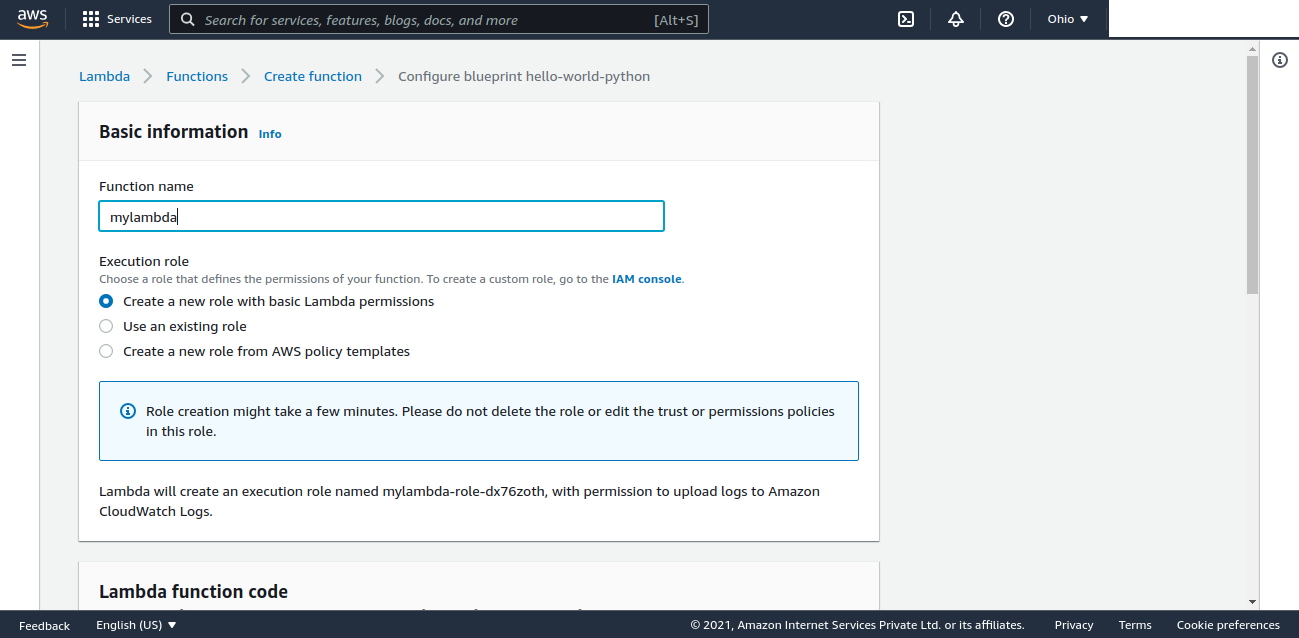
Step 6 – Enter Basic details
Enter Function name – mylambda
Runtime – Python 3.7
Under the execution role – choose ‘Create a new role with basic Lambda permissions’
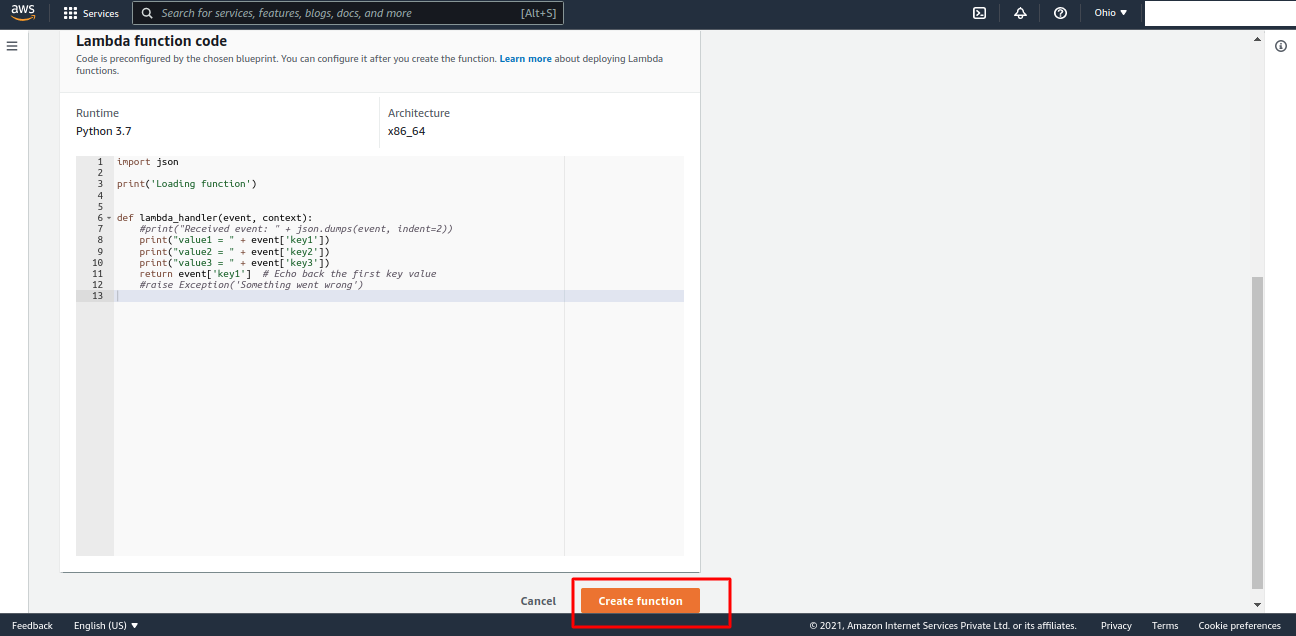
Step 7 – Click on ‘create function’
After entering all the basic details, click on ‘create function’ in the right corner downwards.
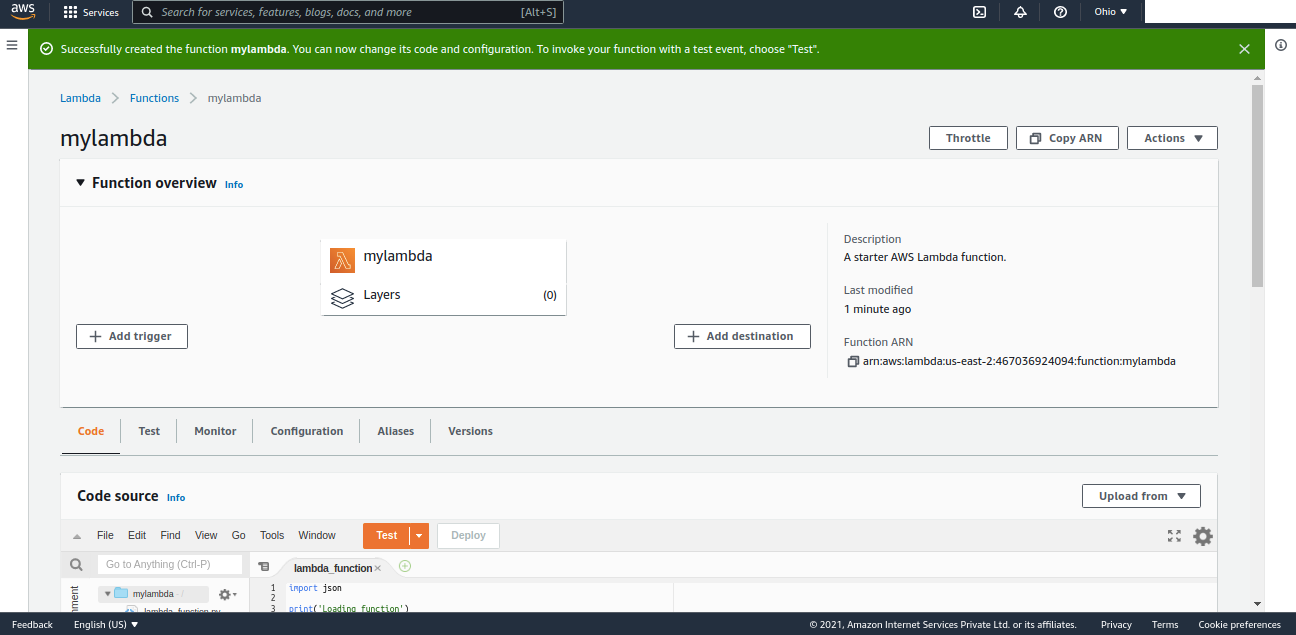
Step 8 – Function created Successfully
Now your function has been created successfully as shown in the green color notification bar.
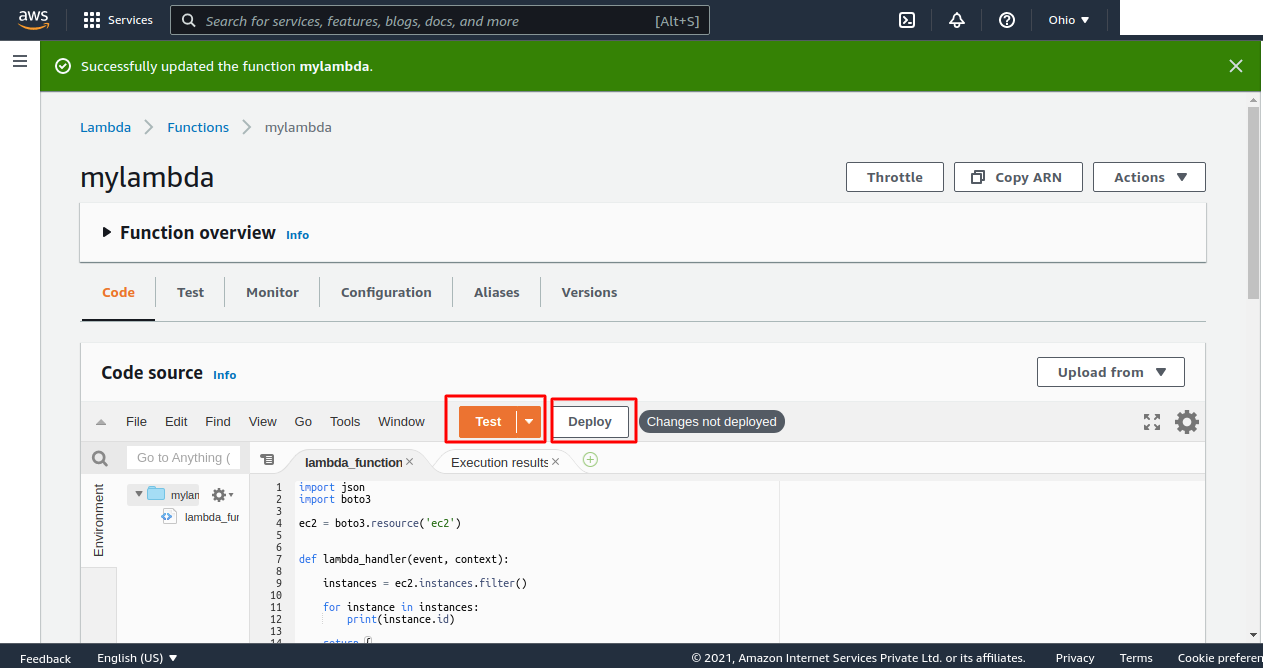
Step 9- Run Python code
Now you can put your code into the console.
After pushing the code, you need to Deploy your code after making the required changes to it.
Once deployed, you will have to Test it to check the output of the code.
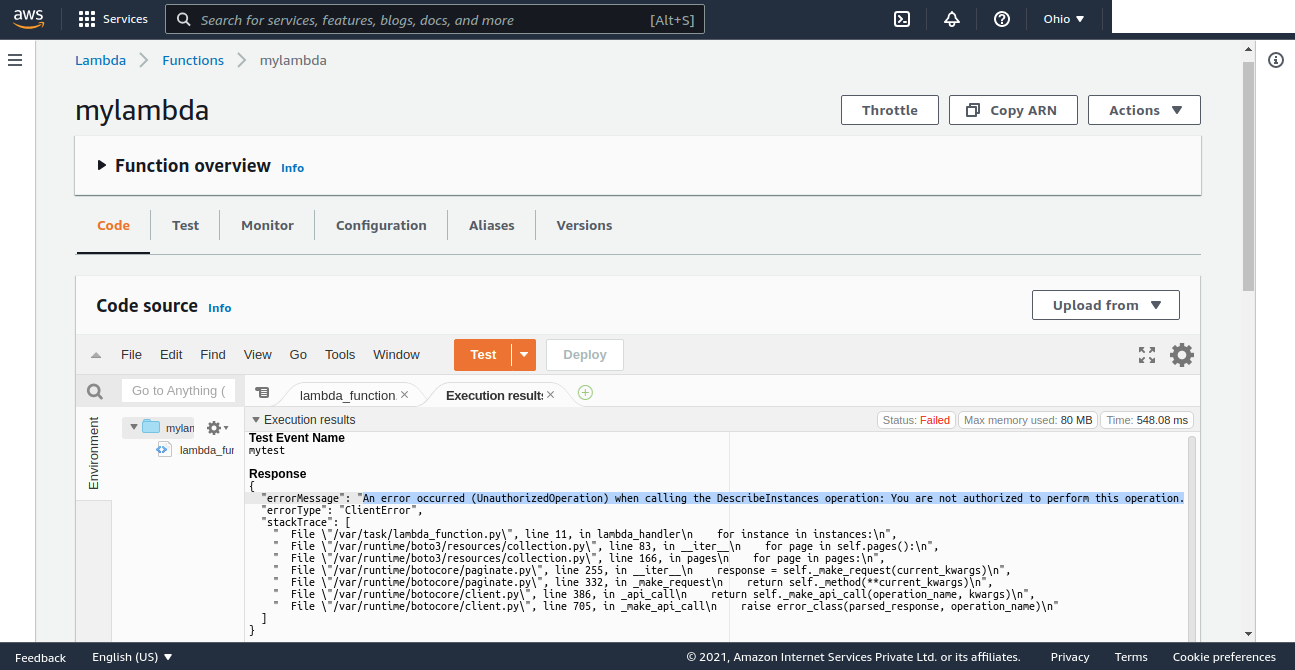
Step 10 – Permission Error
At the runtime, an ‘Unauthorized operation’ error occurred that shows this lambda function is not authorized to access the EC2 instances.
By default, lambda does not have any permission to access any of the c until we grant permissions to it.
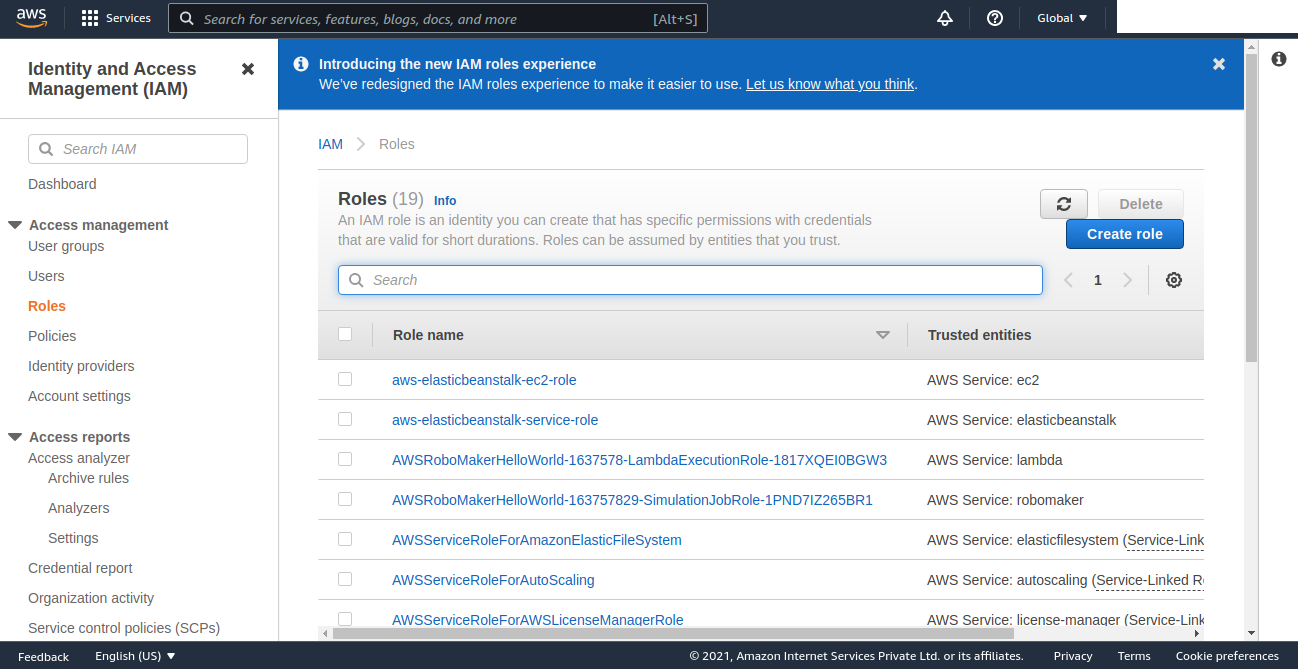
Step 11 – Create an IAM role to run the Lambda Function
Now, we need to create an IAM role to grant Read-only access to our lambda function so that this function can Read the EC2 instances in the AWS account.
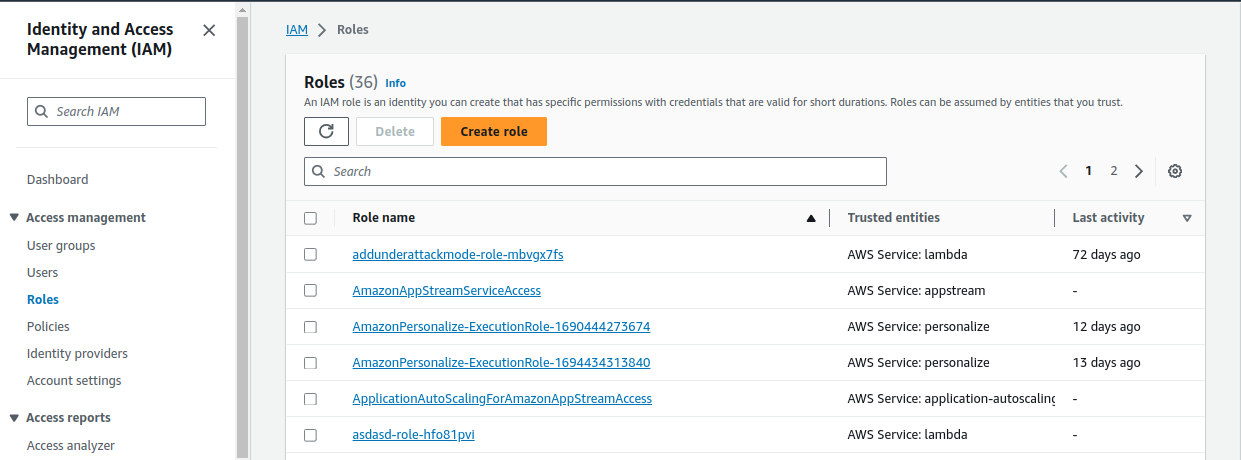
(i) Navigate to IAM Under AWS Management Console and then choose ‘Roles’ from the left-hand side options.
(ii) Create an IAM Role
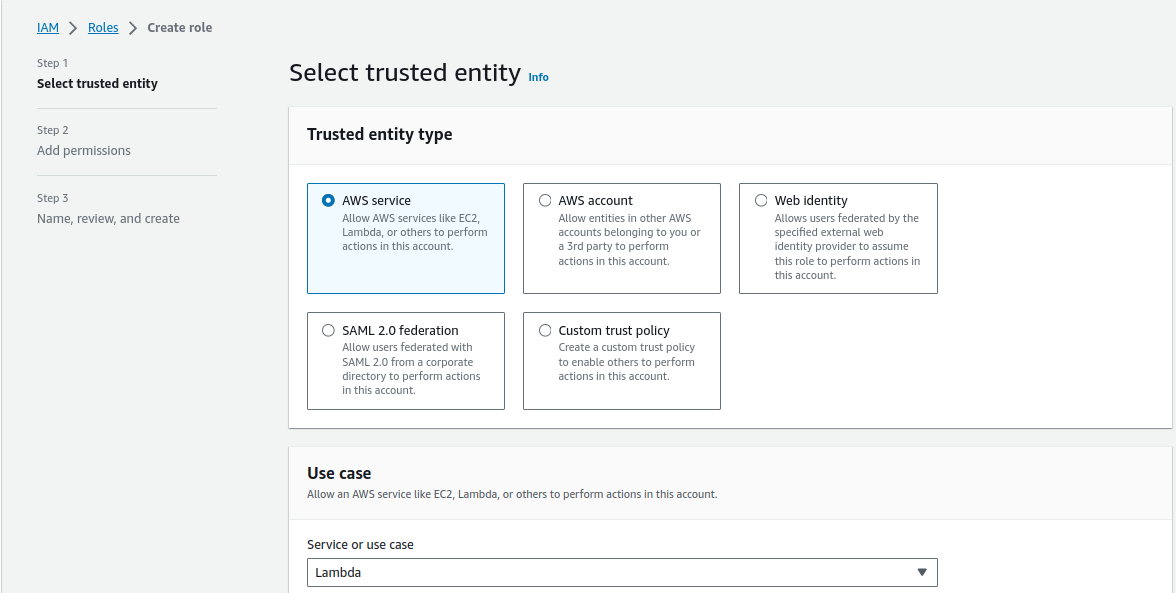
(iii) Under AWS services, choose Lambda to grant permission to our lambda function. Then click on ‘Next: Permission’.
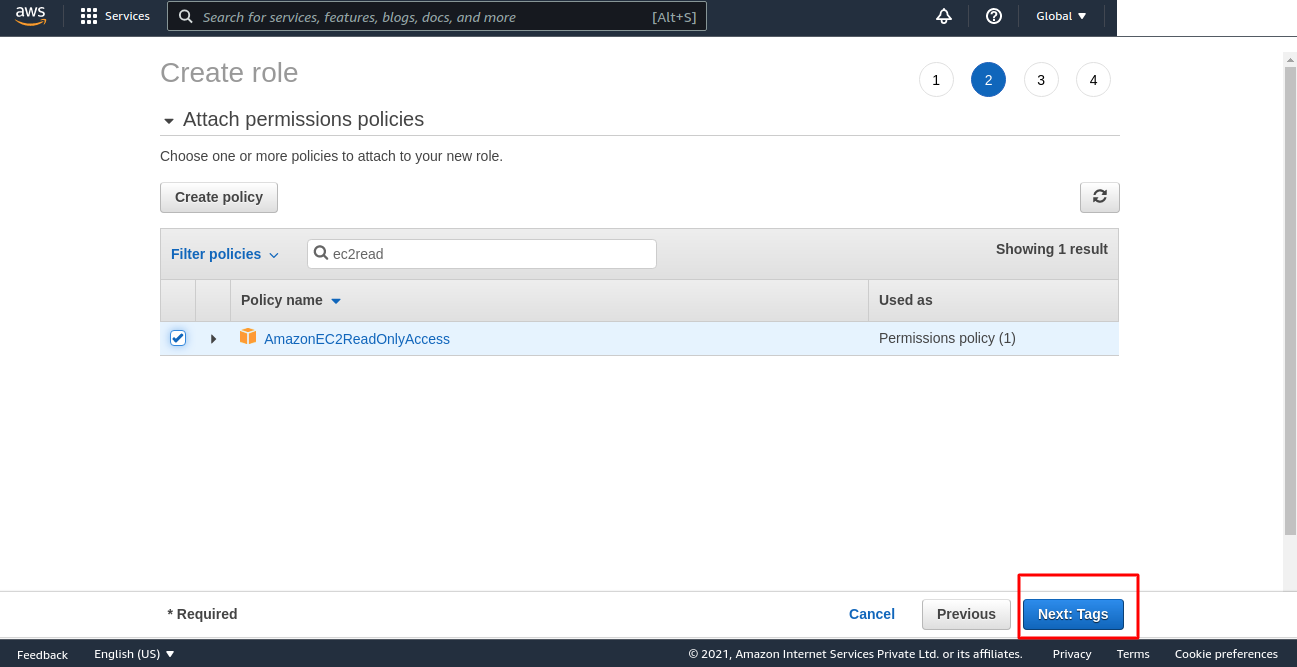
(iv) Now under policies, we need to choose the appropriate policy that we want to attach with the created role.
As we have mentioned earlier, this lambda function will list down all the EC2 instances. In this case, we will choose Read-only permission for our ec2 instances.
For that, we need to choose the ‘ec2readonly’ policy.
(v) Enter the required details and review the created Role.
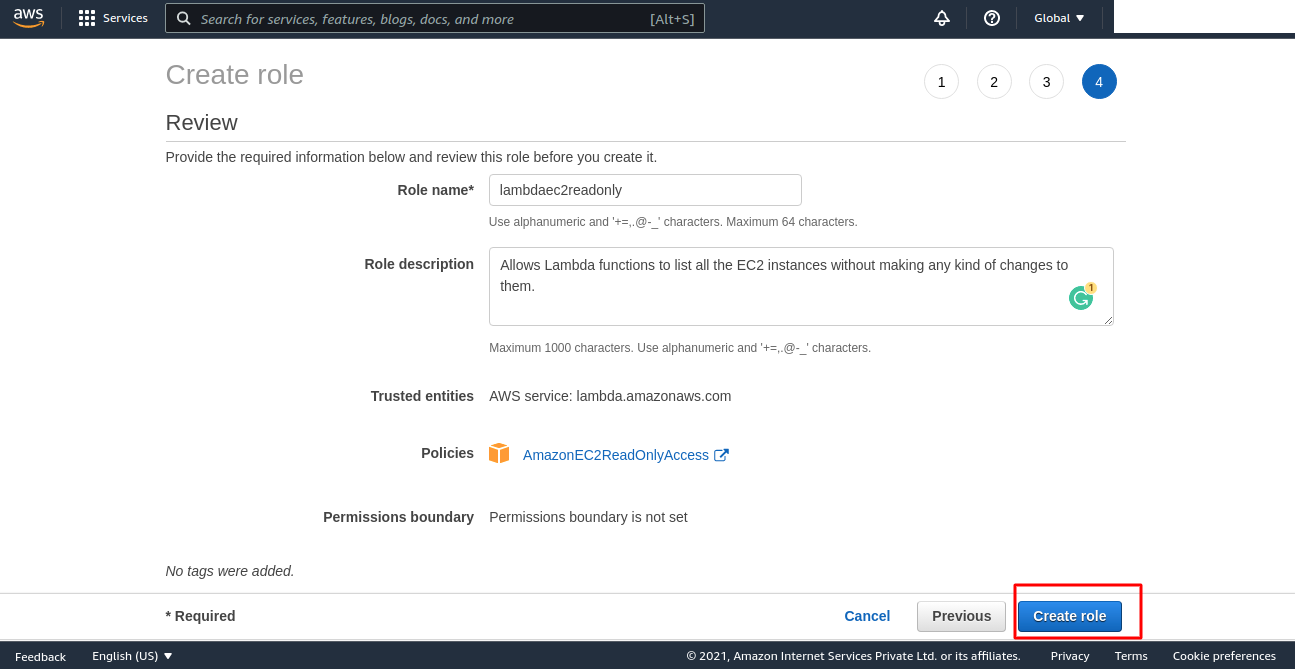
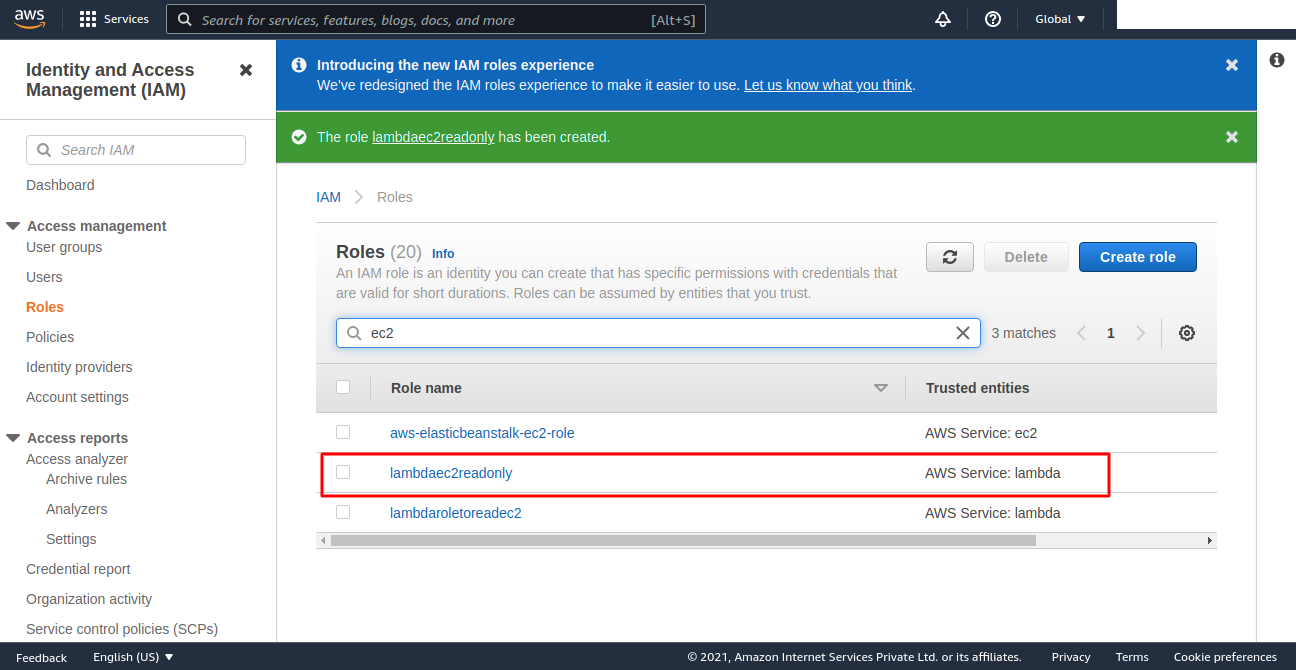
(vi) Role has been created successfully, you can check by searching using your role name – ‘lambdaec2readonly’.
Step 12 – Change Role name
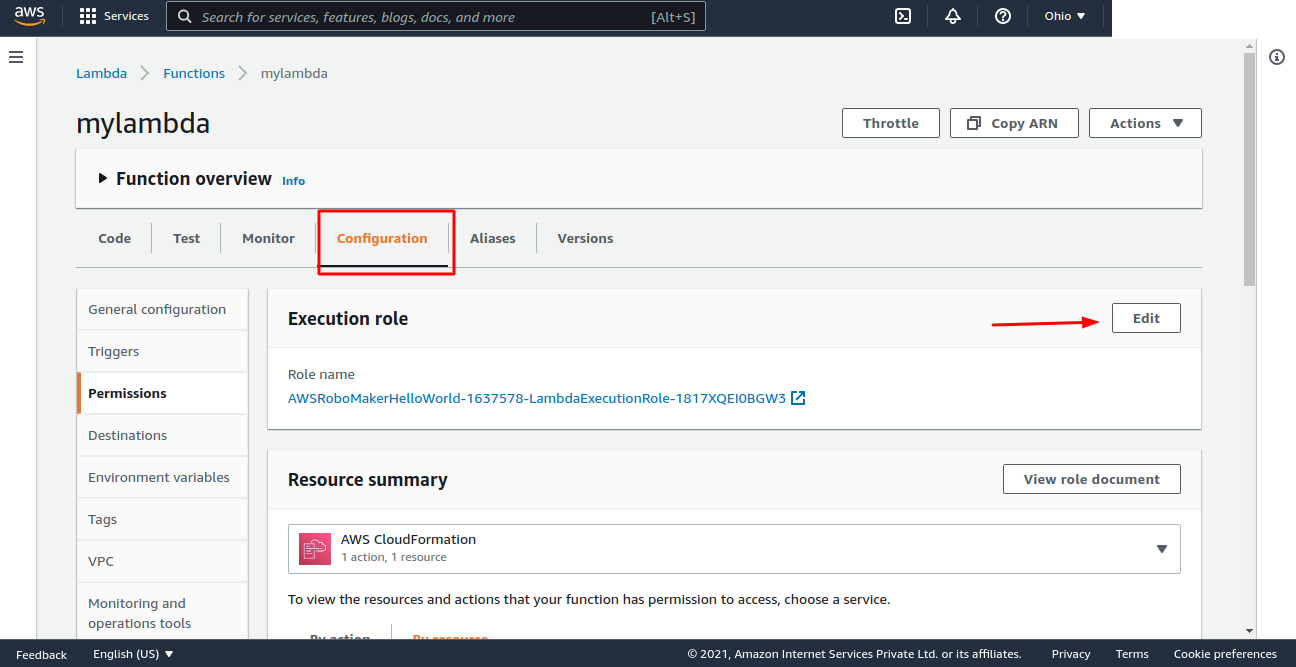
Again navigate LAMBDA under AWS Management close. Click on your created function and look for ‘Configurations’ to change the Role name. Click on ‘Edit’ for this.
Step 13 – Change IAM role
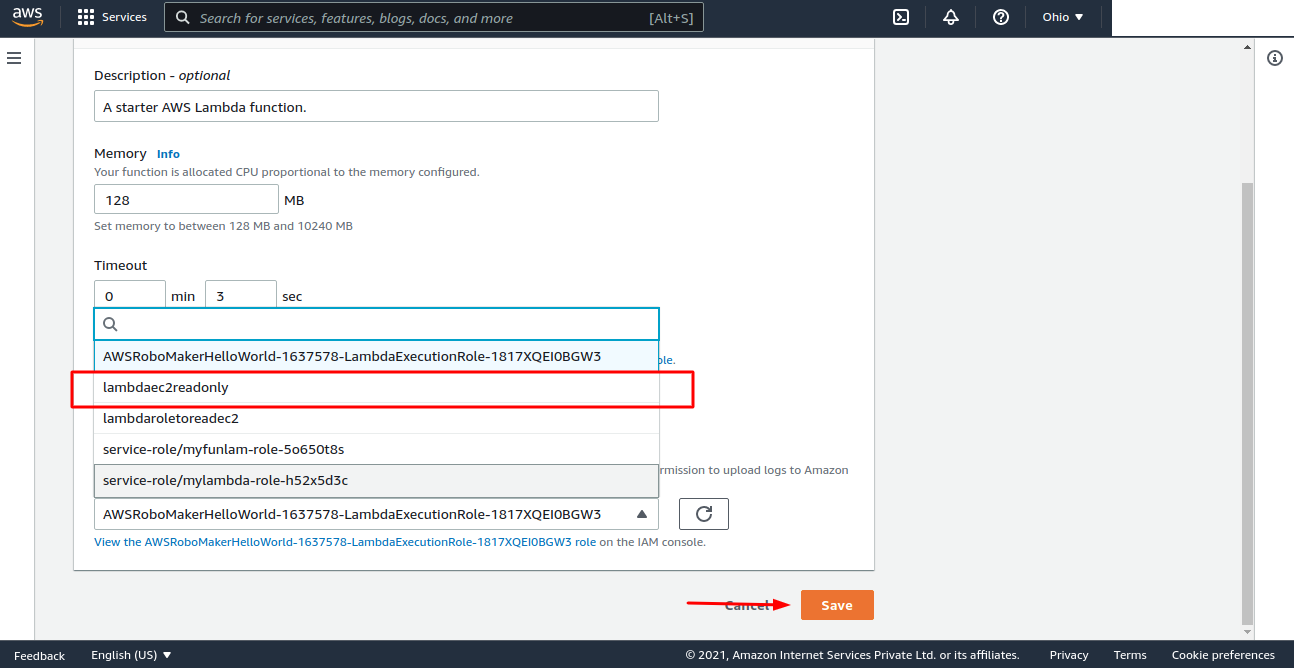
In Basic settings, under the Execution role please search for the role that you have created i.e., lambdaec2readonly. Choose this role and then click on ‘Save’.
You have successfully created the IAM role required to execute the lambda code.
Step 14 – Test the code Again
Now, test the code again to check whether we have got the IAM role permission or not.
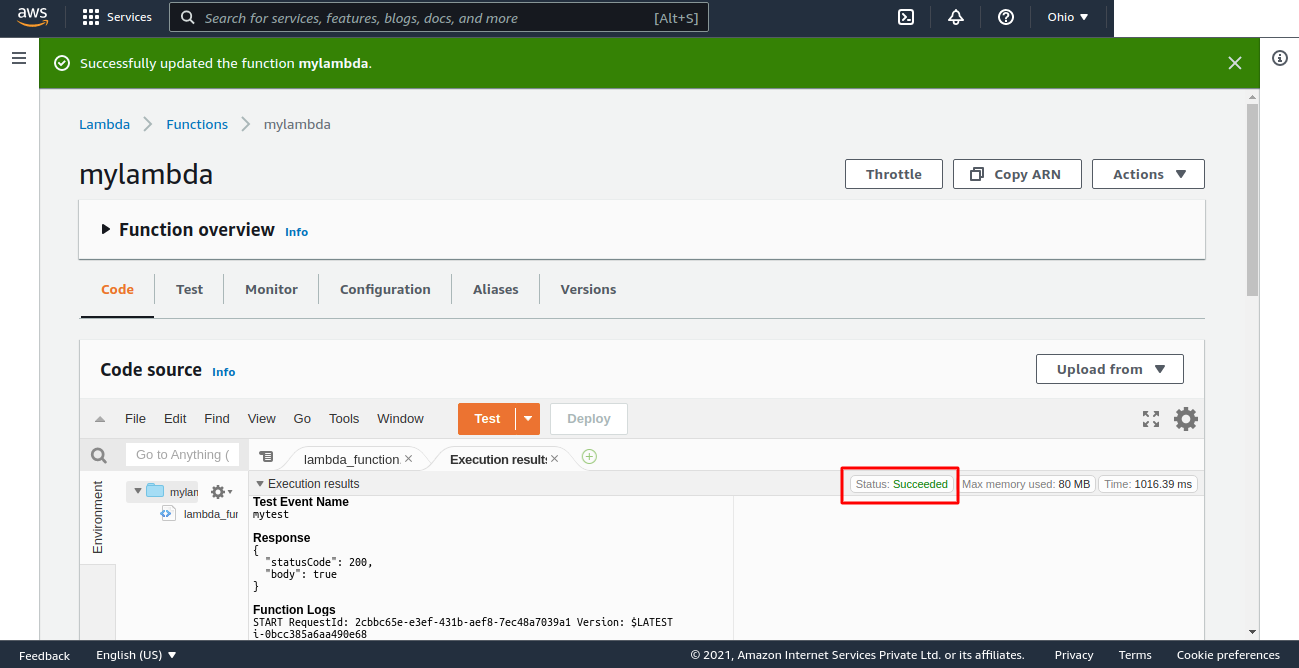
Your code has been executed properly. You can check the status of the execution i.e., SUCCEEDED.
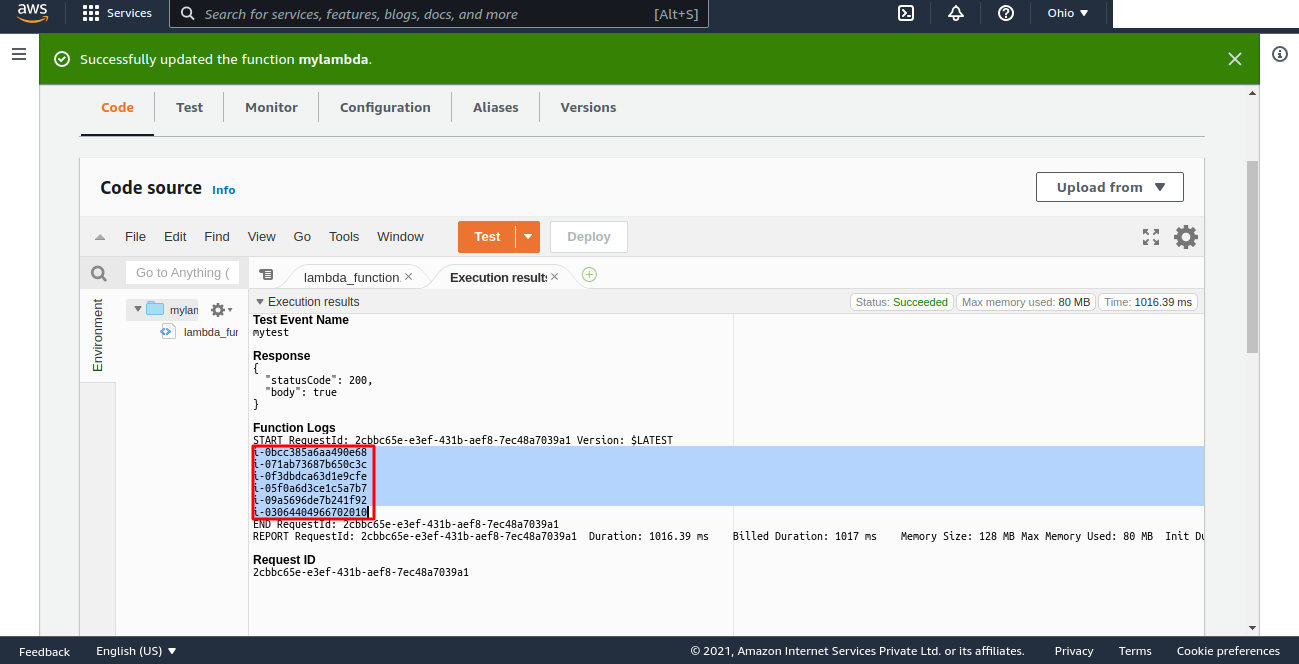
Step 15 – Final/Execution Result
Your code has been executed successfully.
The results are those EC2 instances that are available in our AWS account. You can cross these instances as we have already mentioned the instance IDs in the initial phase of this installation.
Hope you are clear with each and every step of the installation guide as we tried to give you a simple way to create a LAMBDA Function in AWS.
Conclusion
This is the first step in learning how to launch applications without the requirement for server provisioning or management.
Lambda scales your applications automatically by executing your code in response to each trigger, adjusting to the size of your workload.
This was a basic function that we have used to execute lambda. You can perform more actions by manipulating your code.
In future blogs, we will be sharing more updates with you about the latest technologies and will keep updating you.
Need Support?
Thank You for reading this Blog!
For further more interesting blogs, keep in toudch with us. If you need any kind of support, simply raise a ticket at https://webkul.uvdesk.com/en/.
For further help or queries, please contact us or raise a ticket.

Be the first to comment.