What is Shopware
Shopware is an integrated tool for marketing and creating online stores.
Apart from other solutions such as Shopify or PrestaShop, many businesses are starting to see Shopware as the perfect tool to create their e-commerce platforms.

Prerequisites for Shopware installation-
1- Ubuntu-20.04 instance
2- SSH access of the root users or any user with full privileges is mandatory.
Step 1 – Log in to your EC2 instance with SSH for installation.
Take the SSH access of the EC2 instance with the below command
|
1 |
ssh -i pem.key ubuntu@IP_address |

Step 2 – Install the Apache web server
Log in to the root user to update the packages and then install the APACHE web server:-
|
1 2 3 |
sudo -i apt update -y apt install apache2 -y |

Step 3 – Install the PHP 8.1 version
To install the PHP 8.1 version, follow the below commands:-
However, Make sure all the packages are updated or upgraded on the server:-
|
1 2 |
apt update -y apt -y upgrade |
Add Ondřej Surý PPA repository
|
1 |
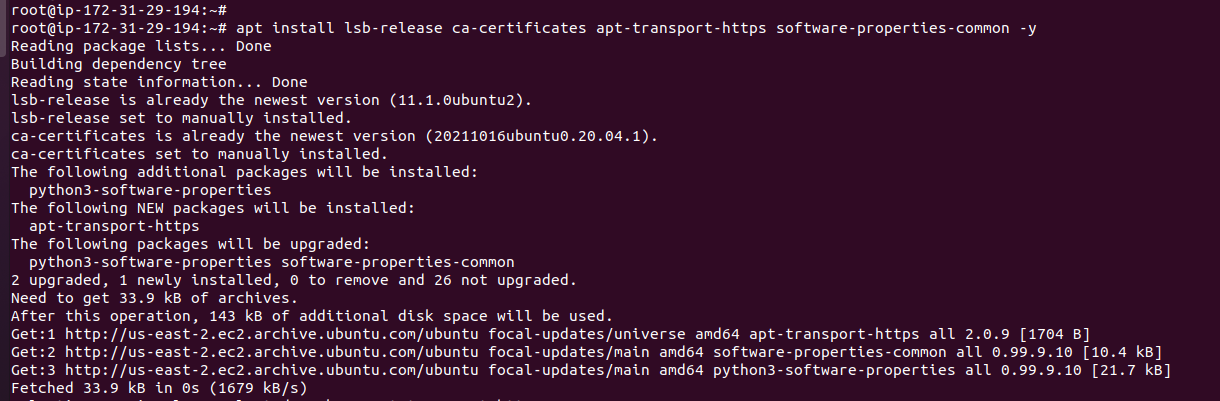
apt install lsb-release ca-certificates apt-transport-https software-properties-common -y |
|
1 |
add-apt-repository ppa:ondrej/php |
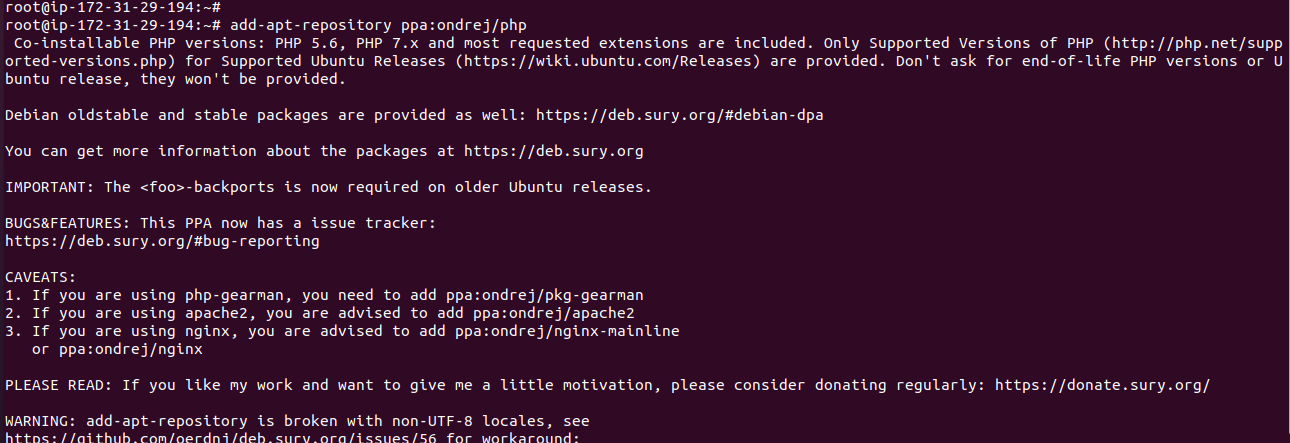
Note – Further, this command will ask for input. Just press <Enter> to continue.
Update the repository with the below command:-
|
1 |
apt update -y |
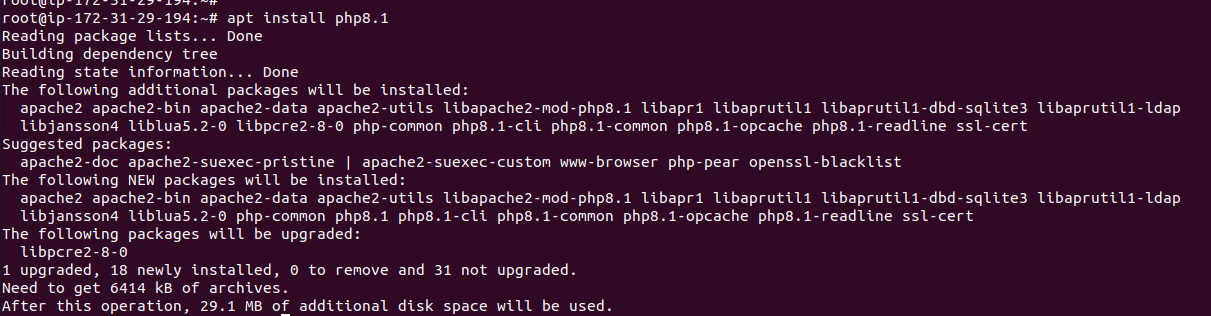
Now install PHP 8.1 on Ubuntu. Run the below command:-
|
1 |
apt install php8.1 |
Install all PHP extensions and dependencies with the below command:-
|
1 |
apt install php8.1-{bcmath,xml,fpm,mysql,zip,intl,ldap,gd,cli,bz2,curl,mbstring,pgsql,opcache,soap,cgi} |

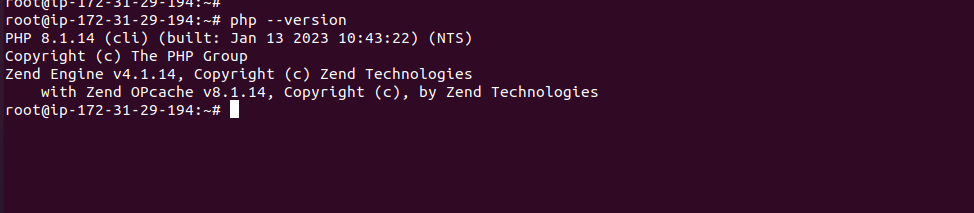
Further, Check the PHP version and PHP modules with the below commands:-
|
1 |
php -v |
|
1 |
php -m |
Now, make some changes in the PHP variable values with the below commands:
|
1 |
sed -i "s/memory_limit = .*/memory_limit = 1024/" /etc/php/8.1/apache2/php.ini |
|
1 |
sed -i "s/post_max_size = .*/post_max_size = 1024M/" /etc/php/8.1/apache2/php.ini |
|
1 2 3 4 |
sed -i "s/max_execution_time = .*/max_execution_time = 1024M/" /etc/php/8.1/apache2/php.ini sed -i "s/upload_max_filesize = .*/upload_max_filesize = 500M/" /etc/php/8.1/apache2/php.ini |
After the PHP changes, make sure to restart the Apache service.
|
1 |
systemctl restart apache2 |
Step 4 – Installation of MariaDB Database server with the below steps:-
Note- We have two options for managing the Database service with our website.
case1:- we can manage the database service from the localhost with the following commands:-
Run the below command for the Maraidb server installation:-
|
1 |
apt install mariadb-server mariadb-client -y |
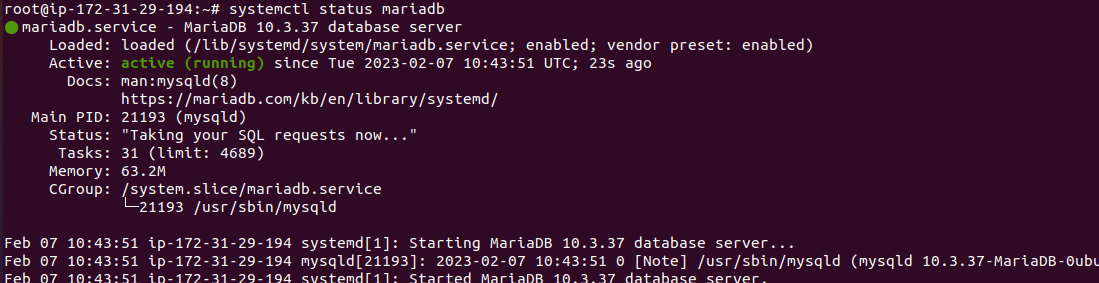
Then, Check the status of the MariaDB server with the below commands:-
|
1 |
systemctl status mariadb |

Start and stop the MariaDB server with the below commands:-
|
1 |
systemctl stop mariadb |
|
1 |
systemctl start mariadb |
Once MariaDB is installed, run the below command to configure the database configurations:-
|
1 |
mysql_secure_installation |
Note – Choose the default option and set the MariaDB root password.
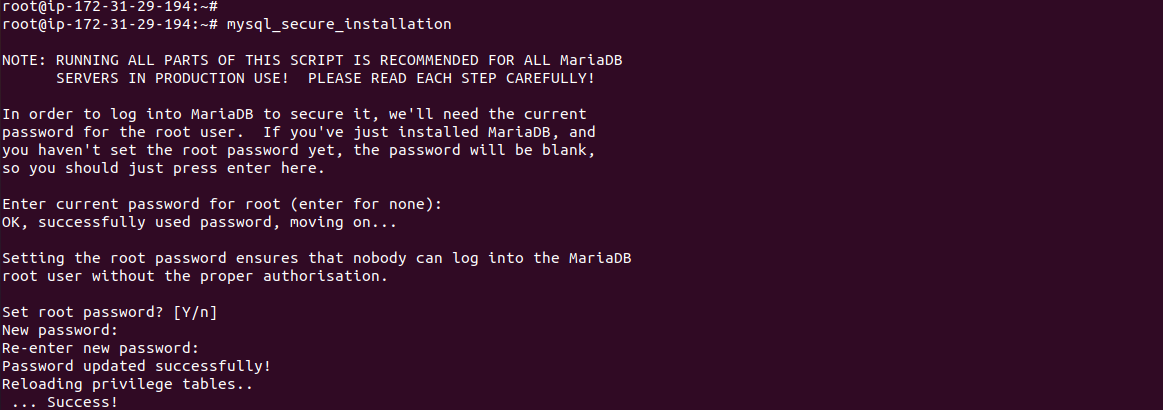
When prompted, answer the questions below by following the guide.
- Enter current password for root (enter for none): Press Enter
- Set root password? [Y/n]: Y
- New password: Enter the new password
- Re-enter new password: Enter the new password
- Remove anonymous users? [Y/n]: Y
- Disallow root login remotely? [Y/n]: Y
- Remove the test database and access to it? [Y/n]: Y
- Reload privilege tables now? [Y/n]: Y
Restart the MariaDB service after the configurations:-
|
1 |
systemctl restart mariadb |
Case 2:- We can also use the AWS service (RDS) for managing the database service.
Amazon RDS makes it easy to use replication to enhance availability and reliability for production workloads.
Amazon’s Relational Database Service is a cloud-native database platform that is truly awesome and a real opportunity to save time, eliminate the hassle, and improve performance.
Firstly you have to launch an RDS and then configure it with your AWS EC2 instance.
The below command is used for connectivity with the RDS database:-
|
1 2 |
mysql -u username -p -h [endpoint] CREATE DATABASE shopware; |
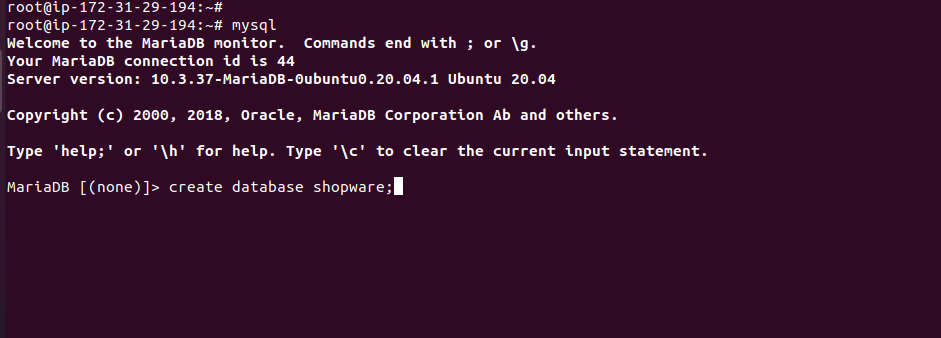
Step 5 – Create the database and DB user:-
First, go to the MySQL Shell and run the below commands:-
|
1 |
mysql |
|
1 |
create database shopware; |
Further, create the DB user for Shopware
|
1 |
CREATE USER 'admin'@localhost IDENTIFIED BY 'admin@123'; |

Then, grant the privileges to the user for managing the database.
GRANT ALL PRIVILEGES ON shopware.* TO ‘admin’@localhost IDENTIFIED BY ‘admin@123’;

Now, save all the changes and exit from the MySQL shell with the below command:-
|
1 |
FLUSH PRIVILEGES; |
|
1 |
EXIT; |
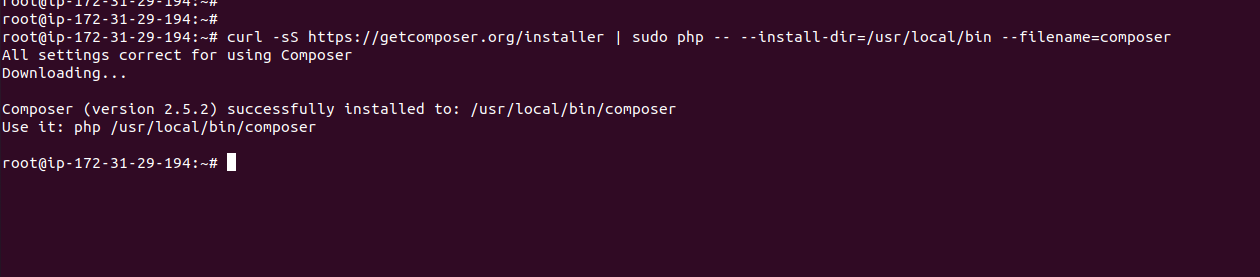
Step 6 – Download the latest release 5.6 of Shopware:-
For installation of Shopware, we need to install curl and git for a composer with the below commands:-
|
1 |
apt install curl git -y |
|
1 |
curl -sS https://getcomposer.org/installer | sudo php -- --install-dir=/usr/local/bin --filename=composer |
Now, Go to the default document root folder to download the project of Shopware.
Follow the below steps:-
Before Downloading, make sure the unzip command is installed on the Server.
|
1 |
apt install unzip -y |
|
1 |
cd /var/www/html |
|
1 |
composer create-project shopware/composer-project shopware --stability=dev |
|
1 |
cd /var/www/html/shopware |
|
1 |
./app/bin/install.sh |
|
1 |
./app/bin/post-install.sh |
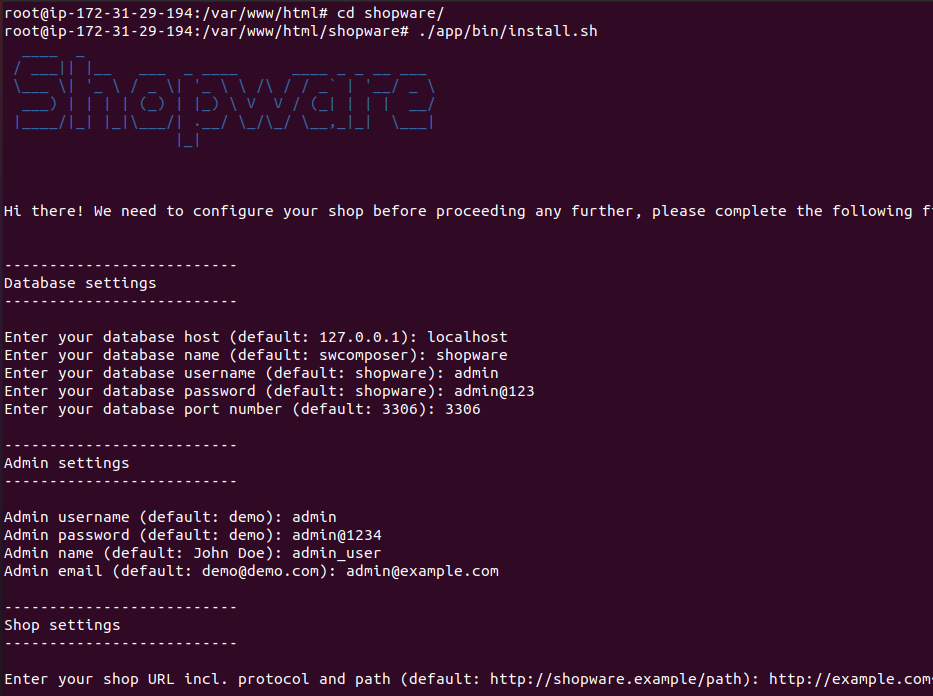
Now, we have to put in some input after executing the install.sh script:-
|
1 2 3 4 5 6 7 8 9 10 |
<code>Enter your database host (default: 127.0.0.1): localhost Enter your database name (default: swcomposer): shopware Enter your database username (default: shopware): admin Enter your database password (default: shopware): admin@123 Enter your database port number (default: 3306): 3306 Admin username (default: demo): admin Admin password (default: demo): admin@1234 Admin name (default: John Doe): admin_user Admin email (default: demo@demo.com): admin@your_domain-name</code> |
Enter your shop URL incl. protocol and path (default: http://shopware.example/path): http://your_domain-name
Would you like to install demo data? (Y/n) y
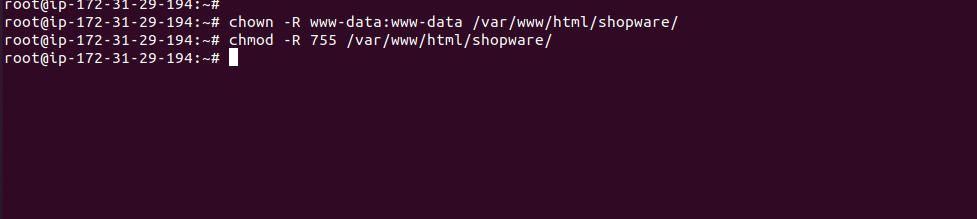
Provide the default permission for normal functions:-
|
1 |
chown -R www-data:www-data /var/www/html/shopware |
|
1 |
chmod -R 755 /var/www/html/shopware |
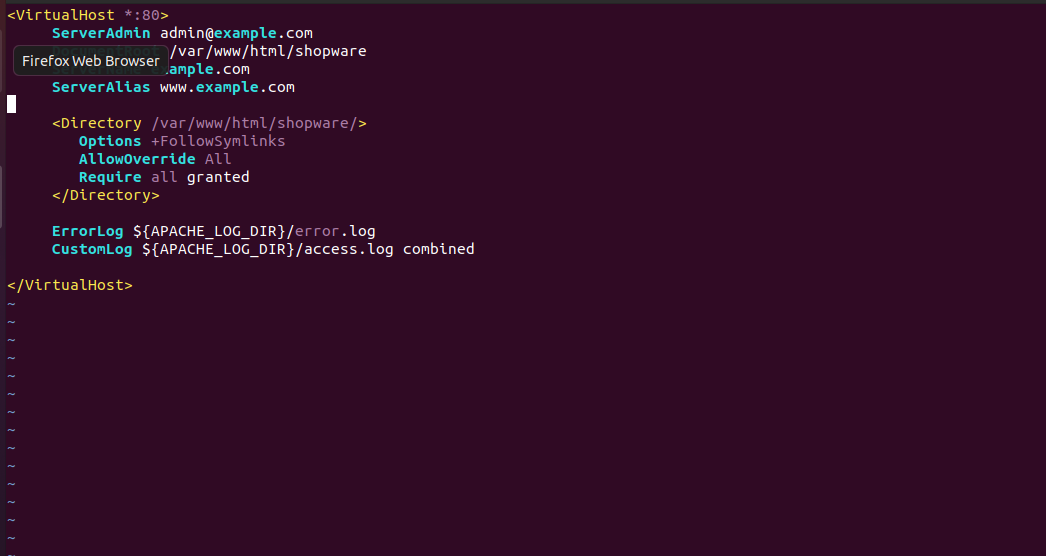
Step 7 – Configure the Virtual host of apache2
Now, we have to set the apache2 virtual host for managing the Shopware content with the below commands:-
|
1 |
vi /etc/apache2/sites-available/shopware.conf |
Now, exit from the vi editor and run the below command:-
|
1 |
a2ensite shopware.conf |
|
1 |
a2enmod rewrite |
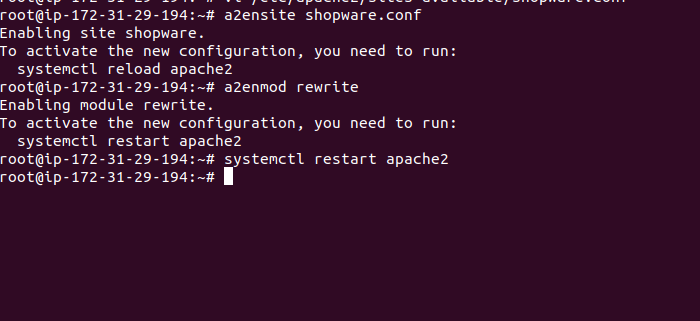
Restart the Apache2 webserver service with the following command:-
|
1 |
systemctl restart apache2 |
Your Shopware is configured successfully, open the browser and check with the domain URL.
http://your_domain_name
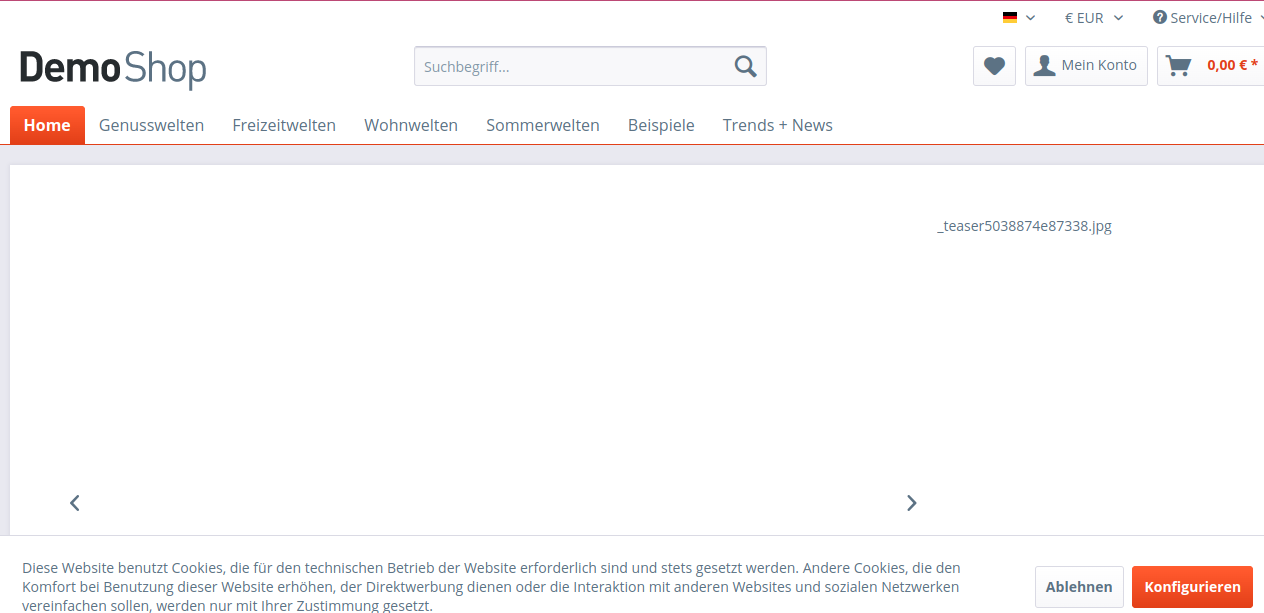
Great, Your Shopware website is successfully installed on ubuntu-20.04.
Need Support?
Thank You for reading this Blog!
For further more interesting blogs, keep in touch with us. Also if you need any kind of support, simply raise a ticket at https://webkul.uvdesk.com/en/.
You may also check our quality Shopware Extensions.
You may also visit our Shopware Demos https://shopware6demo.webkul.com/homepage.html
For further help or queries, please contact us or raise a ticket.

Be the first to comment.