SonarQube is an open-source platform for continuous code quality inspection.
Static code analysis is performed by Sonar, which results in a full report of flaws, code smells, vulnerabilities, as well as code duplications.
However, It comes with built-in rulesets for 25+ main programming languages and may be expanded with plugins.
Benefits of SonarQube
- Sustainability – Reduces application complexity, potential vulnerabilities, and code duplications, extending program life.
- Increase productivity – Reduces the application’s size, cost of maintenance, and risk; as a result, it eliminates the need to spend more time modifying the code.
- Quality code – Controlling the quality of code is an inextricable aspect of the software development process.
- Detect Errors – Detects errors in code and immediately warns developers to repair them before submitting them for output.
- Increase consistency – Identifies when the coding criteria have been broken and improves quality.
- Scalability of the business – There is no limit to the number of projects that can be reviewed.
- Enhance developer skills – Providing developers with regular feedback on quality issues allows them to improve their coding abilities.
Prerequisite
Before you begin, be certain you match the following requirements:
- Need Sudo privilege and the Ubuntu version must be 20.04 LTS.
- Make sure your computer has at least 4GB of RAM and 2 virtual CPU cores.
How to set up SonarQube on AWS
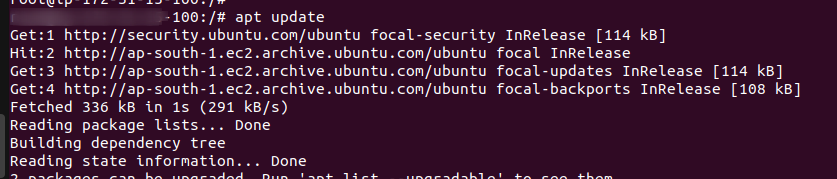
Run Ubuntu system update # apt update
In my case, java is already installed if not installed in your system then Install Java OpenJDK # apt install openjdk-11-jre-headless.

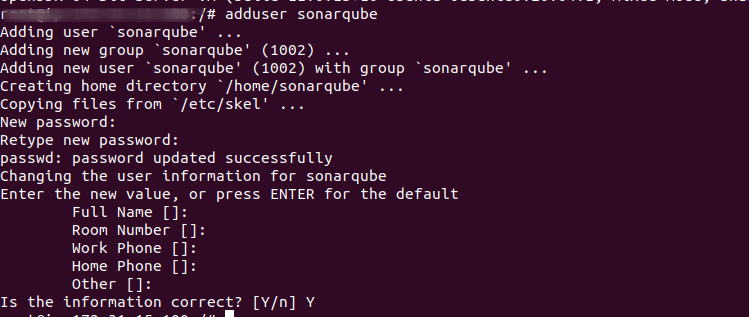
Create a dedicated user. # adduser sonarqube
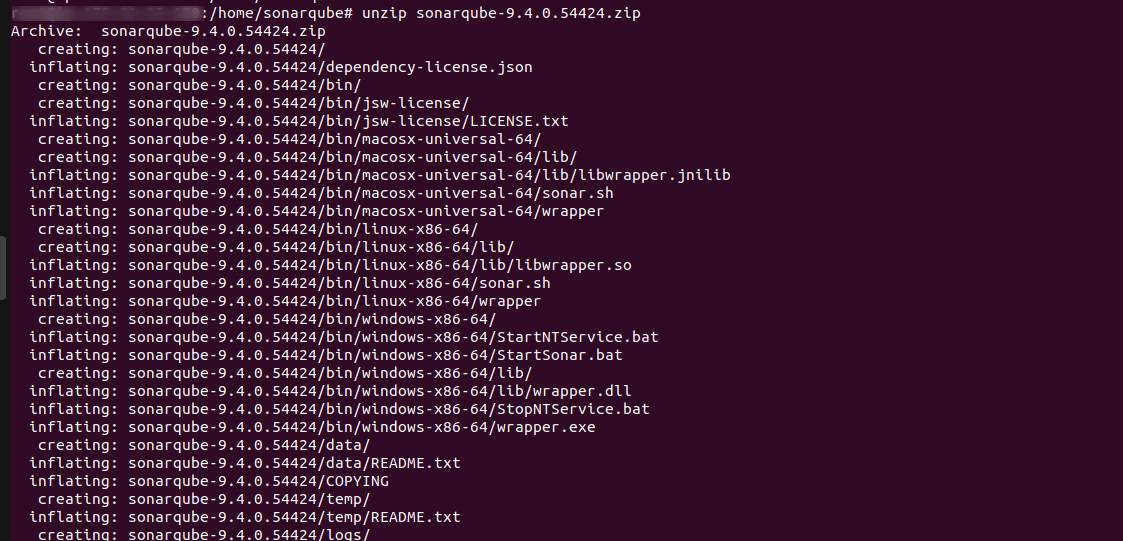
Go to its root directory, Download, and Setup from HERE.
# wget https://binaries.sonarsource.com/Distribution/sonarqube/sonarqube-9.4.0.54424.zip

Unzip it by using the unzipping command.
Assigning permission and ownership.
# chmod -R 755 /home/sonarqube/sonarqube-9.4.0.54424
# chown -R sonarqube:sonarqube /home/sonarqube/sonarqube-9.4.0.54424

Then, Go to the Sonarqube /bin/linux-x86-64 and start the service.

Check if the service is listening to port 9000.

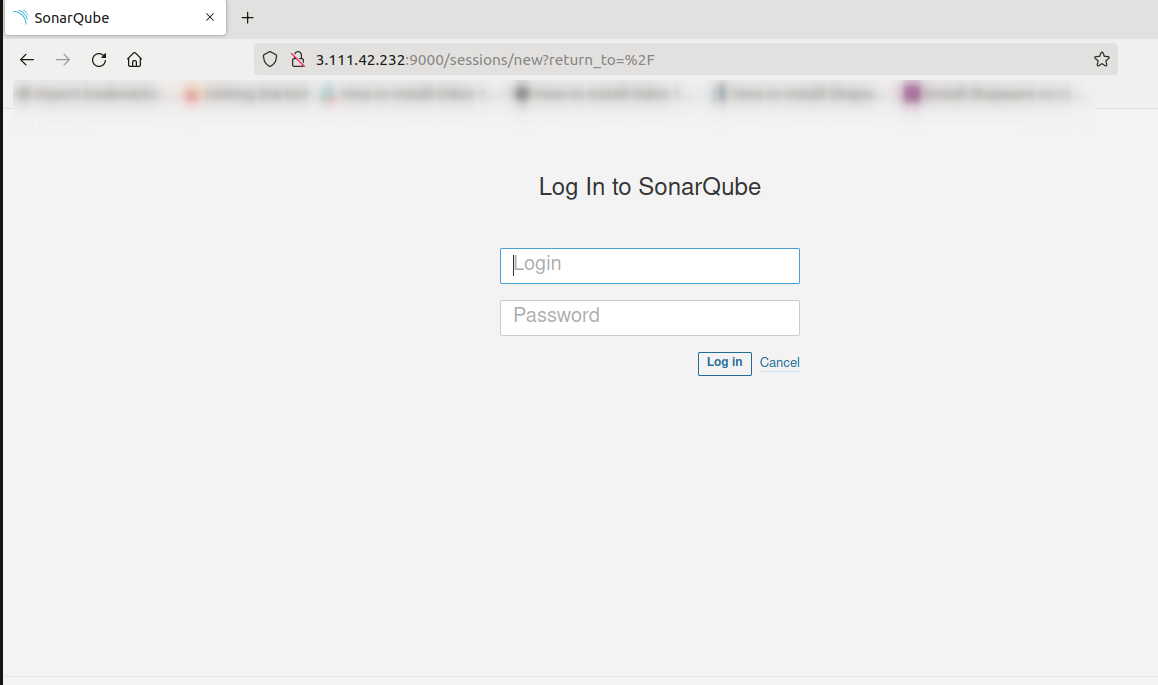
Now, Using the Web Interface http://your-Instance-public-IP:9000
Conclusion
In this way, you can set up it on AWS EC2. You can stay connected for further updates.
For further help or queries, please contact us or raise a ticket.
Be the first to comment.