In this blog, we’ll learn Magento 2.4.6 Installation On Ubuntu 22.04. You can follow more blogs for Magento 2.4 Installation on Windows and macOS.
Regardless of whether it’s B2B or B2C, an eCommerce platform is the backbone of an online enterprise. The best eCommerce platform also promotes the mechanism of the market interaction processes with clients, workers, and customers.
Therefore, you can’t survive online if you don’t have a strong e-commerce site. Thus, in widening and growing the market, the right e-commerce platform plays a very important role, like Magento.
What’s The Magento, Exactly?
Magento is an open-source eCommerce platform that provides online shoppers with a versatile shopping cart interface. Also provides control over their online store’s look, content, and usability of their online store.
Therefore, it facilitates effective marketing, optimization of search engines, and tools for catalog management.
Installation Requirements For Magento 2.4.6:
Operating systems (Linux x86-64)
- Distributions of Linux, including RedHat Enterprise Linux (RHEL), CentOS, Ubuntu, Debian, etc.
Memory requirement
- Magento 2.4.6 requires 4 GB or higher RAM.
Composer
- Composer 2.2.x
Web servers
- Apache 2.4
- Nginx 1.x
Database
- MySQL 8.0
- MariaDB 10.6
PHP
Magento 2.4.0 supports PHP 7.4
Magento 2.4.6 supports PHP 8.1
Elasticsearch
- Elasticsearch 7.17
- Elasticsearch 2.x, 5.x, and 6.x are no longer supported by Magento
To get detailed information about system requirements, just visit the mentioned link: https://devdocs.magento.com/guides/v2.4/install-gde/system-requirements.html
What We’re Going To Use:
- OS: Ubuntu 22.04
- SERVER: Apache 2
- RAM: 4 GB
- PHP: 8.1
- MY SQL: 8.0
- Composer: 2.2.x
- Elasticsearch: 7.17
Magento 2.4.6 Installation
So let’s move to the installation part.
STEP 1: Log in to your Ubuntu Server
Log in to your Ubuntu Server by executing the command mentioned below:
|
1 2 3 |
chmod 400 /path to .pem file ssh -i ".pem file" ubuntu@ec2-ip_address.compute-1.amazonaws.com |
STEP 2: Install Apache2, PHP , and its modules
Apache, PHP, and its module are needed for the Magneto backend. Use below mentioned commands to install the packages.
|
1 2 3 4 5 6 7 8 |
sudo apt update sudo apt install apache2 sudo systemctl start apache2.service sudo systemctl enable apache2.service sudo apt-get install -y software-properties-common sudo add-apt-repository ppa:ondrej/php sudo apt-get update sudo apt install php8.1 libapache2-mod-php8.1 php8.1-common php8.1-gmp php8.1-curl php8.1-soap php8.1-bcmath php8.1-intl php8.1-mbstring php8.1-xmlrpc php8.1-mysql php8.1-gd php8.1-xml php8.1-cli php8.1-zip |
Check the version of PHP, then allow the PHP-module apache and the rewrite-apache module.
|
1 2 3 4 |
php -v sudo a2enmod php8.1 sudo a2enmod rewrite sudo service apache2 restart |
STEP 3: Install the Composer
|
1 2 |
sudo apt install composer |
STEP 4: SSH User creation
Presently, we were in our server’s root user, but due to security issues, we do not keep our application code in the directories of the root user. So, we have to create another SSH user for this.
Create an SSH user who will be the owner of the application code. I created an SSH user with the name “magento.” You can pick any name you want.
|
1 |
sudo adduser magento |
Eventually, this prompts a password window where you can set the password. Also, the remaining fields can be left empty by simply pressing the enter key. Additionally, after creating a user, we will switch to a new user.
STEP 5: Download Magento 2.4.6 by using the composer:
To install magento2 with composer, first, create the Access keys of Magento marketplace. If you have an account on Magento Marketplace, simply sign in and generate the access keys.
If you don’t have an account, create an account by registering yourself on marketplace.magento.com
To generate Access keys, log in to Magento marketplace, and from the top right corner of the page where your user name is displayed, navigate to My profile > Marketplace > My products > Access Keys
After all, create a new pair of Access keys. You need to provide the public Key as a username and the Private Key as a password when prompted.
|
1 2 3 |
cd /home/magento sudo composer config --global http-basic.repo.magento.com xx_your_public_key_xx xx_your_private_key_xx sudo composer create-project --repository-url=https://repo.magento.com/ magento/project-community-edition=2.4.6 magento2 |
STEP 6: Apache configuration
However, to support the web pages we will configure Apache. So, we need to switch again to the root user for configuring Apache.
|
1 2 3 |
sudo nano /etc/apache2/sites-enabled/000-default.conf |
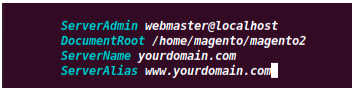
You will find the following lines as shown below, after executing the above command.

Besides that, change this to :
ServerAdmin webmaster@localhost
DocumentRoot /home/magento/magento2
ServerName localhost
We are using localhost but you can define your domain name
Save it, and exit after this.
Furthermore, configure the envvars file by executing the below command:
|
1 2 3 |
sudo nano /etc/apache2/envvars |
And find these lines :

Modify the Apache SSH username in this way :
export APACHE_RUN_USER=magento
export APACHE_RUN_GROUP=magento

And configure file apache2.conf by the following command:
|
1 2 3 |
sudo nano /etc/apache2/apache2.conf |
Although, you will find the block code shown below:
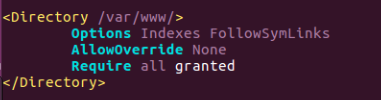
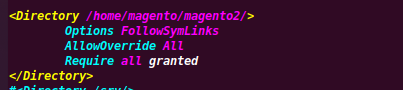
Modify it to the following code:
<Directory /home/magento/magento2/>
Options FollowSymLinks
AllowOverride All
Require all granted
</Directory>
Save the file then exit it, and run the below command to check if any issues –
#apache2ctl -t
#systemctl restart apache2
Meanwhile, make some changes to the php.ini file
|
1 2 3 |
sudo nano /etc/php/8.1/apache2/php.ini |
file_uploads = On
allow_url_fopen = On
short_open_tag = On
memory_limit = 256M
upload_max_filesize = 100M
max_execution_time = 360
date.timezone = America/Chicago
Save and exit, the php.ini file, and then run the command below:
|
1 2 3 |
sudo service apache2 restart |
STEP 7: Install MySql server
Install MYSQL Server for database creation by executing the following commands and when a password is asked after the below two commands, simply press ENTER
|
1 2 3 4 5 6 7 8 9 |
sudo apt-get install mysql-server sudo mysql -u root -p create database magento2; CREATE USER 'magento2user'@'localhost' IDENTIFIED BY 'magento'; GRANT ALL ON magento2.* TO 'magento2user'@'localhost' WITH GRANT OPTION; flush privileges; exit; |
STEP 8: Install the Elastic Search
Similarly, Install the Elastic Search to move further
|
1 2 3 4 |
apt-get install apt-transport-https wget -qO - https://artifacts.elastic.co/GPG-KEY-elasticsearch | apt-key add - echo "deb https://artifacts.elastic.co/packages/7.x/apt stable main" | tee -a /etc/apt/sources.list.d/elastic-7.x.list apt update && apt-get install elasticsearch |
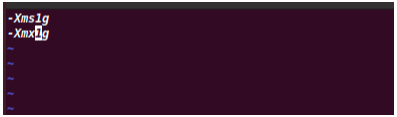
After the installation of Elasticsearch, define the memory for Elasticsearch
vim /etc/elasticsearch/jvm.options.d/custom.options
-Xms1g
-Xmx1g
|
1 2 3 4 |
service elasticsearch start sysctl -w vm.max_map_count=262144 echo "vm.max_map_count=262144" | tee /etc/sysctl.d/elasticsearch.conf service elasticsearch restart |
STEP 9: Install Magento 2.4.6
Likewise, execute the commands below to install Magento 2 by using the required variables such as host, database name, username, password, etc.
|
1 2 3 |
cd /home/magento/magento2 sudo bin/magento setup:install --base-url=http://Public IP Address or Domain Name --db-host=localhost --db-name=magento2 --db-user=magento2user --db-password=magento --admin-firstname=Admin --admin-lastname=User [email protected] --admin-user=admin --admin-password=admin123 --language=en_US --currency=USD --timezone=America/Chicago --use-rewrites=1 |
when this command is successfully executed, the output will be identical as seen in the image below:

|
1 |
sudo service apache2 restart |
STEP 10: Enable the rewrite module, give the permission and restart the apache2 service
|
1 2 3 4 5 6 |
sudo a2enmod rewrite sudo chmod -R 755 /home/magento/magento2 sudo chown -R magento:magento /home/magento/magento2 sudo systemctl restart apache2.service |
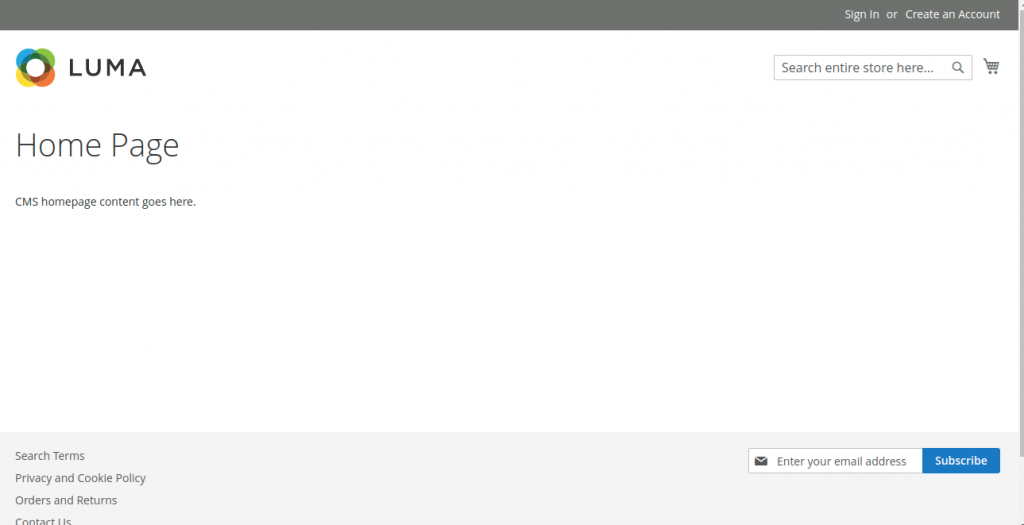
The installation of Magento2 has been successfully completed, go to your browser and enter the IP address of your EC2 instance or domain name.
As a result, the homepage of your default eCommerce website will be like this:
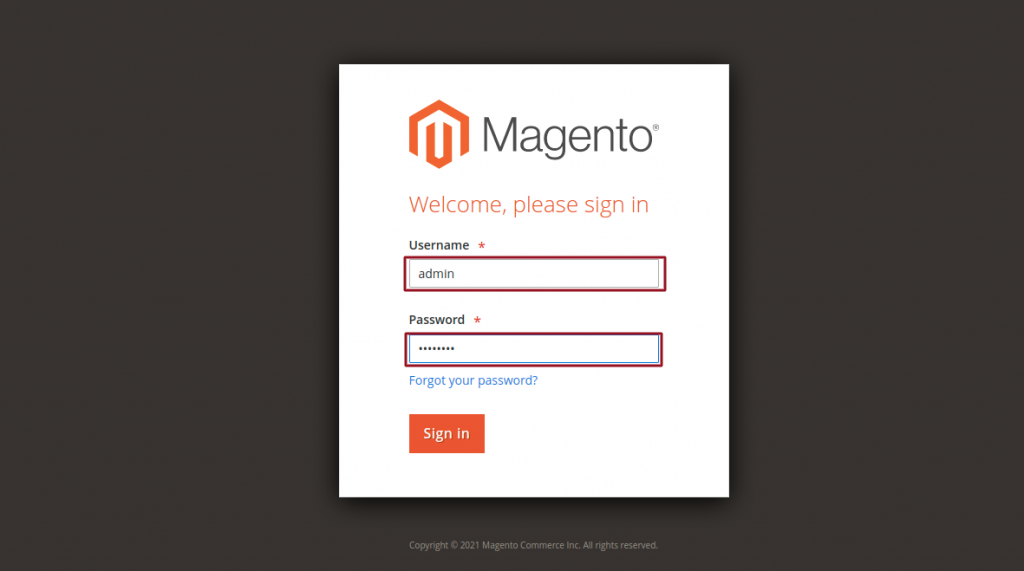
STEP 11: Magento configuration
After following all the above steps, you can now access your admin panel by using your credentials. Therefore, the admin login will open as in the image below.
You can find admin login details in env.phpfile
#cat /home/magento/magento2/app/etc/env.php

Then you can login to – http://yourdomain/admin_5gxvjf
You can’t log in to the Magento Admin Panel after installation since two-factor authentication has been implemented in Magento 2.4.6.
Hence, a page similar to the one below will open.
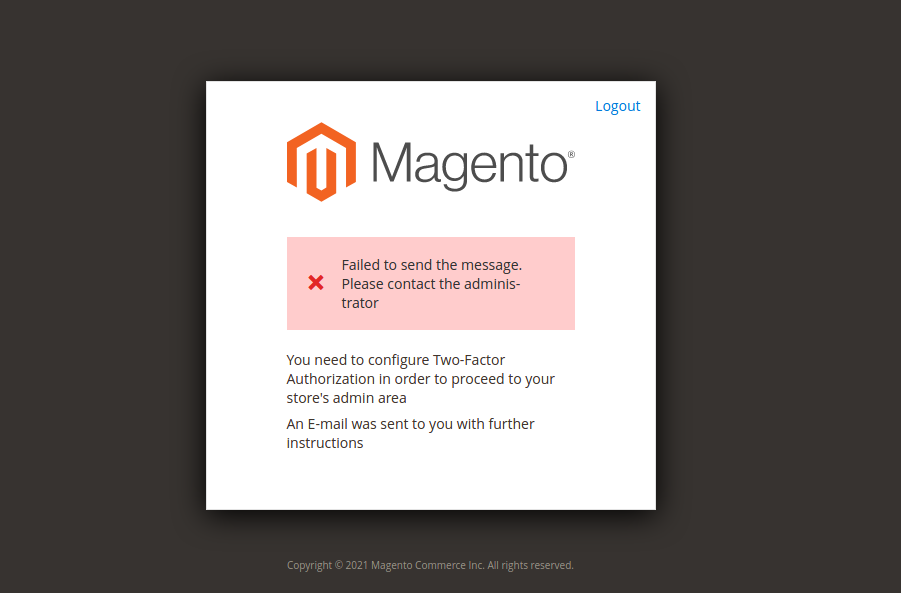
Moreover, to log in, you need a working email id. Then Magento sends an email to authenticate the given email ID.
In order to log in to your Magento panel, the default flow is to first disable the 2-factor authentication and later on setting up it again.
Thus, we can disable 2FA by using the below command in the Magento web root directory:
|
1 2 3 4 5 6 7 |
#php bin/magento module:disable Magento_AdminAdobeImsTwoFactorAuth #php bin/magento module:disable Magento_TwoFactorAuth #sudo chmod -R 755 /home/magento/magento2 #sudo chown -R magento:magento /home/magento/magento2 |
**We highly recommend you continue with 2-factor authentication**
At last, the admin panel is accessible. In addition, this is what the default admin dashboard looks like.
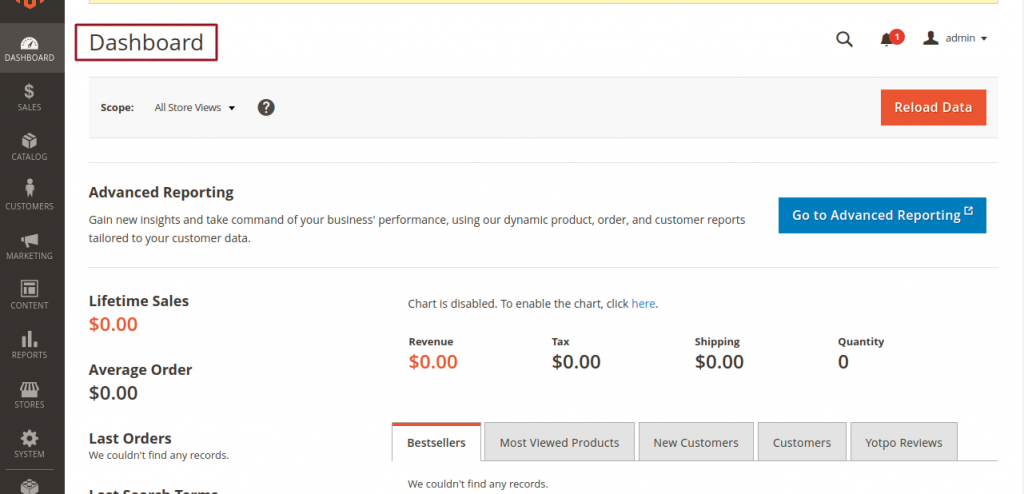
In short, your Magento 2.4.6 e-commerce platform is ready to use.
Thanks For Reading!
At last, we hope it works for you! And during this blog, you have found something valuable.
Keep in touch!!
Need Support?
Thank You for reading this Blog!
For further more interesting blogs, keep in touch with us. If you need any kind of support, simply raise a ticket at https://webkul.uvdesk.com/en/.
You may also visit our Odoo development services and quality Odoo Extensions.
For further help or queries, please contact us or raise a ticket.

Just wanted to take a moment to thank you for your Magento installation guide! It was incredibly helpful and made the process so much smoother. I really appreciate the time and effort you put into it – it saved me a lot of hassle. Thanks again!”