In this tutorial, we will learn how to deploy Bagisto version 2.1.X on Heroku.
What is Heroku?
Heroku is a containerized cloud platform as a service (PaaS). It allows developers to deploy, manage, and scale modern apps.
The platform is attractive, adaptable, and simple to use, providing developers with the quickest path to market for their products.
Heroku is entirely managed, allowing developers to focus on their core product without worrying about servers, hardware, or infrastructure.
Its experience includes services, tools, workflows, and polyglot support, all of which are intended to increase developer productivity.
What is Bagisto?
Bagisto is an e-commerce platform built on top of the most popular open-source technologies, including Laravel, a PHP framework, and Vue.js, a progressive Javascript framework.
It is appropriate for all small and large E-Commerce business requirements, with a straightforward setup method.
Built on top of Laravel, with easy product information management.
Prerequisites
- A Heroku account (Sign up if you do not have one)
- Heroku CLI
- A system on which git, composer, and php v8.1 are installed as you want to run some commands related to this.
Steps to deploy Bagisto on Heroku –
Step 1 – Create a Heroku app
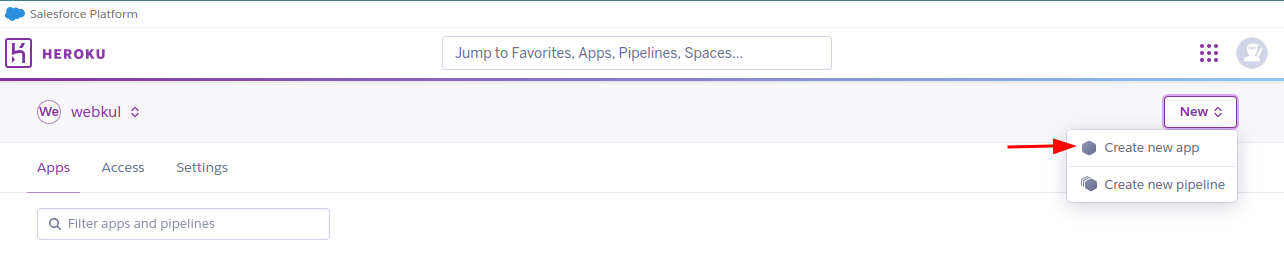
(i) First, sign in to your account and create an app in Heroku.
In the main dashboard, under your profile image, there is a ‘New’ button, you can use the button to Create a new App.
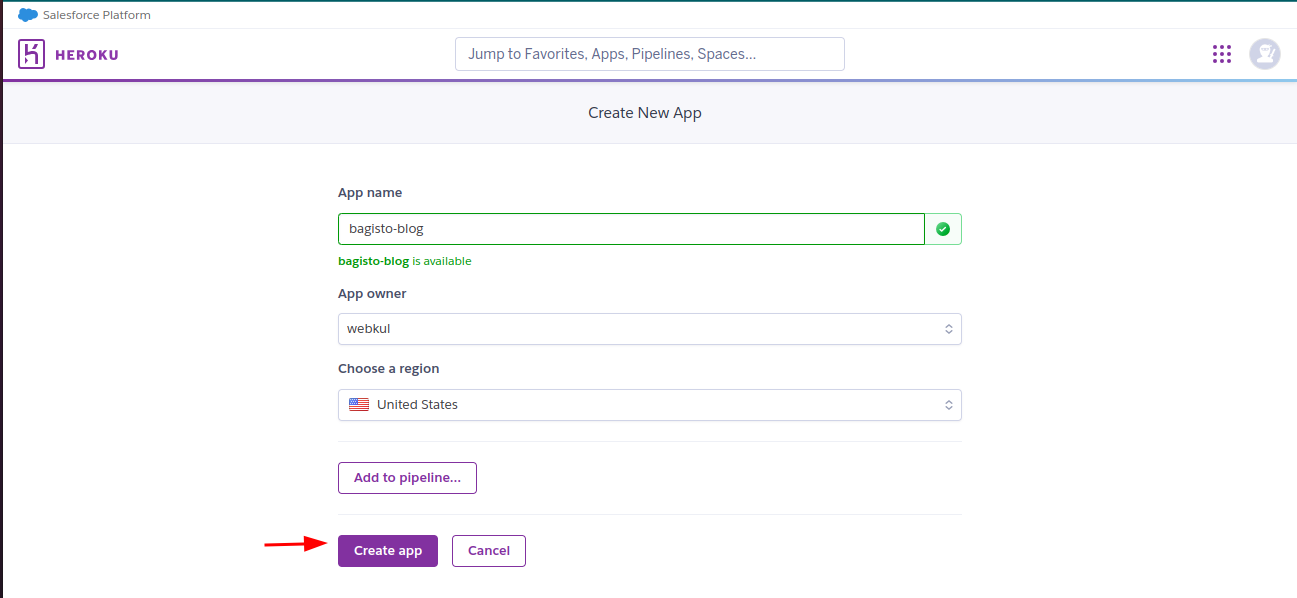
(ii) On the following page, you must input a (unique) name for the app. Then, choose a region where the app should be located, and then click on Create app:
(iii) When Heroku successfully creates your app, it will lead you to the associated dashboard.
This panel contains a series of tabs where you can locate the various actions and parameters linked to your Heroku app:
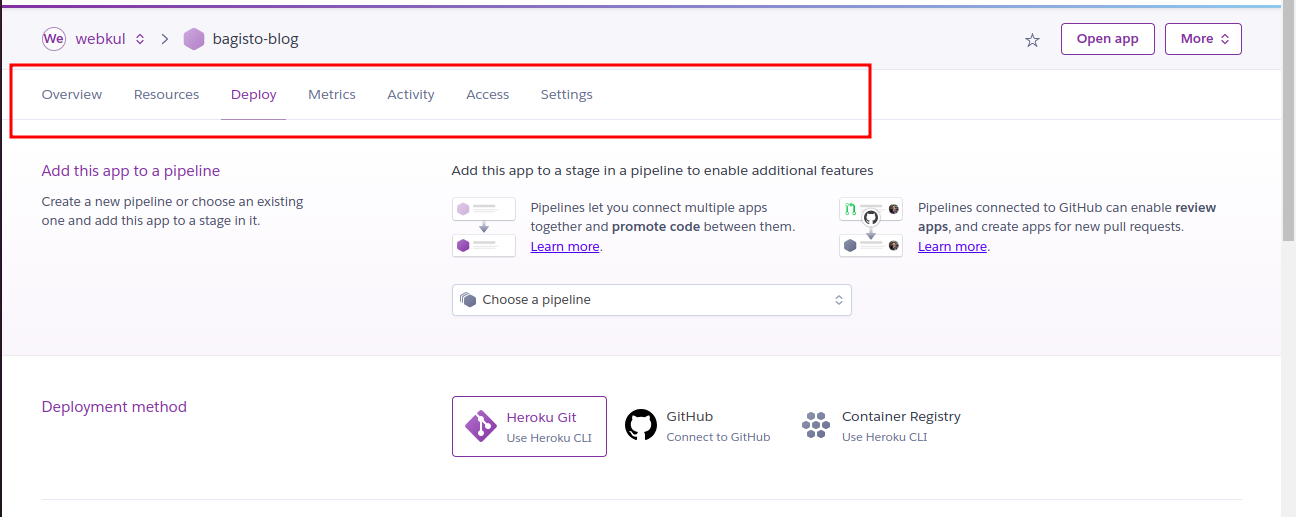
You can locate a certain configuration or feature that your Heroku app can use in each tab. For example, you will learn how to integrate the Add-ons in a Heroku program in the next step.
Step 2- Configure an add-on on the Heroku app
Any web application typically requires additional tools and resources to give a satisfactory service to customers.
Therefore, Heroku includes an add-on system allowing you to find web application resources.
Here in Bagisto, we are using the MySQL database as an add-on.
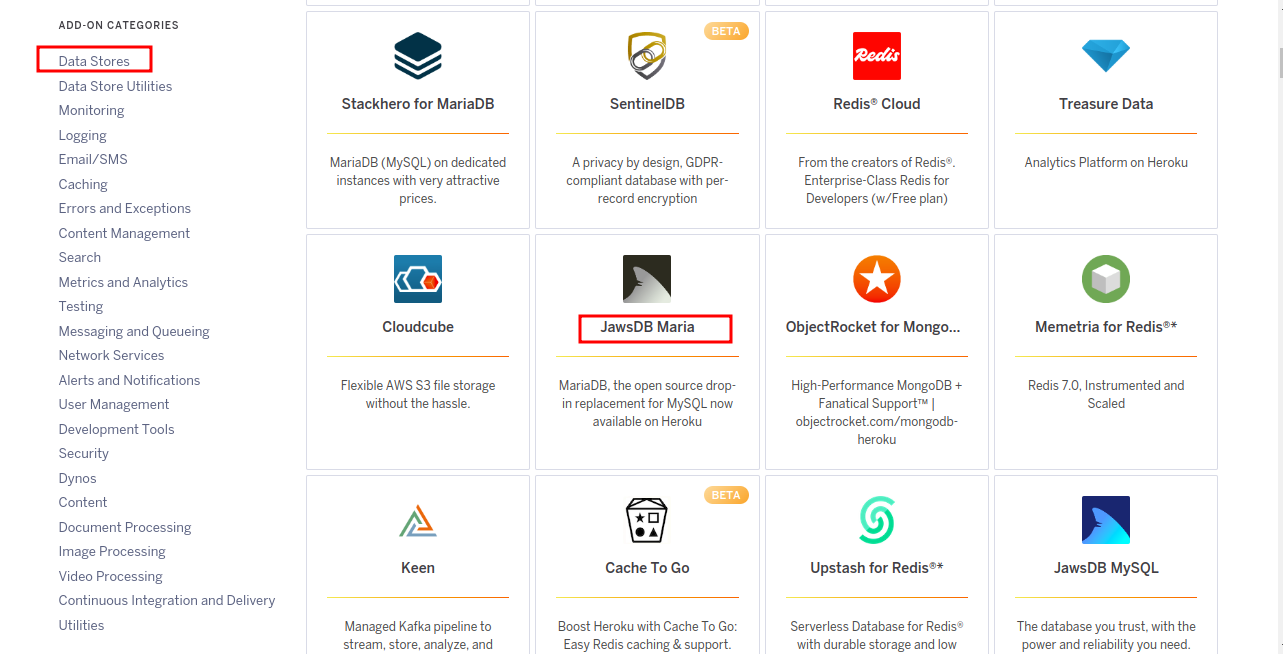
(i) Navigate to the Resource tab on your app’s dashboard. Then, Click “Find more add-ons” below.

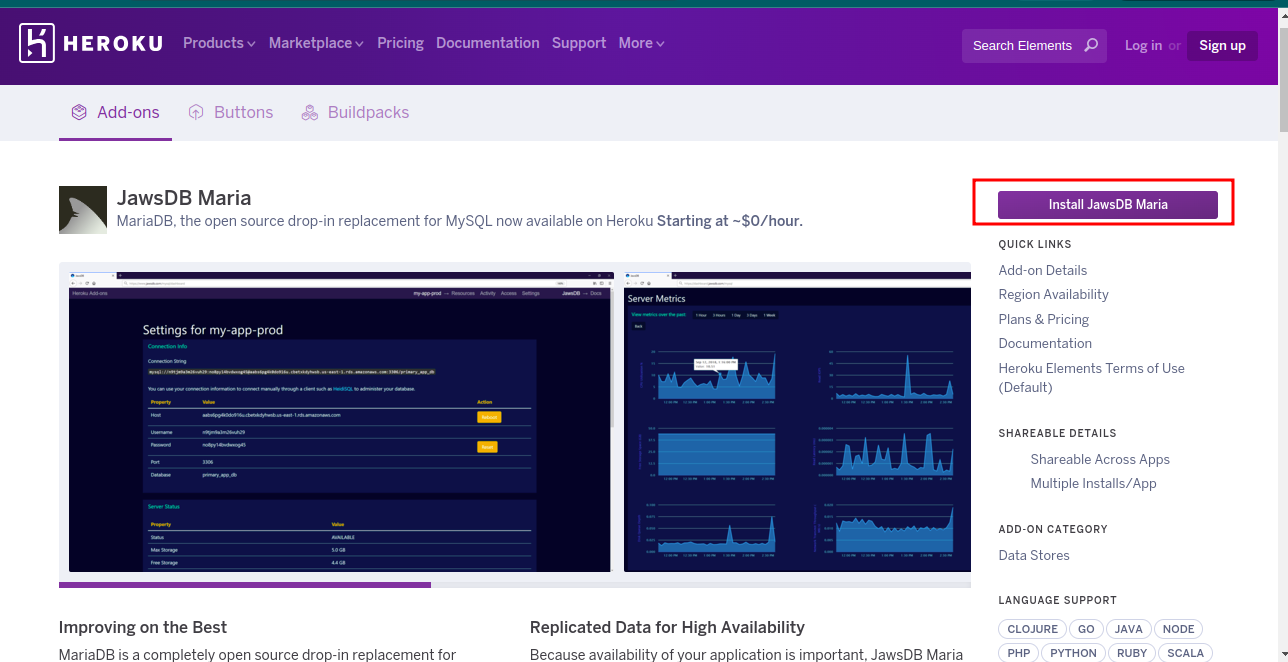
(ii) Then, in the Data stores section, search for “JawsDB Maria”
(iii) After Clicking on the JawsDB Maria, you need to Install it.
(iv) Now, Select the Plan and the app name with which you want to associate this Add-on, in our case it is bagisto-blog and then click on “Submit Order Form”
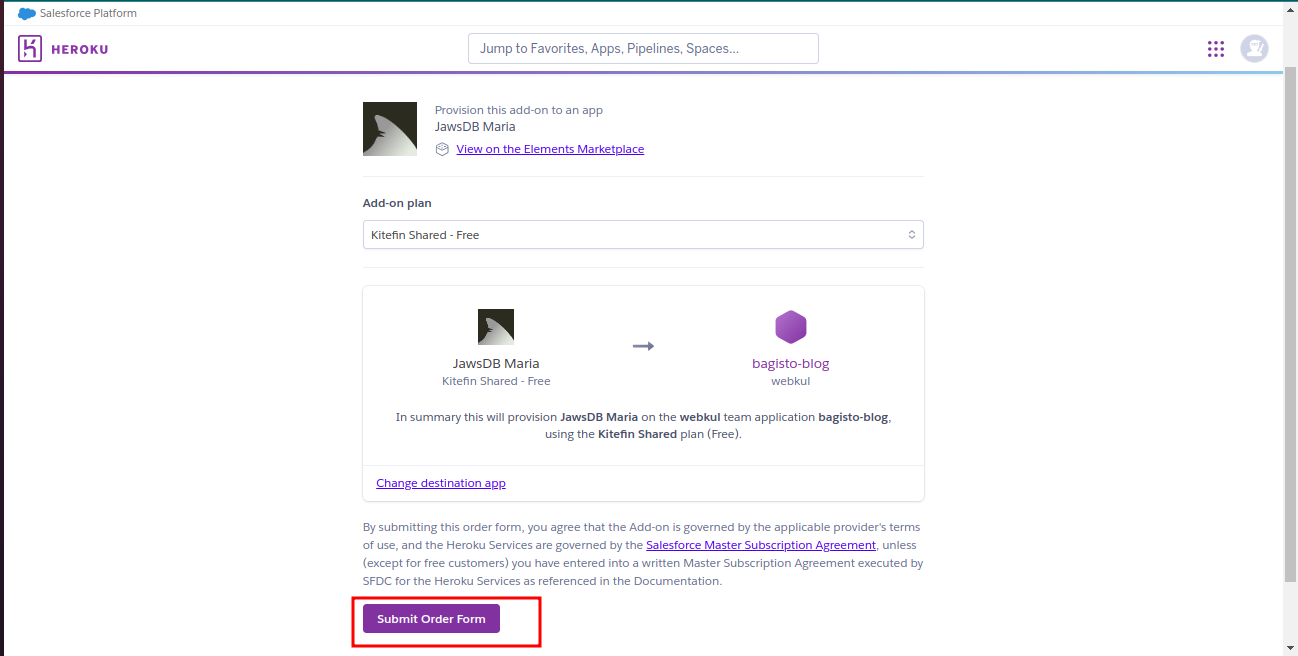
Once Heroku has completed the procedure, navigate to the Resources tab of the app’s dashboard to manage all of the add-on’s settings and credentials.
Step 3- Get your Database Host, Username, Password, and Name
(i) Go to “settings” and scroll down to “config vars”. Copy and paste your database URL into a text editor or Word document for later use.
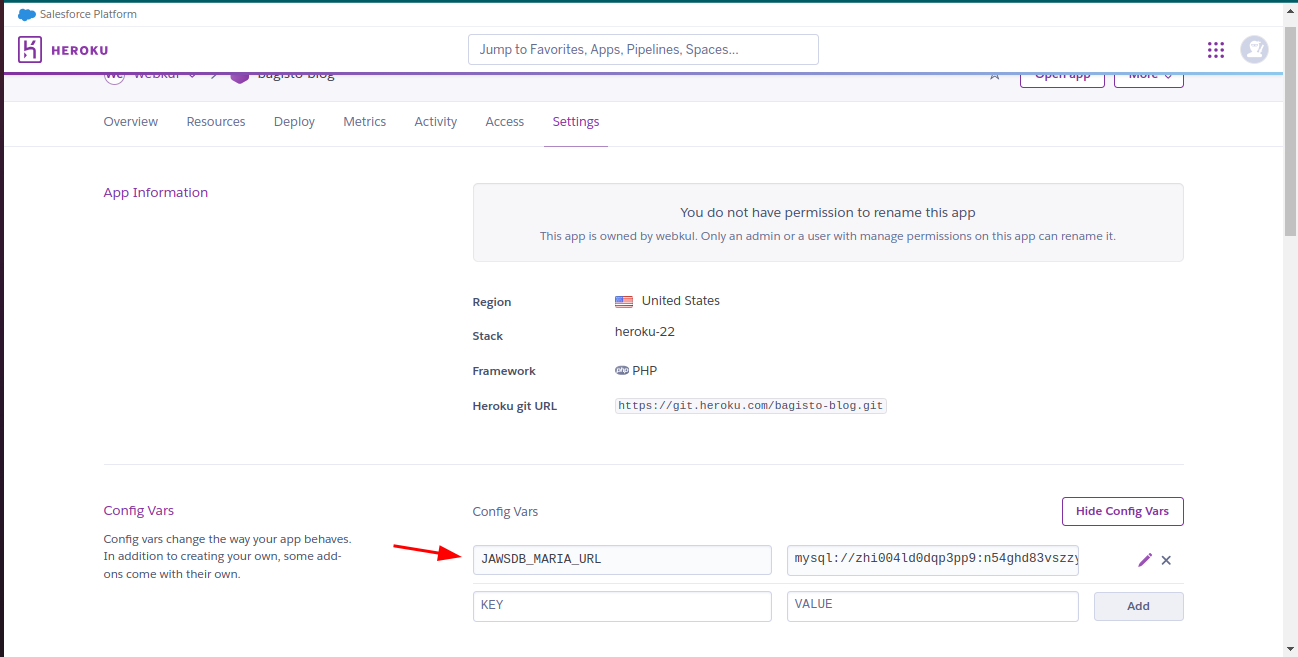
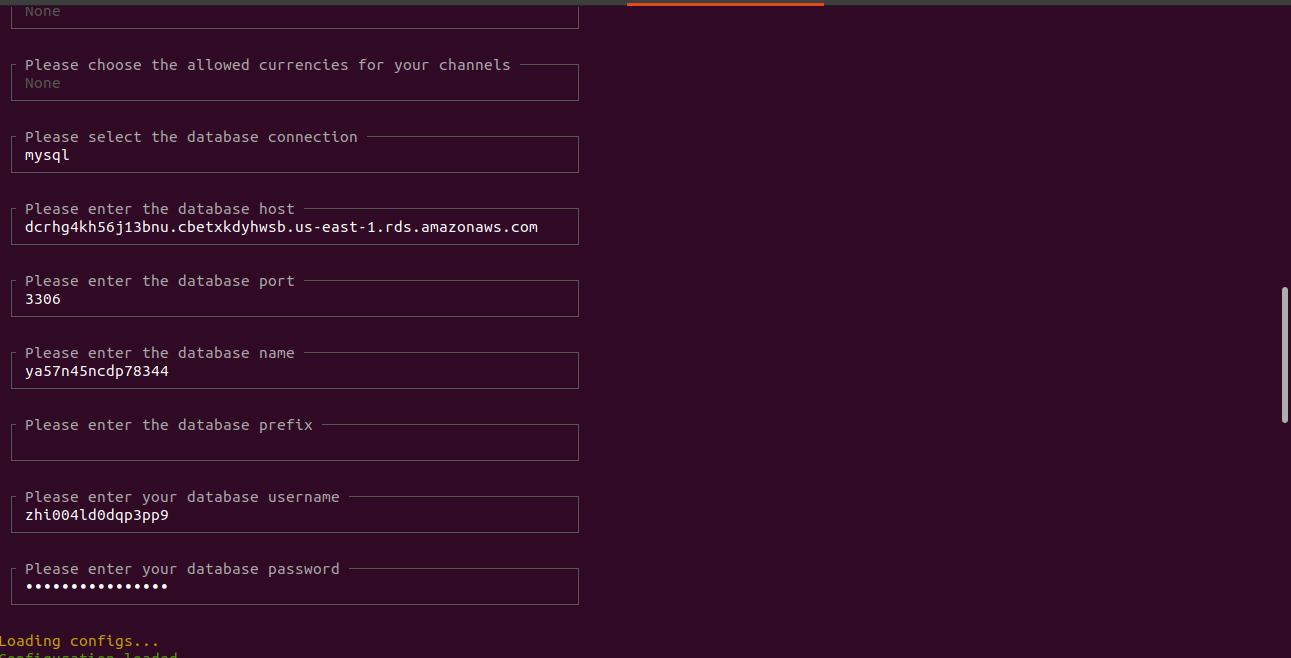
Here is mine: mysql://zhi004ld0dqp3pp9:n54ghd83vszzyabv@dcrhg4kh56j13bnu.cbetxkdyhwsb.us-east-1.rds.amazonaws.com:3306/ya57n45ncdp78344
The URL contains the information you need to connect to your new Heroku MySQL database with your application, Host- dcrhg4kh56j13bnu.cbetxkdyhwsb.us-east-1.rds.amazonaws.com
Username- zhi004ld0dqp3pp9
Password – n54ghd83vszzyabv
DB name – ya57n45ncdp78344
Step 4- Installing Dependencies
(i) First we need to login in to the Heroku account via CLI. To install the heroku cli in Ubuntu you can run the below command.
snap install heroku –classic
To login, run the below command –
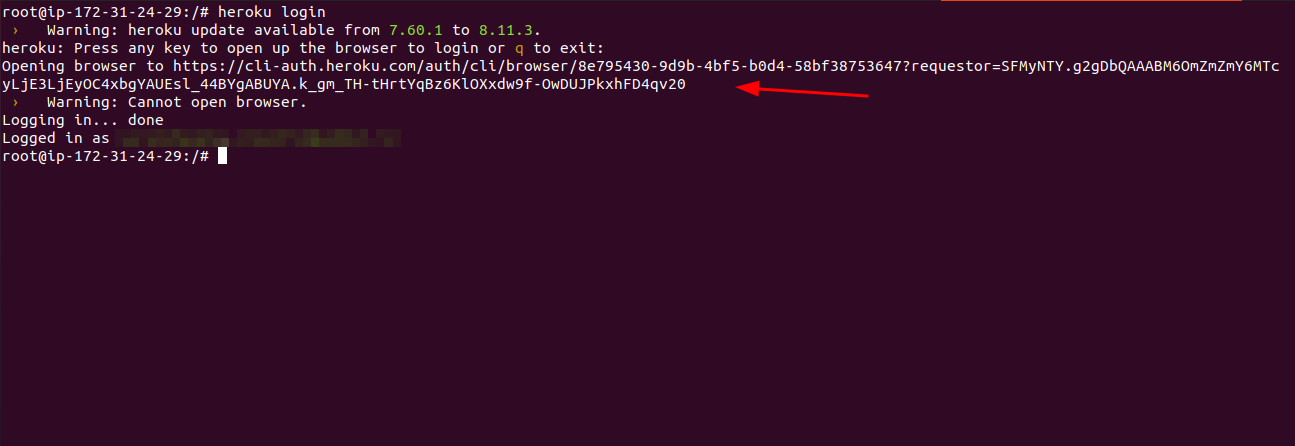
heroku login
As a result, a URL will be generated, you need to paste it into the browser and hit enter. After that, you will get the message in your terminal logged in as
Now make one empty directory named ‘app’, and clone the bagisto from GitHub inside this directory.
mkdir /app
cd /app
ii) We can clone the bagisto from the git hub. The link for the git hub URL is below:
Click on the link -> Click here
Now run the below command inside the terminal
git clone https://github.com/bagisto/bagisto.git.
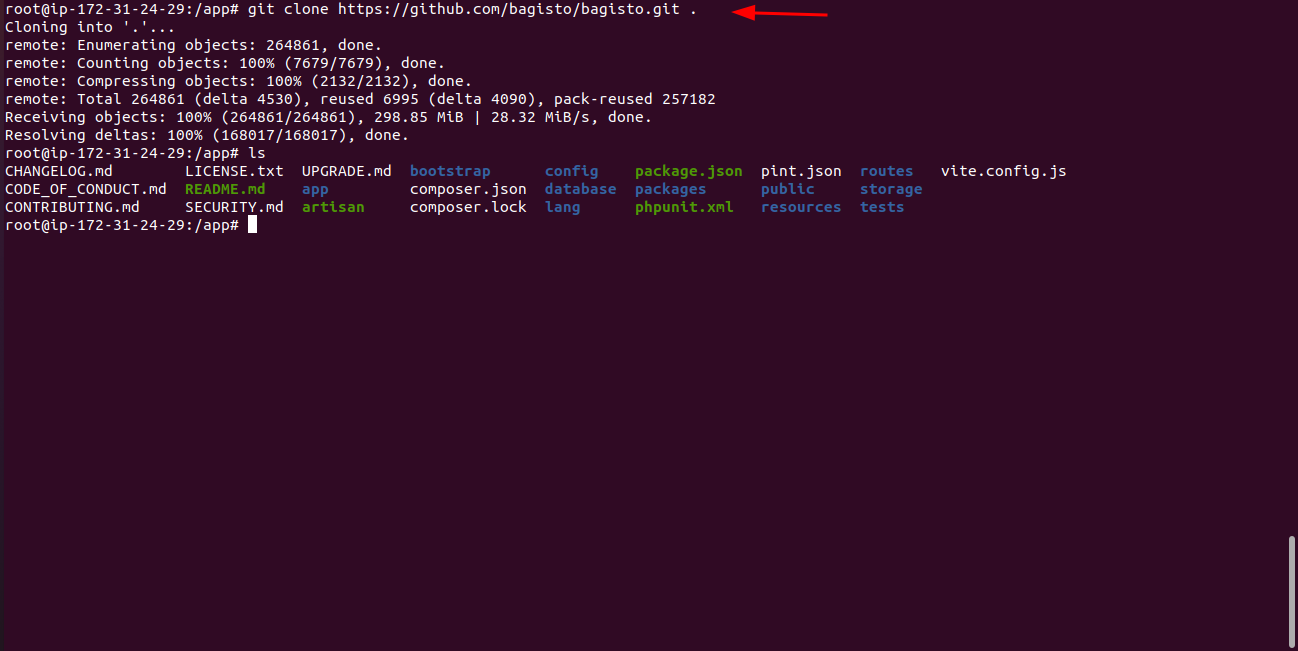
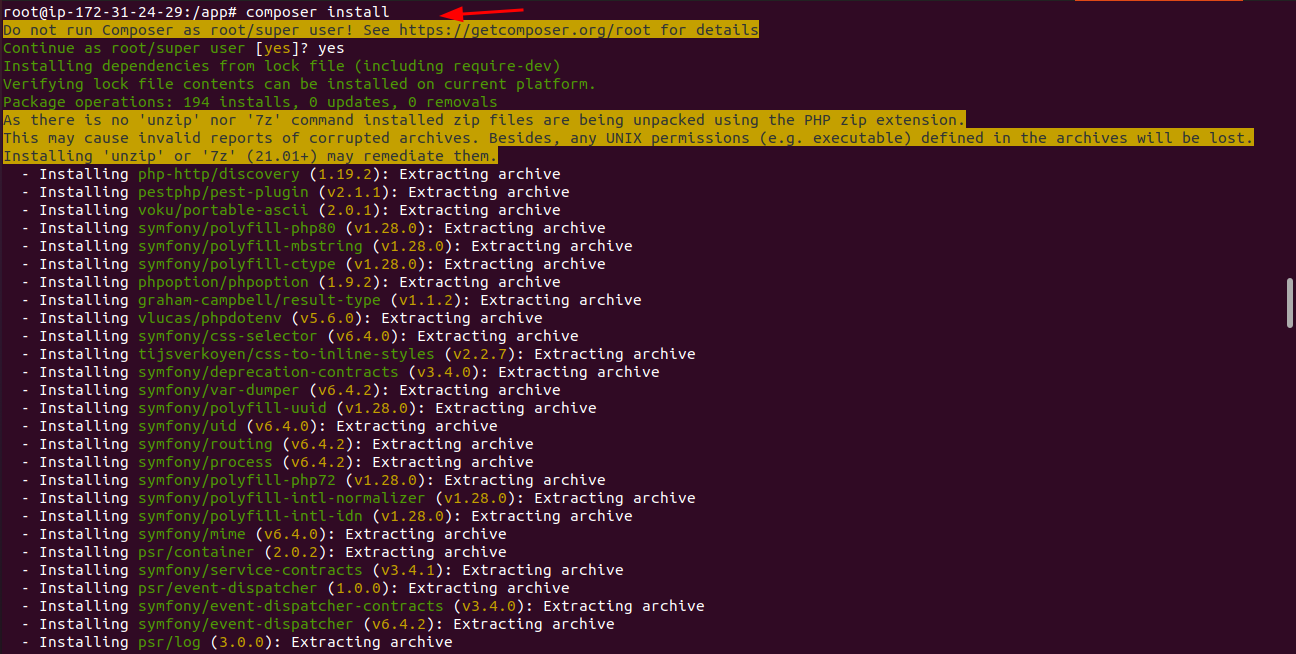
Now we will install all the required dependencies
composer install
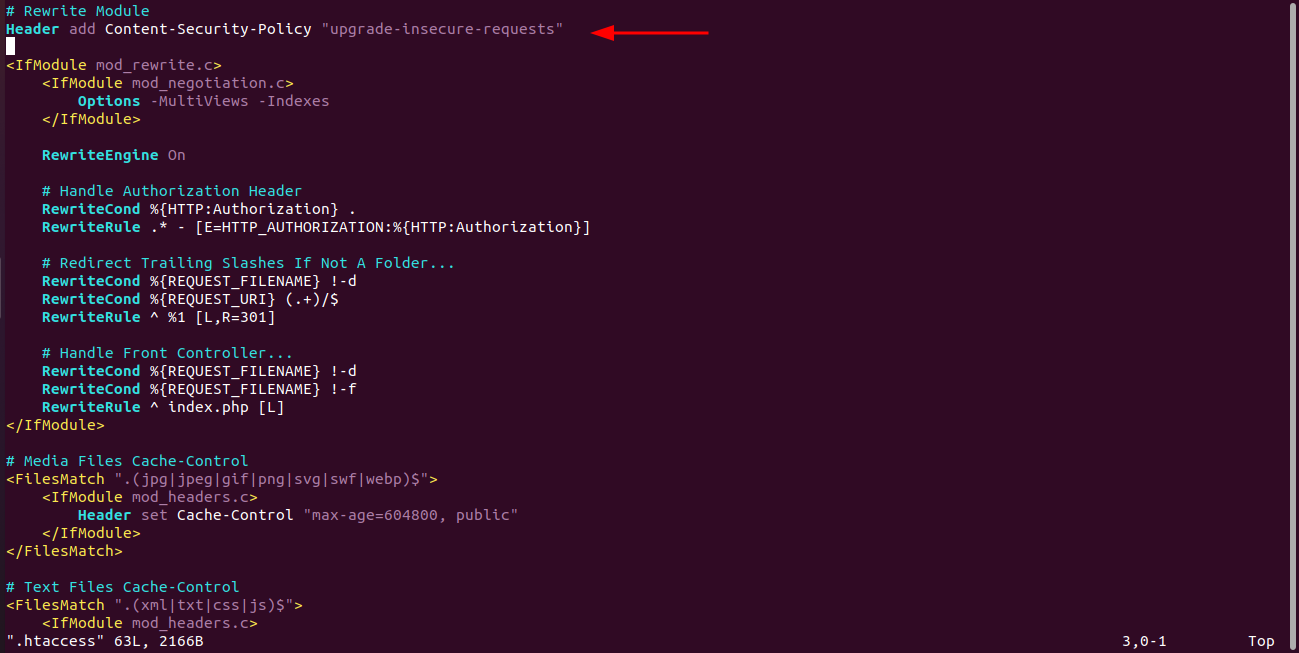
(iii) After running the above command. We need to add the below line in the .htaccess file inside the public directory
vi public/.htaccess
Now add the below line as the first line in your .htaccess file as shown in the attached screenshot.
Header add Content-Security-Policy “upgrade-insecure-requests”
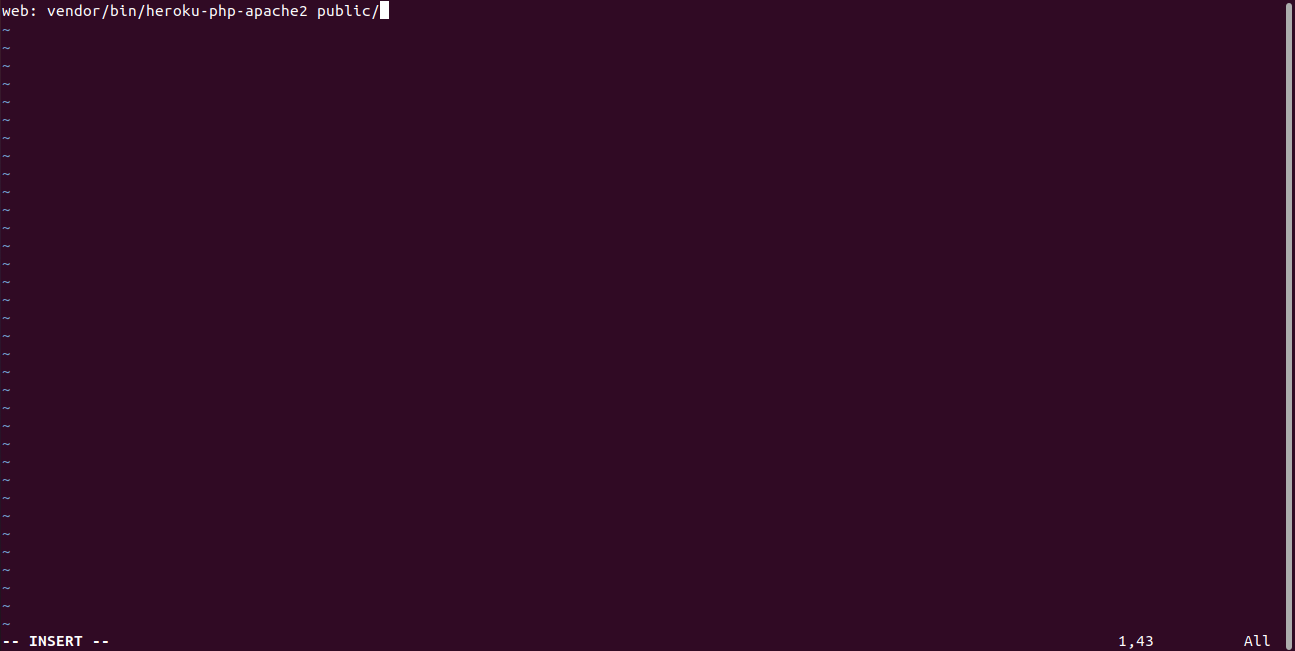
(iv) For Heroku to effectively operate your web application, you must have a few configuration files in the root of your PHP project repository.
The most significant configuration file is the Procfile. Heroku utilizes This text file to run the initial script for your web application.
For a PHP project utilizing Apache as the web server, the content of the Procfile looks like this:
vi Procfile
Add the below line inside the file
web: vendor/bin/heroku-php-apache2 public/
And then save the file
Now we will install the bagisto and provide all the details such as db host, username, password, etc.
Step 5 – Install Bagsito
To install the bagisto, you need to run the below command
php artisan bagisto:install
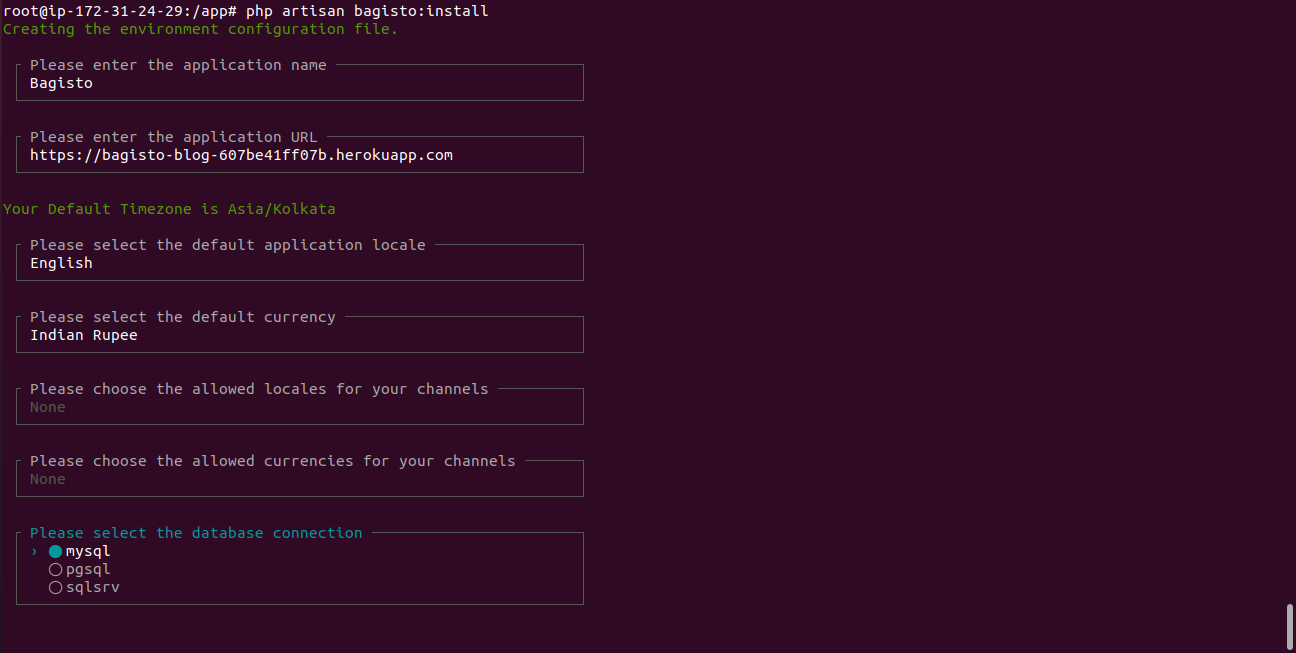
Mention all the required details
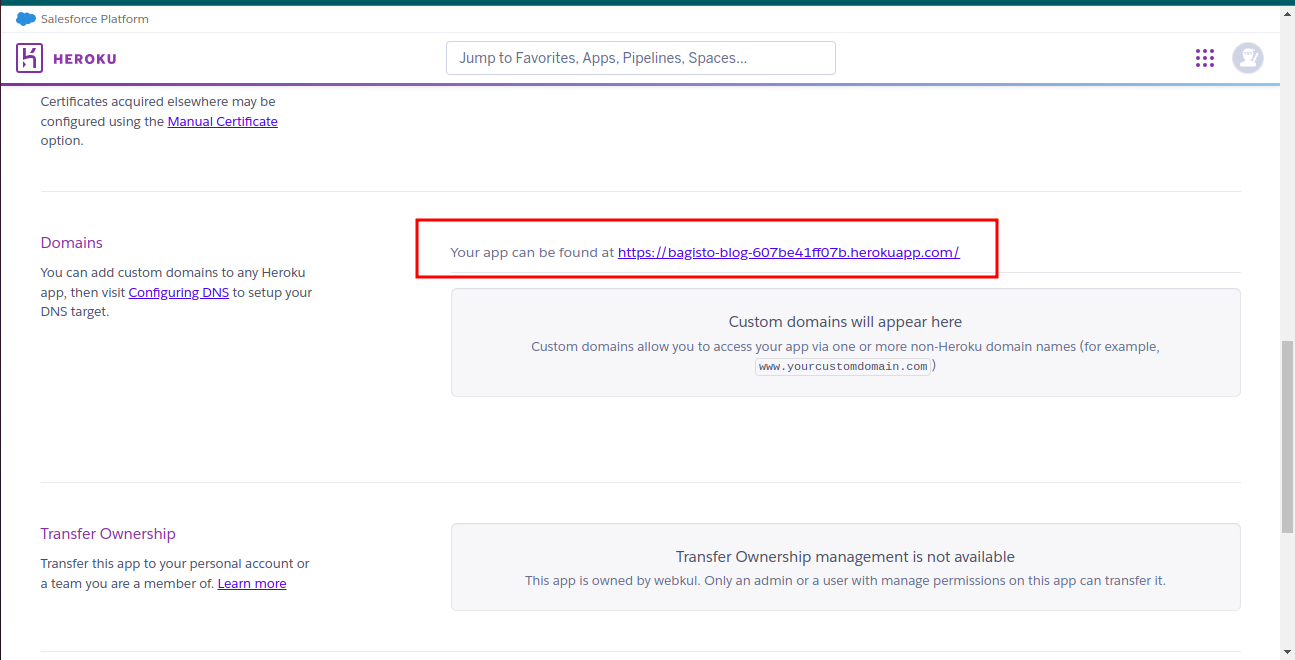
For the application URL, kindly follow the below steps
Go to Dashboard and under the Settings tab inside the Domains Section you will get your app URL

Enter all the Required details for DB host, username, and password which we got in the earlier section
Step 6 – Deploy the Bagisto on Heroku
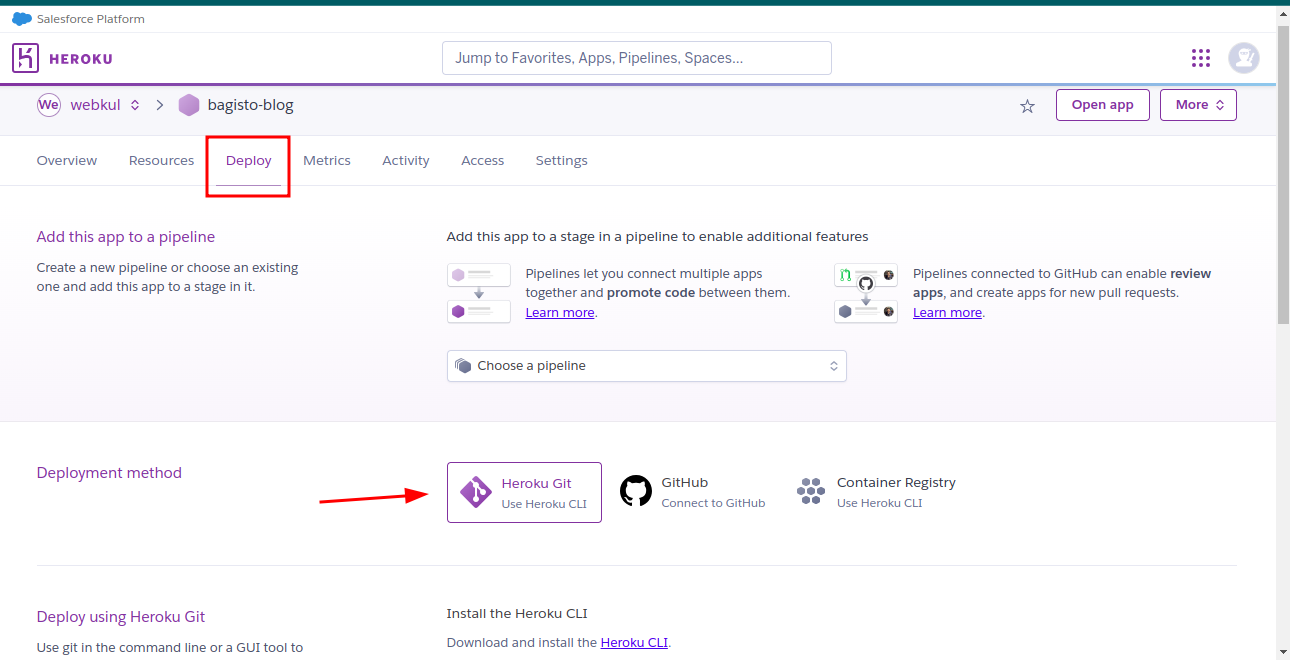
We have now moved to the deployment stage. Return to the dashboard for the Heroku app created in the first step.
The Deploy tab contains information about the various deployment techniques and parameters.
We’re utilizing Heroku CLI. As a result, in the Deployment method, select the Heroku CLI.
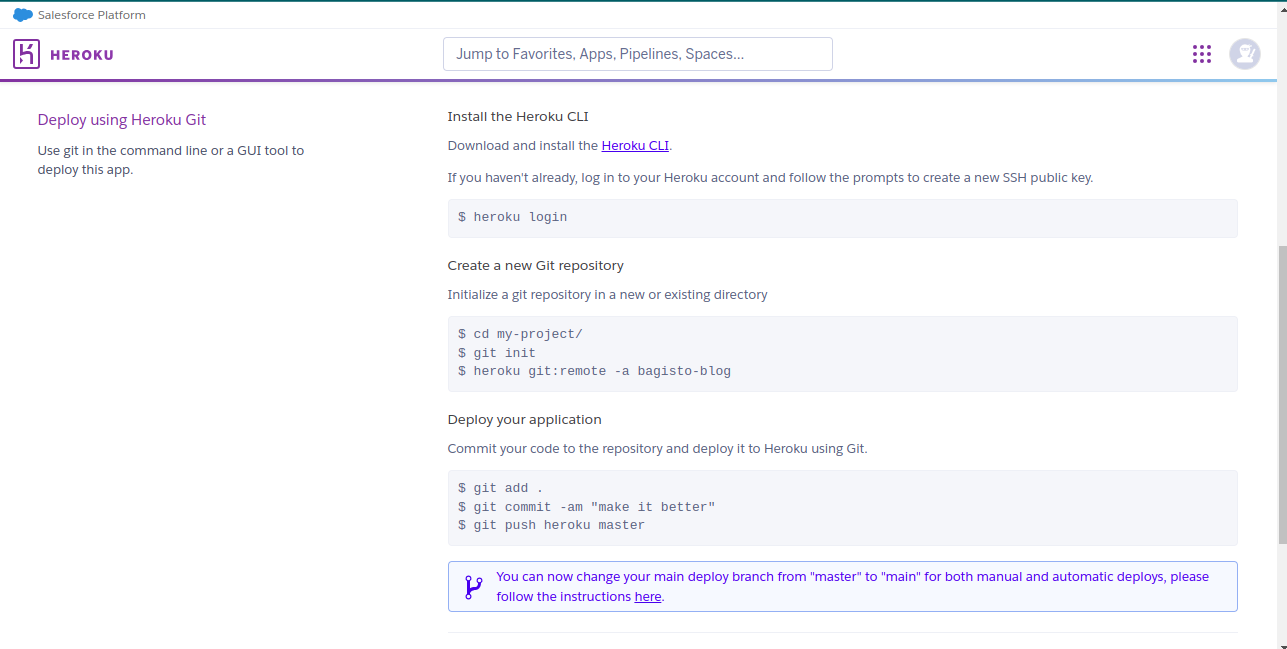
Now run the command as mentioned. We have already logged in to the account via CLI so we will skip that part.
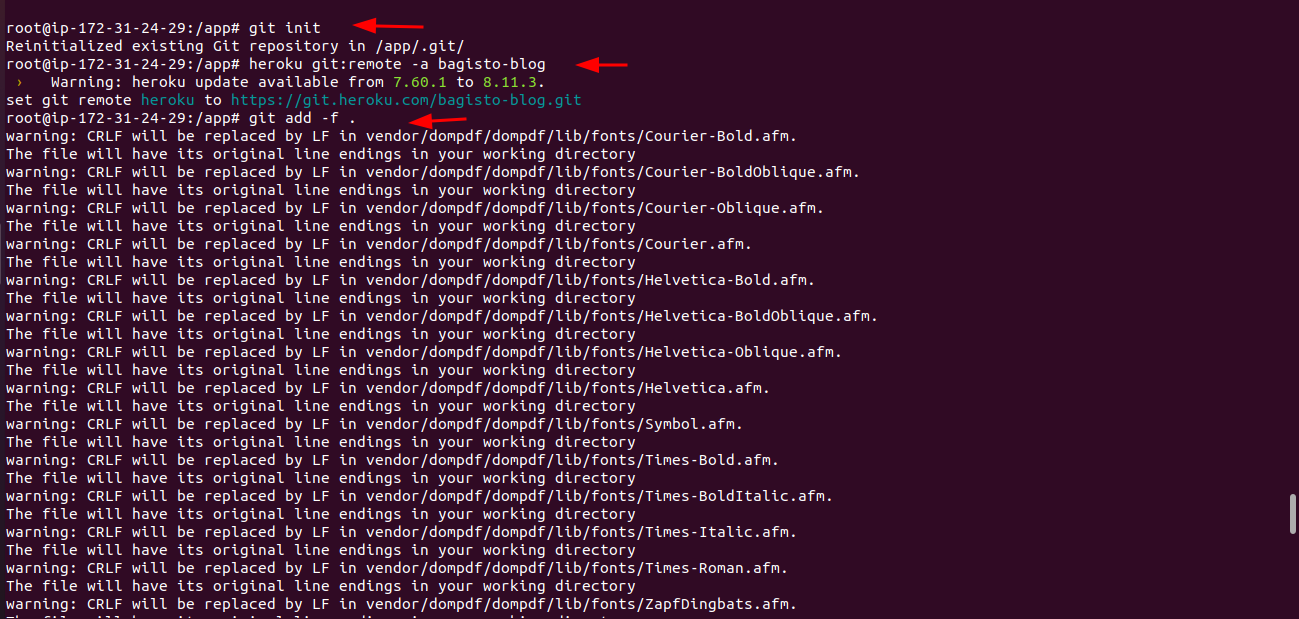
(i) First, we will initialize the Repository. Run the below commands –
git init
heroku git:remote -a bagisto-blog
git add -f .
git commit -am “Installing bagisto”
Then, run the command – git push heroku master
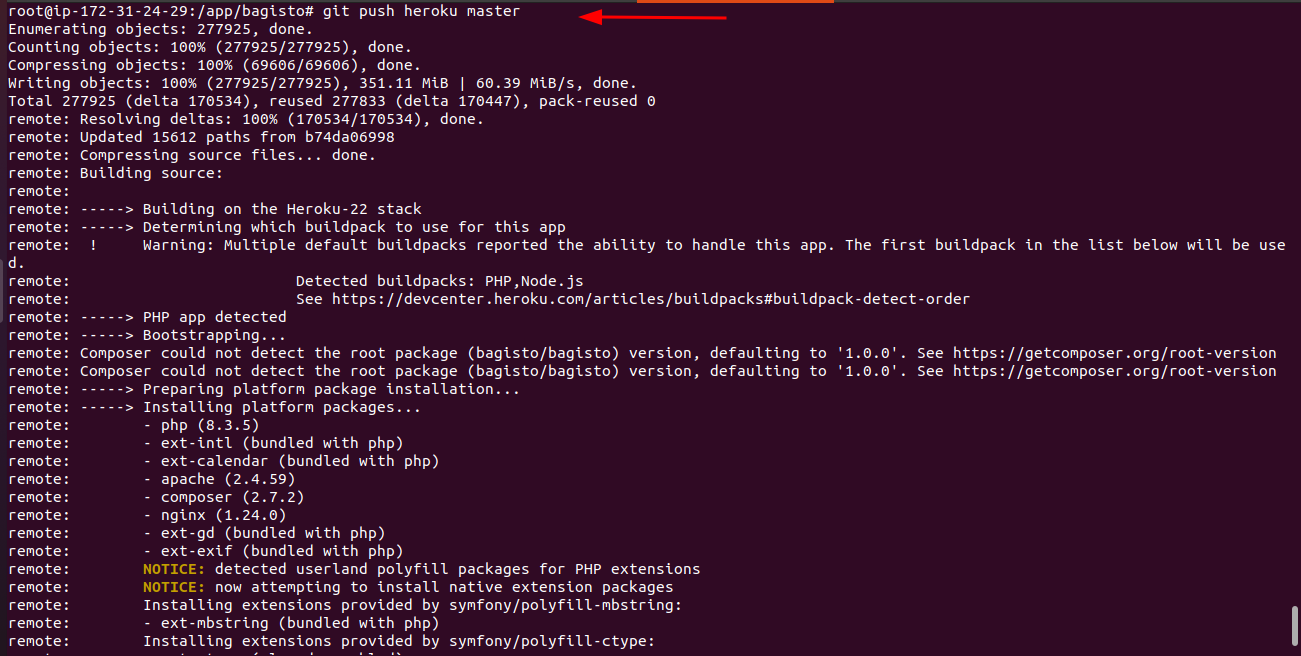
(ii) After running the above command you will get the output like – ‘deployed to Heroku’

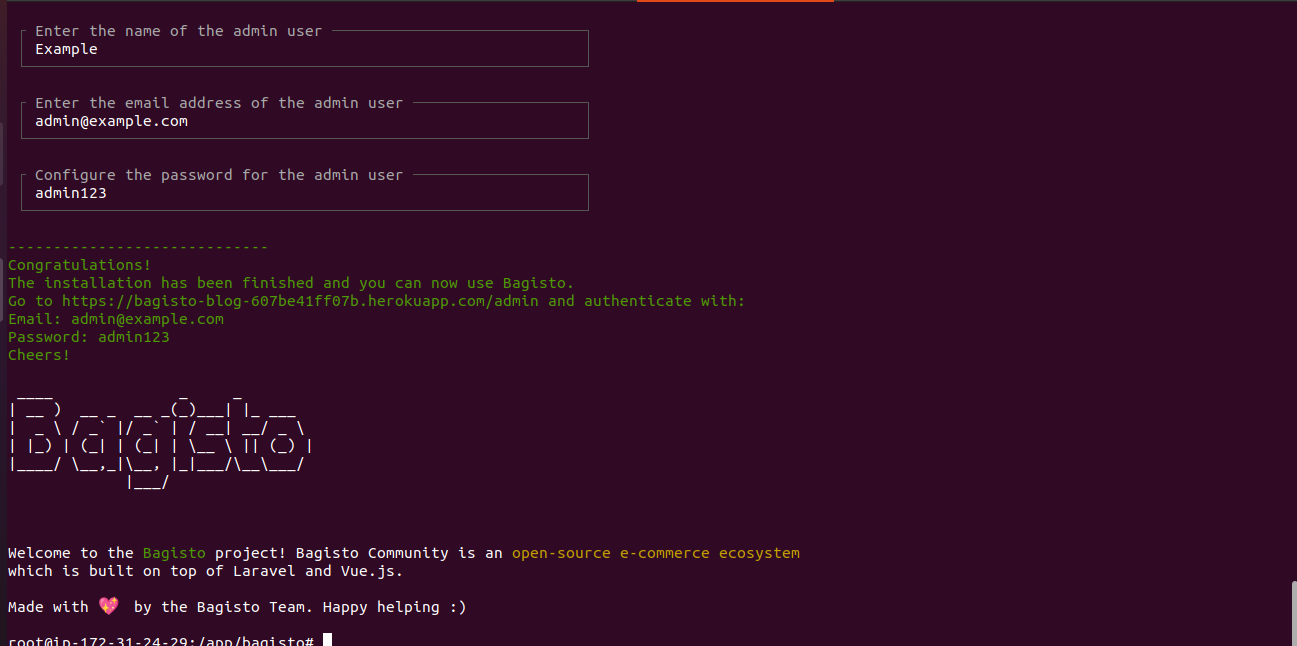
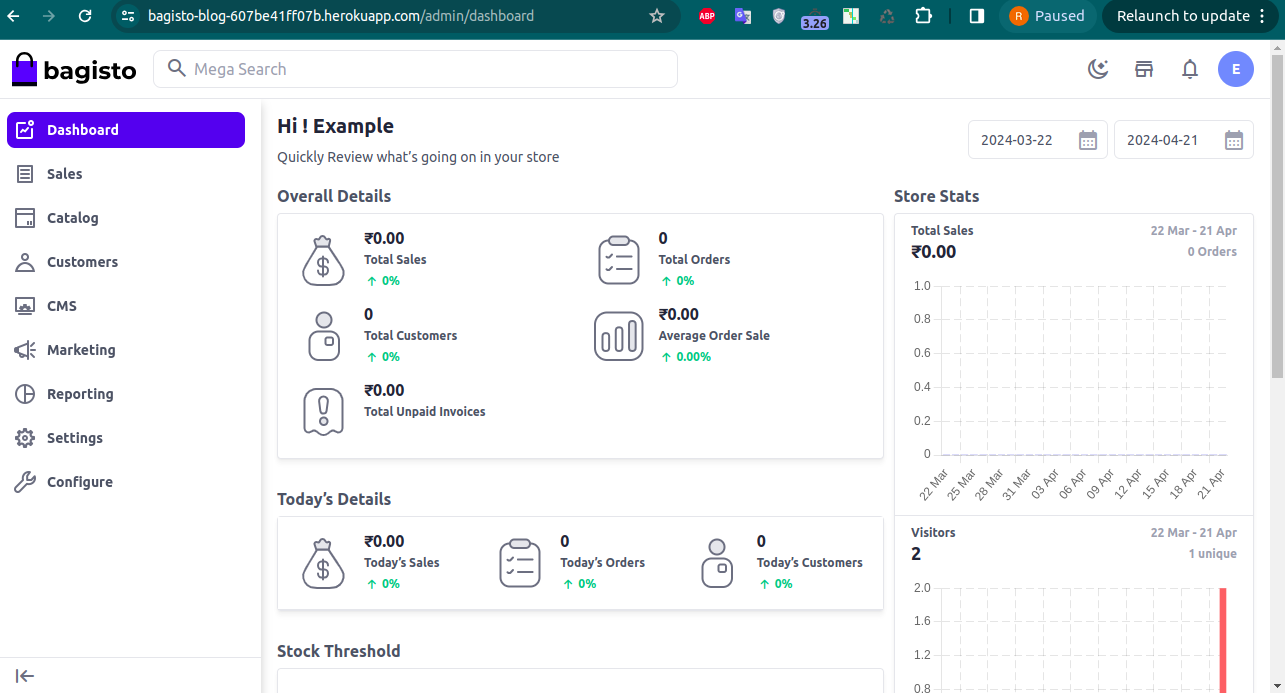
Step 7 – The Bagisto has been installed
Now, open the browser URL to see that the Bagsito has been installed successfully.
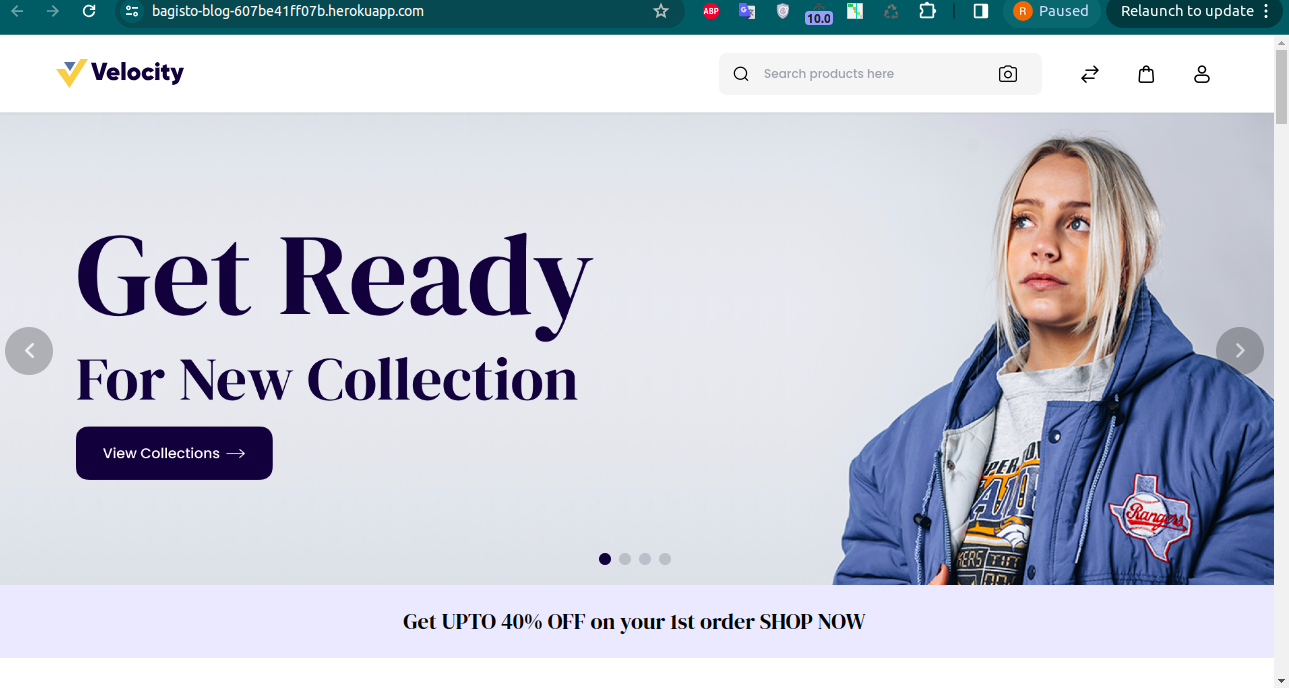
NEED HELP?
Was this guide helpful? Please share your feedback in the comments below.
In case you have any issues/queries regarding the module please raise a ticket at
https://webkul.uvdesk.com/en/customer/create-ticket/
For any further information or query contact us at [email protected].

Be the first to comment.