As website owners and developers, we all want our websites to load quickly and provide a great user experience.
One way to achieve this is by using caching, a technique that stores frequently accessed website content in special servers worldwide, making it faster to deliver to users.
Cloudflare is a popular service that offers powerful caching features. It acts like a global network of servers that stores your website’s content in multiple locations around the world.
Now, let’s talk about two important aspects of Cloudflare caching: cache purge and expire headers.
Cache Purge
Cache purge is like a refresh button for your cached content.
When you update something on your website, like changing a picture or updating a page, you want your visitors to see the latest version, right?
(a) Cache Purge via Cloudflare dashboard:-
Website owners can log in to their Cloudflare account and use the user-friendly dashboard to purge cached resources manually.
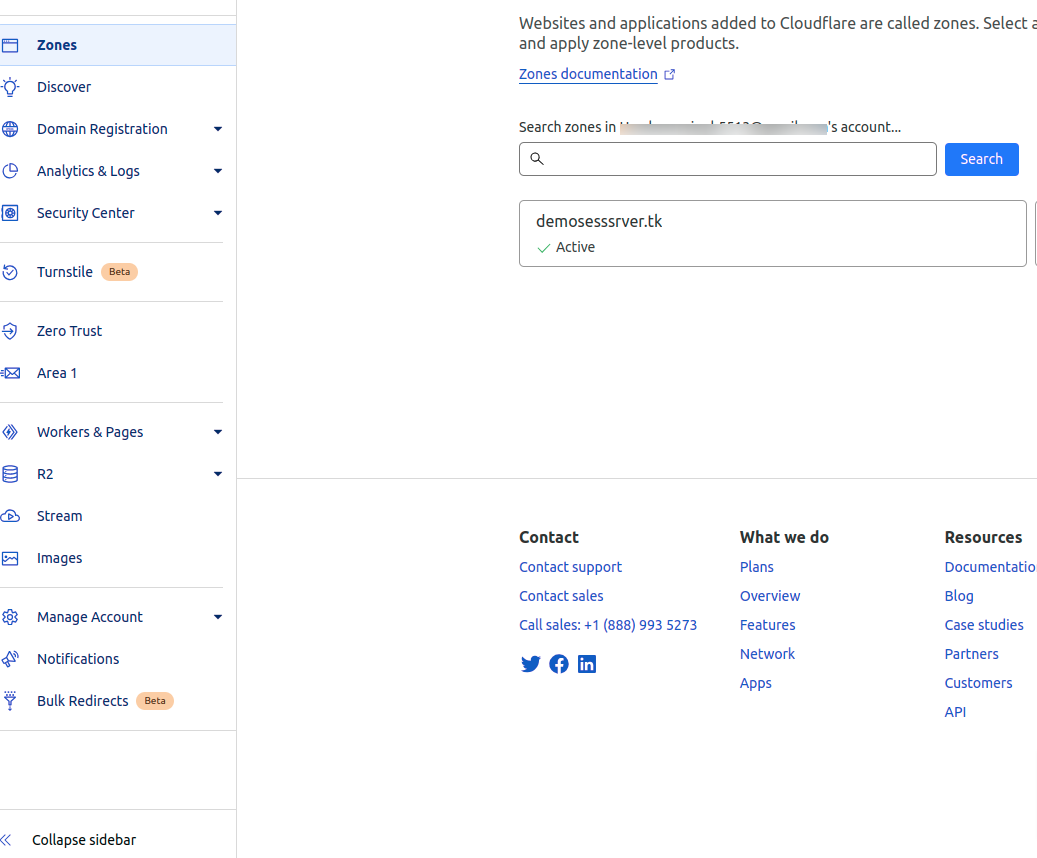
Under the Zones section, select the domain for which you want to purge the cache.
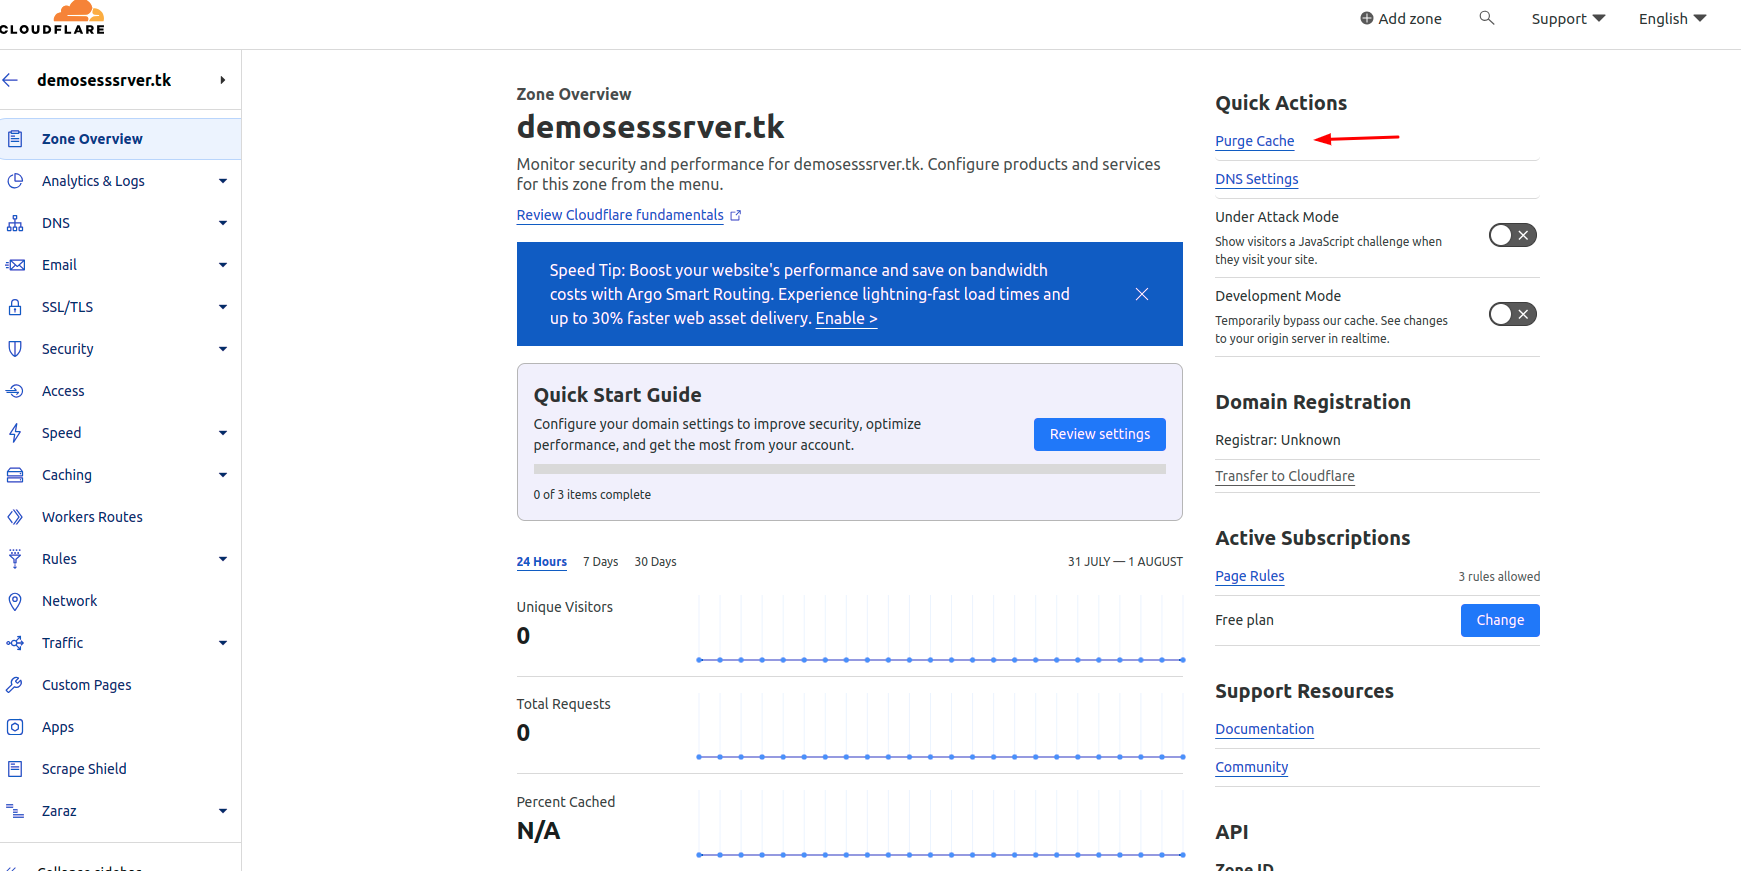
Under the Zone overview section, you can see the Purge Cache option on the Top Right side.
Now, we have two options to purge the cache Custom Purge and Purge Everything.
With “Purge Everything,” we can clear the cache for our domain and subdomains all at once.
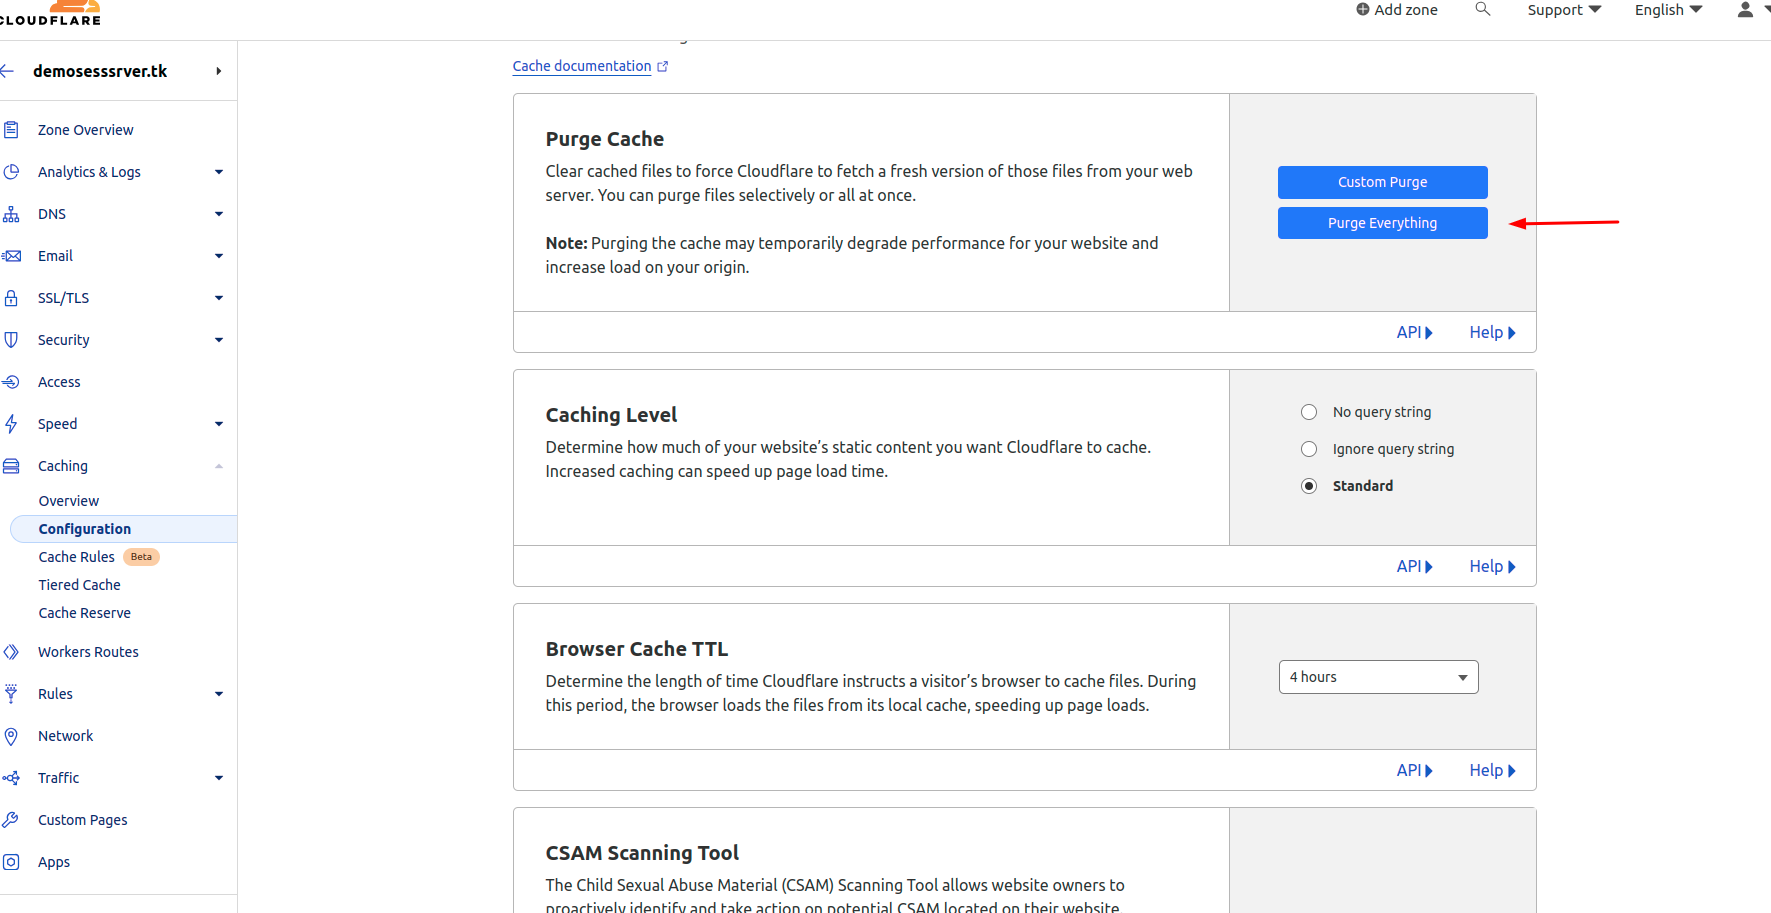
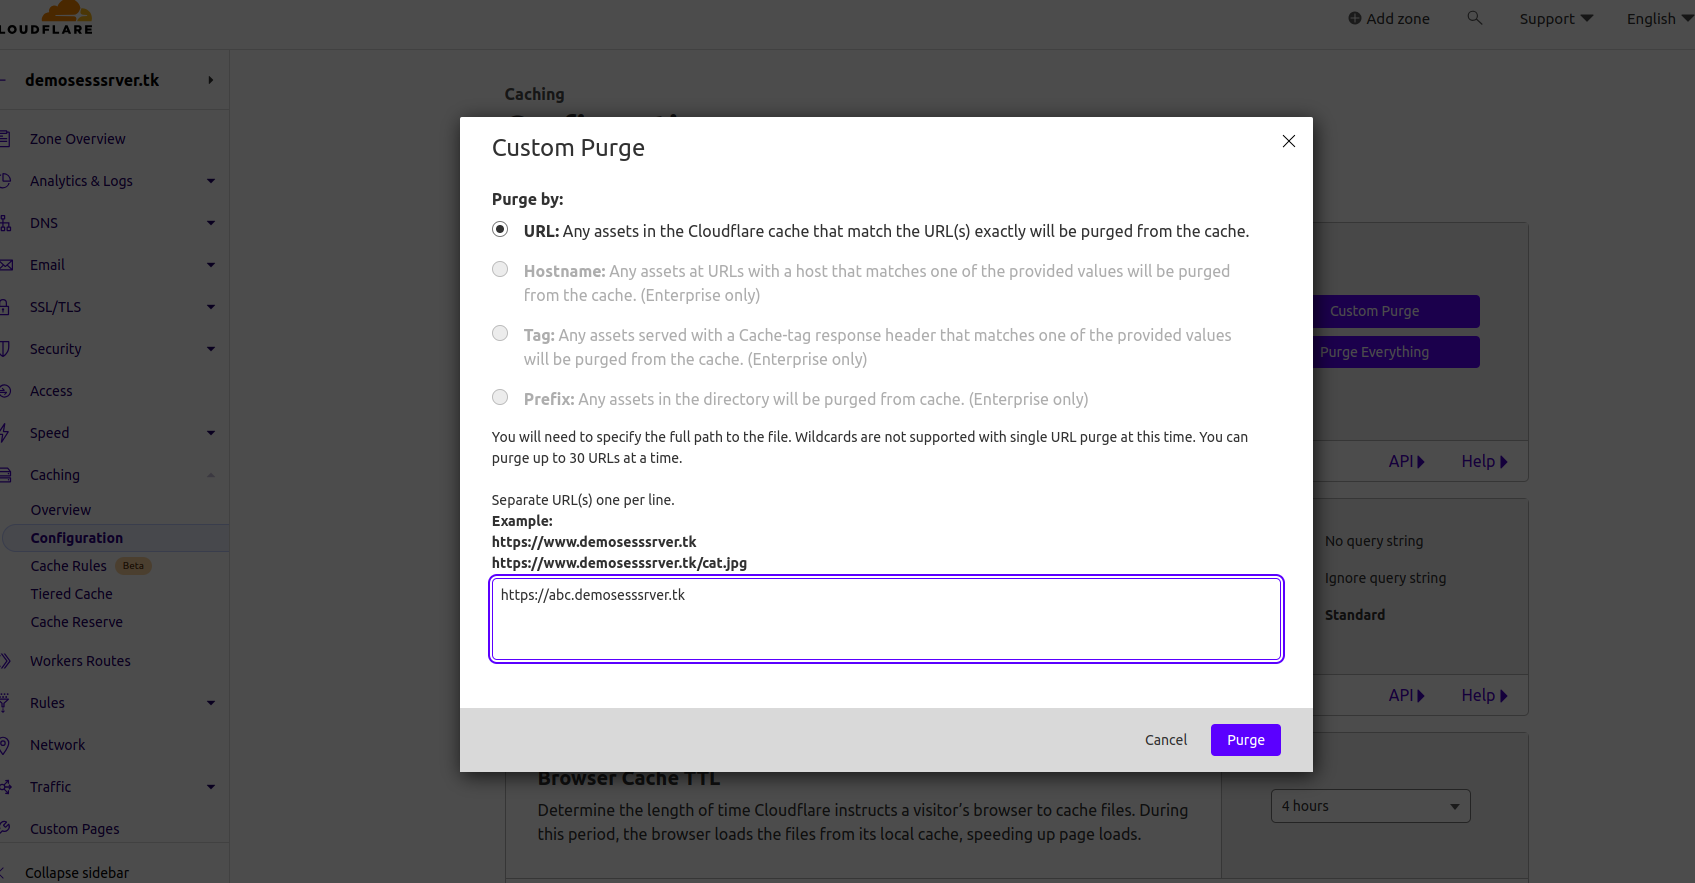
With “Custom Purge,” we can choose which specific content to refresh, leaving the rest unchanged. It lets us update only what we need without affecting the rest of the cache.
(b) Cache Purge via Cloudflare page rule
Cloudflare provides an option to bypass the cache using Page Rules. When we remove the cache from Page Rules for bypass, we ensure that certain pages or resources on our website are not cached.
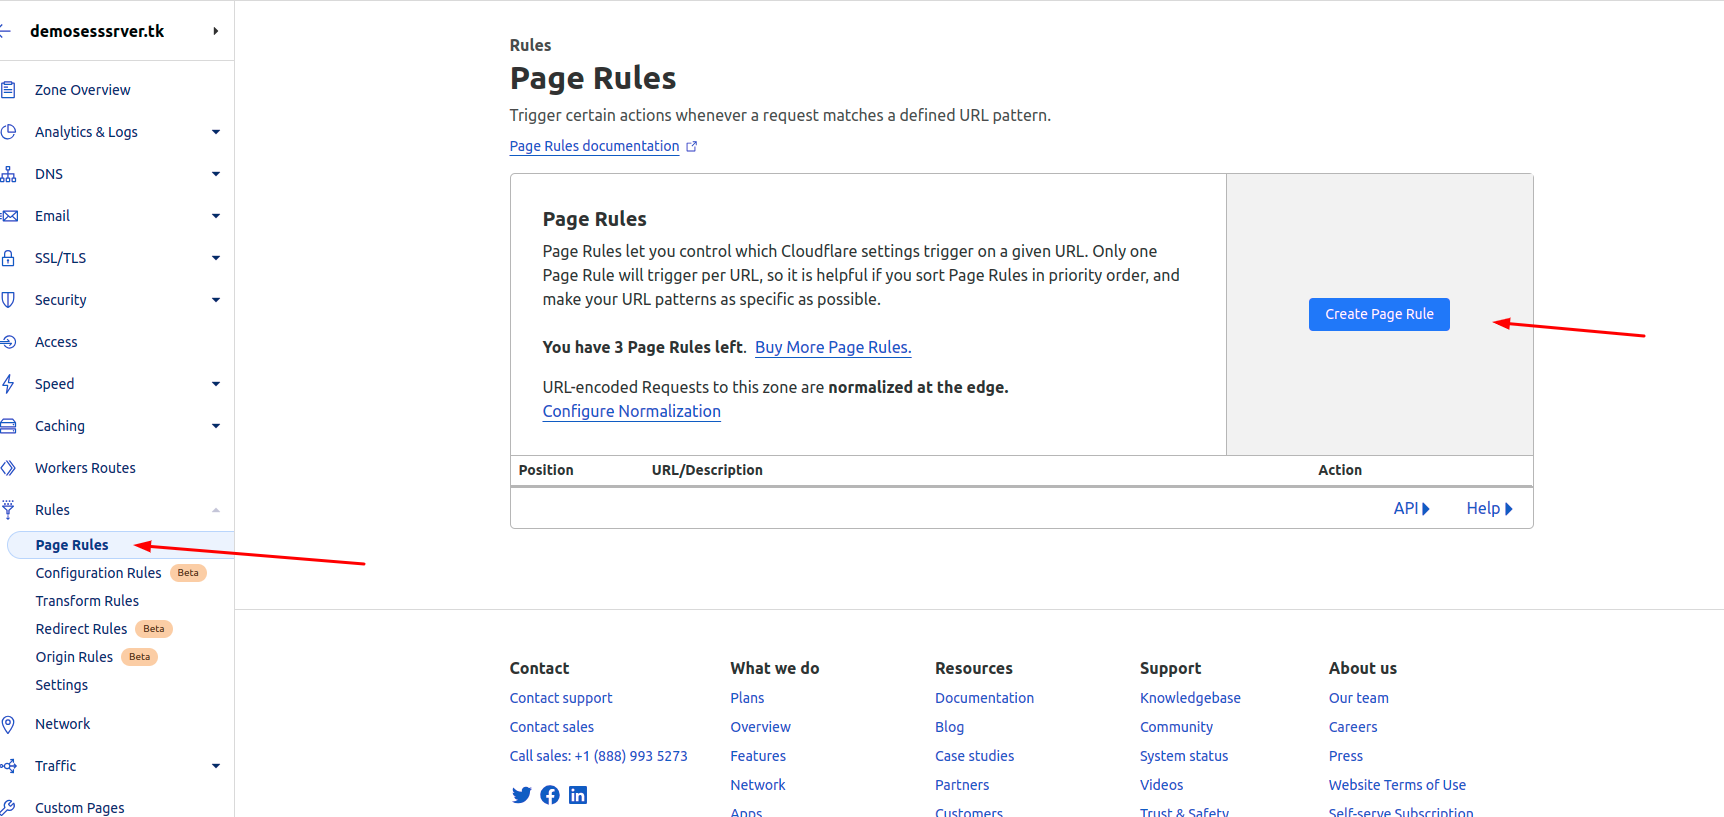
To prevent caching for a specific URL like example.com/admin, just add it to the Page Rule settings.
Cloudflare will stop caching that URL, ensuring visitors receive fresh, up-to-date content directly from your server. Pick a setting “cache Level” and choose the “Bypass” option in the cache Level.

Expire Headers in Cloudflare
Cloudflare’s “expire headers” or “cache expiration” feature is essential for improving the performance and speed of your website.
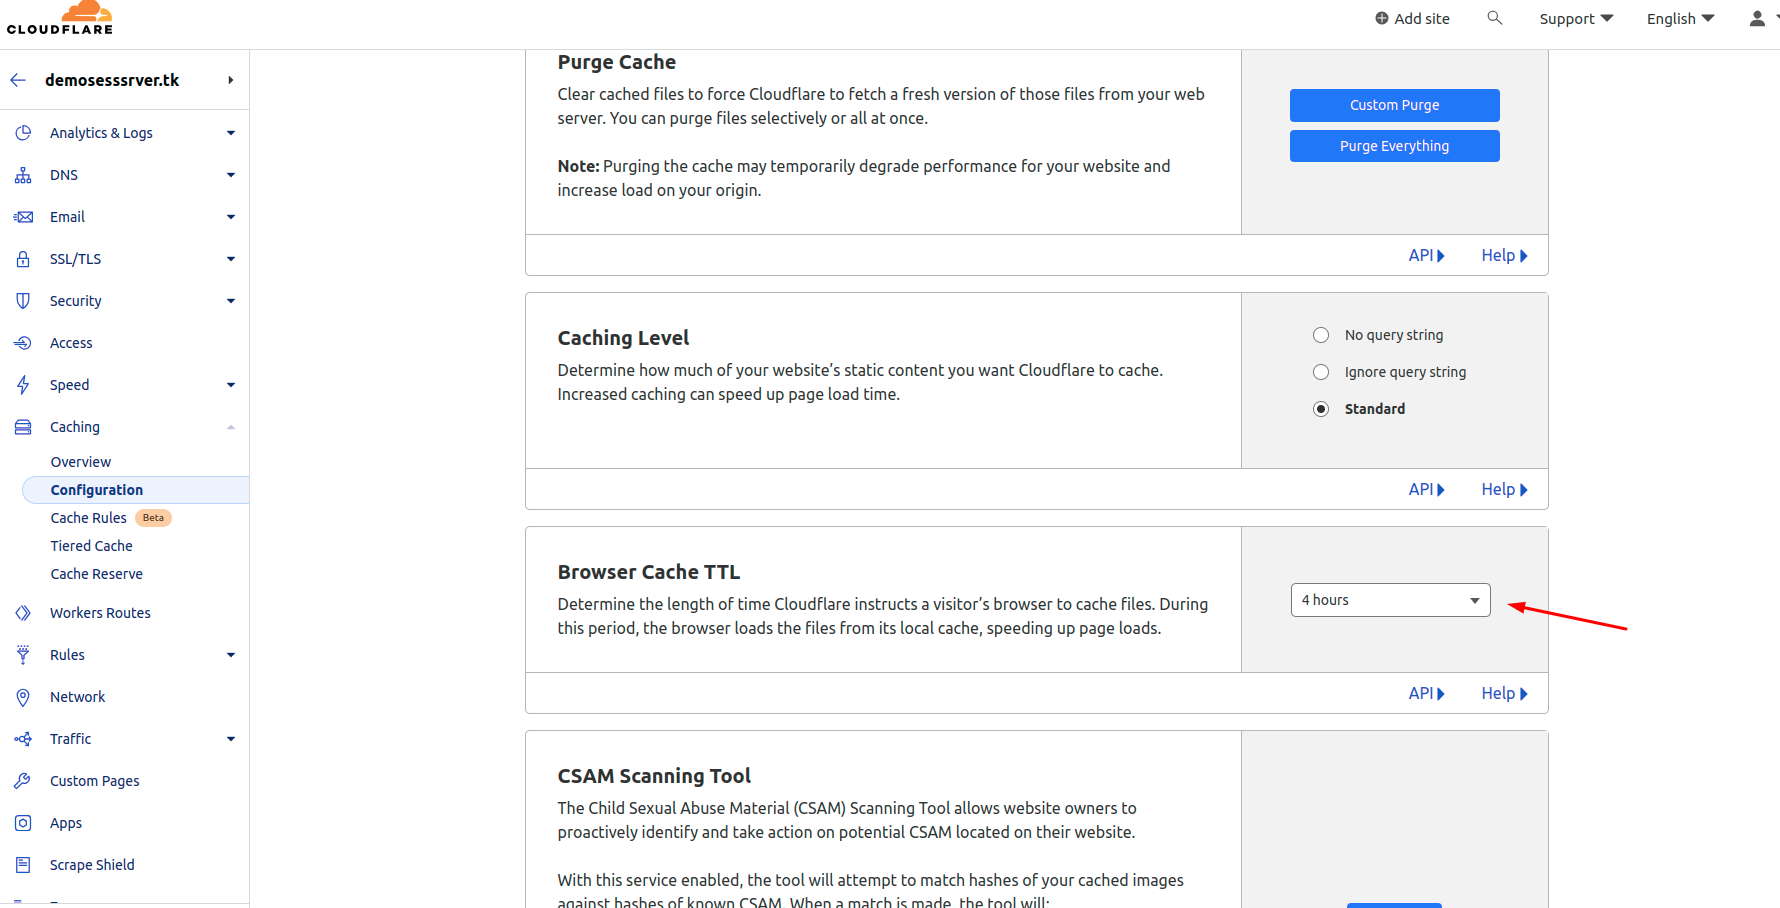
How to configure the Expire Header in Cloudflare:-
- Go to the “Caching” section in the Cloudflare dashboard.
- Under the “Configuration” settings, you can set up the “Browser Cache TTL” to determine how long you want the assets (like images, CSS, and JavaScript files) to be cached in visitors’ browsers.
- You can also set the “Edge Cache TTL” to determine how long you want Cloudflare to cache the assets on its edge servers.
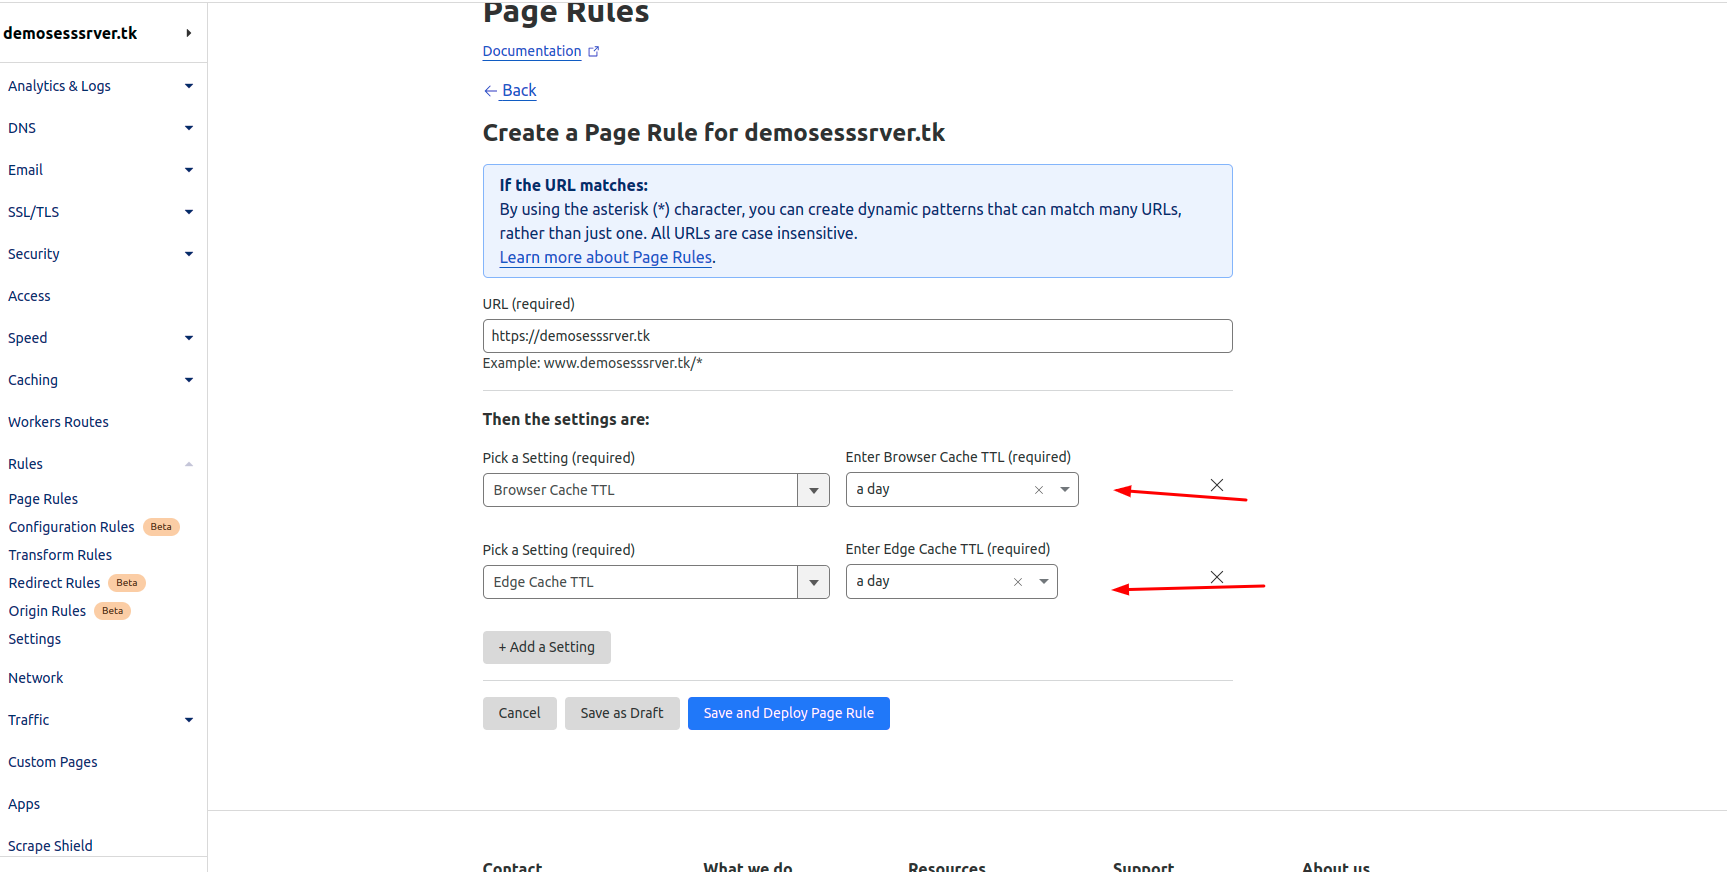
4. If you want to have more control over specific file types or directories, you can use Page Rules to set custom caching rules.
Edge Server Cache:- Edge cache plays a crucial role in improving website performance by storing frequently accessed assets on Cloudflare’s distributed edge servers.
This reduces the time it takes for content to reach users since it is delivered from a server closer to them
Browser Cache: It stores website resources locally on a user’s device after their first visit.
When they return to the website, their browser can retrieve these cached assets, eliminating the need to download them again from the server.
Need Support?
Thank You for reading this Blog!
For further more interesting blogs, keep in touch with us. If you need any kind of support, simply raise a ticket at https://webkul.uvdesk.com/en/.
You may also visit our Odoo development services and quality Odoo Extensions.
For further help or queries, please contact us or raise a ticket.

Be the first to comment.