In our last blog, we had discussed briefly about Docker architecture and its three components. We had also setup an architecture for Magento 2 having apache server and mysql server running on same container. Also, by mounting Magento 2 files from host to container, we had setup single docker container architecture for Magento 2.
Although, for multiple-server production environment, single Docker container architecture is not a good choice as it lacks scalability and flexibility. Single Docker container architecture can be opt in the case when your backend server setup is not going to get frequently modified.
For long run, multiple docker container architecture is a good way to go. Also, as we have discussed in our last blog that there should be single process running per container, so for a LAMP server setup, apache server and mysql server should run on separate containers interlinked with each other.
In order to achieve multiple containers architecture, we can use docker-compose tool.
Introduction to Docker-Compose
Quoting from Docker docs itself,
Compose is a tool for defining and running multi-container Docker applications. With Compose, you use a Compose file to configure your application’s services. Then, using a single command, you create and start all the services from your configuration.
With the help of docker-compose we can define containers to be built, their configuration, links, volumes, ports etc in a single file and it gets launched by a single command. We can add multiple servers and services just by adding them to docker-compose configuration file. This configuration file is in YAML format.
Working with docker-compose is generally few steps process:
- Create a Dockerfile defining the application environment. We can create separate Dockerfile for our different services. As Dockerfile are lightweight, so our application can be replicated anywhere.
- Create a docker-compose.yml file defining services that needed for application run. We can define volumes to be mapped, ports to be exposed, links to be created, arguments to be passed etc in our docker-compose.yml file.
- Run ‘docker-compose build’ to create Docker image. After creating Dockerfile, docker-compose.yml and placing our volumes at right places, we can create our image.
- Run ‘docker-compose up -d’ to run the docker containers. After image build up, we can run all of our containers as mentioned in configuration files by this single command.
Setting Up Magento 2 Using Docker-Compose
In this blog, we will be using same architecture as mentioned above to setup Magento 2 using docker-compose on Ubuntu 16.04 . Presuming that fact that docker and docker-compose is already installed on your ubuntu server we will begin with server setup. If not, please install docker and docker-compose first.
Our parent directory holding all the files/directories will be considered as project name. We can also set custom project name in docker-compose.yml file. Here we are creating separate directories for apache2 and mysql server setup that holds Dockerfile and their associated volumes.
Take a note that: Like our previous blog, Magento 2 files will be placed on our host. As it is a good practice to keep application files on host so that it will not be lost if containers or images get accidentally removed. These magento files will be mapped from host to running docker container.
We are also using supervisor to control apache2 server and mysql server in their respective containers. Apart from controlling these servers, supervisor is also running various commands and scripts that will be mentioned later in this blog.
To begin with create a directory on your Ubuntu 16.04 server for this project. Our directory architecture will be something like:
- docker-compose.yml
- web_server
Dockerfile
supervisord.conf
- database_server
Dockerfile
mysql.sh
supervisord.conf
- magento2
Unarchived Magento 2 files and directories.
The docker-compose.yml file is shown below:
|
1 2 3 4 5 6 7 8 9 10 11 12 13 14 15 16 17 18 19 20 21 22 23 24 25 26 |
version: '3' services: web_server: build: context: ./web_server/ container_name: apache2 volumes: - ./magento2:/var/www/html - ./web_server/supervisord.conf:/etc/supervisor/conf.d/supervisord.conf ports: - "80:80" links: - database_server database_server: build: context: ./database_server/ args: - mysql_password=mention_your_mysql_root_password - mysql_database=mention_your_database_name container_name: mysql volumes: - ./database_server/supervisord.conf:/etc/supervisor/conf.d/supervisord.conf - ./database_server/mysql.sh:/etc/mysql.sh ports: - "3306:3306" |
As we can see in docker-compose.yml file above, among various version available, we are using version 3. Here in our configuration file, we are defining two services: web_server and database_server. The web_server is associated with our apache2 server configuration. Container name defined for this service is apache2, linked to database_server and port 80 is allocated to it. There are four volumes or files are being mapped from host to docker container and “context” under “build” points to location of its Dockerfile.
Also, the service database_server is associated with mysql-server. Container name is defined as mysql and port 3306 is allocated to it. Mysql root password and Database name will be passed as build argument and there are two volumes/files mapped from host to docker container. Same as web_server, “context” points to location of its Dockerfile.
Lets take a look in our web_server directory. It contains 2 files. Dockerfile is shown below:
|
1 2 3 4 5 6 7 8 9 10 11 12 13 14 15 16 17 18 19 20 21 22 23 24 25 26 27 28 29 30 31 32 33 |
FROM ubuntu:16.04 RUN apt-get update \ && apt-get -y install apache2 nano mysql-client \ && a2enmod rewrite \ && a2enmod headers \ && export LANG=en_US.UTF-8 \ && apt-get update \ && apt-get install -y software-properties-common \ && apt-get install -y language-pack-en-base \ && LC_ALL=en_US.UTF-8 add-apt-repository ppa:ondrej/php \ && apt-get update \ && apt-get -y install php7.1 php7.1-curl php7.1-intl php7.1-gd php7.1-dom php7.1-mcrypt php7.1-iconv php7.1-xsl php7.1-mbstring php7.1-ctype php7.1-zip php7.1-pdo php7.1-xml php7.1-bz2 php7.1-calendar php7.1-exif php7.1-fileinfo php7.1-json php7.1-mysqli php7.1-mysql php7.1-posix php7.1-tokenizer php7.1-xmlwriter php7.1-xmlreader php7.1-phar php7.1-soap php7.1-mysql php7.1-fpm php7.1-bcmath libapache2-mod-php7.1 \ && sed -i -e"s/^memory_limit\s*=\s*128M/memory_limit = 512M/" /etc/php/7.1/apache2/php.ini \ && rm /var/www/html/* \ && sed -i "s/None/all/g" /etc/apache2/apache2.conf \ ##install supervisor and setup supervisord.conf file && apt-get install -y supervisor \ && mkdir -p /var/log/supervisor env APACHE_RUN_USER www-data env APACHE_RUN_GROUP www-data env APACHE_PID_FILE /var/run/apache2.pid env APACHE_RUN_DIR /var/run/apache2 env APACHE_LOCK_DIR /var/lock/apache2 env APACHE_LOG_DIR /var/log/apache2 env LANG C WORKDIR /var/www/html CMD ["/usr/bin/supervisord"] |
And at last we have supervisord.conf file that supervisor use to run apache2 server and ownership commands. Its contents are shown below:
|
1 2 3 4 5 6 7 8 9 |
[supervisord] nodaemon=true [program:apache2] command=/bin/bash -c "source /etc/apache2/envvars && exec /usr/sbin/apache2 -DFOREGROUND" [program:user_permission] command=/bin/bash -c "chown -R www-data: /var/www/" |
Moving on to our database_server directory, it contains 3 files. Dockerfile is shown below:
|
1 2 3 4 5 6 7 8 9 10 11 12 13 14 15 16 17 18 19 20 21 22 23 24 25 26 27 |
FROM ubuntu:16.04 ARG mysql_password ARG mysql_database env MYSQL_ROOT_PASSWORD {mysql_password} env MYSQL_DATABASE ${mysql_database} RUN apt-get update \ && echo "mysql-server-5.7 mysql-server/root_password password ${mysql_password}" | debconf-set-selections \ && echo "mysql-server-5.7 mysql-server/root_password_again password ${mysql_password}" | debconf-set-selections \ && DEBIAN_FRONTEND=noninteractive apt-get -y install mysql-server-5.7 && \ mkdir -p /var/lib/mysql && \ mkdir -p /var/run/mysqld && \ mkdir -p /var/log/mysql && \ touch /var/run/mysqld/mysqld.sock && \ touch /var/run/mysqld/mysqld.pid && \ chown -R mysql:mysql /var/lib/mysql && \ chown -R mysql:mysql /var/run/mysqld && \ chown -R mysql:mysql /var/log/mysql &&\ chmod -R 777 /var/run/mysqld/ \ && sed -i -e"s/^bind-address\s*=\s*127.0.0.1/bind-address = 0.0.0.0/" /etc/mysql/mysql.conf.d/mysqld.cnf \ ##install supervisor and setup supervisord.conf file && apt-get install -y supervisor nano \ && mkdir -p /var/log/supervisor CMD ["/usr/bin/supervisord"] |
So as we have seen in our last blog as well that Dockerfile just install packages as it is instructed to do by the commands.
As mentioned earlier consider image as rest package where no services or processes are running. That is why we cannot perform any operation from Dockerfile that requires a particular service to be running. As with case of database, we cannot create database from Dockerfile as mysql service is not running. For database and its user creation, we will create a bash script that will run whenever a container will launch, hence creating mentioned database and its user.
We are using “mysql.sh” as the bash script as mentioned in Dockerfile. Bash script “msyql.sh” resides on our host parallel to Dockerfile.
Contents of mysql.sh is shown below:
|
1 2 3 4 5 6 7 8 9 10 11 12 13 14 15 16 17 18 19 20 21 22 23 24 25 26 27 28 29 30 |
#!/bin/bash set -u sleep 4 database_connectivity_check=no var=1 while [ "$database_connectivity_check" != "mysql" ]; do /etc/init.d/mysql start sleep 2 database_connectivity_check=`mysqlshow --user=root --password=$MYSQL_ROOT_PASSWORD | grep -o mysql` if [ $var -ge 4 ]; then exit 1 fi var=$((var+1)) done database_availability_check=`mysqlshow --user=root --password=$MYSQL_ROOT_PASSWORD | grep -ow "$MYSQL_DATABASE"` if [ "$database_availability_check" == "$MYSQL_DATABASE" ]; then exit 1 else mysql -u root -p$MYSQL_ROOT_PASSWORD -e "grant all on *.* to 'root'@'%' identified by '$MYSQL_ROOT_PASSWORD';" mysql -u root -p$MYSQL_ROOT_PASSWORD -e "create database $MYSQL_DATABASE;" mysql -u root -p$MYSQL_ROOT_PASSWORD -e "grant all on $MYSQL_DATABASE.* to 'root'@'%' identified by '$MYSQL_ROOT_PASSWORD';" supervisorctl stop database_creation && supervisorctl remove database_creation echo "Database $MYSQL_DATABASE created" fi |
Apart from mysql.sh and Dockerfile, we are also mapping supervisord.conf file. Its contents are shown below:
|
1 2 3 4 5 6 7 8 9 |
[supervisord] nodaemon=true [program:mysql] command=/bin/bash -c "touch /var/run/mysqld/mysqld.sock;touch /var/run/mysqld/mysqld.pid;chown -R mysql:mysql /var/lib/mysql;chown -R mysql:mysql /var/run/mysqld;chown -R mysql:mysql /var/log/mysql;chmod -R 777 /var/run/mysqld/;/etc/init.d/mysql restart" [program:database_creation] command=/bin/bash -c "chmod a+x /etc/mysql.sh; /etc/mysql.sh" |
And our last directory is magento2 directory. In our case we have download Magento 2 latest version from https://magento.com/tech-resources/download and unarchive it in magento2 directory. This directory will be mapped with /var/www/html directory in docker container.
Now, when directory setup is complete, check the ports to be allocated are available. Go to project directory and run the following command to build the image.
|
1 |
docker-compose build |
It will create two images. Check the images by running command:
|
1 |
docker images |
Now to run the containers as a part of single project being as mentioned in docker-compose.yml file, run the command:
|
1 |
docker-compose up -d |

Your containers will get running. To list running containers under docker-compose, run command:
|
1 |
docker-compose ps |

Your database credentials are mentioned in mysql.sh file. To get database user password, you can either enter the running container and check the /var/log/check.log file as:
|
1 2 3 |
docker exec -ti mysql bash cat /var/log/check.log |
Or, you can get it directly from host as:
|
1 |
docker exec -i mysql cat /var/log/check.log |
Now, your server setup is all ready, hit your domain name or IP to install Magento 2.
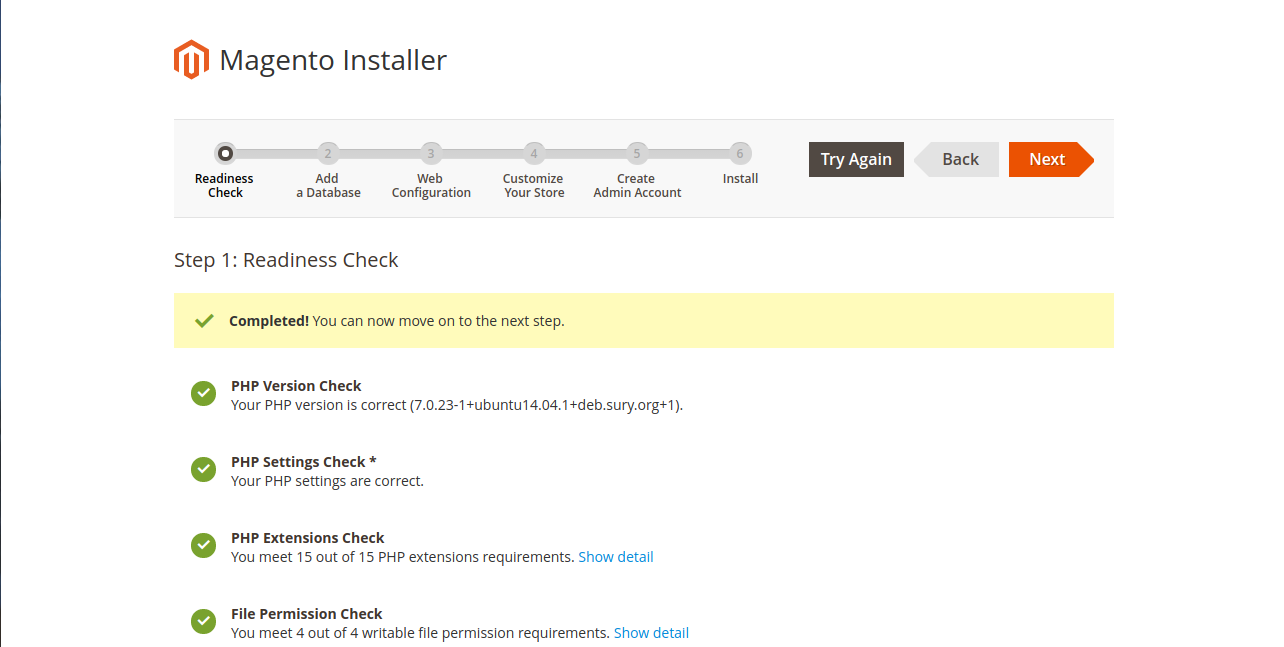
Now begin with setting up Magento, perform readiness check,
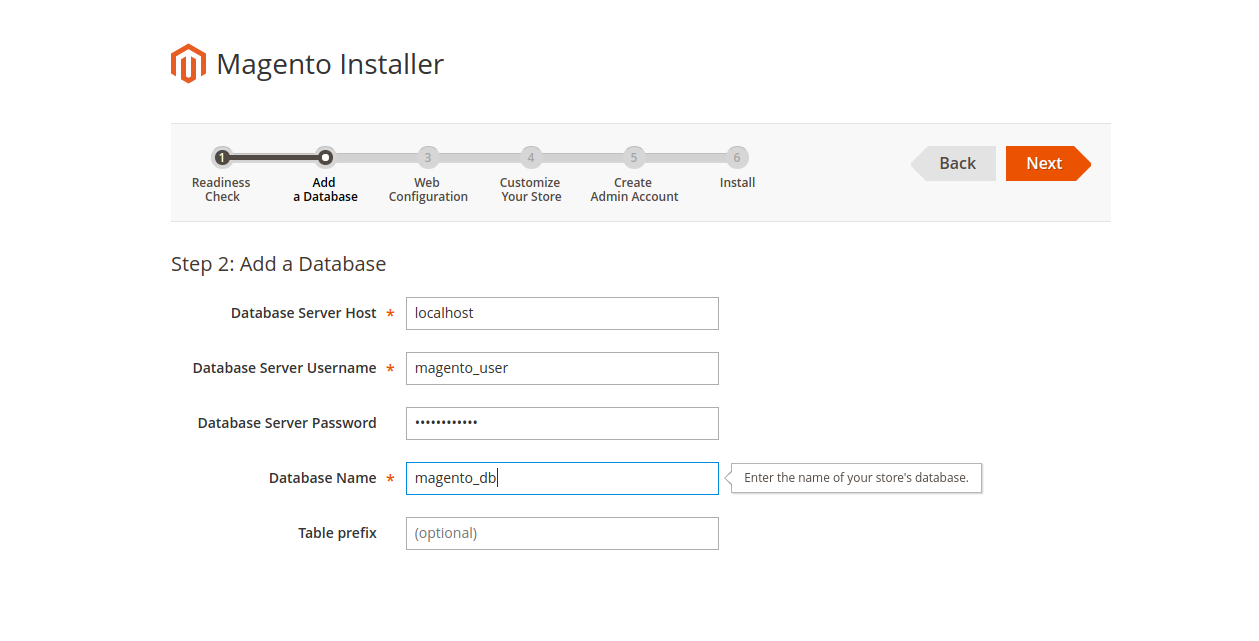
Now, mention database details as we have mentioned in mysql.sh file.
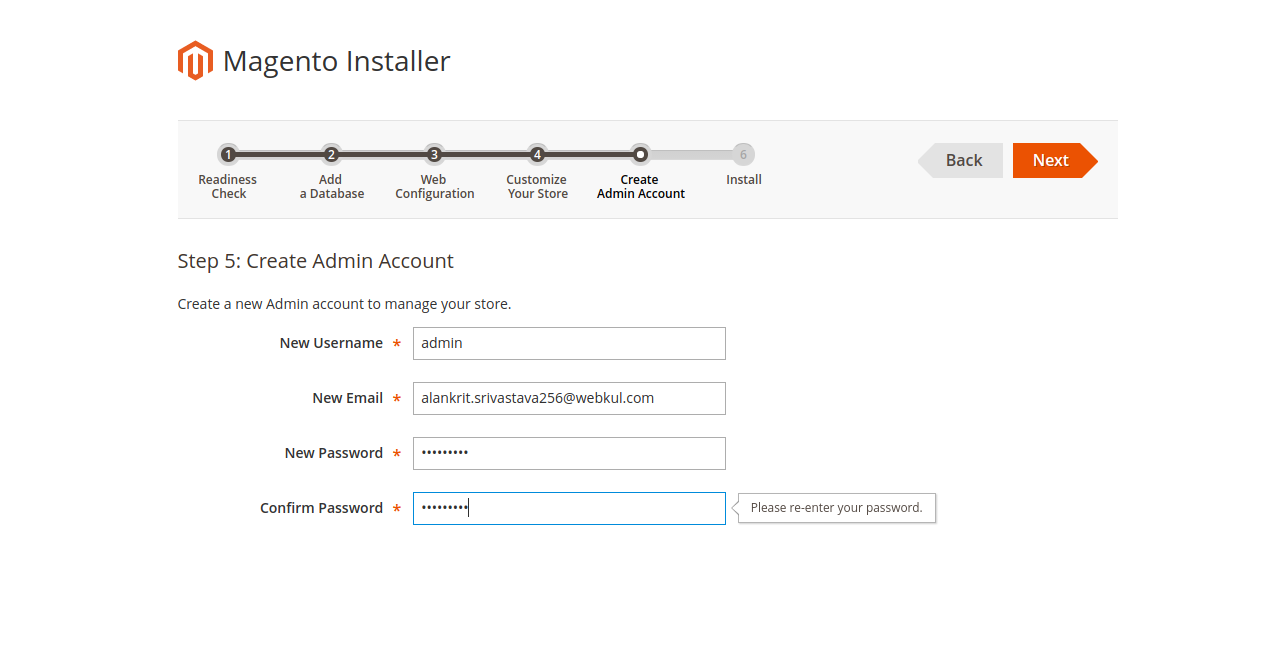
 Now, mention your admin panel details.
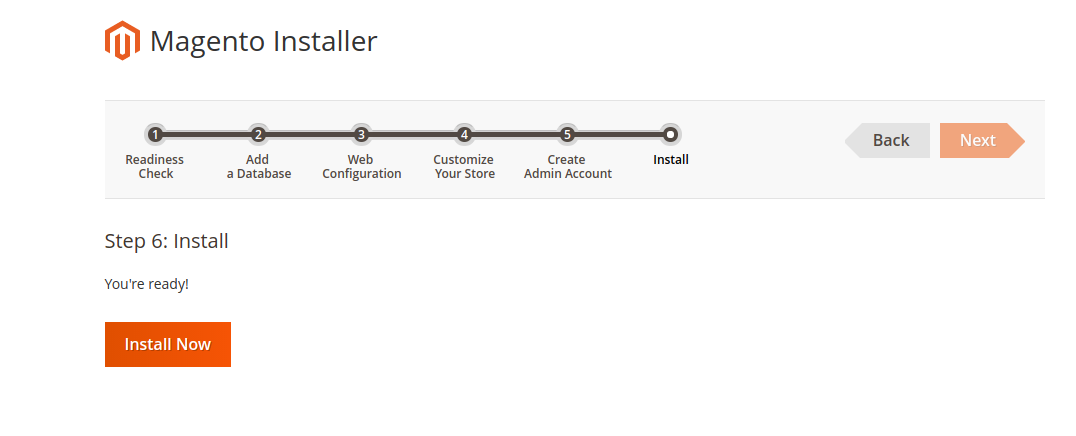
After this, we are set to install our Magento 2, click on install button to proceed.
So far we have discussed how to setup Magento 2 using docker-compose on multiple docker container architecture. Also refer to git repository https://github.com/webkul/magento2-docker-compose. In our next blog we will setup Magento 2 with Varnish cache on Docker architecture.
If you have any issues, contact us at [email protected] or raise ticket at https://webkul.uvdesk.com/

SQLSTATE[HY000] [1130] Host 'apache2.ruffntumblekids_default' is not allowed to connect to this MySQL server