
Description:
Kubernetes is an open-source container management (orchestration) tool. It’s container management responsibilities include container deployment, scaling & descaling of containers & container load balancing.
Why Use Kubernetes?
Companies out there maybe using Docker or Rocket or maybe simply Linux containers for containerizing their applications. But, whatever it is, they use it on a massive scale. They don’t stop at using 1 or 2 containers in Prod. But rather, 10’s or 100’s of containers for load balancing the traffic and ensuring high availability.
Keep in mind that, as the traffic increases, they even have to scale up the number of containers to service the ‘n’ no of requests that come in every second. And, they have to also scale down the containers when the demand is less.
That is why, the need for container management tools is important. Both Docker Swarm and Kubernetes are popular tools for Container management and orchestration. But, Kubernetes is the undisputed market leader. Partly because it is Google’s brainchild and partly because of its better functionality.
Features of Kubernetes:
- Automates various manual processes: for instance, Kubernetes will control for you which server will host the container, how it will be launched etc.
- Interacts with several groups of containers: Kubernetes is able to manage more cluster at the same time
- Provides additional services: as well as the management of containers, Kubernetes offers security, networking and storage services
- Self-monitoring: Kubernetes checks constantly the health of nodes and containers
- Horizontal scaling: Kubernetes allows you scaling resources not only vertically but also horizontally, easily and quickly
- Storage orchestration: Kubernetes mounts and add storage system of your choice to run apps
- Automates rollouts and rollbacks: if after a change to your application something goes wrong, Kubernetes will rollback for you
- Container balancing: Kubernetes always knows where to place containers, by calculating the “best location” for them
- Run everywhere: Kubernetes is an open source tool and gives you the freedom to take advantage of on-premises, hybrid, or public cloud infrastructure, letting you move workloads to anywhere you want.
How To Install Kubernetes Cluster :
Pre-requisites To Install Kubernetes :
Since we are dealing with VMs, we recommend the following settings for the VMs:-
Master:
- 2 GB RAM
- 2 Cores of CPU
Slave/ Node:
- 1 GB RAM
- 1 Core of CPU
Pre-Installation Steps On Both Master & Slave (To Install Kubernetes):
First, login as ‘sudo’ user because the following set of commands need to be executed with ‘sudo’ permissions. Then, update your ‘apt-get’ repository.
|
1 2 3 |
$ sudo su # apt-get update. |
Turn Off Swap Space:
|
1 2 |
# swapoff -a # nano /etc/fstab |
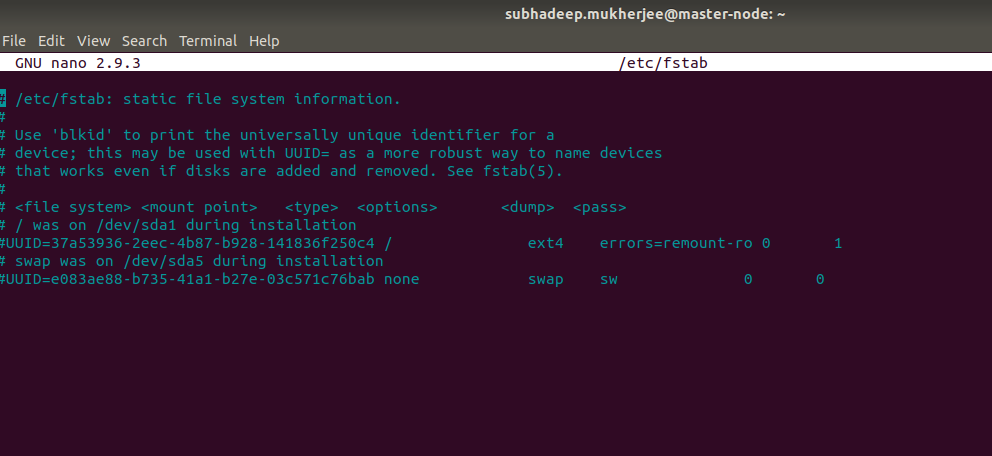
comment -out all the swap entries in /etc/fstab file , because kubernetes doesn’t support swap memory.
Update The Hosts File With IPs Of Master & Node:
Run the following command on both machines to note the IP addresses of each.
|
1 2 |
# ifconfig |
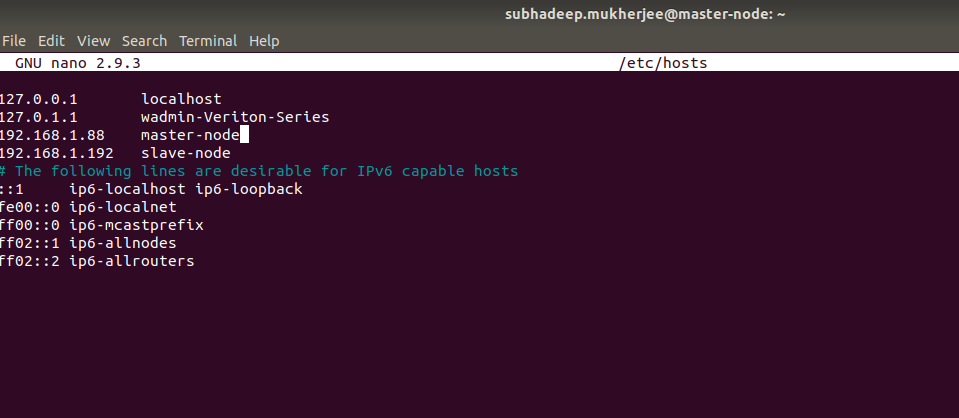
Now go to the ‘hosts’ file on both the master and node and add an entry specifying their respective IP addresses along with their names which are master-node and slave-node. This is used for referencing them in the cluster. It should look like the below screenshot on both the machines.
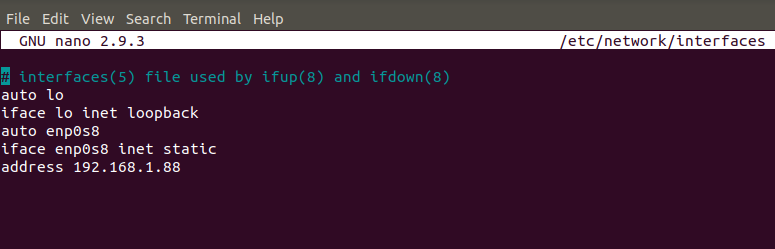
Setting Static IP Addresses
Next, we will make the IP addresses used above, static for the VMs. We can do that by modifying the network interfaces file. Run the following command to open the file:
|
1 |
$ nano /etc/network/interfaces |
Now enter the following lines in the file.
|
1 2 3 |
auto enp0s8 iface enp0s8 inet static address <<em>IP-Address-Of-VM</em>> |
Install OpenSSH-Server
Now we have to install openssh-server. Run the following command:
|
1 |
# sudo apt-get install openssh-server |
Install Docker
Now , we have to install Docker because Docker images will be used for managing the containers in the cluster. Run the following commands:
|
1 2 3 |
# sudo su # apt-get update # apt-get install -y docker.io |
Next we have to install these 3 essential components for setting up Kubernetes environment: kubeadm, kubectl, and kubelet.
Run the following commands before installing the Kubernetes environment.
|
1 2 3 4 5 6 |
# apt-get update && apt-get install -y apt-transport-https curl # curl -s https://packages.cloud.google.com/apt/doc/apt-key.gpg | apt-key add - # cat <<EOF >/etc/apt/sources.list.d/kubernetes.list deb http://apt.kubernetes.io/ kubernetes-xenial main EOF # apt-get update |
Install kubeadm, Kubelet And Kubectl :
|
1 |
# apt-get install -y kubelet kubeadm kubectl |
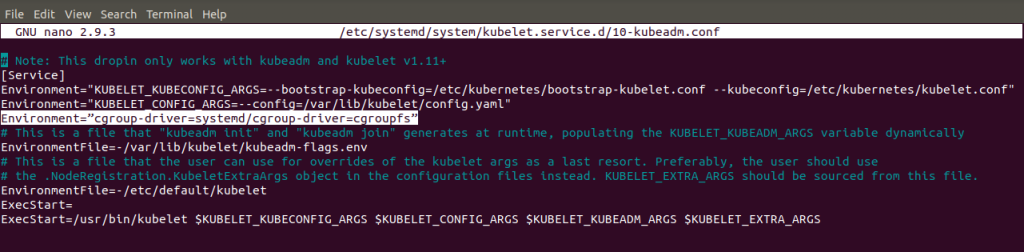
Updating Kubernetes Configuration
Next, we will change the configuration file of Kubernetes. Run the following command:
|
1 |
# nano /etc/systemd/system/kubelet.service.d/10-kubeadm.conf |
Steps Only For Kubernetes Master VM (master-node:)
Step 1: We will now start our Kubernetes cluster from the master’s machine. Run the following command:
|
1 |
# kubeadm init --apiserver-advertise-address=<ip-address-of-master-vm> --pod-network-cidr=192.168.0.0/16 |
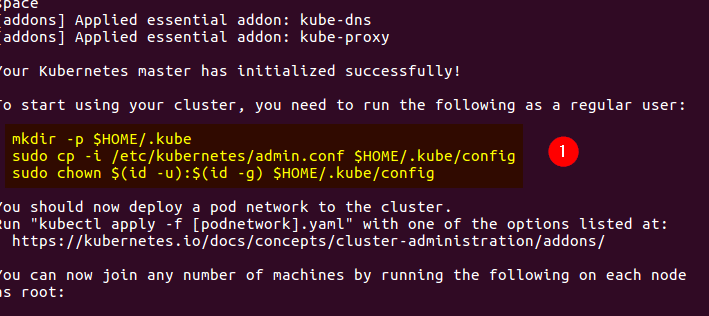
Step 2: As mentioned before, run the commands from the above output as a non-root user
|
1 2 3 |
$ mkdir -p $HOME/.kube $ sudo cp -i /etc/kubernetes/admin.conf $HOME/.kube/config $ sudo chown $(id -u):$(id -g) $HOME/.kube/config |
To verify, if kubectl is working or not, run the following command:
|
1 |
$ kubectl get pods -o wide --all-namespaces |
Step 3: You will notice from the previous command, that all the pods are running except one: ‘kube-dns’. For resolving this we will install a pod network. To install the CALICO pod network, run the following command:
|
1 |
kubectl apply -f https://docs.projectcalico.org/v3.0/getting-started/kubernetes/installation/hosted/kubeadm/1.7/calico.yaml |
Step 4: Next, we will install the dashboard. To install the Dashboard, run the following command:
|
1 |
$ kubectl create -f https://raw.githubusercontent.com/kubernetes/dashboard/master/src/deploy/recommended/kubernetes-dashboard.yaml |
Step 5: Your dashboard is now ready with it’s the pod in the running state.

Step 6: By default dashboard will not be visible on the Master VM. Run the following command in the command line:
|
1 |
$ kubectl proxy |
To view the dashboard in the browser, navigate to the following address in the browser of your Master VM:
|
1 |
http://localhost:8001/api/v1/namespaces/kube-system/services/https:kubernetes-dashboard:/proxy/ |
You will then be prompted with this page, to enter the credentials:
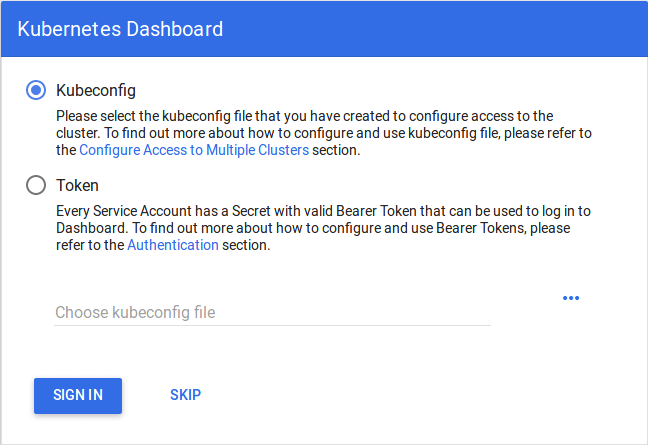
Step 7: In this step, we will create the service account for the dashboard and get it’s credentials.
Note: Run all these commands in a new terminal, or your kubectl proxy command will stop.
Run the following commands:
1. This command will create a service account for dashboard in the default namespace
|
1 |
$ kubectl create serviceaccount dashboard -n default |
2. This command will add the cluster binding rules to your dashboard account
|
1 2 3 |
$ kubectl create clusterrolebinding dashboard-admin -n default --clusterrole=cluster-admin --serviceaccount=default:dashboard |
3. This command will give you the token required for your dashboard login:
|
1 |
$ kubectl get secret $(kubectl get serviceaccount dashboard -o jsonpath="{.secrets[0].name}") -o jsonpath="{.data.token}" | base64 --decode |
You should get the token like this:
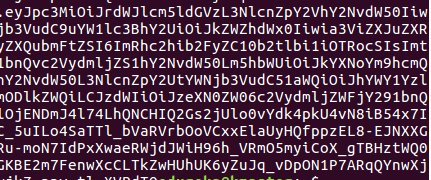
4. Copy this token and paste it in Dashboard Login Page, by selecting token option

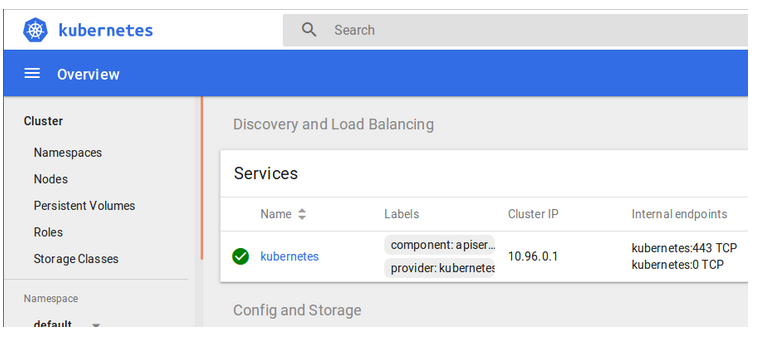
5. You have successfully logged into your dashboard!
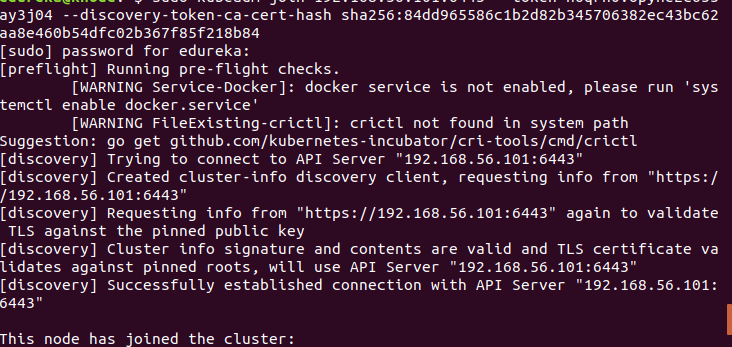
Steps For Only Kubernetes Node VM (knode)
It is time to get your node, to join the cluster! This is probably the only step that you will be doing on the node, after installing kubernetes on it.
Run the join command that you saved, when you ran ‘kubeadm init’ command on the master.
Note: Run this command with “sudo”.
|
1 |
sudo kubeadm join --apiserver-advertise-address=<ip-address-of-the master> --pod-network-cidr=192.168.0.0/16 |
For further comprehensive best practices you can visit :

Be the first to comment.