Ubuntu is a well-known Linux distribution. Ubuntu 20.04 LTS is the one the recent release, containing a new kernel and additional features.
You may need to upgrade your Ubuntu LTS server in any circumstance. We’ll walk you through the procedures to update your server from 18.04 to 20.04 LTS in this article.
The upgrade procedure usually takes a long time, causing downtime. If you run a web service like Apache2 or any public service, expect extended downtime.
This is why you should upgrade to the latest version only when it is necessary.
Notes:- Do not forget to take server backup, before upgrading.
Prerequisite:-
- Prior versions of Ubuntu 20.04 LTS.
- root user rights on a machine.
- Excellent Internet Access.
Step 1: Update your system
(A). It is suggested that you first update your Ubuntu server for any pending software upgrades.
You can follow this update command – #apt-get update

(B). Then, run this upgrade command – # apt-get dist-upgrade -y

Step 2: Restart your system
Step 3: Then, Update Manager’s Configuration
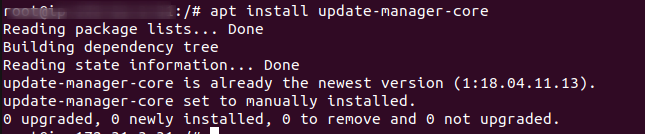
To upgrade your system to a newer version, Ubuntu provides a tool called Update Manager, run this command apt install update-manager-core.
It should normally be installed by default, but you should double-check that your Ubuntu server has the update manager utility installed.
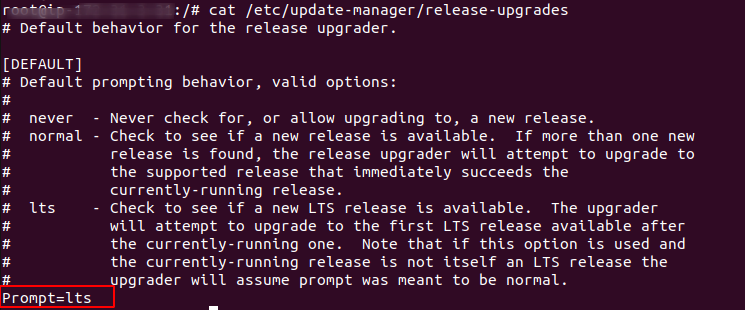
Check the contents of the cat /etc/update-manager/release-upgrades file to ensure that the last line is Prompt=lts and not commented out.
Your Ubuntu system will be updated to a new stable LTS version as a result of this. This is what it looks like:
Step 4: Upgrade to a newer LTS version of the Ubuntu server.
Once you’ve verified that, run the command – do-release-upgrade to upgrade your Ubuntu 18.04 server to Ubuntu 20.04 LTS.

Using an SSH connection to upgrade an Ubuntu server
If you use SSH to log in to your system, you will see the following warning message:
This session appears to be ssh-enabled. It is presently not suggested to upgrade over SSH because recovery is more difficult in the event of failure.

Several steps in the Ubuntu version upgrade process demand your input.
What happens if you’re doing it through SSH and your connection goes down? Is it going to hang? How will it obtain vital user input to move forward with the upgrade?
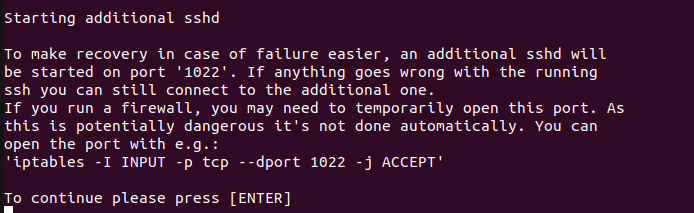
There is no need to be concerned. It is a smart operating system. This is handled by the do-release-upgrade tool. It will start a new SSH session with the screen at port 1022 automatically.
If your system has a custom firewall, you should open the TCP 1022 port.
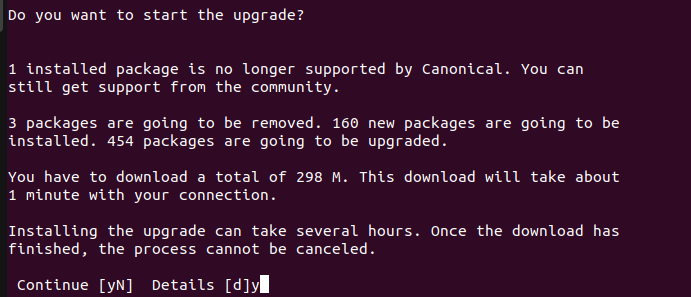
One message is coming – Do you want to start the upgrade? type y and again y for continue.
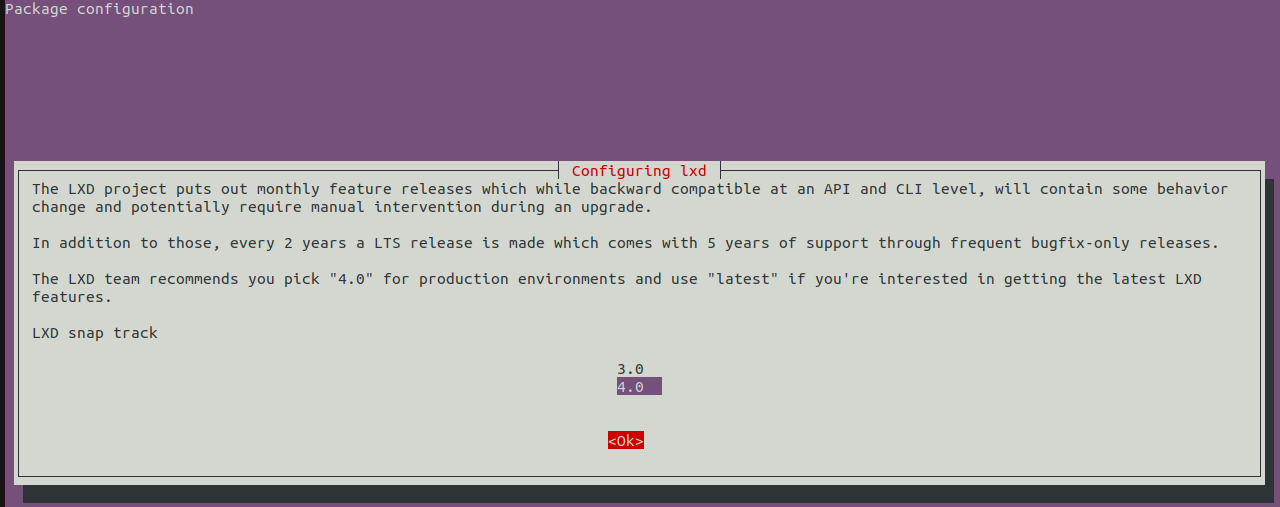
Configuring Package configuration, press Yes and then press Enter to continue.

You will be able to upgrade to the new server in 20-30 minutes if you follow the on-screen instructions.
Then, You need to restart your server after the upgrade is complete.
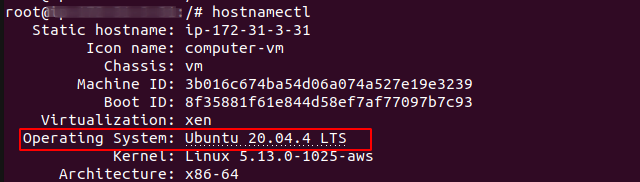
You can use the hostnamectl command to see if you’re running Ubuntu 20.04, as seen below.
Conclusion
In this way, you can upgrade your Ubuntu server from 18.04 to 20.04 LTS. You can stay connected for more updates.
For further help or queries, please contact us or raise a ticket.
1 comments