Odoo is a popular open-source suite of business apps that helps companies to manage and run their business.
It features a large range of applications that are all perfectly connected, including CRM, e-commerce, website builders, billing, accounting, manufacturing, and much more.
The Odoo version 16 is officially rolled out and has already created a buzz among the users. You can visit GitHub to find the Source Code for Odoo Community Edition.
With the help of this tutorial, you can install Odoo16 on Ubuntu 20.04.
Let’s start the Odoo16 setup. Open your server terminal and execute the below-mentioned commands.
Step-1: Update the apt source list
|
1 |
sudo apt-get update |
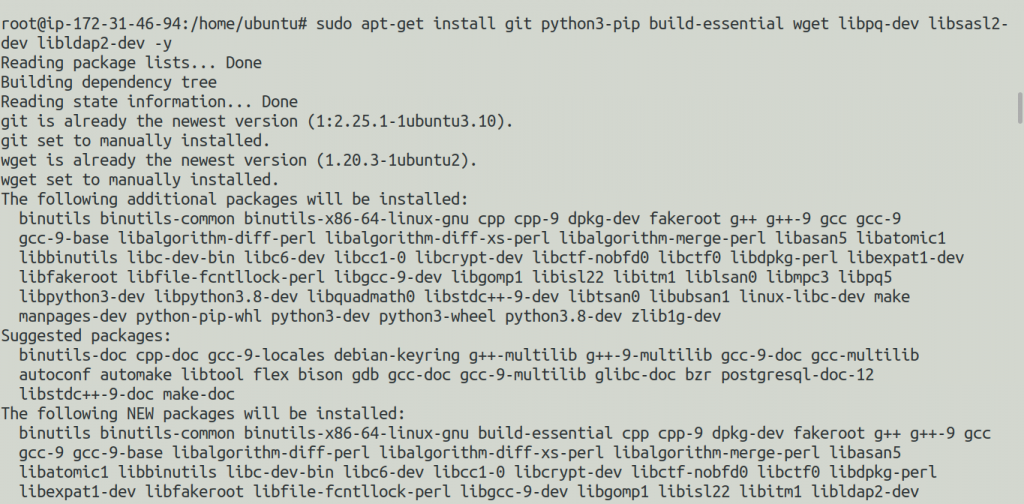
Step-2: Install the Python libraries required for running the application
|
1 |
sudo apt-get install git python3-pip build-essential wget libpq-dev libsasl2-dev libldap2-dev -y |
Step-3: Create a user to run the odoo application
|
1 |
sudo useradd -m -d /opt/odoo -U -r odoo |
Note: However, You can create your version-specific user.

Step-4: Let’s Install & configure the database server PostgreSQL
A database can be served from the local database server as well as through the AWS RDS.
Case 1: If you are using Local Database Server (PostgreSQL)
|
1 |
sudo apt install -y postgresql |
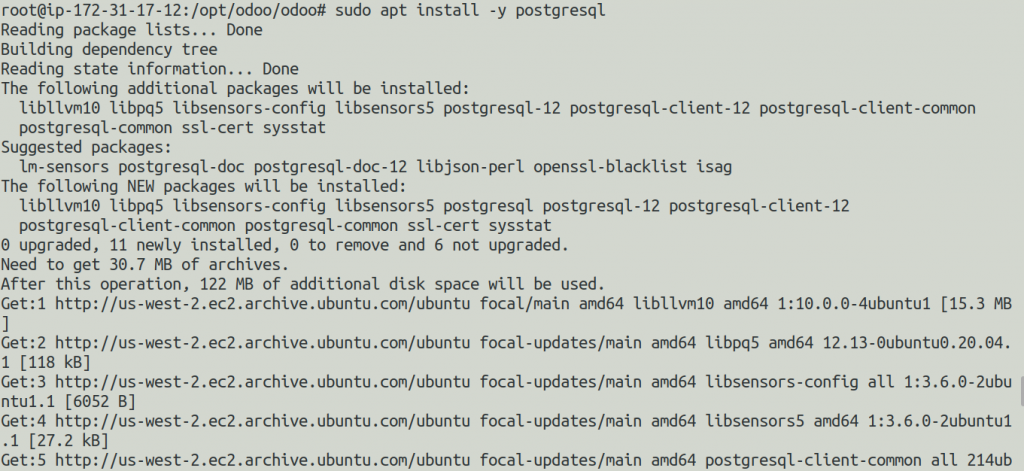
After installing the PostgreSQL, We will set up a new PostgreSQL user to do the interactions with the database from the odoo application.
|
1 |
sudo su - postgres -c "createuser -s odoo16" |

Case 2: If you are using AWS RDS
Amazon RDS handles routine database tasks, such as provisioning, patching, backup, recovery, failure detection, and repair.
You do not need to worry about anything, everything is managed at the AWS end.
Firstly you have to launch an RDS (PostgreSQL) and then configure it with your AWS EC2 instance.
Once it’s configured connect to your RDS and run the following command.
|
1 2 |
psql -p 5432 -h yourrdsendpoint -U username sudo su - postgres -c "createuser -s odoo16" |
Step-5:Clone the most recent code from Github after switching to the odoo16 user
|
1 2 |
sudo su - odoo -s /bin/bash git clone https://www.github.com/odoo/odoo --depth 1 --branch 16.0 /opt/odoo/odoo |

After the latest code is cloned on your server exit from the odoo16 user and be the root user to run further commands.
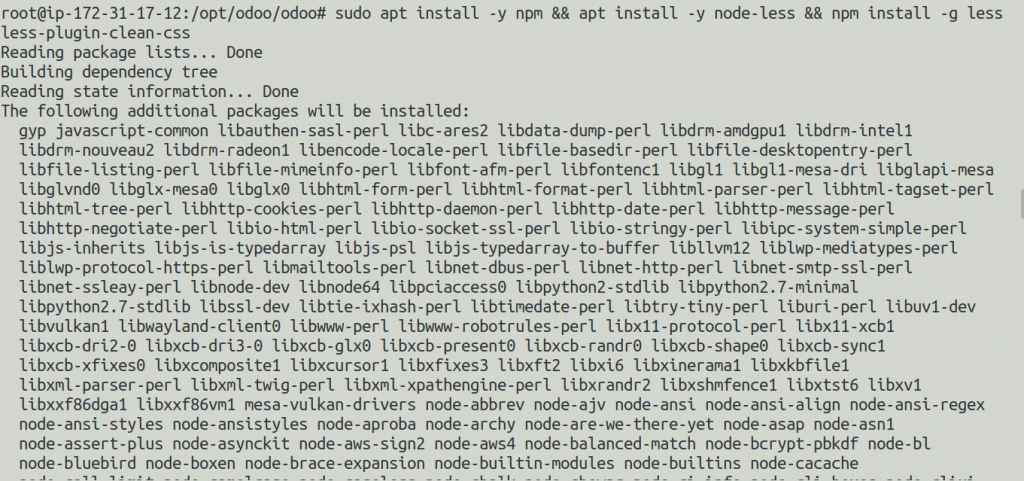
Step-6: Web dependencies required for the Odoo
|
1 2 3 |
sudo apt install -y npm apt install -y node-less npm install -g less less-plugin-clean-css |
Step-7: Installing wkhtmltopdf
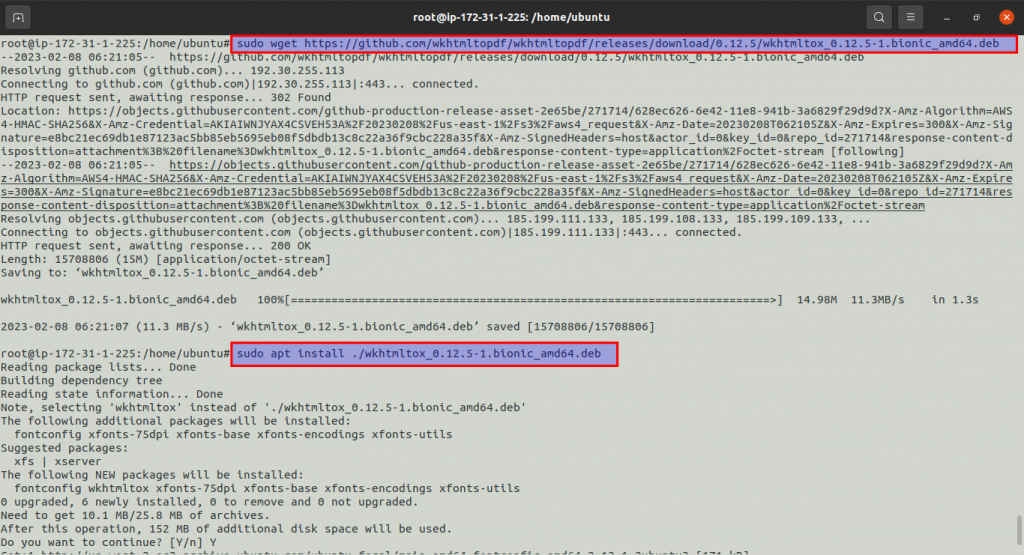
The recommended version for Odoo is version 0.12.5. Download and install it from GitHub.
|
1 2 3 |
sudo wget https://github.com/wkhtmltopdf/wkhtmltopdf/releases/download/0.12.5/wkhtmltox_0.12.5-1.bionic_amd64.deb sudo apt install ./wkhtmltox_0.12.5-1.bionic_amd64.deb -y |
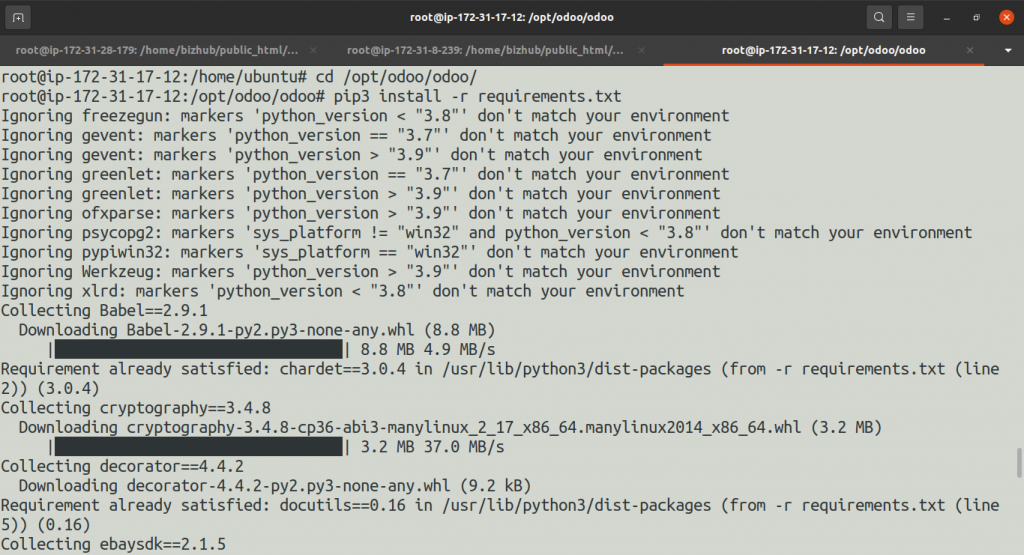
Step-8: Required Python 3 dependencies for Odoo.
|
1 2 |
cd /opt/odoo/odoo pip3 install -r requirements.txt |
Step-9: Make a directory to keep track of odoo logs.
|
1 2 |
sudo mkdir /var/log/odoo sudo chown odoo:root /var/log/odoo |

Step-10: Create a configuration file for the odoo.
|
1 |
sudo vim /etc/odoo-server.conf |
Sample configuration file.
|
1 2 3 4 5 6 7 8 9 10 |
[options] ; This is the password that allows database operations: ; admin_passwd = admin db_host = False #If using RDS then define your rdsendpoint db_port = False db_user = odoo16 db_password = False #add your own password addons_path = /opt/odoo/odoo/addons logfile = /var/log/odoo/odoo-server.log proxy_mode = True |
Further, Set the ownership and permission to the file.
|
1 2 |
sudo chown odoo: /etc/odoo-server.conf sudo chmod 640 /etc/odoo-server.conf |

Step-11: Create an Odoo boot script.
This script will let us start/stop the Odoo as a service automatically. Click here to get the script.
|
1 |
sudo vim /etc/init.d/odoo-server |
Note:- Copy the script to your server and change the daemon path with your respective path.
Now, let’s set the ownership and the permission also for the file.
|
1 2 |
sudo chmod 755 /etc/init.d/odoo-server sudo chown root: /etc/init.d/odoo-server |

Step-12: Start/Stop Odoo service
|
1 |
sudo /etc/init.d/odoo-server start |
Usage: sudo /etc/init.d/odoo-server {start|stop|status|restart|force-stop|force-resart}

Monitor logs of the Odoo using the below command.
|
1 |
tail -f /var/log/odoo/odoo-server.log |
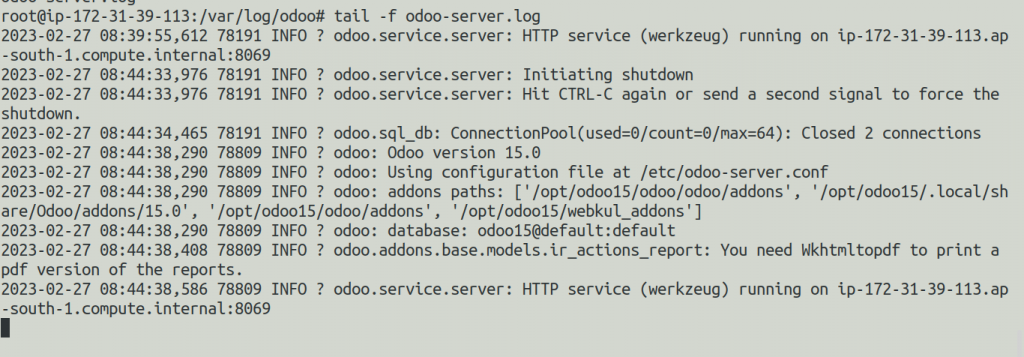
Let’s try the IP and port in your preferred browser if the logs don’t show any indication of an error.
Note – Do open the 8069 port from the AWS console in the Security group.
|
1 |
http://localhost:8069 |
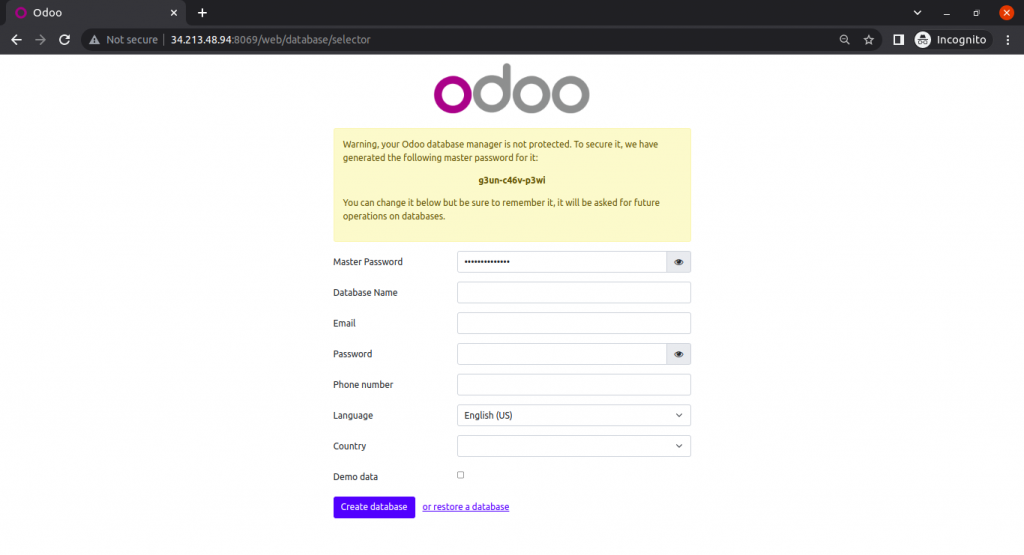
Once Odoo is successfully operating on a browser with a given IP address and port.
If you want to configure your Odoo application with Nginx, then you can check the guide.
If you find this blog helpful, Please give us your valuable time to provide us feedback for the same.
Need Support?
Thank You for reading this Blog!
For further more interesting blogs, keep in touch with us. If you need any kind of support, simply raise a ticket at https://webkul.uvdesk.com/en/.
You may also visit our Odoo development services and quality Odoo Extensions.
For further help or queries, please contact us or raise a ticket.


Be the first to comment.