You can host your online store with ease using the straightforward and effective eCommerce platform known as CS-Cart.
However, it uses MariaDB/MySQL to store its data and is written in PHP.
Using the built-in online interface, you may sell products and simply manage product inventories. There is a free 30-day trial of CS-Cart, but there is no free version.
Many features are available with CS-Cart, including multi-store, integrated SEO, theme editor, layout editor, various payment systems, and many more.
It was created specifically for creating and maintaining a great shop of any size.
We will learn how to install CS-Cart on an Ubuntu 20.04 server in this guide. Let’s start the installation.
Requirements
- OS – Ubuntu server 18.04 or higher
- Database Server – MySQL version 4.1 or higher / MariaDB 5.5 or higher
- Web server – Apache/Nginx
- PHP – version 5.3 or higher
Step 1: Update & Upgrade The Apt Source List.
|
1 |
sudo apt-get update && apt-get upgrade -y |
Step 2: Install LAMP Stack
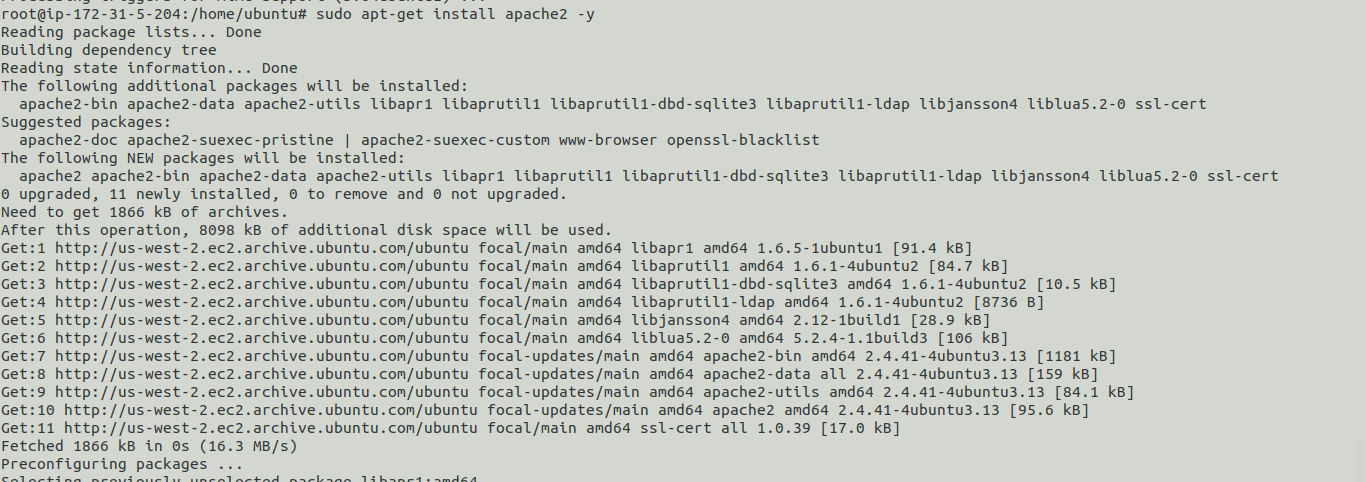
Install Apache web server.
|
1 2 3 |
sudo apt-get install apache2 -y sudo systemctl start apache2.service sudo systemctl enable apache2.service |

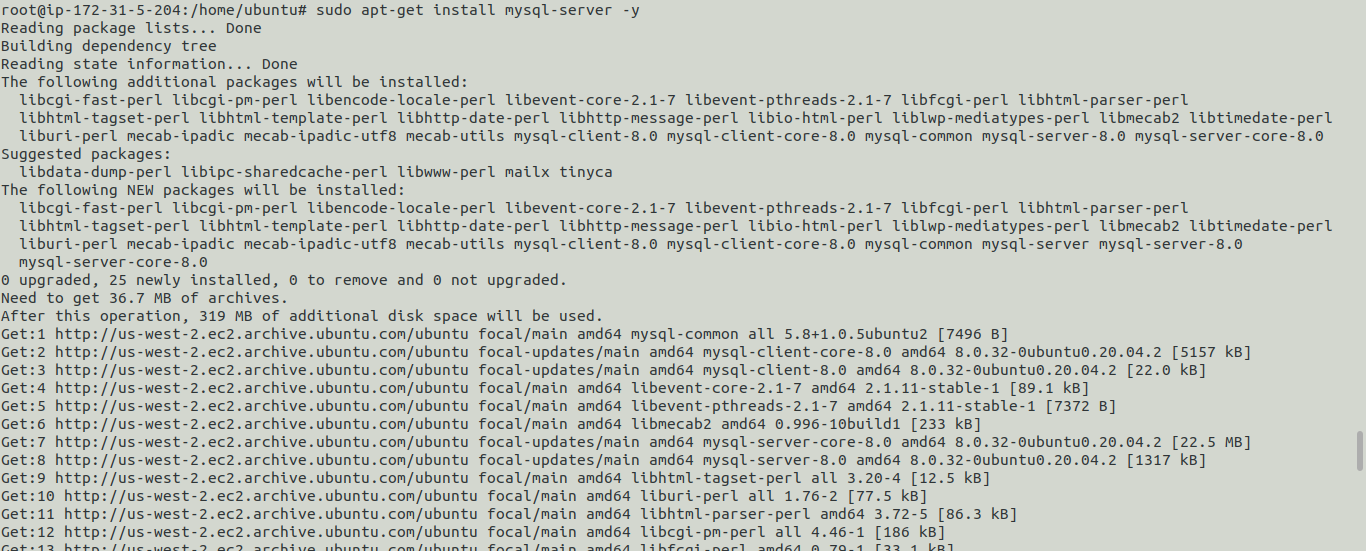
Database installation MySQL server
A database can be served from the local database server as well as through the AWS RDS.
Case 1: If you are using a Local Database Server
|
1 2 |
sudo apt-get install mysql-server -y sudo systemctl enable mysql |
Case 2: If you are using AWS RDS
Amazon RDS handles routine database tasks, such as provisioning, patching, backup, recovery, failure detection, and repair.
AWS will manage everything and you do not need to worry about anything.
Firstly you have to launch an RDS and then configure it with your Ec2 instance.
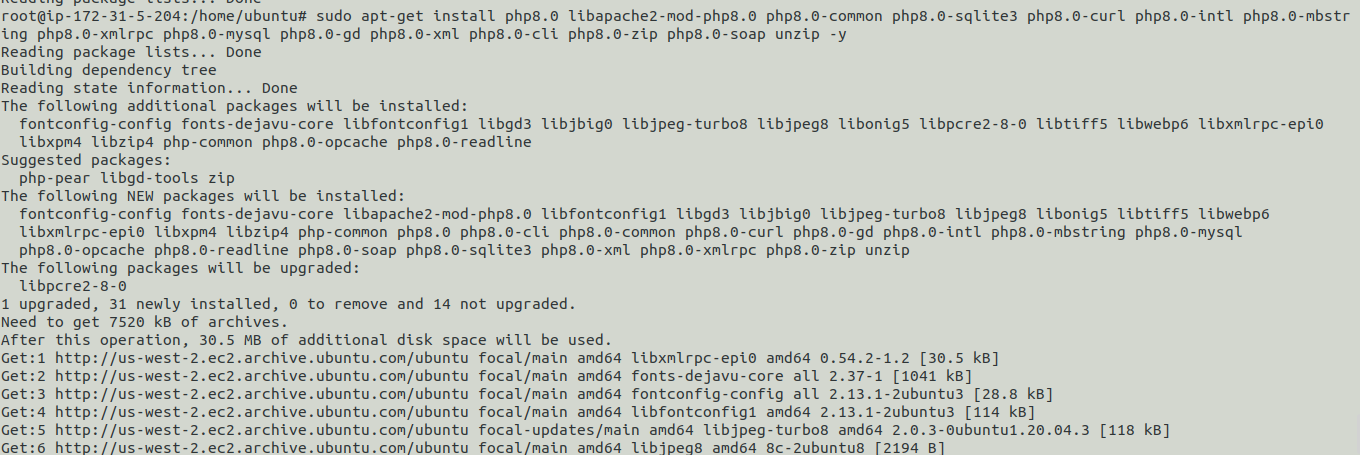
Then, Install PHP using the Ondrej repository
|
1 2 3 4 |
sudo apt-get install -y software-properties-common sudo add-apt-repository ppa:ondrej/php sudo apt-get update sudo apt-get install php8.0 libapache2-mod-php8.0 php8.0-common php8.0-sqlite3 php8.0-curl php8.0-intl php8.0-mbstring php8.0-xmlrpc php8.0-mysql php8.0-gd php8.0-xml php8.0-cli php8.0-zip php8.0-soap unzip -y |

Open the php.ini file and make the following changes once all the packages have been installed.
|
1 |
sudo vim /etc/php/8.0/apache2/php.ini |
Do the mentioned changes in the file.
|
1 2 3 4 |
memory_limit = 256M upload_max_filesize = 150M max_execution_time = 360 date.timezone = Asia/Kolkata |
Save and close the file. Then restart the web server as well as the database server.
|
1 2 |
sudo systemctl restart apache2 sudo systemctl restart mysql |

Now, let’s move to the next part of configuring the database for the CS cart.
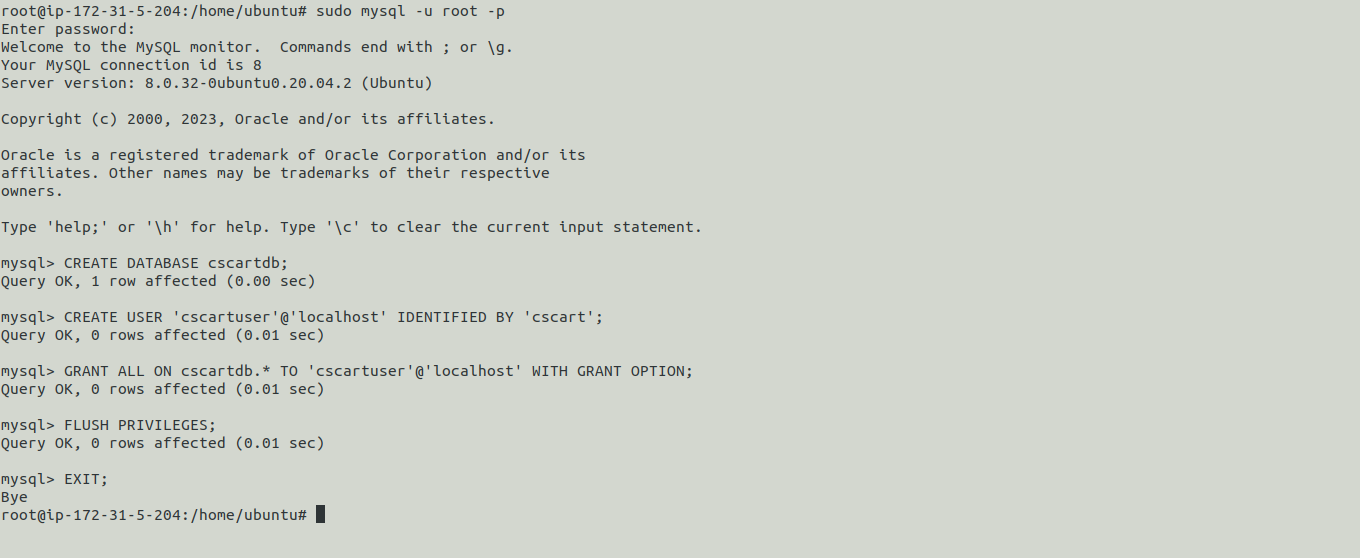
MySQL Configuration:
Please follow the instructions below if you are using a local database:
|
1 |
sudo mysql -u root -p |
If it asks for the password, simply hit enter.
|
1 2 3 4 5 |
CREATE DATABASE cscartdb; CREATE USER 'cscartuser'@'localhost' IDENTIFIED BY 'cscart'; GRANT ALL ON cscartdb.* TO 'cscartuser'@'localhost' WITH GRANT OPTION; FLUSH PRIVILEGES; EXIT; |
Follow the instructions below if you are using an AWS RDS:
|
1 2 3 4 5 6 |
sudo mysql -h yourrdsendpoint -u username -p CREATE DATABASE cscartdb; CREATE USER 'cscartuser'@'%' IDENTIFIED BY 'cscart'; GRANT ALL ON cscartdb.* TO 'cscartuser'@'%' WITH GRANT OPTION; FLUSH PRIVILEGES; EXIT; |
Step 3: Install CS-cart
You should first download CS-Cart from their website in the most recent version. Click here to download.
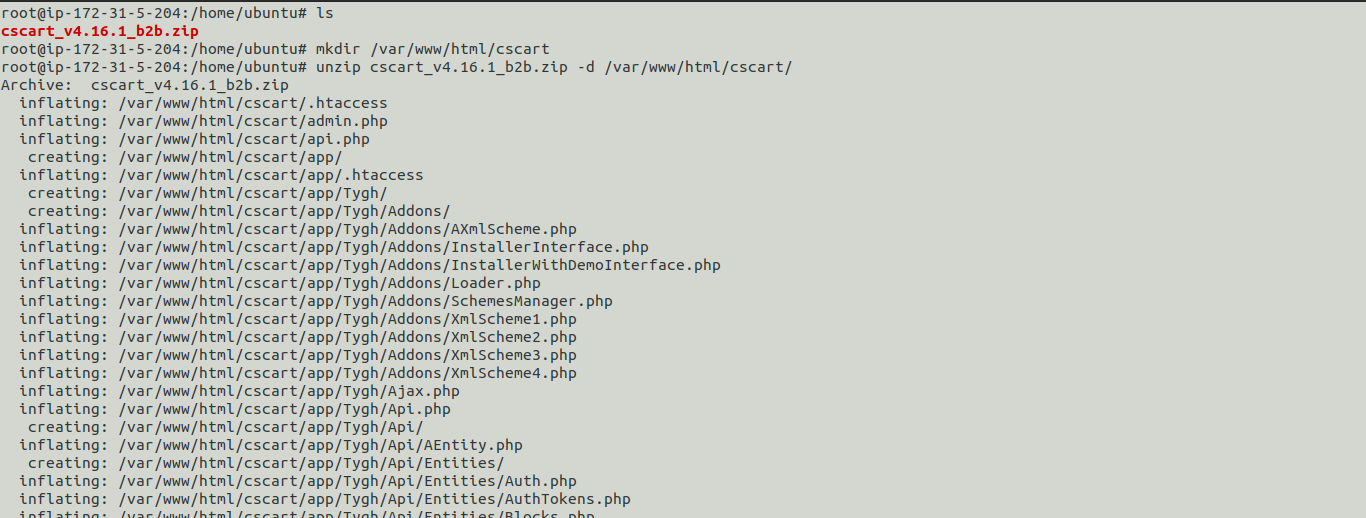
When the download is successful, use the following command to extract the downloaded file:
Let’s create a directory with the name “cscart” inside the mentioned path below.
|
1 |
sudo mkdir /var/www/html/cscart |
Now unzip the downloaded file in the previously created directory “cscart”.
|
1 |
sudo unzip cscart_v4.16.1_b2b.zip -d /var/www/html/cscart/ |
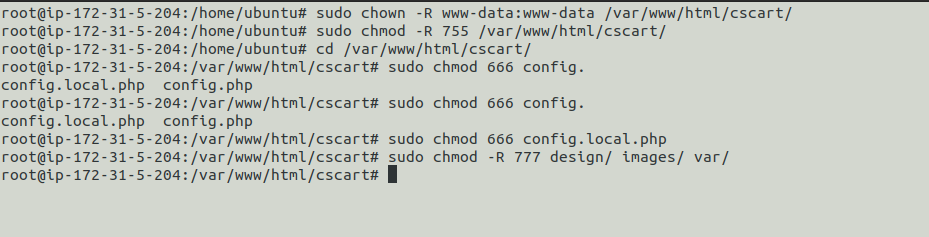
Next, give permission and ownership to the files and directories.
|
1 2 3 4 5 |
sudo chown -R www-data:www-data /var/www/html/cscart/ sudo chmod -R 755 /var/www/html/cscart/ cd /var/www/html/cscart sudo chmod 666 config.local.php sudo chmod -R 777 design/ images/ var/ |
Also, run the below-mentioned commands.
|
1 2 3 |
find design -type f -print0 | xargs -0 chmod 666 find images -type f -print0 | xargs -0 chmod 666 find var -type f -print0 | xargs -0 chmod 666 |

Let’s move to configure the web server for the SSL & domain configuration.
Step 4: Configuring Apache for the CS-Cart
We will use the default host file to host our CS cart. Use the below command to access the file.
|
1 |
vim /etc/apache2/sites-available/000-default.conf |
Then, make the required changes in the file according to your domain name.
|
1 2 3 |
ServerName kasumi.tk #Mentioned your domain name ServerAdmin webmaster@localhost DocumentRoot /var/www/html/cscart |
We also have to set up the SSL for the domain to be secure. Please click here to learn how to get Let’s encrypt certificates.
Once the certs are applied to the domain. You have to mention the certs path in the default SSL file and edit the file accordingly.
Now open apache.conf file and edit the mentioned lines.
|
1 |
vim /etc/apache2/apache2.conf |
|
1 2 3 4 5 |
<Directory /var/www/html/cscart/> Options Indexes FollowSymLinks AllowOverride All Require all granted </Directory> |
Then restart the web server.
|
1 |
sudo service apache2 restart |
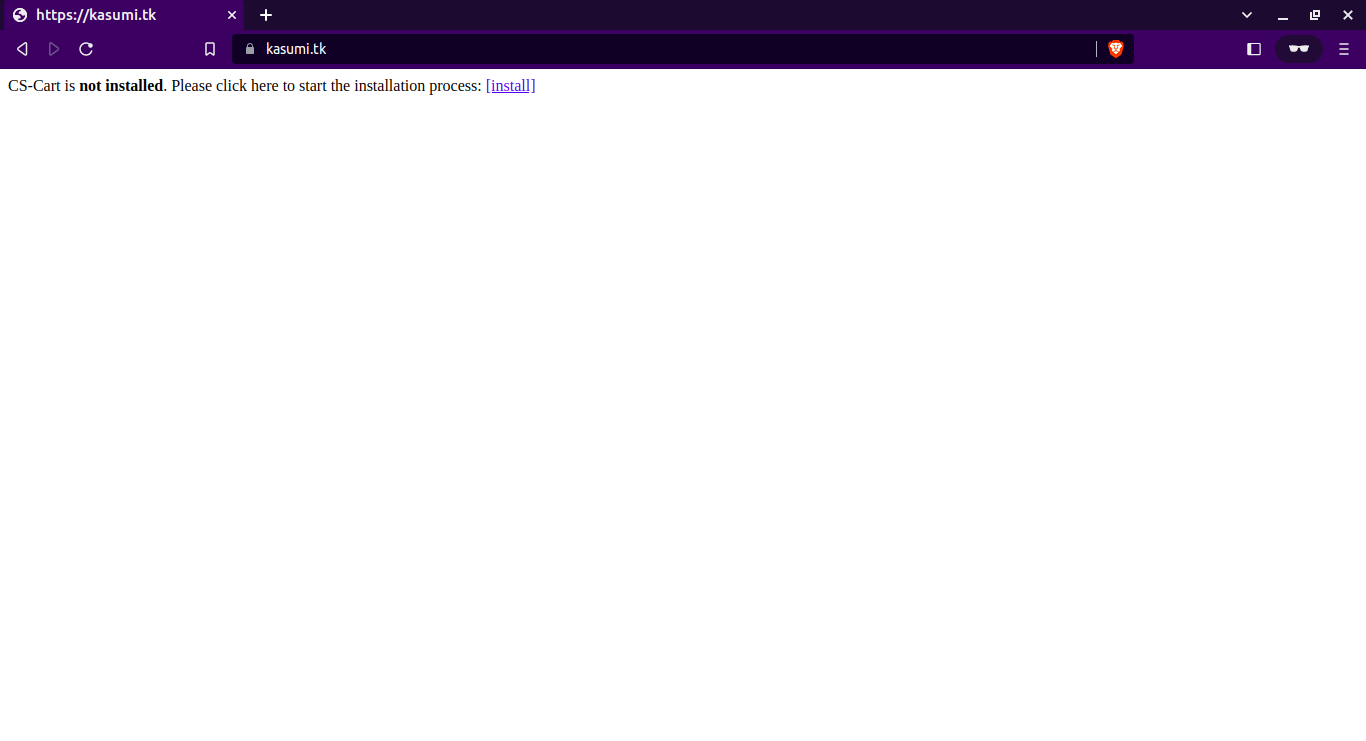
Once all the above configurations are done. Do proceed with the CS-cart installation. Hit your domain in your favorite browser and click on Install.
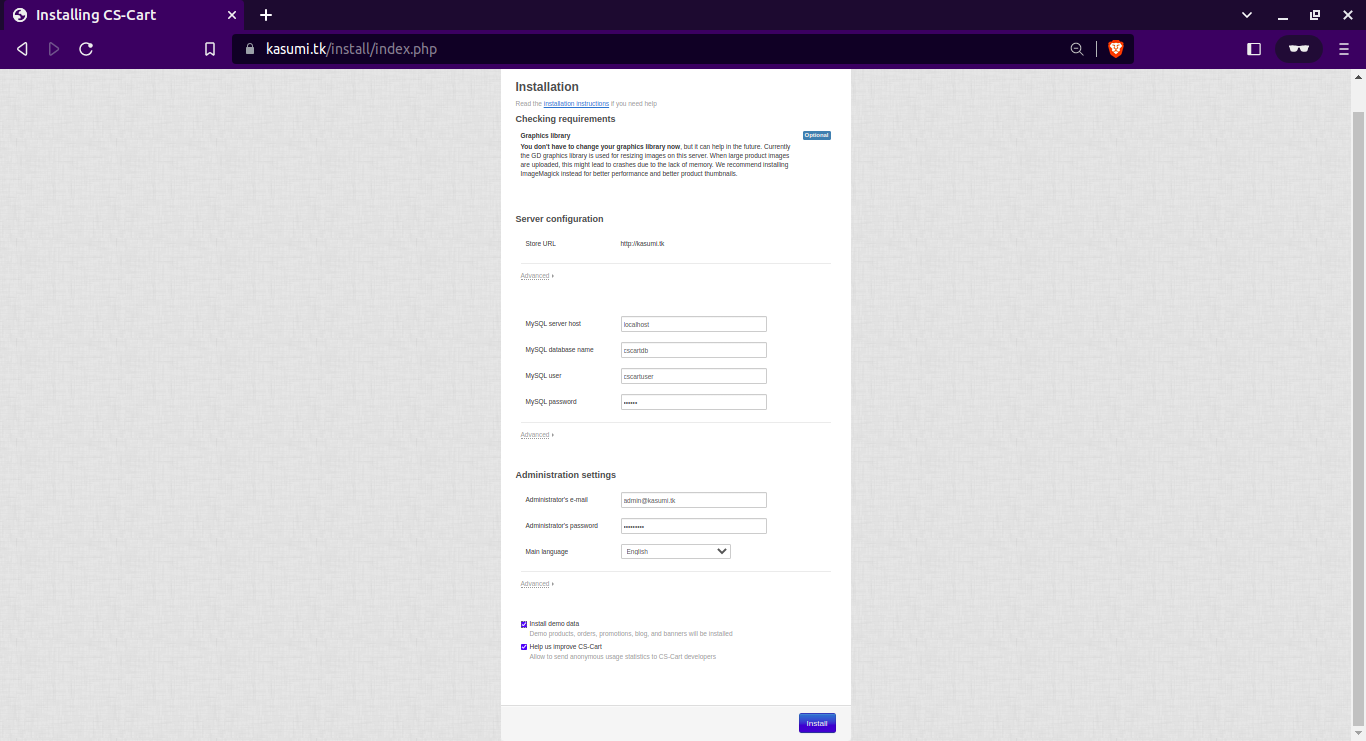
After clicking on the install button agree to the terms and conditions and click on the “next step” button.
Once you click on the “next step” button, you will be redirected to the page where you have to fill in your database credentials and then click on the “Install” button.
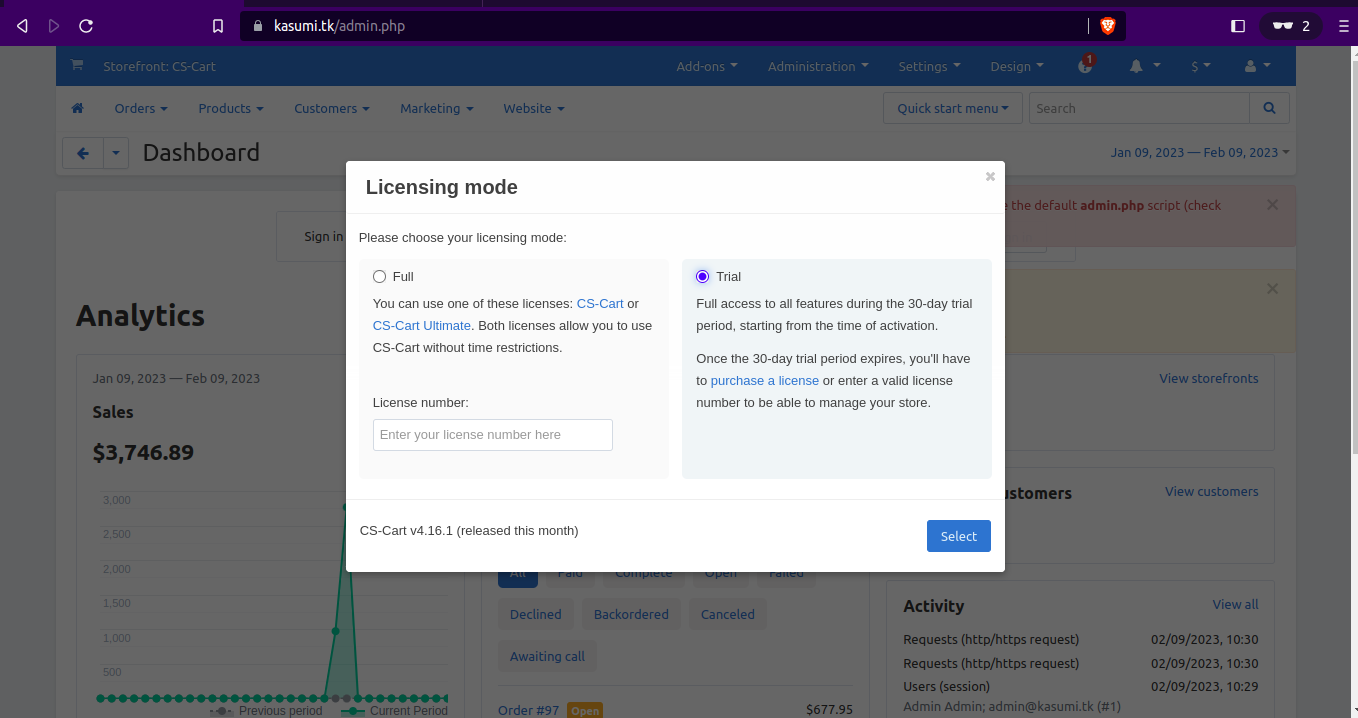
Start the CS-Cart installation, select “Trial” for licensing, or enter your license key if you have one.
Now, click on the “select” button.
Woohoo! You have successfully installed and configured the Cs-cart. Now you can create your online store easily.
Note: Now there are some recommended steps that we have to take to protect our current installation and the source code.
First, remove the “install” directory from the root path.
|
1 2 |
cd /var/www/html/cscart/ rm -rf install/ |
It’s also advised to change the file permission. To change, run the below commands.
|
1 2 3 4 5 |
sudo chmod 644 config.local.php sudo chmod 644 design/.htaccess images/.htaccess sudo chmod 664 var/.htaccess var/themes_repository/.htaccess sudo chmod 644 design/index.php images/index.php sudo chmod 664 var/index.php var/themes_repository/index.php |
To access the admin page and storefront. Use the below URLs with your domain.
|
1 2 |
https://yourdomain/admin.php #toacessadminpage https://yourdomain/ #toaccessstorefront |
If you find this blog helpful, Please give us your valuable time to provide us feedback for the same.
Need Support?
Thank You for reading this Blog!
For further more interesting blogs, keep in touch with us. If you need any kind of support, simply raise a ticket at https://webkul.uvdesk.com/en/.
You may also visit our CS-Cart development services and quality CS-Cart Extensions.
For further help or queries, please contact us or raise a ticket.

Be the first to comment.