Status Checks are the automatic health checks that AWS EC2 performs on your instances every minute. They detect both instance settings and underlying hardware problems.
Types of Status check
There are 2 types of Status checks –
1 – System status check
System status checks to keep an eye on the AWS services where your instance is running. These checks identify underlying issues with your instance that require AWS intervention to resolve.
When a system status check fails, you have the option of waiting for AWS to resolve the problem or resolving it yourself.
For Amazon EBS backed instances, you can manually stop and restart the instance, which in most cases migrates it to a new host computer.
You can terminate and replace instances supported by an instance store.
2 – Instance Status Check
Check the software and network settings for your specific instance. These tests identify issues that need your assistance to fix.
Usually, if an instance status check fails, you will have to fix the issue on your own (for example, by rebooting the instance or by making instance configuration changes).
Step 1- Create an Alarm
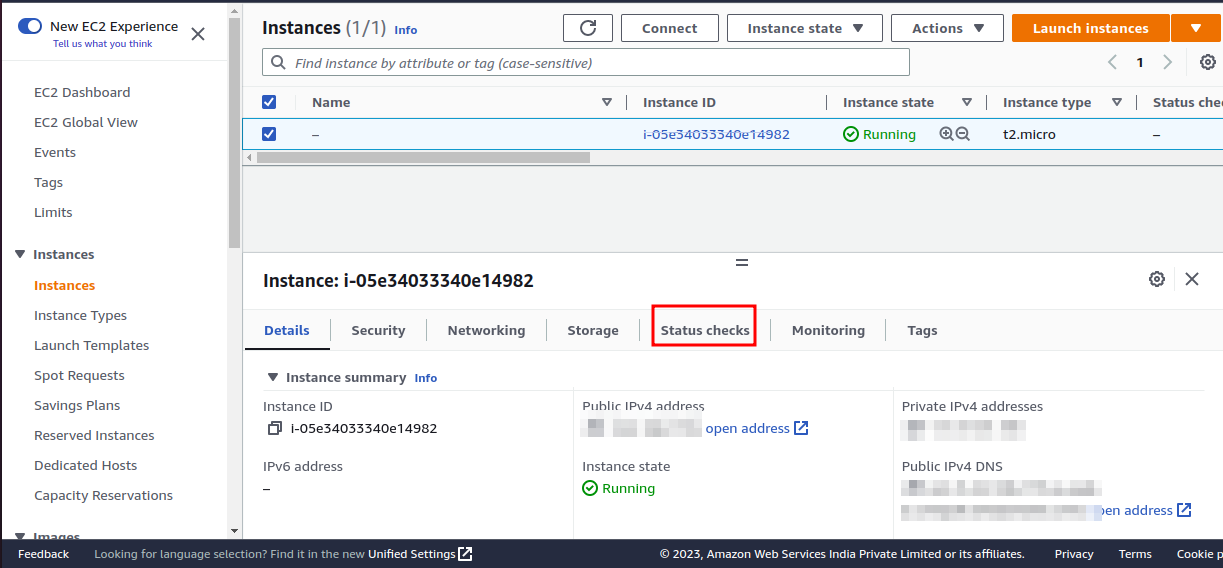
First, select an AWS EC2 instance on which you have to configure an alarm for status check failure then click on the option – ‘status checks’ as shown in the below picture.
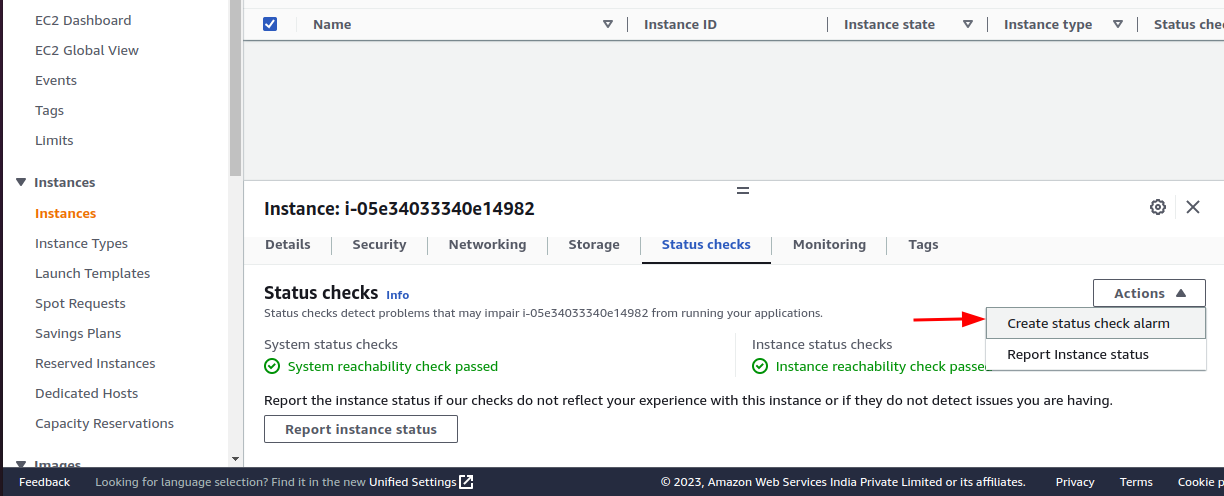
Then, go to the “Actions” –> click on “Create status check alarm”
Now, click on “Create an alarm” and enter the name of the AWS SNS topic(For ex – status_alarm) to receive an email whenever any of the status checks fail.
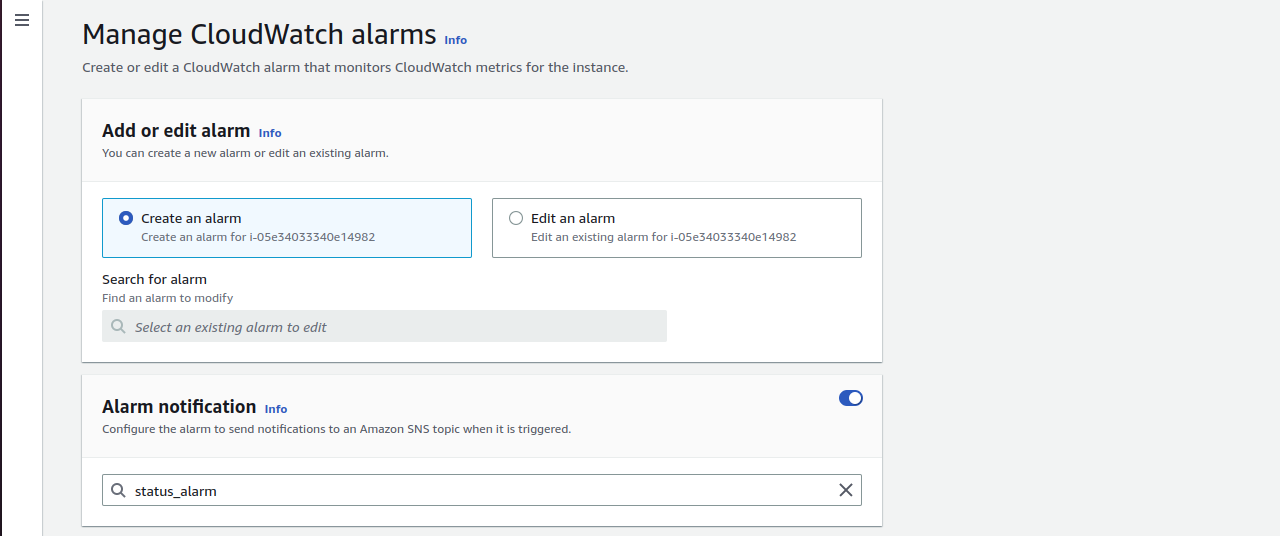
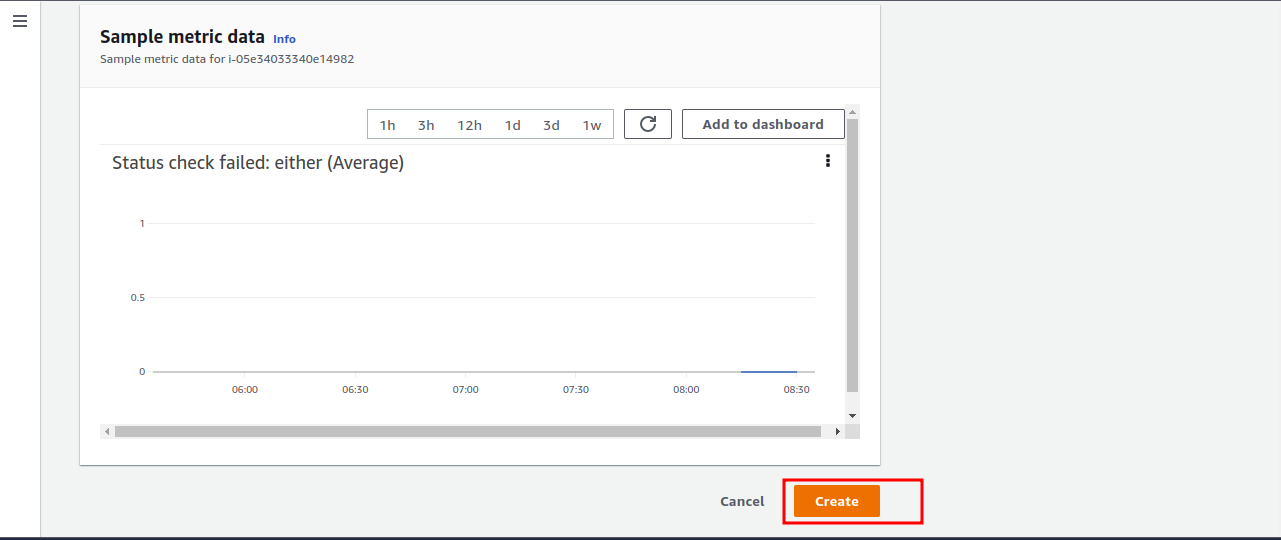
Do the configurations as shown in the below image.

Click on “Create”
AWS SNS (Amazon Simple Notification Service):
Amazon SNS is a managed service that delivers messages from publishers to subscribers. It is a web service that makes it simple to set up, run, and send cloud notifications.
Step 2- Create an SNS subscription
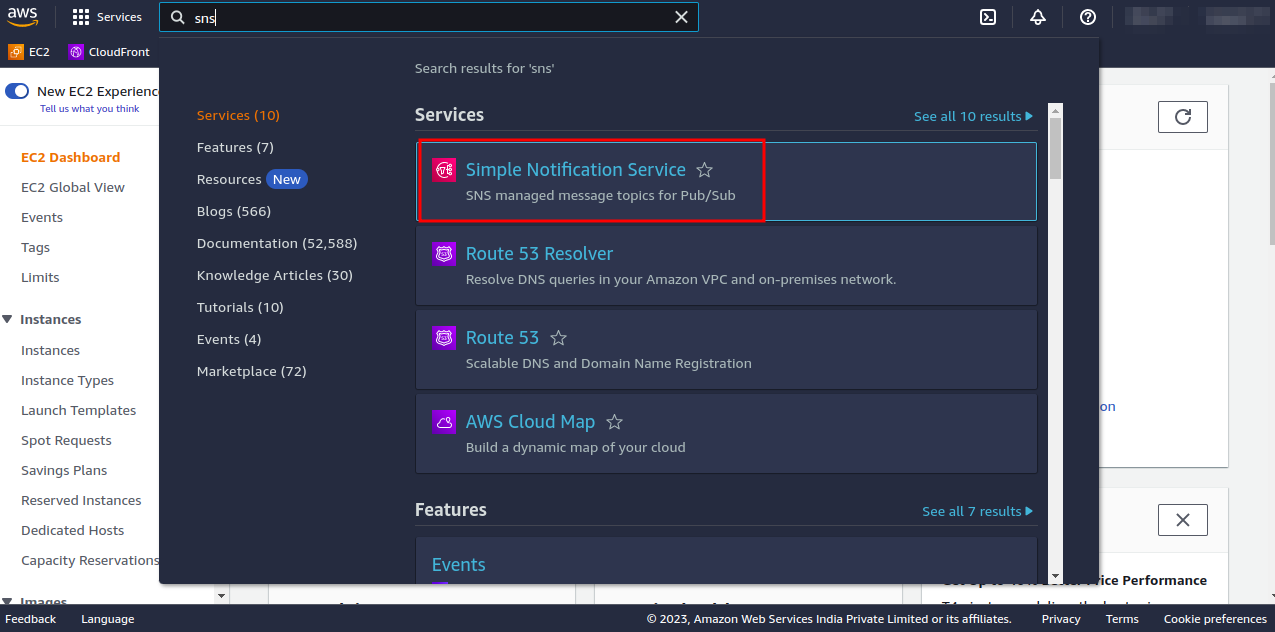
Search for SNS service from the search bar
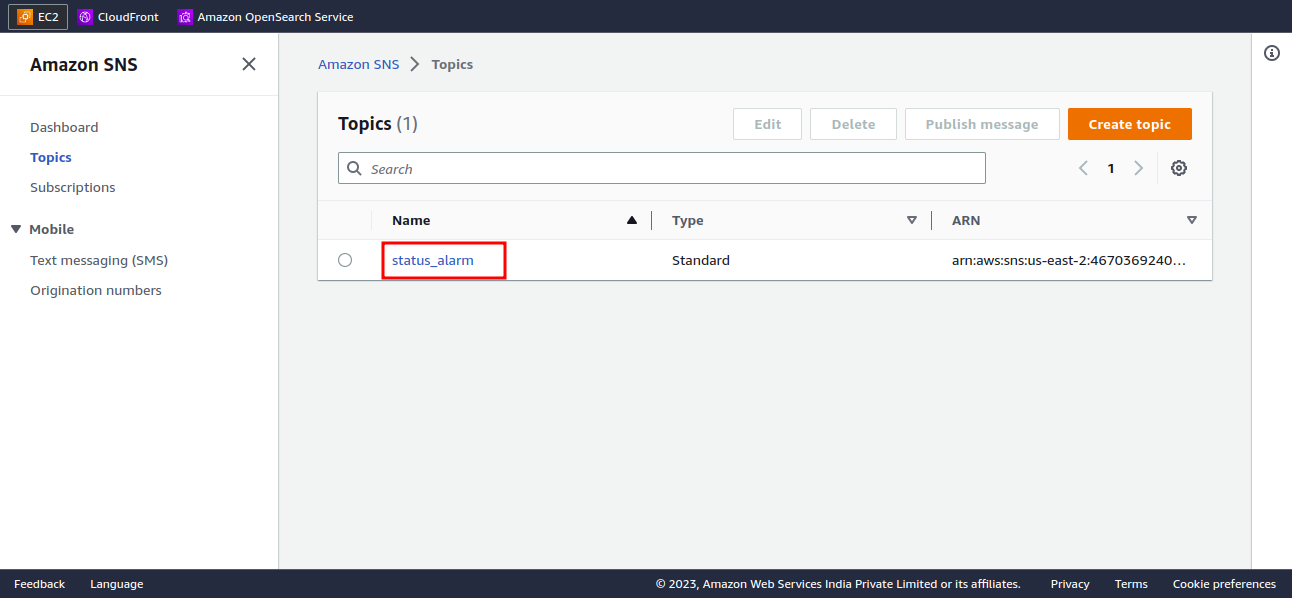
You will see one SNS topic is already created with the same name – status_alarm that you mentioned while creating the alarm.
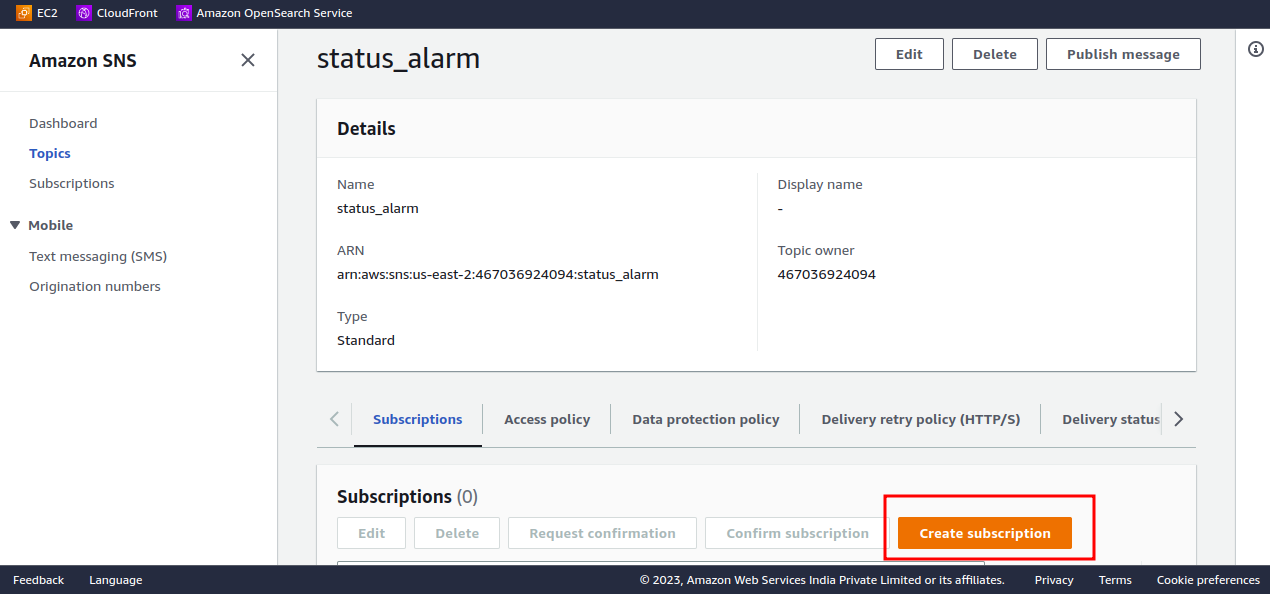
Go to this SNS topic, then click on the option – “subscription” and click on the ‘Create subscription’ button.
Enter all the required details below

Then, click on Create
After Creating the subscription you will receive an email from AWS to confirm the subscription.

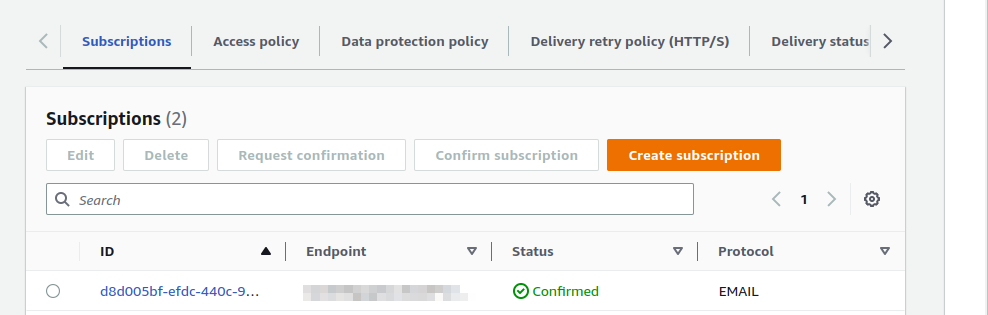
Once the subscription has been confirmed by you then you check the status of the subscription and whether it has been confirmed or not.
Conclusion
Now, whenever either of the status checks fails you will be notified on the registered email address and you can check the root cause of that failure.
Need Support?
Thank You for reading this Blog!
For further more interesting blogs, keep in touch with us. Also if you need any kind of support, simply raise a ticket at https://webkul.uvdesk.com/en/.
For further help or queries, please contact us or raise a ticket.

Be the first to comment.