What is a Stun server?
STUN (Session Traversal Utilities for NAT) and TURN (Traversal Using Relays around NAT) servers are both used in the signaling process.
Before creating a peer-to-peer connection, servers must determine each participant’s IP address. The majority of the time, webRTC applications use STUN servers.
They are straightforward, quick, and, most importantly, do not generate a lot of loads.
Furthermore, they are only used during connection setup to discover and exchange external host port pairs.
Media will be exchanged directly between participants once the session has been established. STUN is, however, occasionally blocked by firewalls.
As a result, when STUN fails, developers must “turn” and use a TURN server.
What is a Turn server?
Access to the IP address might be restricted by firewalls and secure business settings. It becomes impossible for two networks to find one another without distinctive identifiers.
By acting as an intermediary, TURN servers can be used to solve this issue. A TURN server, in contrast to STUN, stays in the media path after the connection has been made.
We will use coturn, a free open-source implementation of TURN and STUN Server that grew from the rfc5766-turn-server project and includes more advanced capabilities.
Step 1- Run the below command for updating the packages
|
1 |
sudo apt-get -y update |
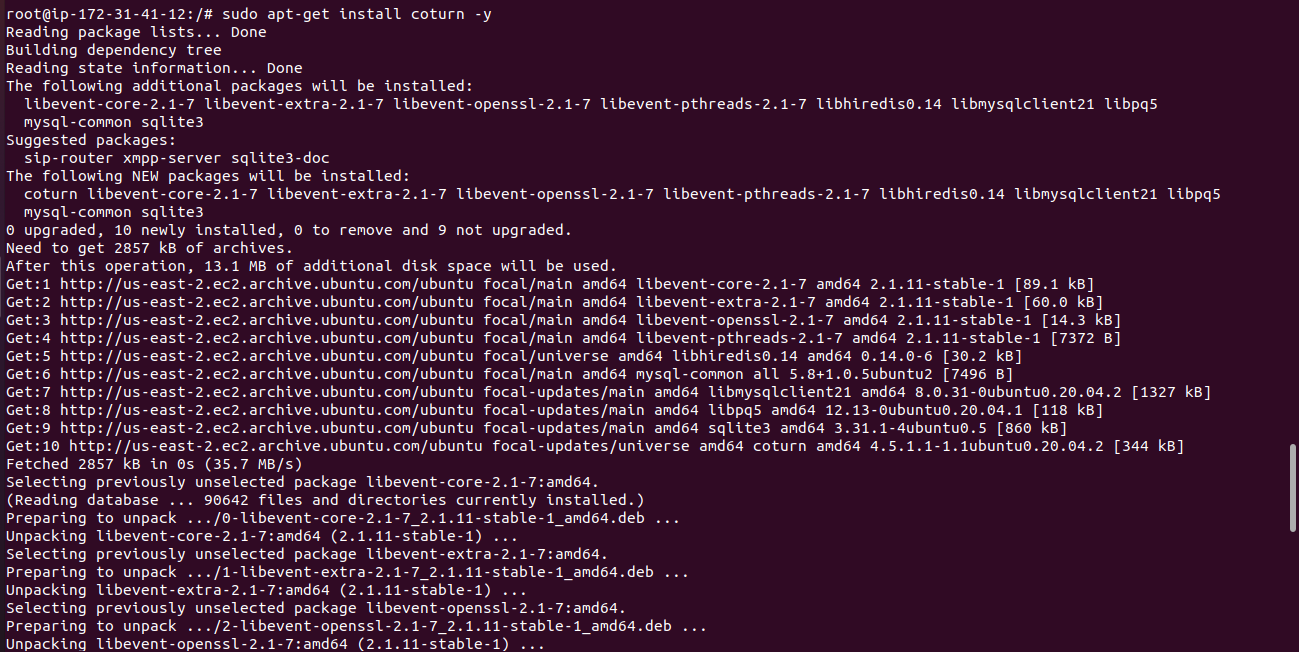
Step 2- Now run the below command for installing the coturn
|
1 |
sudo apt-get install coturn -y |
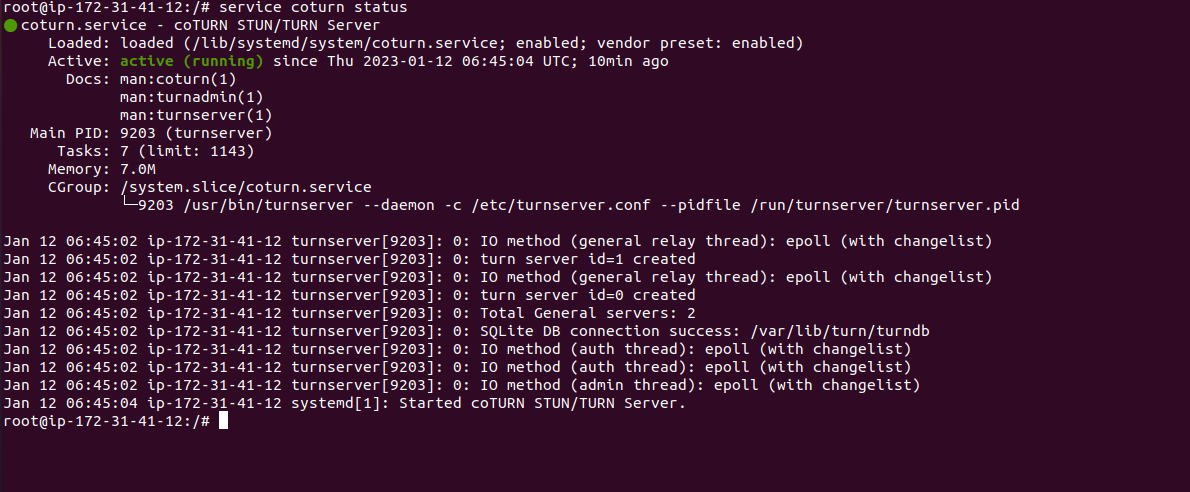
Make sure the service is running to confirm it runs the below command
|
1 |
service coturn status |
You should get below output
To start/stop the coturn service use the below commands
|
1 2 3 |
service coturn start service coturn stop |
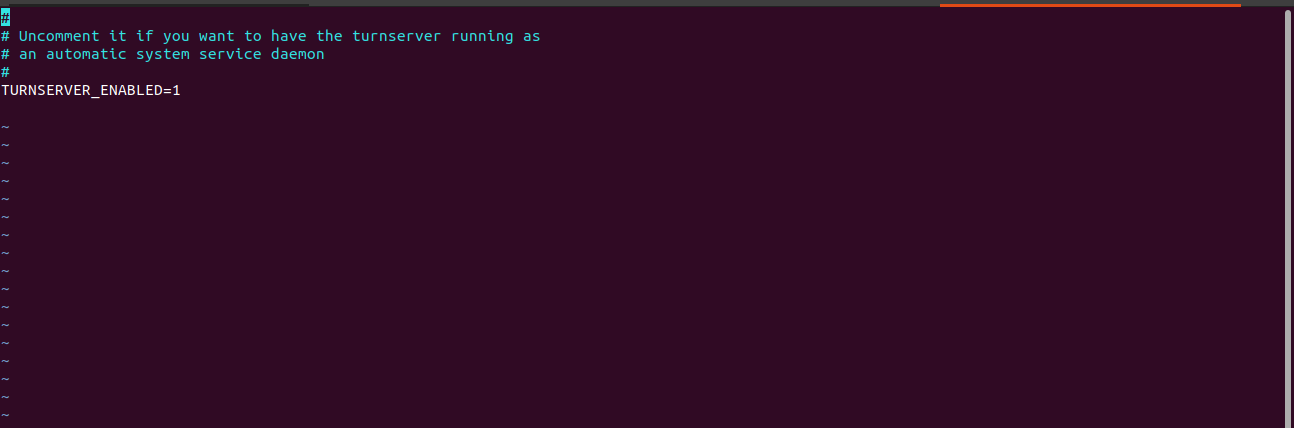
Step 3- Let’s enable the Turn server in the coturn configuration file.
|
1 |
vi /etc/default/coturn |
Open the file using the above command and un-comment the last line. The file should look like this save and exit.
Step 4- Now make some changes in the configuration file present in the /etc directory.
First, we will take a backup of the existing default configuration file. For this run the below command
|
1 2 |
mv /etc/turnserver.conf turnserver.conf.bak |
Now make the new file by the below command
|
1 |
touch /etc/turnserver.conf |
Now open the file using vim or nano editor and paste the below data:
|
1 2 3 4 5 6 7 8 9 10 11 12 13 14 15 16 17 18 19 20 21 22 23 24 25 26 27 28 29 30 31 32 33 34 35 36 37 38 39 40 41 42 43 44 45 46 47 48 49 50 51 52 53 54 55 56 57 58 59 60 61 62 63 64 65 66 67 68 69 70 71 72 73 74 75 76 77 78 |
# Coturn TURN SERVER configuration file # Boolean values note: where boolean value is supposed to be used, # you can use '0', 'off', 'no', 'false', 'f' as 'false, # and you can use '1', 'on', 'yes', 'true', 't' as 'true' # If the value is missed, then it means 'true'. # TURN listener port for UDP and TCP (Default: 3478). # Note: actually, TLS & DTLS sessions can connect to the # "plain" TCP & UDP port(s), too - if allowed by configuration. # listening-port=3478 # TURN listener port for TLS (Default: 5349). # Note: actually, "plain" TCP & UDP sessions can connect to the TLS & DTLS # port(s), too - if allowed by configuration. The TURN server # "automatically" recognizes the type of traffic. Actually, two listening # endpoints (the "plain" one and the "tls" one) are equivalent in terms of # functionality; but we keep both endpoints to satisfy the RFC 5766 specs. # For secure TCP connections, we currently support SSL version 3 and # TLS version 1.0, 1.1 and 1.2. # For secure UDP connections, we support DTLS version 1. # tls-listening-port=5349 # Listener IP address of relay server. Multiple listeners can be specified. # If no IP(s) specified in the config file or in the command line options, # then all IPv4 and IPv6 system IPs will be used for listening. listening-ip=0.0.0.0 #listening-ip=10.207.21.238 #listening-ip=2607:f0d0:1002:51::4 min-port=49152 max-port=65535 # Uncomment to run TURN server in 'normal' 'moderate' verbose mode. # By default the verbose mode is off. verbose # Uncomment to use fingerprints in the TURN messages. # By default the fingerprints are off. # fingerprint # Uncomment to use long-term credential mechanism. # By default no credentials mechanism is used (any user allowed). # lt-cred-mech # 'Static' user accounts are NOT dynamically checked by the turnserver process, # so that they can NOT be changed while the turnserver is running. # user=admin:webkul123 #user=username2:key2 # OR: #user=username1:password1 # the system log (syslog). # In the runtime, the logfile can be reset with the SIGHUP signal # to the turnserver process. # log-file=/var/log/turn.log # Option to redirect all log output into system log (syslog). # syslog # Enable Web-admin support on https. By default it is Disabled. # If it is enabled it also enables a http a simple static banner page # with a small reminder that the admin page is available only on https. # web-admin # Local system IP address to be used for Web-admin server endpoint. Default value is 127.0.0.1. # web-admin-ip=0.0.0.0 # Web-admin server port. Default is 8080. |
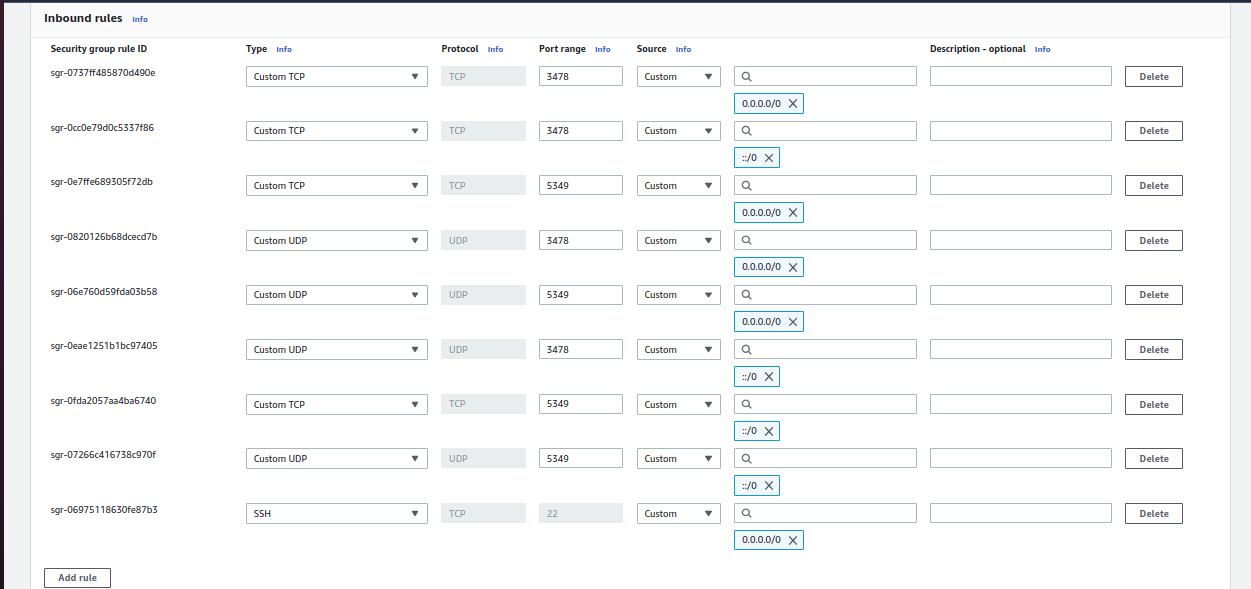
Make sure that port no. 5349 and 3478 for the UDP and TCP Protocol are open for both IPv4 and IPv6 (incoming connection). See the below attached Screen Shot.
Step 5- Restart the service
Now restart the service once so that the changes that we have made will be reflected
|
1 |
service coturn restart |
Step 6- Testing Stun and Turn Server
We can test our STUN and TURN server from the tool on Trickle ICE
Now add the details of your TURN and STUN server
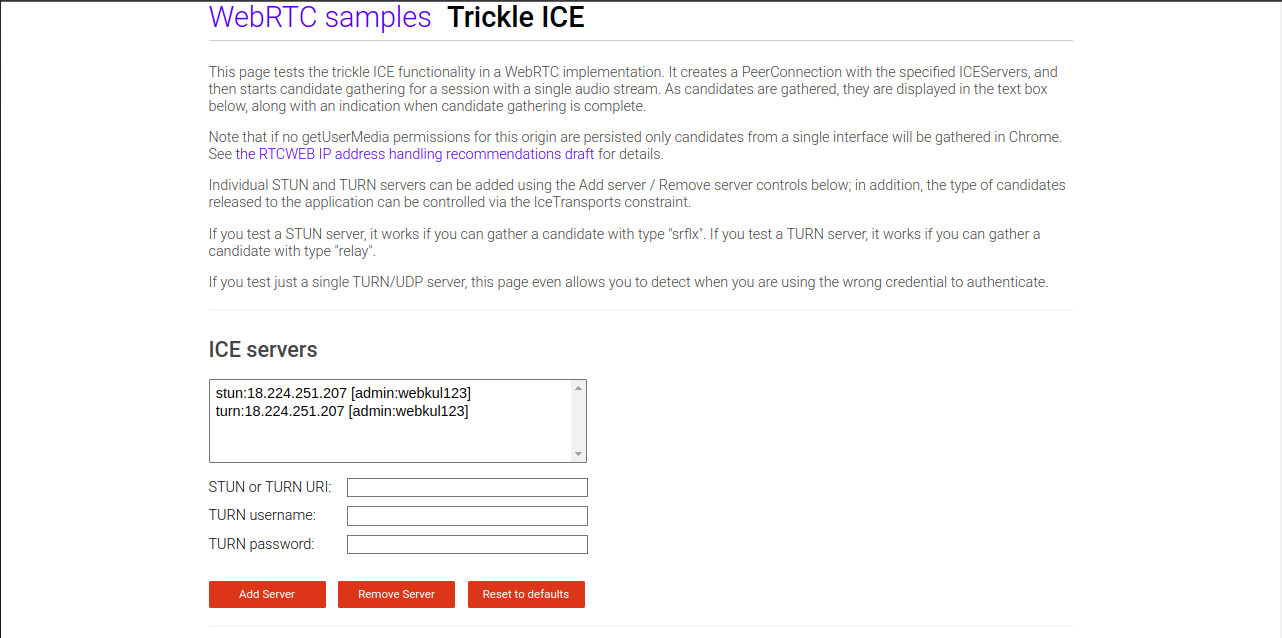
Now click on the Gather candidates button and you should receive the below output.
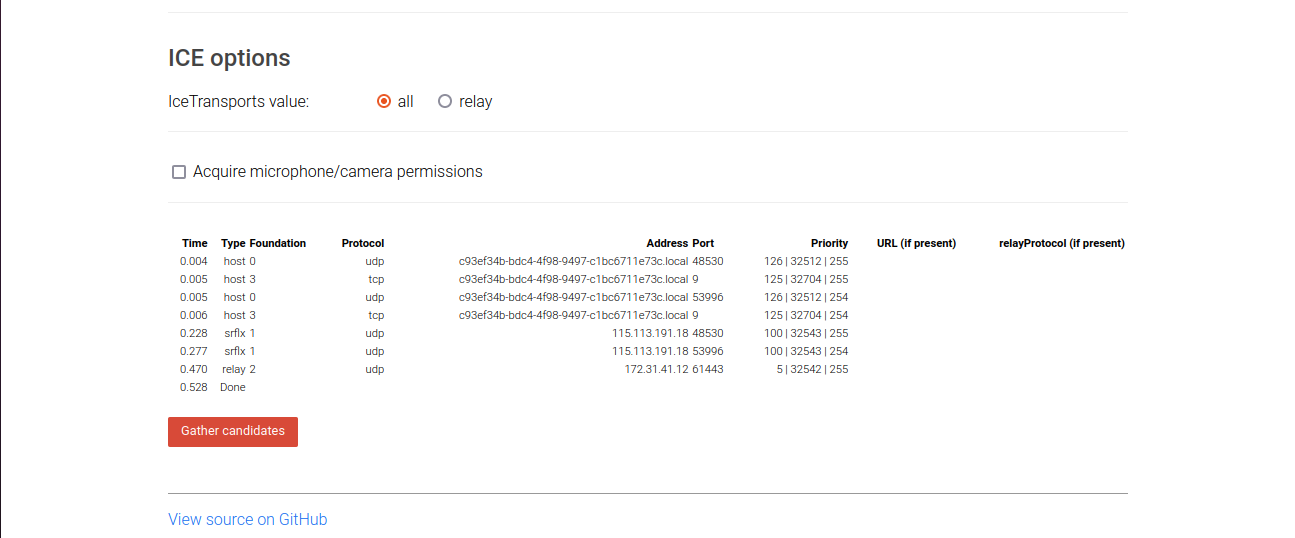
When testing an STUN server, if you can assemble a candidate with the type “srflx,” it works. If you test a TURN server, it works if you can gather a candidate of type “relay”.
You may also visit our Magento development services and quality Magento 2 Extensions.
For further help or queries, please contact us or raise a ticket.

Be the first to comment.