In this tutorial, we will learn how to deploy Bagisto version 2.3.6 on Laravel Cloud
What Is Laravel Cloud?
Laravel Cloud, the official hosting platform, is built and maintained by the Laravel framework team.
Designed for Laravel, it lets you focus on coding while handling server setup, scaling, and deployments.
Key Features of Laravel Cloud
- Seamless Deployment: Laravel Cloud lets you deploy from GitHub, GitLab, or Bitbucket and automatically builds your application.
- Automatic SSL and Security: Laravel Cloud automatically provisions and renews free SSL certificates.
- Managed Databases: The platform includes fully managed MySQL and PostgreSQL databases.
- Scalability on Demand: You can scale your application’s resources (CPU, RAM, storage) directly from the dashboard. Laravel Cloud handles the infrastructure, so your app grows smoothly with your traffic.
- Environment management : Set .env variables from the dashboard.
Overall, Laravel Cloud offers a reliable and optimized hosting environment tailored for Laravel applications.
What is Bagisto?
Bagisto is an E-Commerce framework built on top of the hottest open-source technologies such as Laravel, PHP framework, and Vue.js, a progressive Javascript framework.
It is suitable for all small or large E-Commerce business demands using a simple set-up procedure. Built on top of Laravel and equipped with easy product information management.
Setup Bagisto On Laravel Cloud.
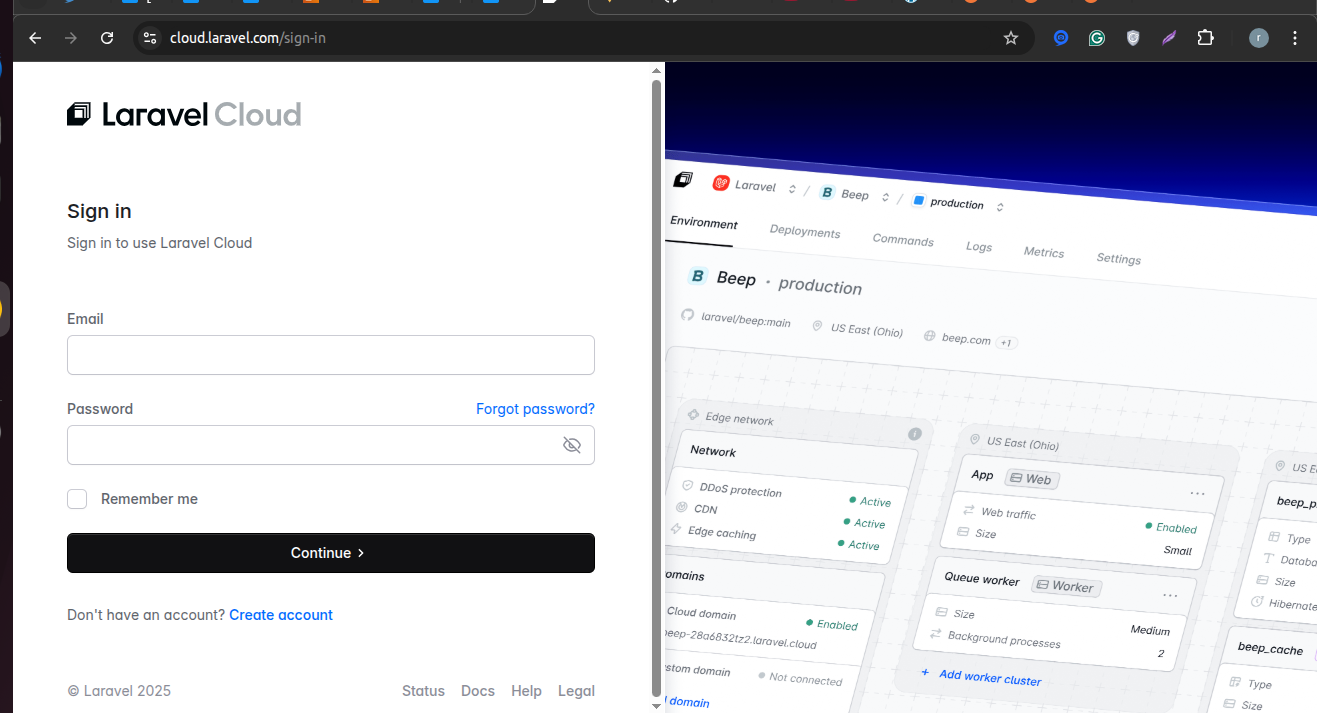
Step -1: Sign up on Laravel Cloud.
Go to the Laravel Cloud sign-in page: https://cloud.laravel.com/sign-in.
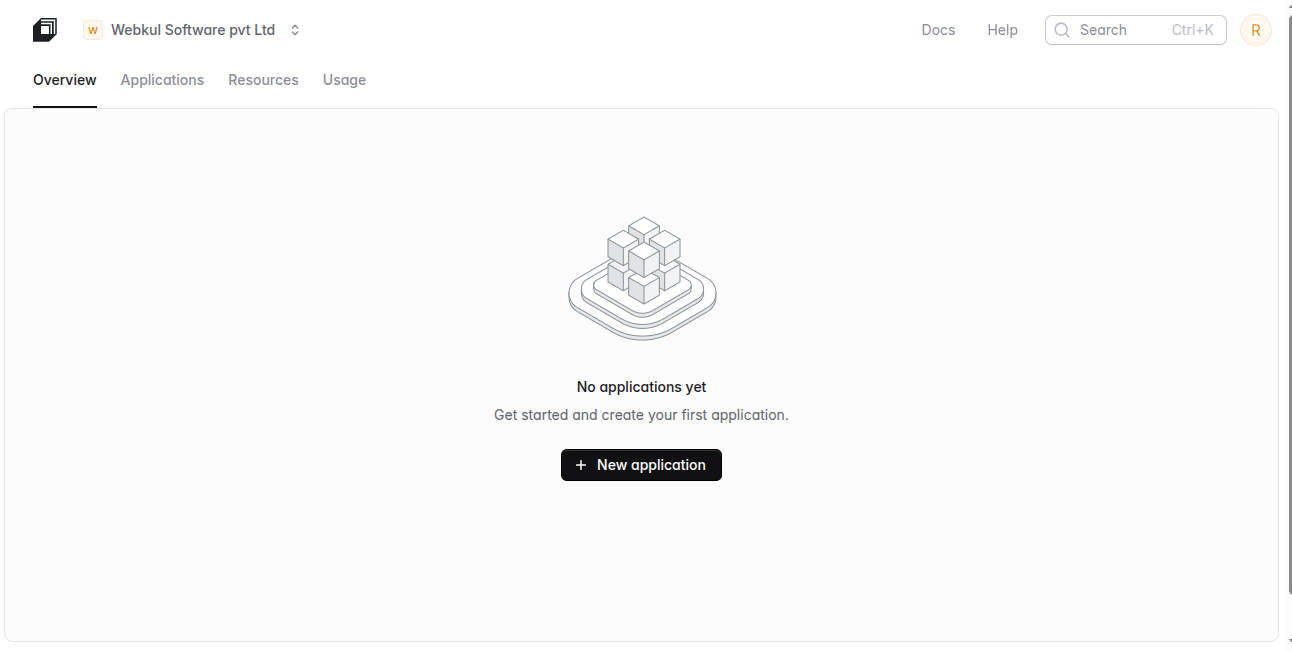
Next, you will be redirected to the Overview page, confirming that you have successfully logged in to Laravel Cloud.
Step -2: Create the Database for the Bagisto application.
First, in the navigation bar, go to the Resources section and select New Database Cluster.
Enter the required details, including the MySQL Database Cluster Name, Database Cluster Type, and Database Cluster Region.
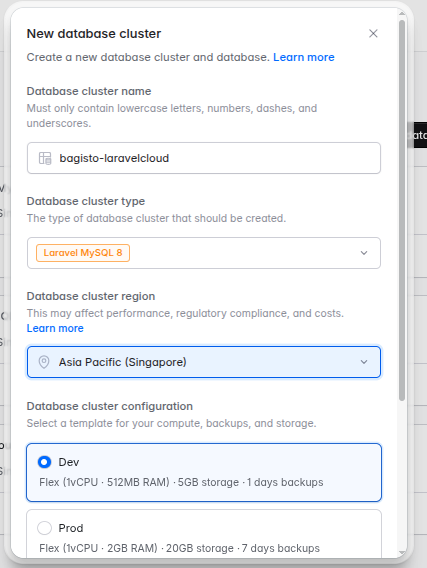
Next, scroll down and click on Create Database Cluster at the bottom of the page.

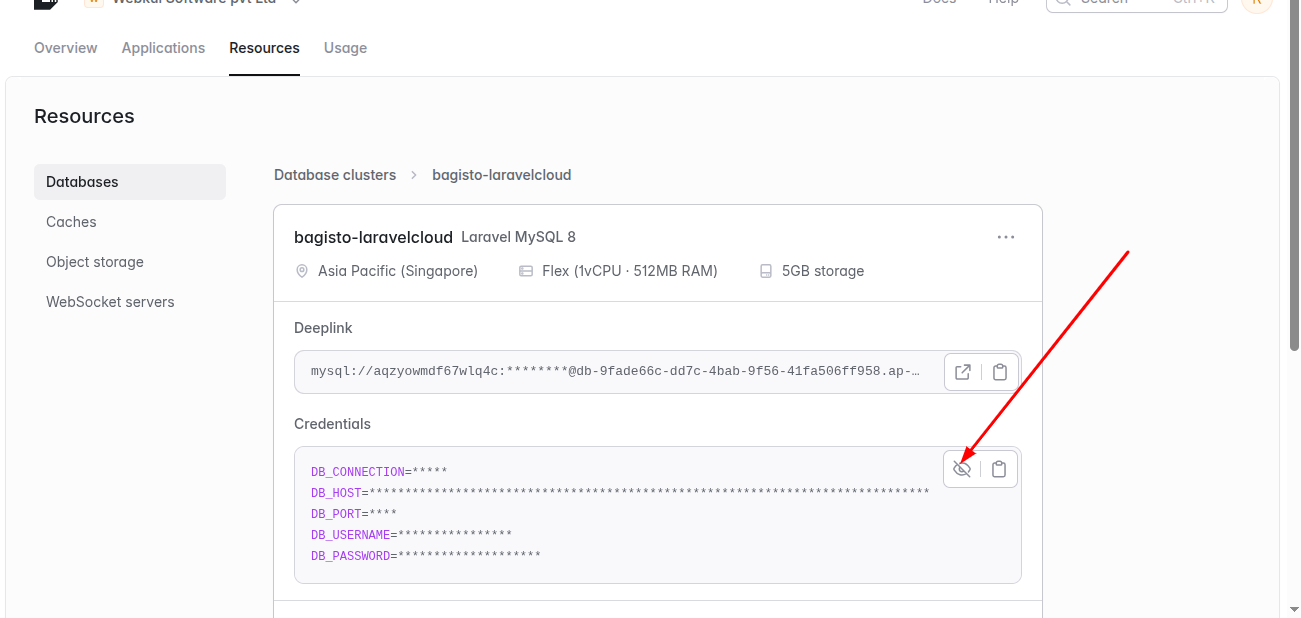
Next, review the cluster details, including DB_HOST, DB_USERNAME, DB_PASSWORD, and other credentials.
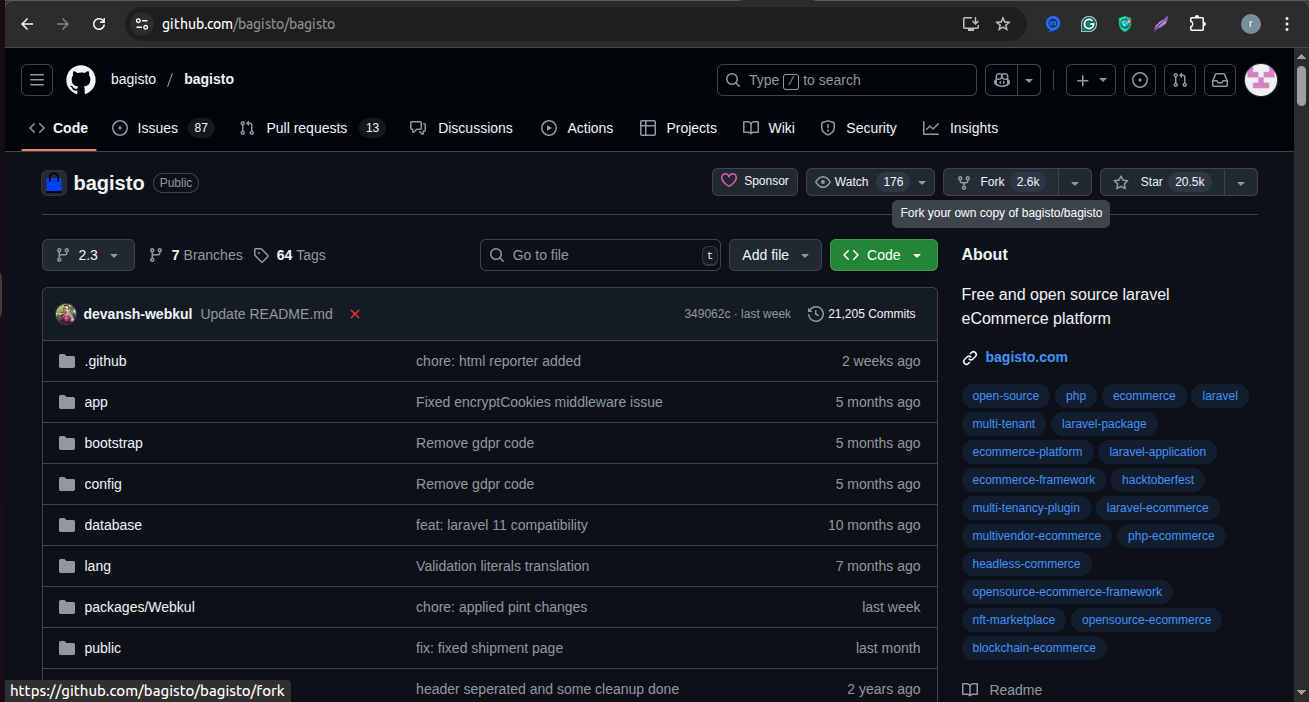
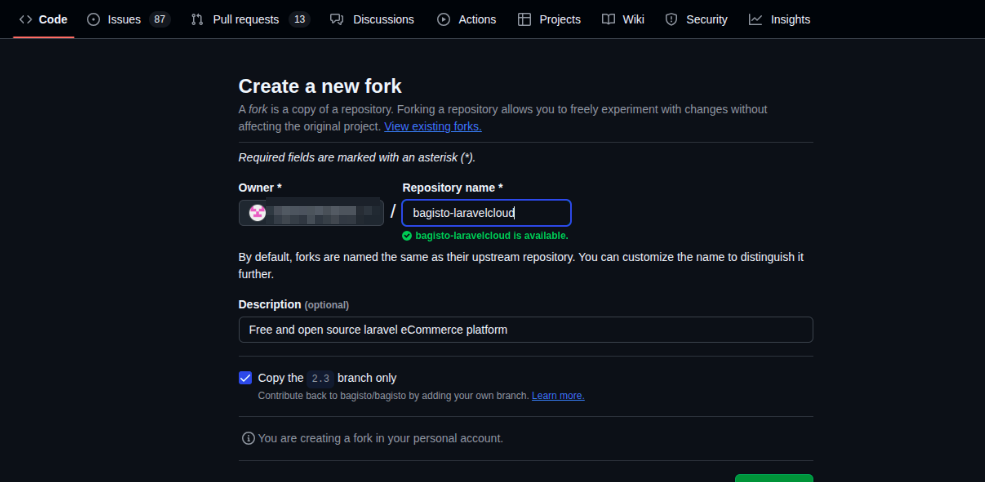
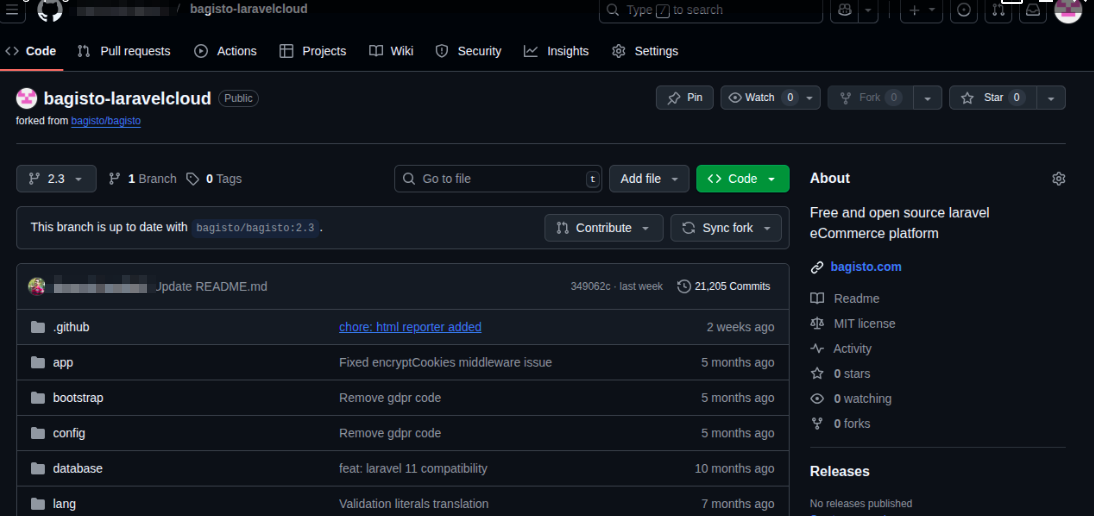
Step 3: Fork the Bagisto repository.
We need to fork the Bagisto repository into our own GitHub account.
New repository will be created in your account with all the Bagisto source code.
Step 4: Create a new application on Laravel Cloud.
In the Navigation Bar, go to the Applications section and click + New Application to create a new Bagisto application.
Connect your GitHub account and import the repository. Next, provide an application name and select the desired region.
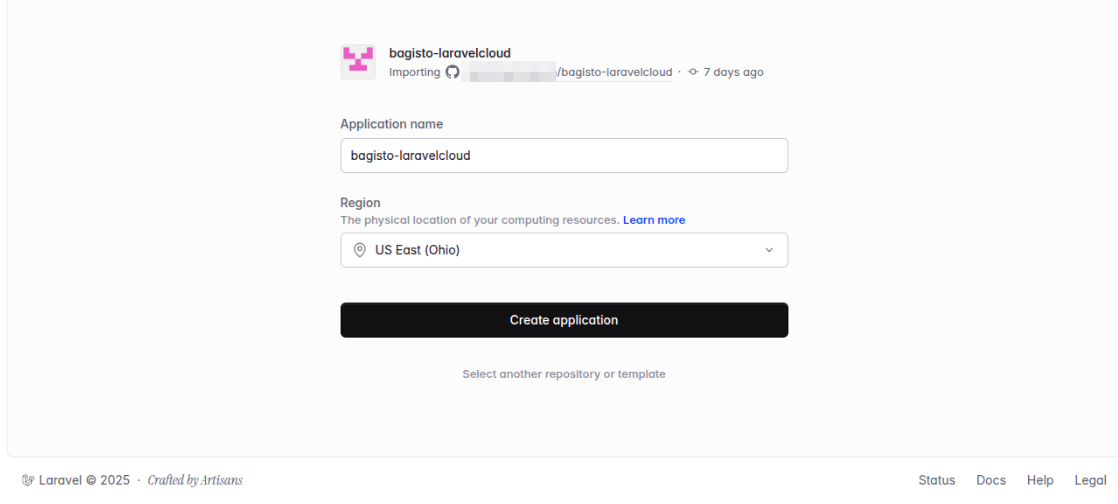
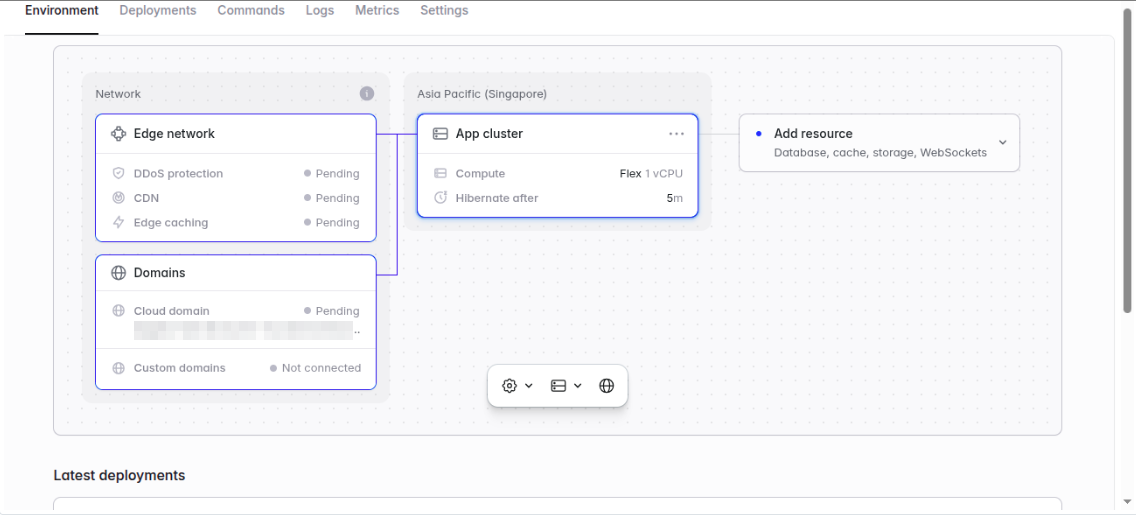
Your environment has been successfully created.
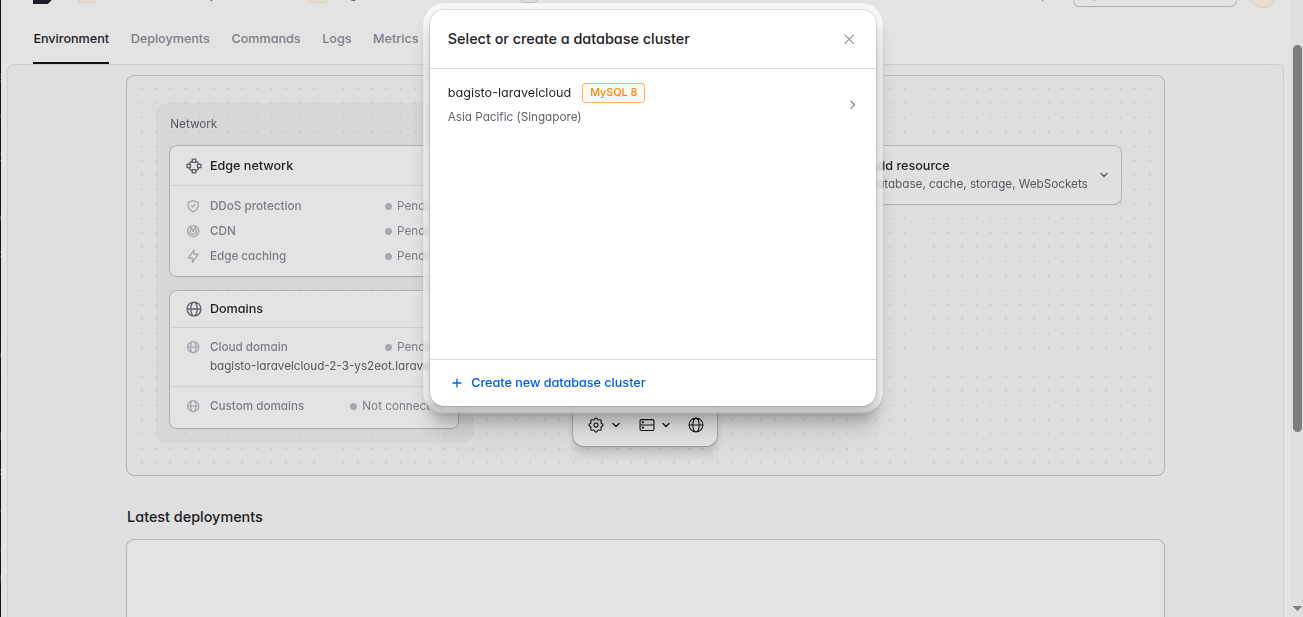
Step 5: Connect the database to your application.
Now, connect your application to the database by navigating to Add Resource → Databases → MySQL Databases.

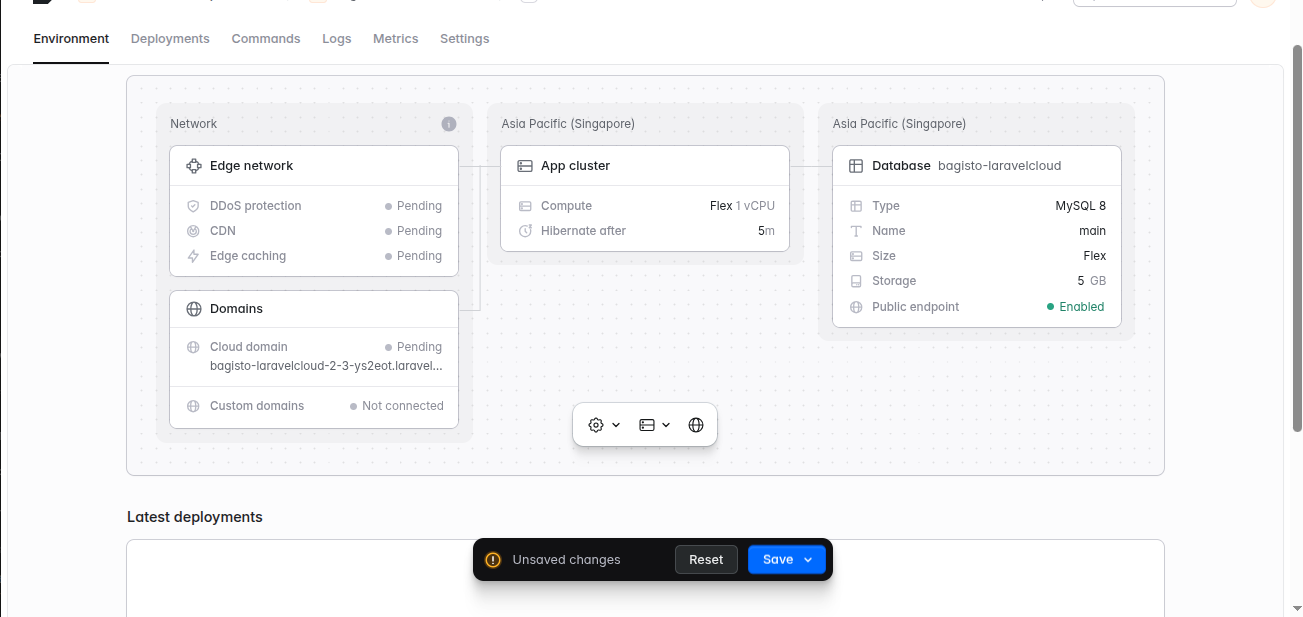
Click Save and Deploy to apply the changes.
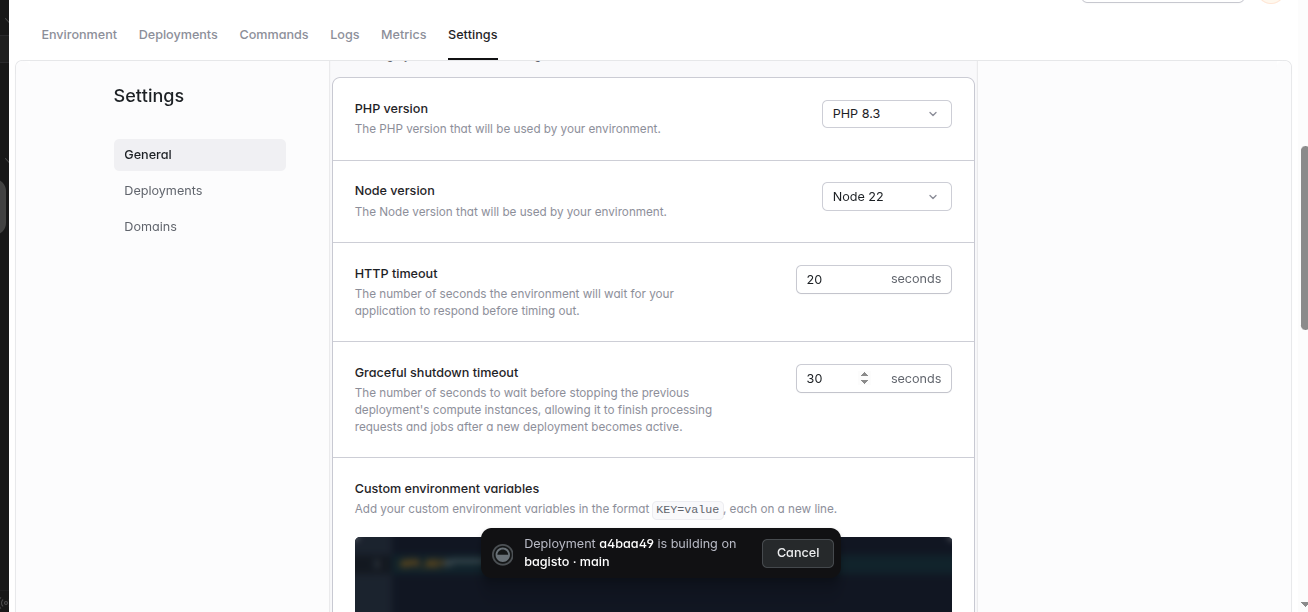
Step 6 : Configure the correct php version
In the Navigation Bar, go to the Settings section and scroll down.
Select the appropriate PHP version based on the Bagisto version.
Step 7 : Configure the .env file
In the Custom Environment Variables section, copy the contents of the .env.example file from the repository.
Paste them into the custom environment variables and fill in the database section, excluding APP_URL and APP_KEY, which are automatically provided by Laravel Cloud.

Click Save and Deploy to apply the changes.
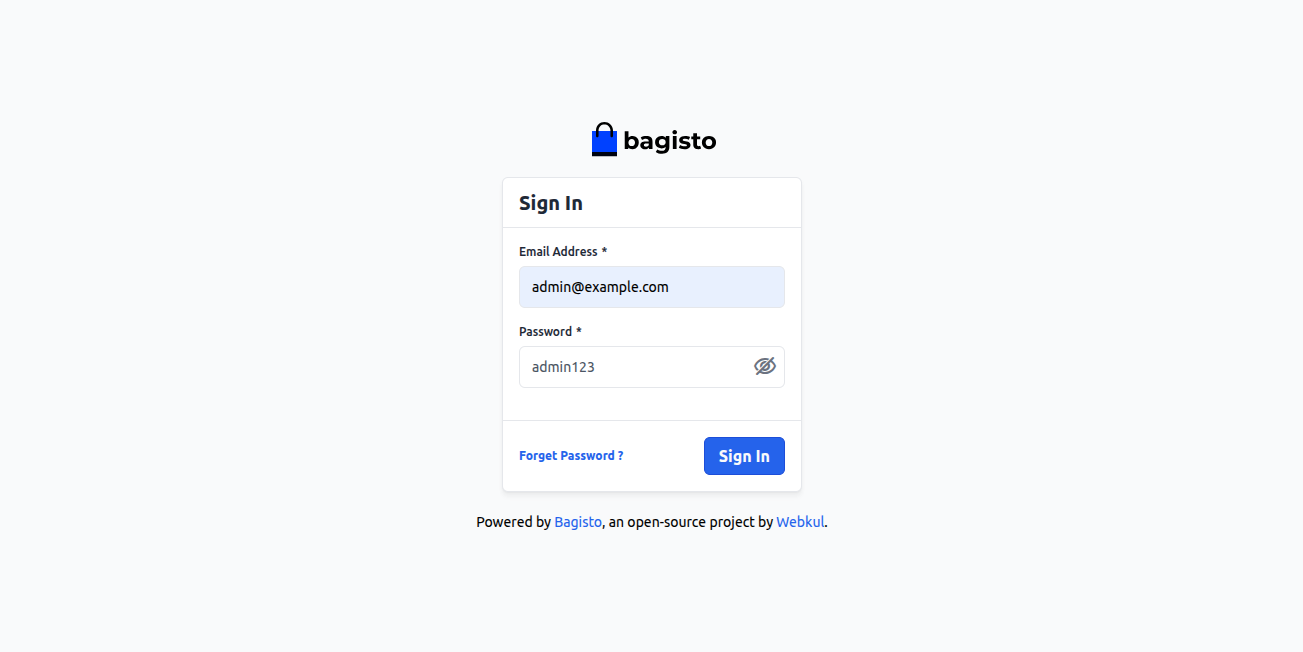
Step 8: Run the command to install Bagisto.
In the Navigation Bar, go to the Command section and run the installation command to set up Bagisto.
|
1 |
php artisan bagisto:install -n |
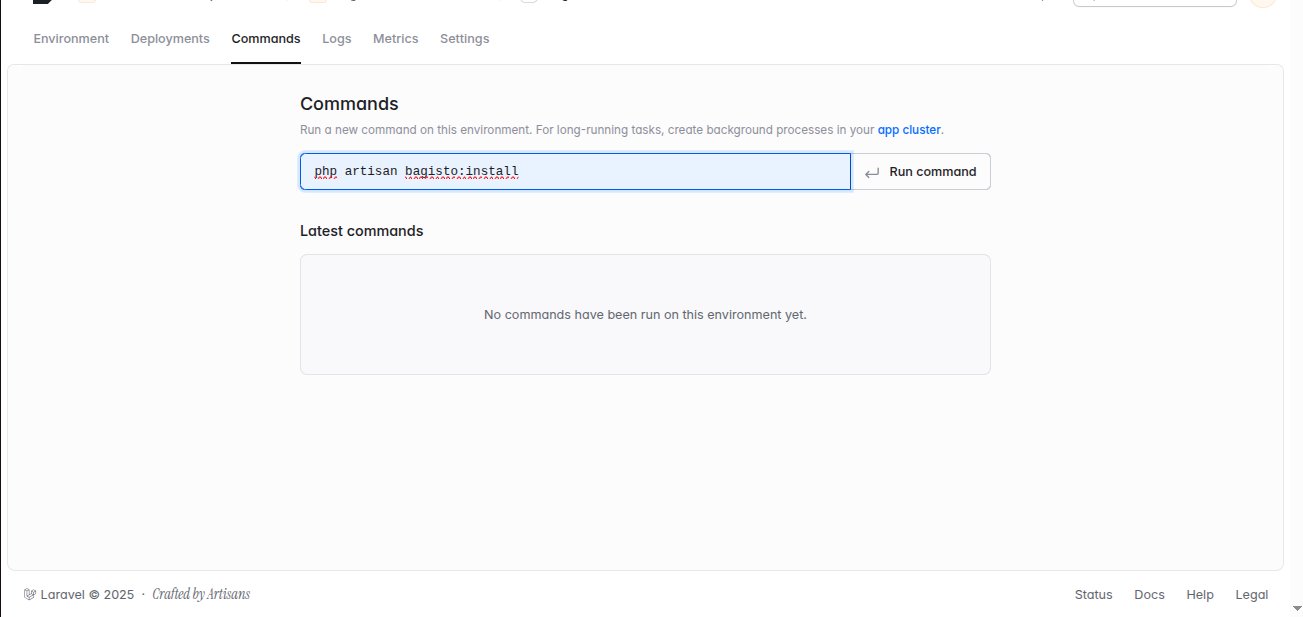
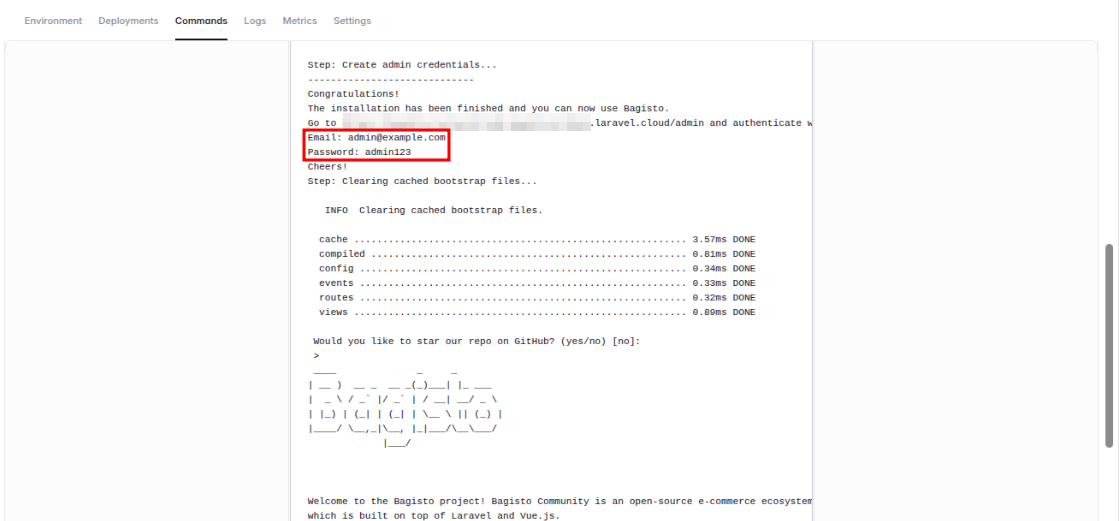
The process may take a few moments to complete.
First, wait for the process to finish. Then, the command will display the output. After that, you can review the results. Finally, the system will show the Admin email along with the password.
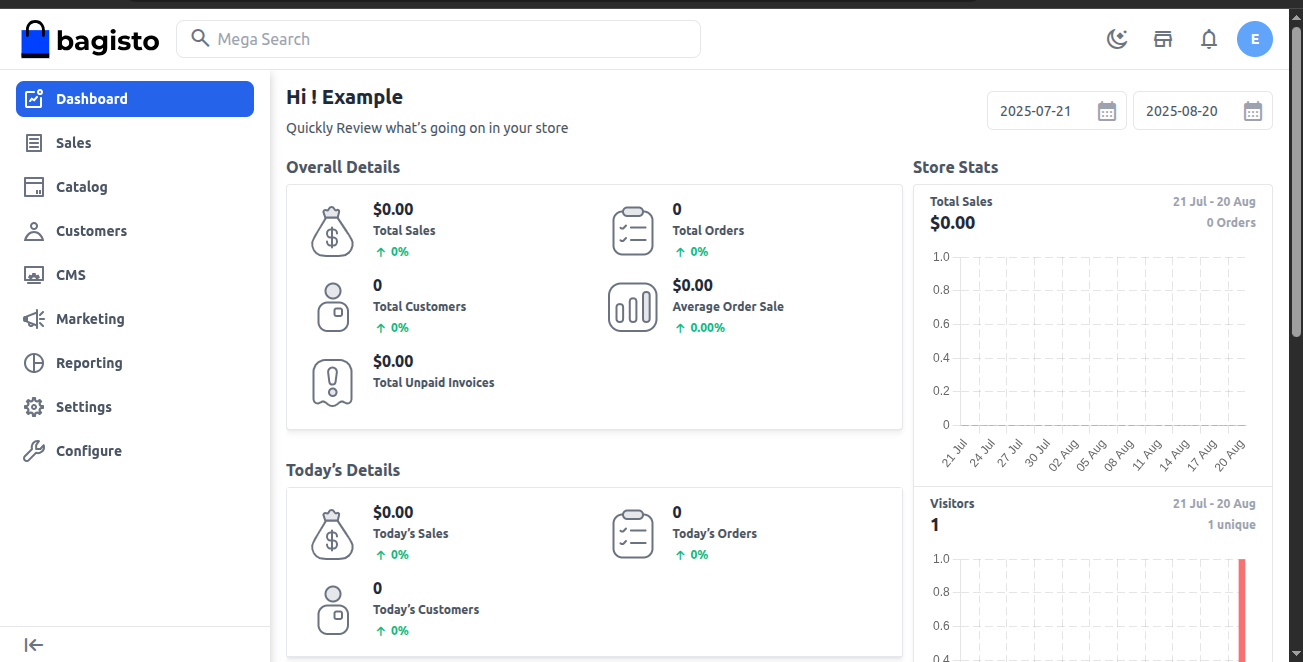
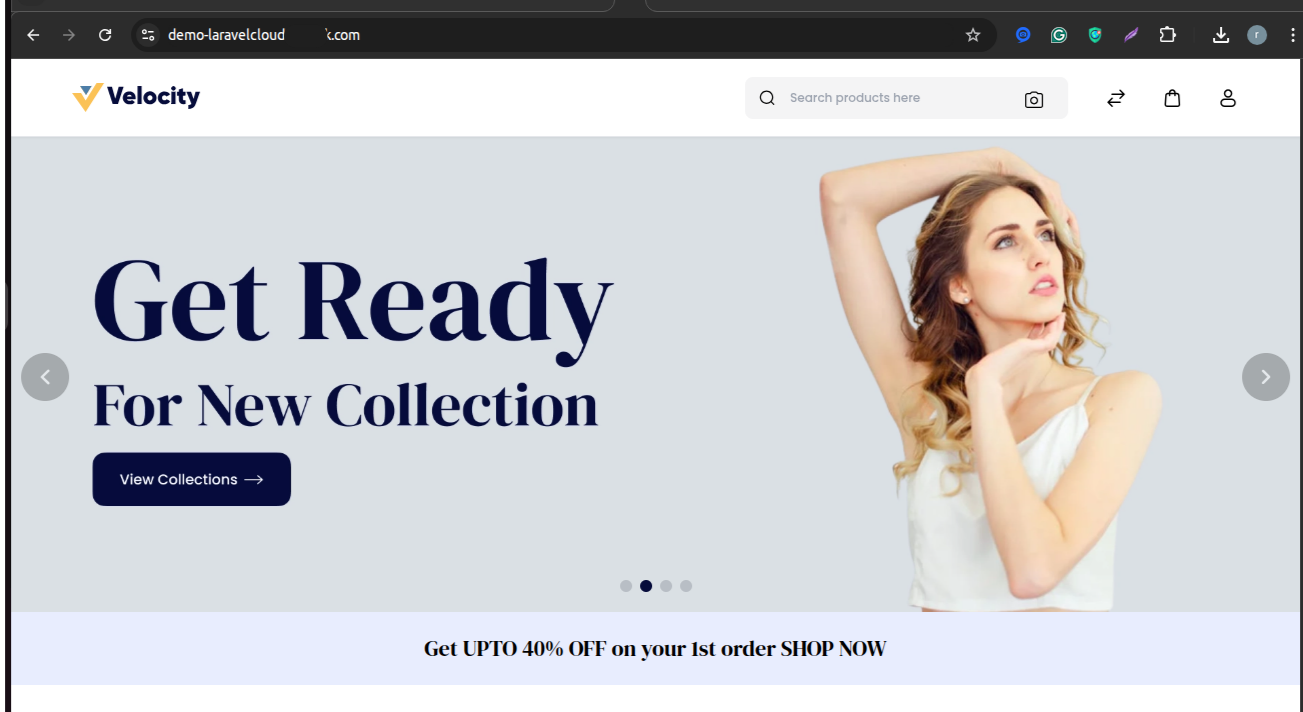
Step 9: Access your website
In the Environment section of the navigation bar, check the domain provided by Laravel Cloud.
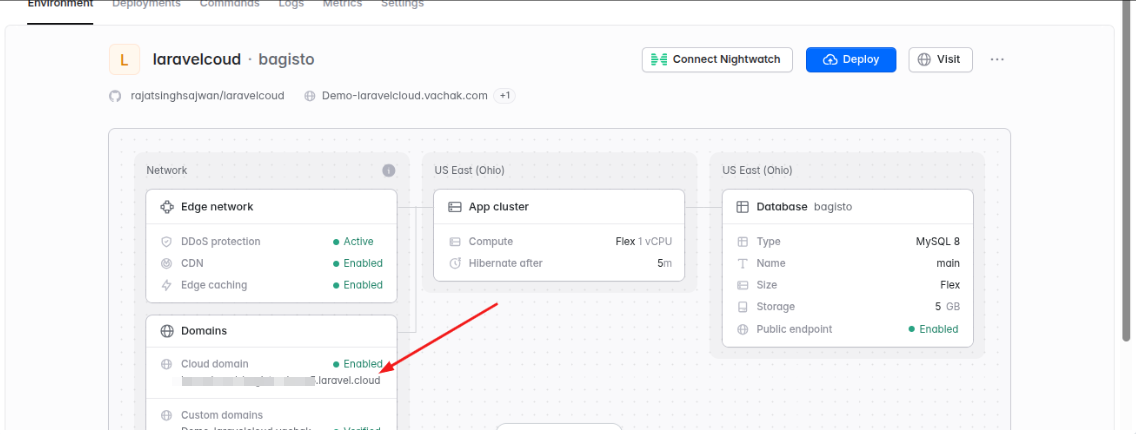
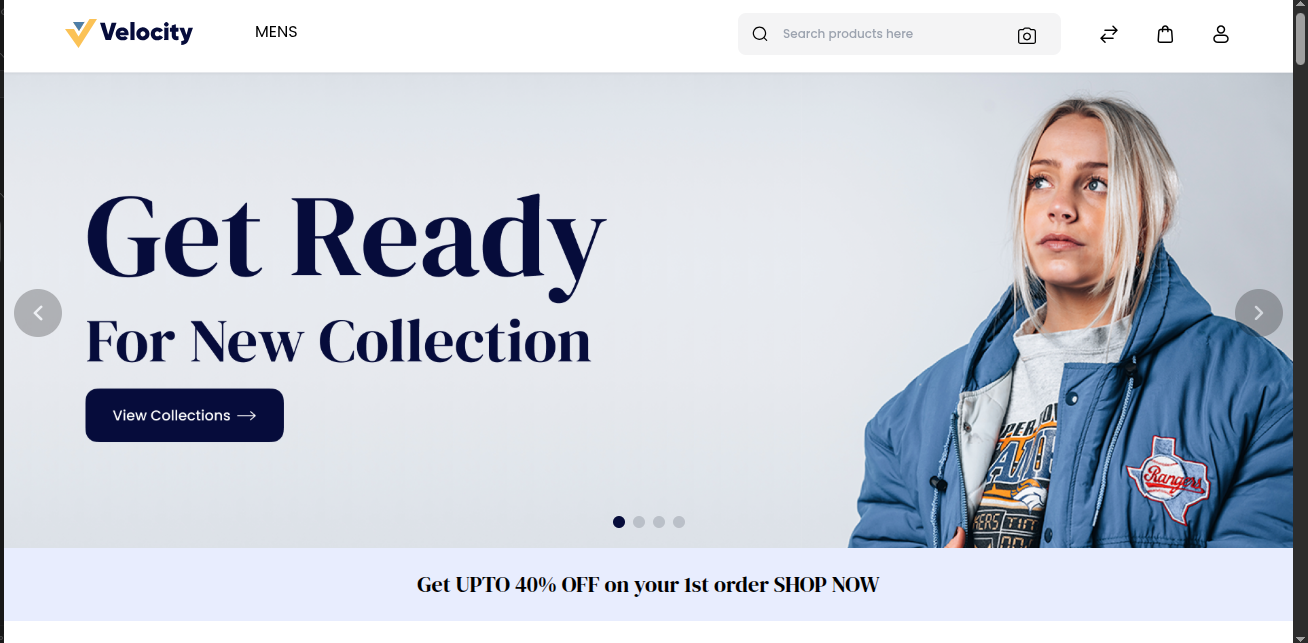
Enter the Application URL in your browser to verify that Bagisto has been installed successfully.
To access the Admin Panel, go to: https://domain/admin
Step 10: Set Custom Domain
In the Settings section of the Navigation bar, go to the Domains option located on the left-hand side of the screen.
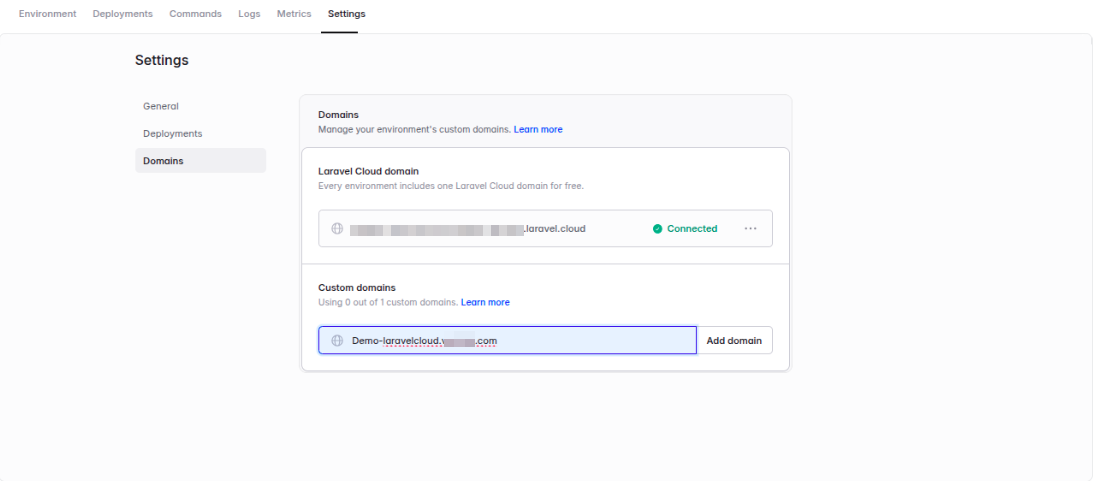
Click on Add Domain and create an A record in the Domain’s DNS Manager.
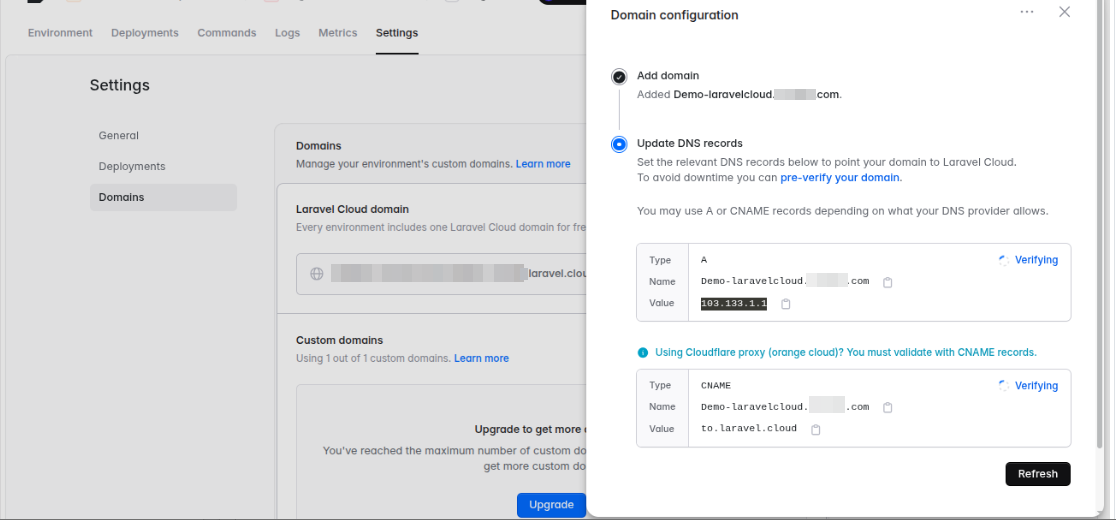
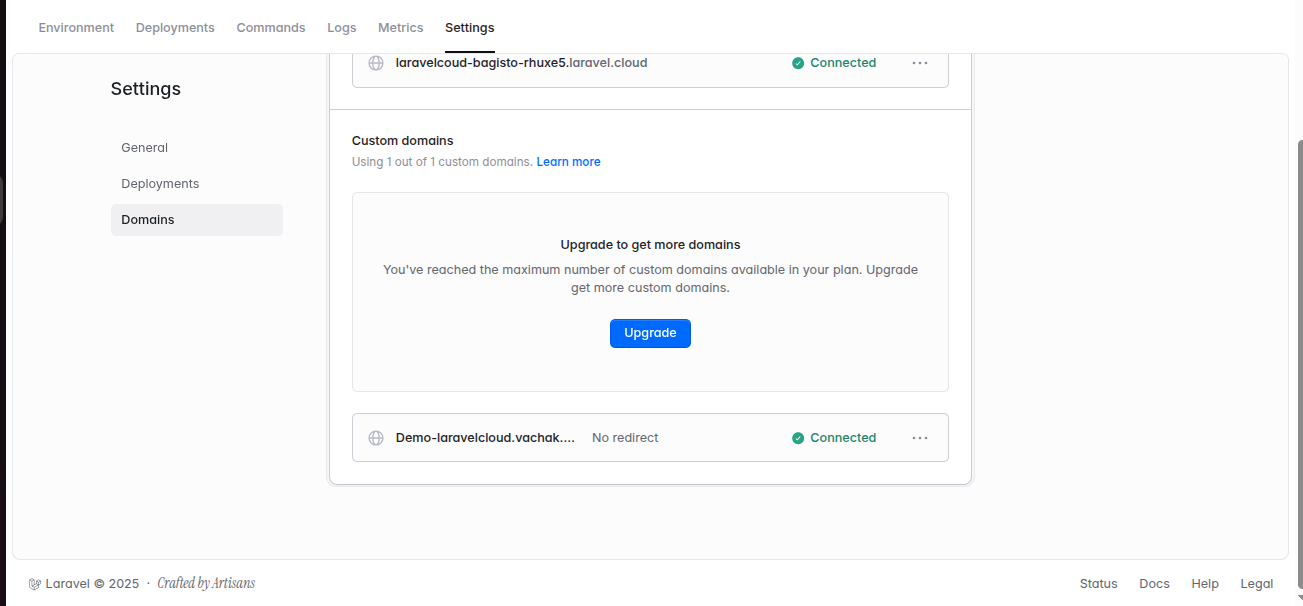
After that, we will be able to access the site using our custom domain.
Need Support?
Thank you for reading this Blog!
To stay updated, keep in touch with us for our latest blogs. If you need any kind of support, simply raise a ticket at https://webkul.uvdesk.com/en/.
If you need assistance, you can alternatively raise a ticket Or contact us directly.

Be the first to comment.