In the series of AWS EBS Snapshots, in the last blog, we have learned about AWS EBS snapshot Archive.
Now, we will discuss another latest feature of AWS which is Recycle bin for EBS Snapshots.
Recycle Bin for EBS Snapshots
Recycle Bin for Amazon EBS snapshots is a snapshot recovery function that lets you restore snapshots that have been unintentionally deleted.
When you use Recycle Bin, whenever you remove a snapshot, it is saved in the Recycle Bin for a length of time that you select.
Before the snapshot’s retention period expires, you can restore it from the Recycle Bin.
When you restore a snapshot from the Recycle Bin, it is no longer in the Recycle Bin, and you can use it just like any other snapshot in your account.
If the snapshot is not restored before the retention time expires, it is permanently removed from the Recycle Bin and is no longer recoverable.
Recycle Bin EBS Snapshots are charged at the same rate as Amazon EBS Snapshots. For more details, visit Pricing.
Learn to move EBS snapshots into Recycle Bin
Here is the procedure to start with the Recycle bin –
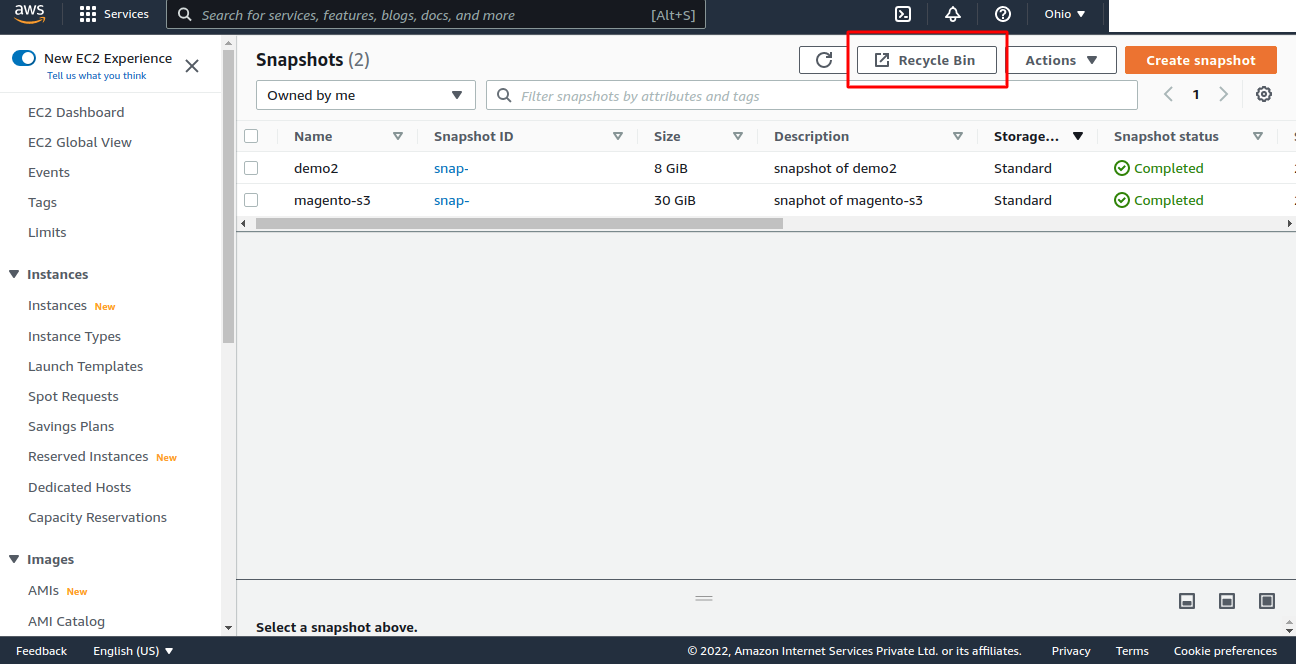
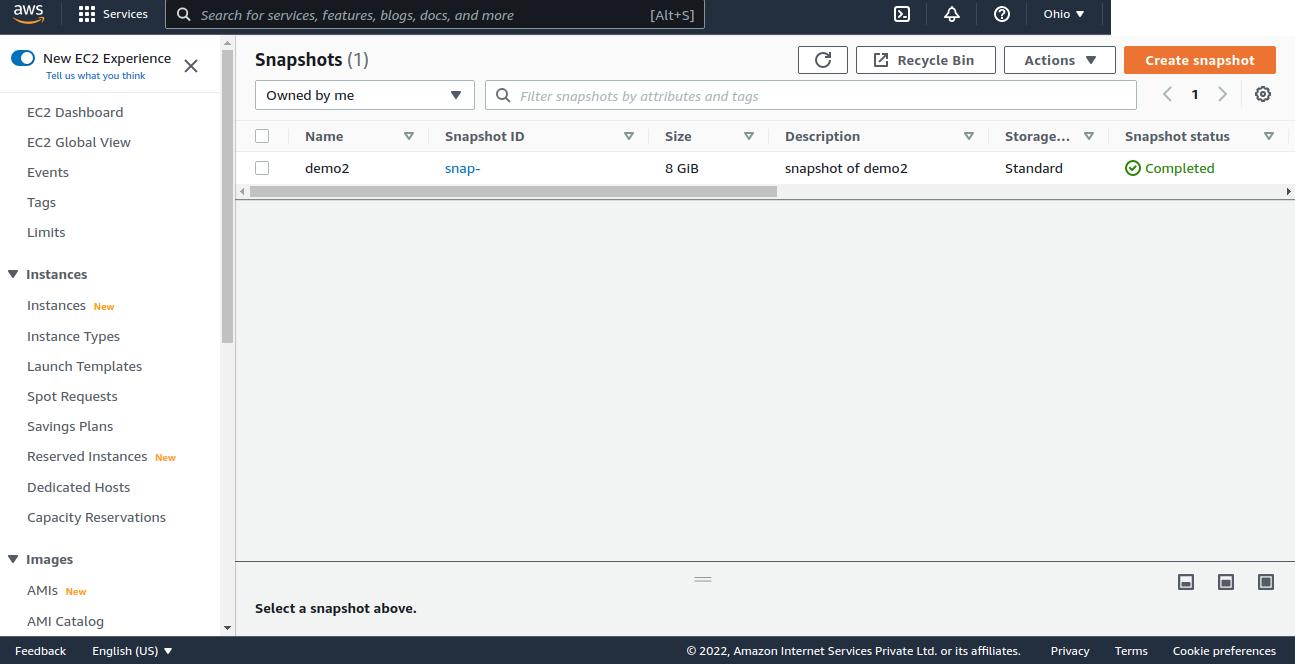
- Let’s begin, click on the ‘Recycle bin’ under snapshots for the snapshots that we want to delete.
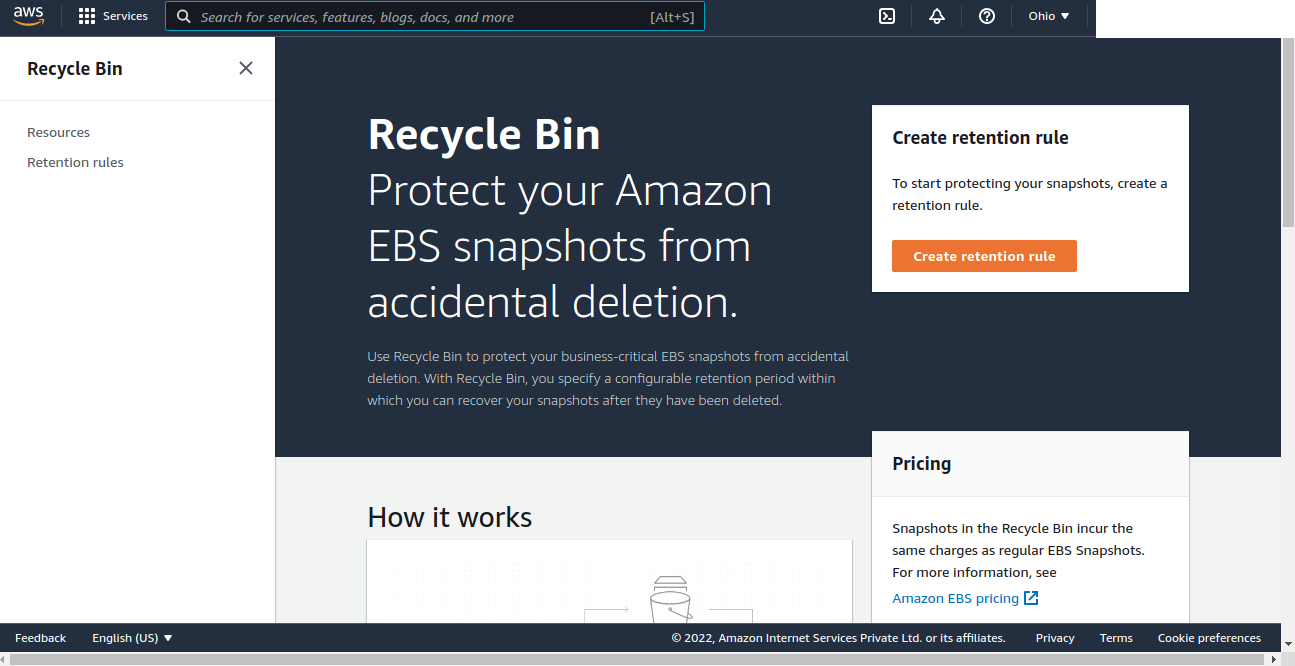
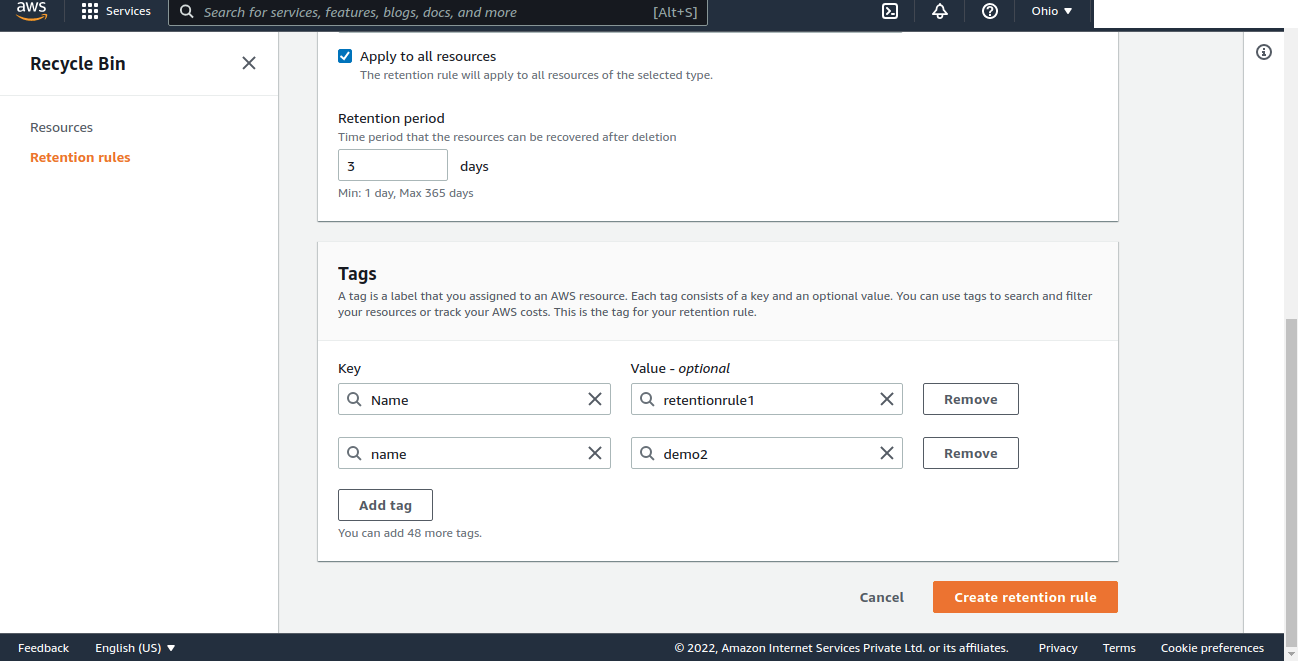
2. We need to specify a configurable retention period within which we can recover the snapshots after they have been deleted.
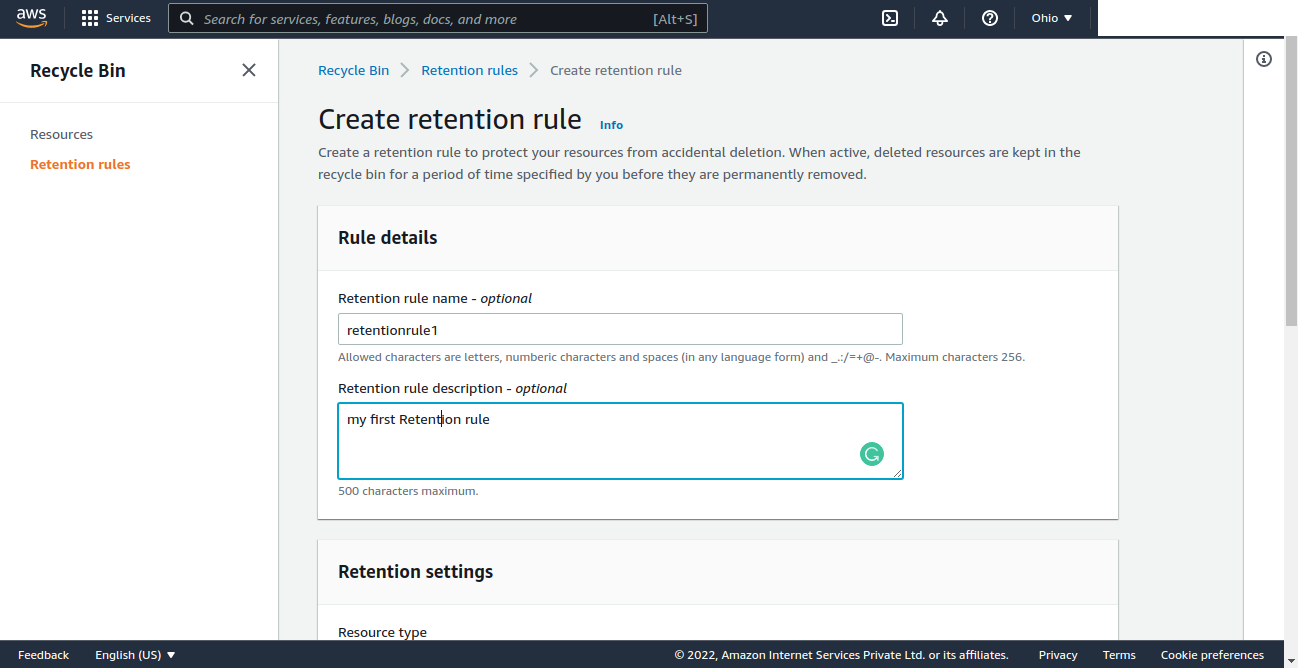
3. Here I am creating 2 retention rules with different retention periods because while deleting a snapshot that fits several retention rules, the retention rule with the longest retention duration takes place.
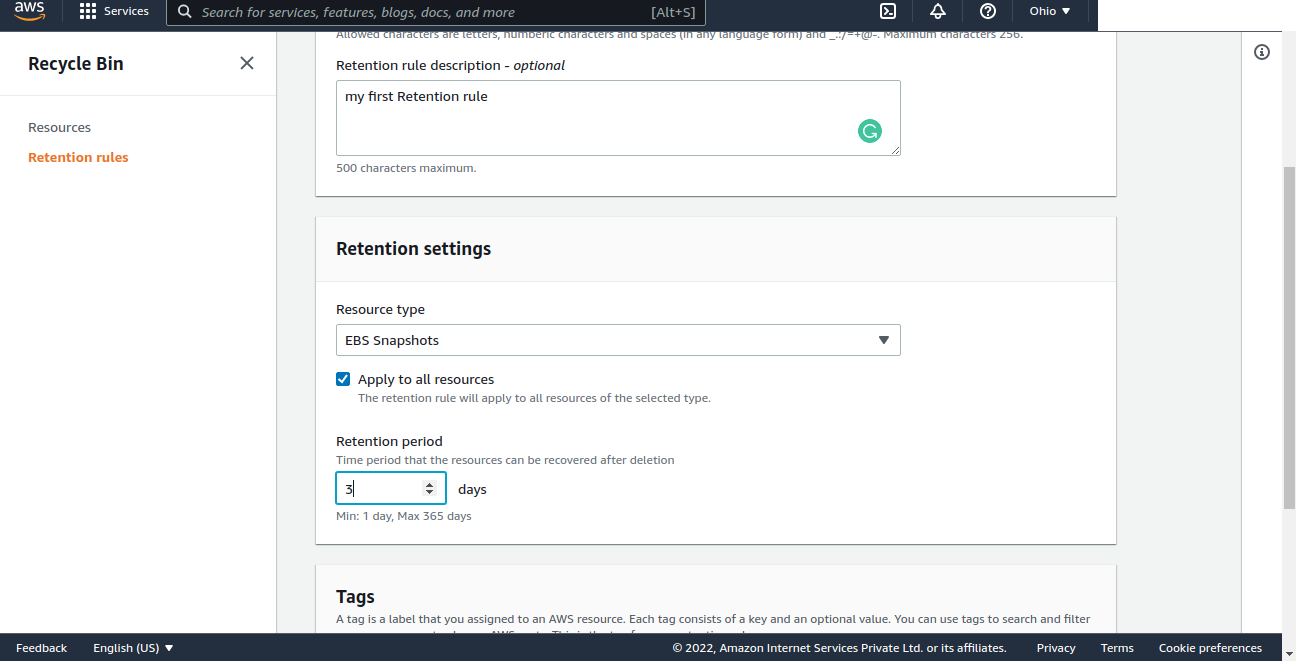
So my first retention rule is to delete all the deleted snapshots after 3 days.
4. This is a general rule that applies when there are no appropriate rules that specify one or more tags because ‘Apply to all resources‘ is checked.
5. I have added the tag name to the first retention rule same as the tag name that I have used for my snapshots(demo2).
Then click on ‘create retention rule’ to finally create your rule.
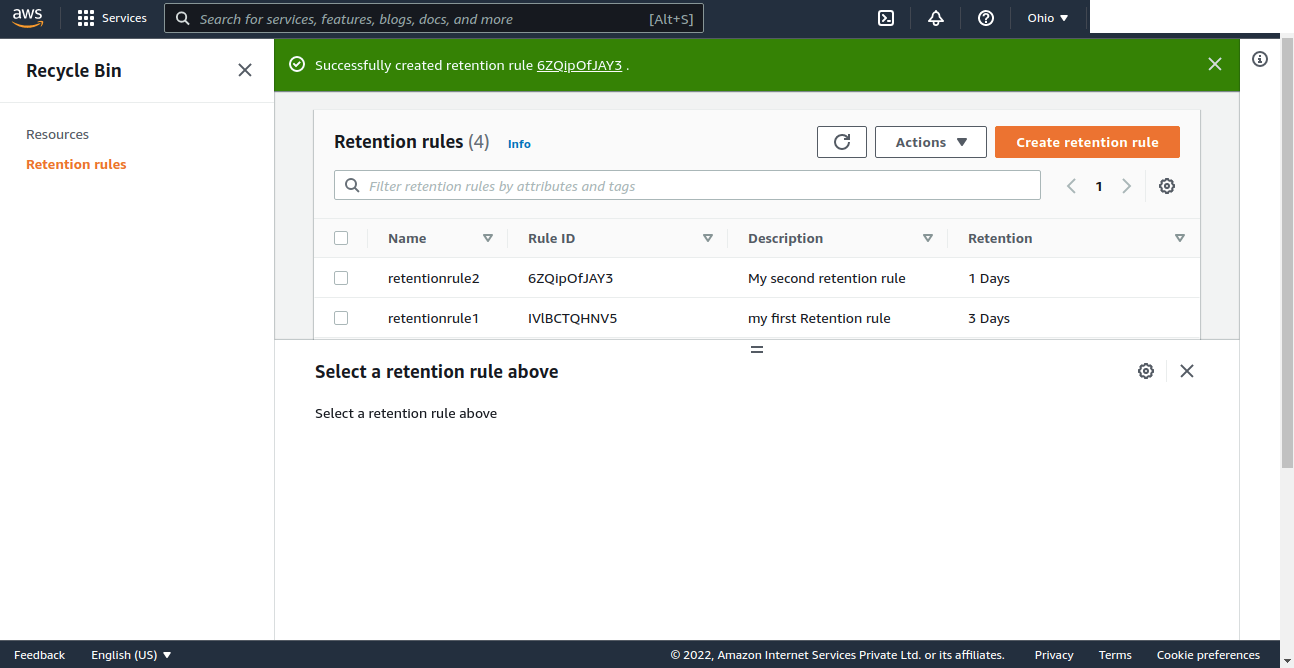
6. Similarly I have created another retention rule to delete snapshots after 1 day of deletion for only those resources tagged as magento-s3.
Here are my 2 retention rules with different retention time periods.
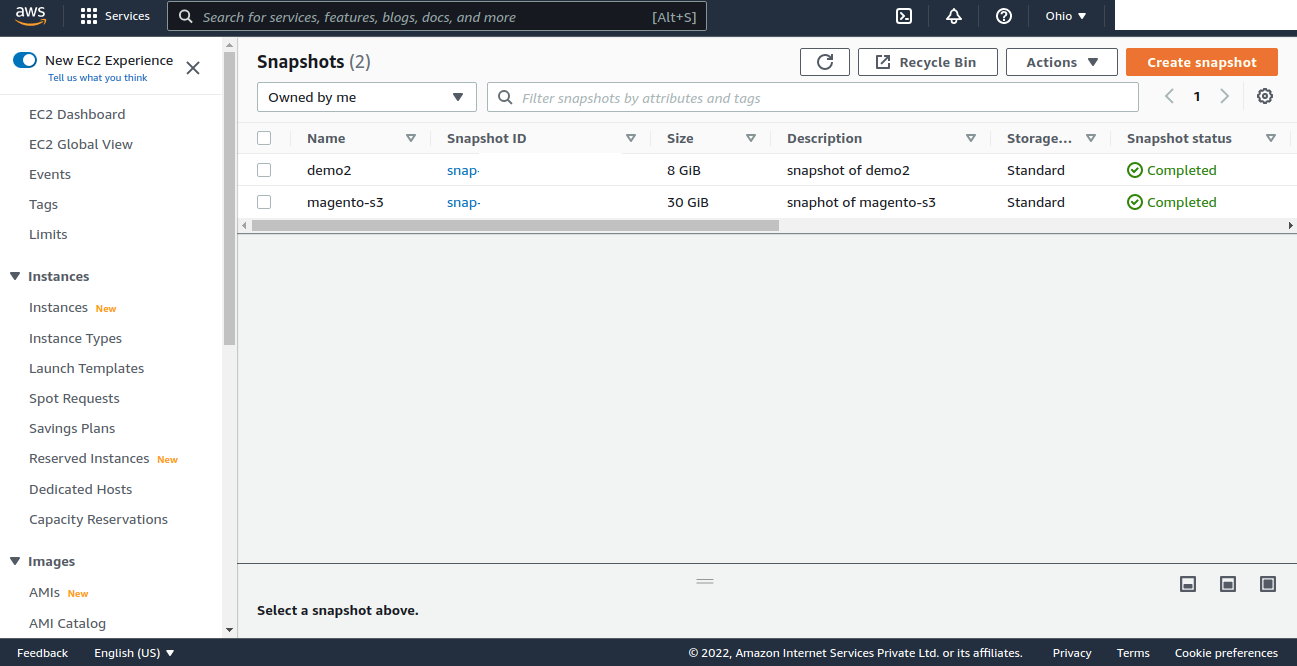
7. Have a look at the snapshots that we are going to delete using the created retention rules.
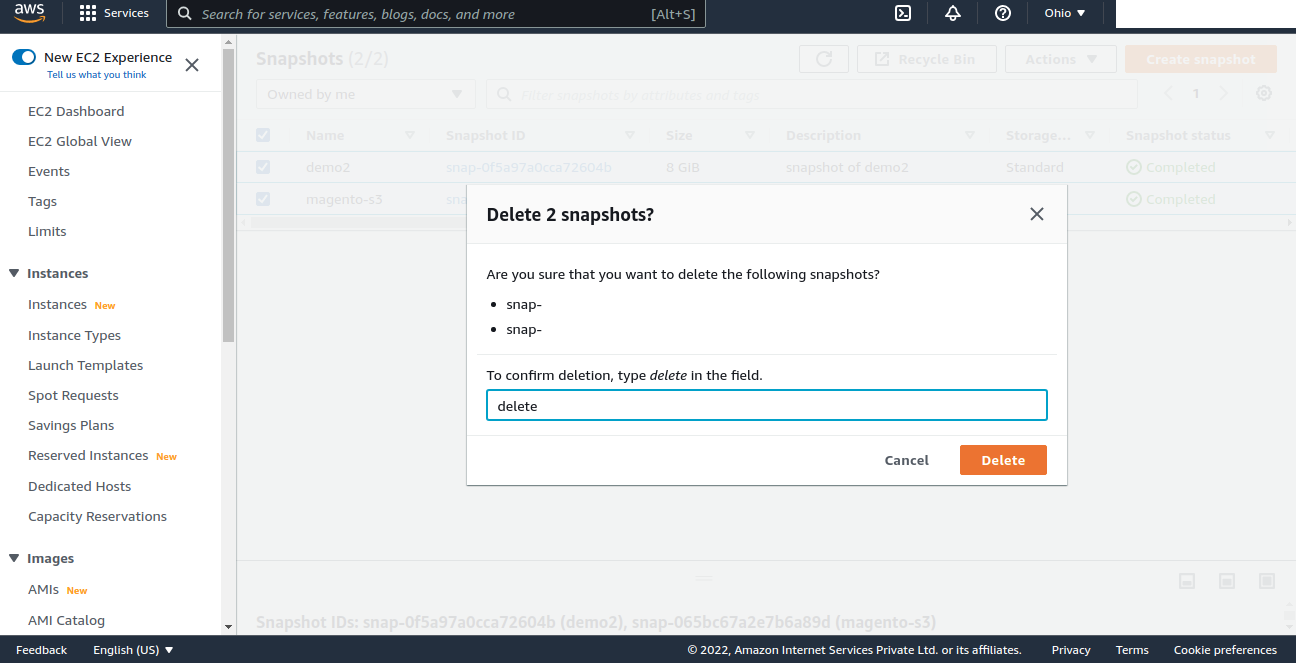
8. Select both the snapshots and then click on ‘Delete snapshot’ under the ‘Action’ category.
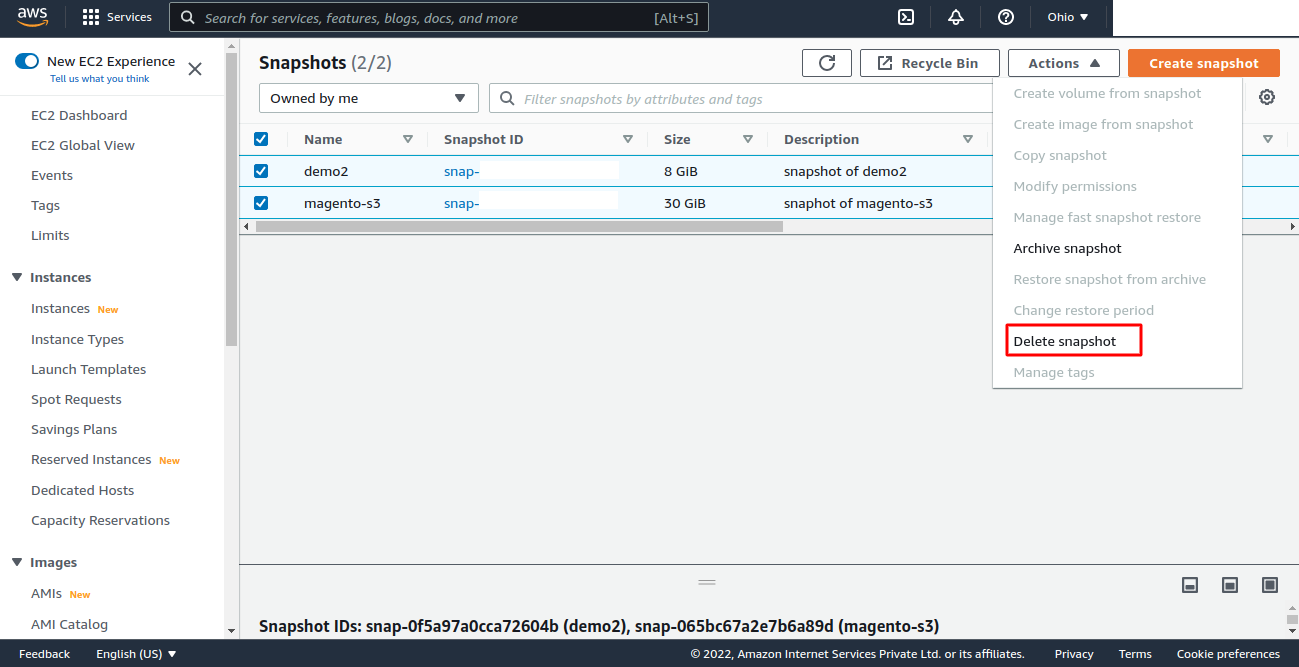
9. Again confirm whether you finally wanted to delete the snapshots or not by clicking on the ‘Delete’ button.
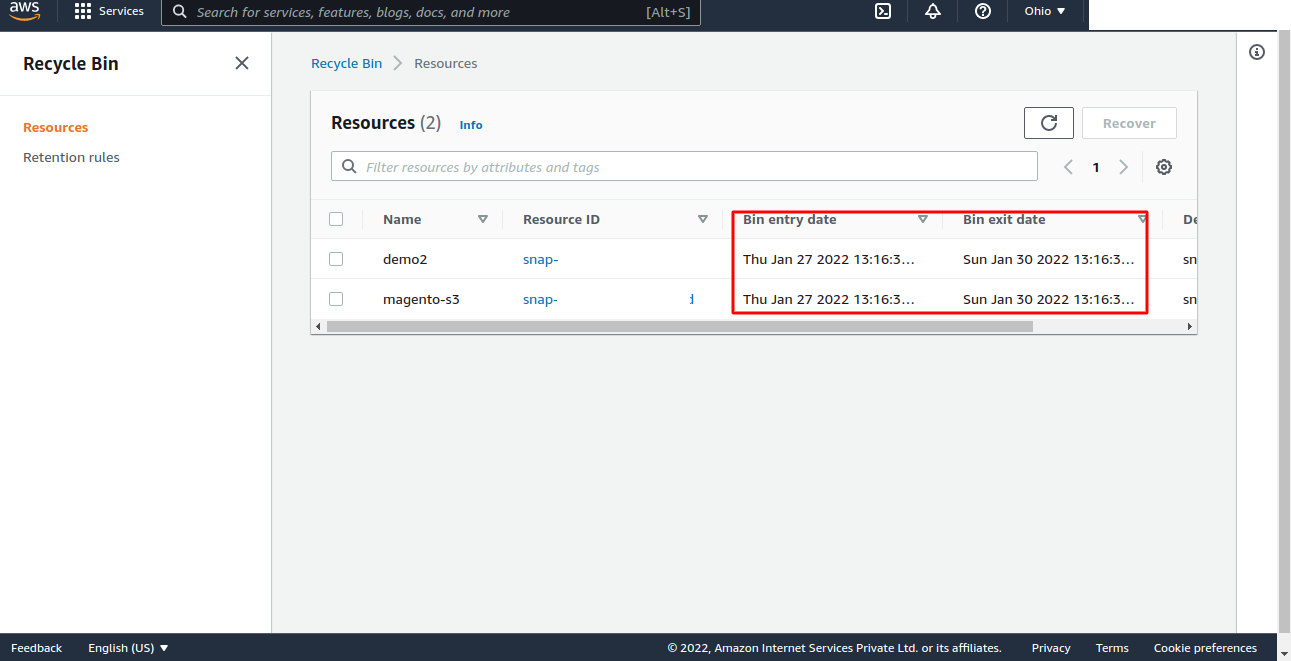
10. Now you find the deleted snapshots under ‘Resources’ in ‘Recycle Bin’. Here you can check the bin entry and exit date that will specify the deletion of these snapshots.
Therefore, a longer snapshot period that is 3 days has been applied.
Recover Snapshots
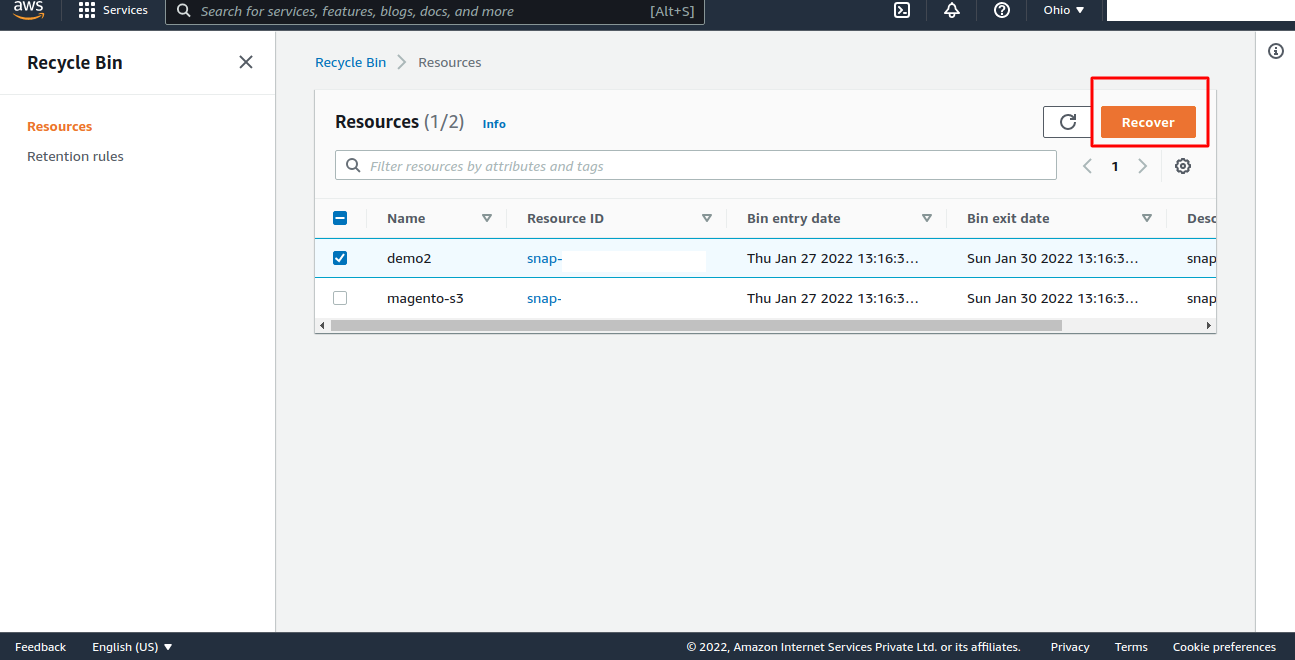
If you want to recover any of the deleted snapshots then follow the below steps –
- Select the snapshot that you want to recover and click on ‘Recover’ from top right corner.
2. Then, confirm the recovery of the snapshot.
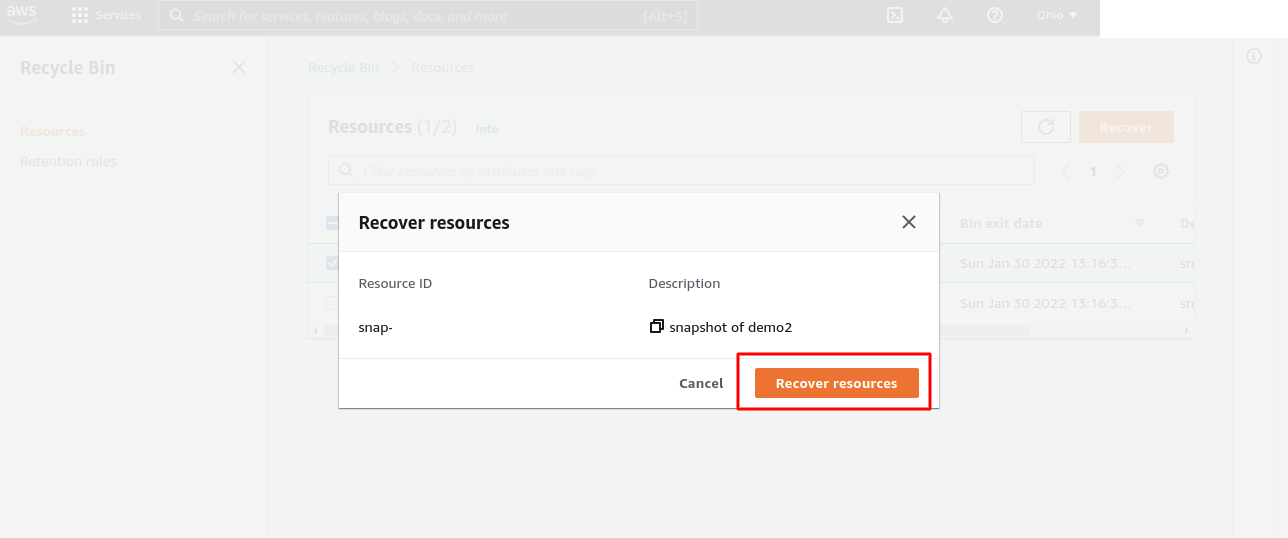
3. The deleted snapshot is now available again and you can use it just like any other snapshot in your account.
Recycle Bin Highlights
- You can only see, restore, or alter the tags of a snapshot while it is in the Recycle Bin. You must first restore the snapshot before you can utilise it in any other way.
- When deleting a snapshot that fits several retention rules, the retention rule with the longest retention duration takes precedence.
- When a snapshot is deleted, it is automatically unshared before being sent to the Recycle Bin. All previous sharing permissions are automatically restored if you restore the snapshot.
- A snapshot cannot be manually deleted from the Recycle Bin. When the snapshot’s retention term expires, it will be automatically removed.
Conclusion
By preserving your business-critical data backups from unintentional destruction, Recycle Bin ensures business continuity.
Need Support?
Thank You for reading this Blog!
For further more interesting blogs, keep in touch with us. If you need any kind of support, simply raise a ticket at https://webkul.uvdesk.com/en/.
For Magento 2 Elastic search, please follow –
Our Cloudkul Blogs
Elasticsearch, Fluentd, and Kibana (EFK)
Setting up Elasticsearch, Logstash, and Kibana for centralized logging
Managing and Monitoring Magento 2 logs with Kibana
Our store modules –
You may also visit our Magento development services and quality Magento 2 Extensions.
For further help or query, please contact us or raise a ticket.

Be the first to comment.