UnoPim PIM is a free, open-source PIM system built on Laravel, simplifying product data management for companies.
In the previous blog, we discussed why it is critical to have robust hosting for PIM.
Benefits of UnoPIM
Centralizes data
UnoPim is an open-source PIM that centralizes product data across various industries, including Fashion, Retail, Food and beverage, Energy, Utilities, and CPG.
Improves customer experience
By keeping information updated and consistent, UnoPim helps businesses provide better customer experiences.
Customizable
UnoPim is customizable, allowing businesses to set it up to meet their unique requirements.
This document provides step-by-step instructions for installing UnoPim on Ubuntu.
Prerequisites:
Before proceeding with the installation, ensure your system meets the following requirements:
- Ubuntu Version: 24.04
- Minimum System Requirements:
- RAM: 8 GB or higher
- CPU: 4 Cores
- Disk Space: 25 GB
- Required Software:
- Web-server: Apache 2 or NGINX
- Database: MySQL 5.7 or higher, MariaDB 10.10 or higher,
- PHP: 8.2 or higher
- Composer: 2.2.0 or higher
UnoPim Installation Steps –
Step 1: Install Apache2 Web Server
Start by updating your local package repository and installing Apache2:
|
1 2 3 4 5 6 7 |
sudo apt-get update sudo apt-get install apache2 -y sudo systemctl enable apache2 sudo systemctl start apache2 |
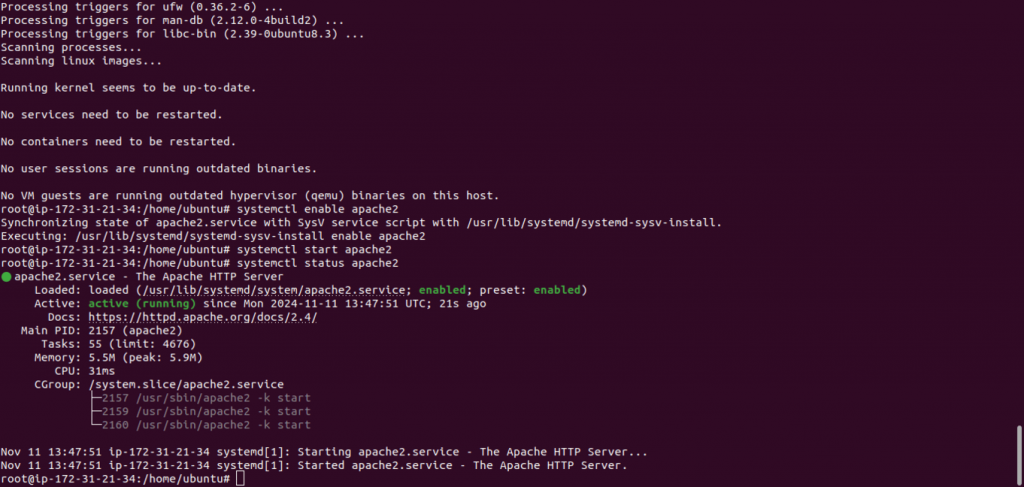
Verify that Apache is running:
|
1 |
sudo systemctl status apache2 |
Step 2: Install MySQL and Create Database
For Local Database Server:
1. Install MySQL:
|
1 |
sudo apt-get install mysql-server -y |
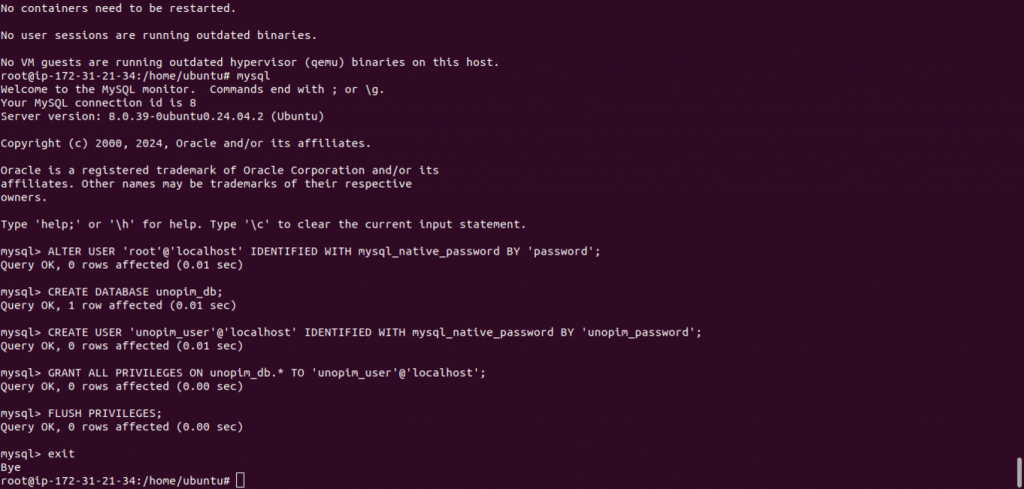
2. Configure the MySQL root user and create the UnoPim database:
|
1 2 3 4 5 6 7 8 9 10 11 12 13 |
sudo mysql ALTER USER 'root'@'localhost' IDENTIFIED WITH mysql_native_password BY 'password'; CREATE DATABASE unopim_db; CREATE USER 'unopim_user'@'localhost' IDENTIFIED WITH mysql_native_password BY 'unopim_password'; GRANT ALL PRIVILEGES ON unopim_db.* TO 'unopim_user'@'localhost'; FLUSH PRIVILEGES; exit |
For AWS RDS (if using a remote database):
When considering Amazon RDS for your database needs, it’s important to understand the key benefits and when to leverage them:
1. Scalable Resources: Automatically scale your database up or down based on workload demand, ensuring optimal performance.
2. Automated Backups: Benefit from regular automated backups and manual snapshots, providing data protection and fast restores.
3. Managed Security: RDS automatically applies security patches and updates, reducing the need for manual intervention and enhancing security.
4. High Availability: Enable Multi-AZ deployments for automatic failover, ensuring minimal downtime and increased reliability.
5. Read Replicas: Improve read performance by distributing the read load across multiple replicas, enhancing application scalability.
6. AWS Integration: Seamlessly integrate with other AWS services like AWS CloudWatch for monitoring and AWS IAM for access management.
7. Infrastructure as Code: Automate database provisioning and management using tools like AWS CloudFormation, enabling consistency and faster deployments.
Now connect to RDS and configure the database:
|
1 2 3 4 5 6 7 8 9 10 11 12 13 14 15 |
#Connect to your RDS instance: mysql -u admin -p -h [RDS_endpoint] #Create the database and user for UnoPim: CREATE USER 'unopim_user'@'%' IDENTIFIED BY 'unopim_password'; CREATE DATABASE unopim_db; GRANT ALL PRIVILEGES ON unopim_db.* TO 'unopim_user'@'%'; FLUSH PRIVILEGES; exit |
Step 3: Install PHP and Required Extensions
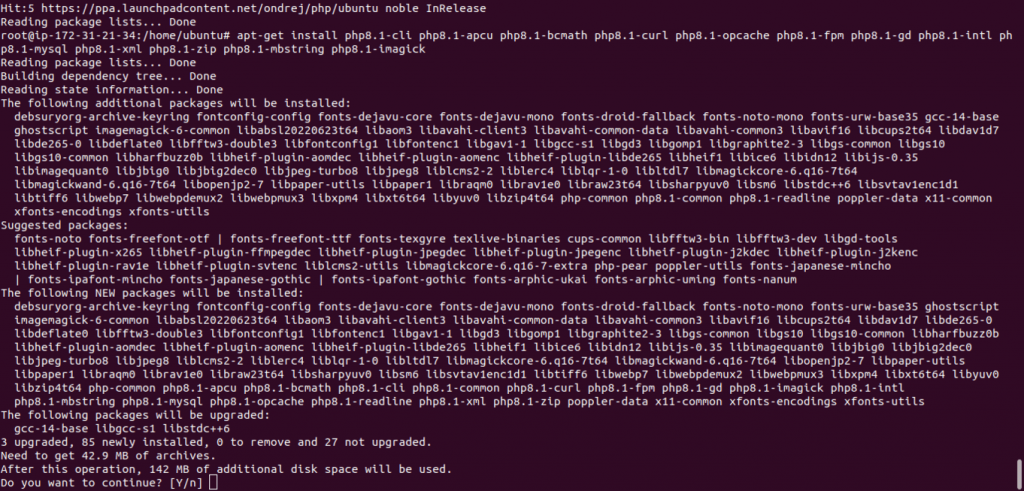
1. Install PHP 8.2 and the necessary extensions
php8.2-cli, php8.2-apcu, php8.2-bcmath, php8.2-curl, php8.2-opcache, php8.2-fpm, php8.2-gd, php8.2-intl, php8.2-mysql,php8.2-xml, php8.2-zip, php8.2-mbstring, php8.2-imagick, libapache2-mod-php8.2.
|
1 2 3 4 5 6 7 8 |
sudo apt install software-properties-common sudo add-apt-repository ppa:ondrej/php sudo apt-get update sudo apt-get install php8.2-cli php8.2-apcu php8.2-bcmath php8.2-curl php8.2-opcache php8.2-fpm php8.2-gd php8.2-intl php8.2-mysql php8.2-xml php8.2-zip php8.2-mbstring php8.2-imagick libapache2-mod-php8.2 |
2. Adjust PHP settings in php.ini for PHP CLI and FPM:
The memory_limit is set to 1024M (1GB) to allow more memory usage for PHP scripts run via the terminal, useful for resource-intensive tasks.
The date.timezone is set to UTC to standardize the time zone globally, avoiding local time zone issues.
|
1 2 3 4 |
# Update CLI PHP configuration sudo sed -i 's/^memory_limit = .*/memory_limit = 1024M/' /etc/php/8.2/cli/php.ini sudo sed -i 's/^date.timezone = .*/date.timezone = UTC/' /etc/php/8.2/cli/php.ini |
The memory_limit is set to 512M to limit memory usage for PHP scripts executed by the web server, balancing performance and resource usage.
The date.timezone is also set to UTC to ensure consistency across applications and servers.
|
1 2 3 |
# Update FPM PHP configuration sudo sed -i 's/^memory_limit = .*/memory_limit = 512M/' /etc/php/8.2/fpm/php.ini sudo sed -i 's/^date.timezone = .*/date.timezone = UTC/' /etc/php/8.2/fpm/php.ini |
3. Enable Apache modules and restart Apache:
|
1 2 3 |
sudo a2enmod rewrite proxy_fcgi sudo systemctl restart apache2 |
Step 4: Install Composer
1. Install curl, wget, and other required utilities:
|
1 |
sudo apt-get install curl wget zip unzip net-tools -y |
2. Install Composer:
|
1 2 3 4 5 6 7 8 9 |
php -r "copy('https://getcomposer.org/installer', 'composer-setup.php');" php -r "if (hash_file('sha384', 'composer-setup.php') === 'dac665fdc30fdd8ec78b38b9800061b4150413ff2e3b6f88543c636f7cd84f6db9189d43a81e5503cda447da73c7e5b6') { echo 'Installer verified'; } else { echo 'Installer corrupt'; unlink('composer-setup.php'); } echo PHP_EOL;" php composer-setup.php --version=2.5.8 php -r "unlink('composer-setup.php');" mv composer.phar /usr/local/bin/composer |

Step 5: Download and Configure UnoPim
1. Create a new user for UnoPim:
|
1 |
sudo adduser unopim |
2. Download the UnoPim code:
|
1 2 3 4 5 |
cd /home/unopim/ git clone https://github.com/unopim/unopim.git cd unopim |
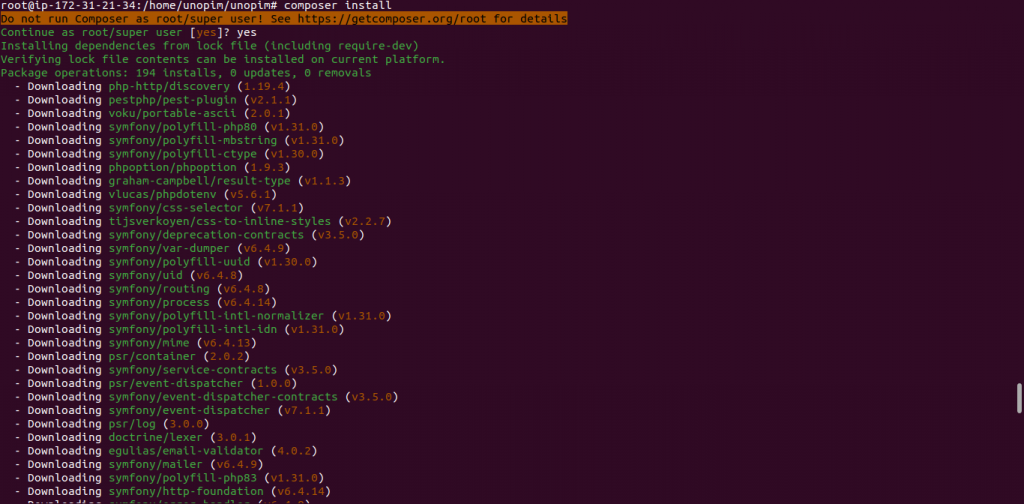
3. Install the required PHP dependencies:
|
1 |
composer install |
4. Copy the .env file:
|
1 |
cp .env.example .env |
5. Edit .env and update the necessary values based on your database setup:
|
1 2 3 4 5 6 7 8 9 |
APP_NAME=Unopim APP_DEBUG=false APP_URL=http://localhost/ DB_CONNECTION=mysql DB_HOST=localhost DB_PORT=3306 DB_DATABASE=unopim_db DB_USERNAME=unopim_user DB_PASSWORD=unopim_password |
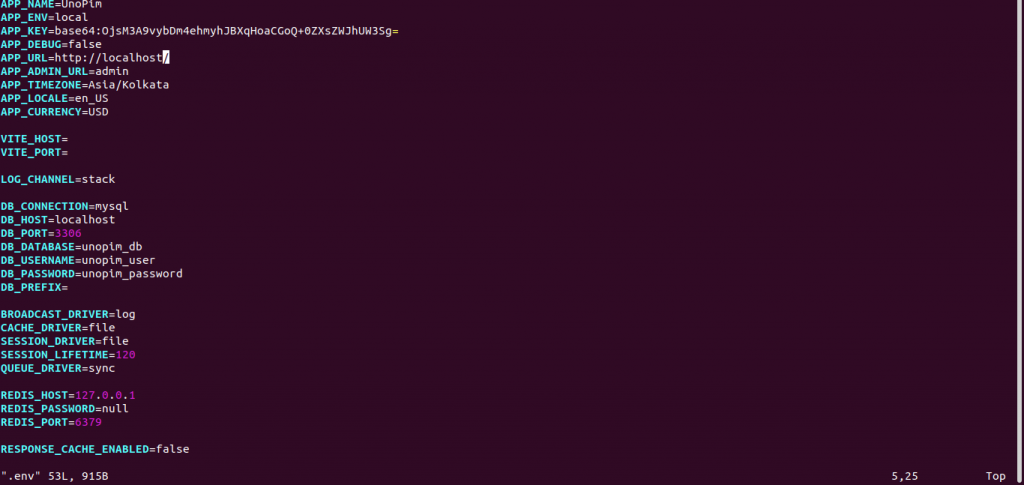
Save and exit the file.
Step 6: Set Up Apache Virtual Hosts
1. Create a virtual host configuration for UnoPim:
|
1 |
sudo nano /etc/apache2/sites-available/unopim.local.conf |
Add the following configuration (adjust paths and domain/IP as needed):
|
1 2 3 4 5 6 7 8 9 10 11 12 |
<VirtualHost *:80> ServerAdmin webmaster@localhost DocumentRoot /home/unopim/unopim/public ServerName unopim.local <Directory /home/unopim/unopim/public> AllowOverride All Require all granted </Directory> ErrorLog ${APACHE_LOG_DIR}/unopim-error.log CustomLog ${APACHE_LOG_DIR}/unopim-access.log combined </VirtualHost> |

2. Make changes in the Apache envvars file as per your user
|
1 2 3 |
cd /etc/apache2/ nano envvars |

3. Enable the site and restart Apache:
|
1 2 3 4 5 6 7 |
cd /etc/apache2/sites-available/ sudo a2dissite 000-default.conf sudo a2ensite unopim.local.conf sudo systemctl restart apache2 |
Step 7: Complete UnoPim Installation
1. Run the UnoPim installation:
|
1 2 3 4 5 6 7 8 9 10 |
cd /home/unopim/unopim/ chown -R unopim:unopim /home/unopim/ #Login mysql as root and run this query SET GLOBAL log_bin_trust_function_creators = 1; exit |
Note: log_bin_trust_function_creators should only be enabled in development environments.
For production systems, avoid using this setting unless necessary. You can set the log_bin_trust_function_creators value to be 0 after installation.
|
1 2 |
php artisan unopim:install |
Follow the prompts to configure UnoPim, including setting up the application name, URL, currency, and admin credentials.
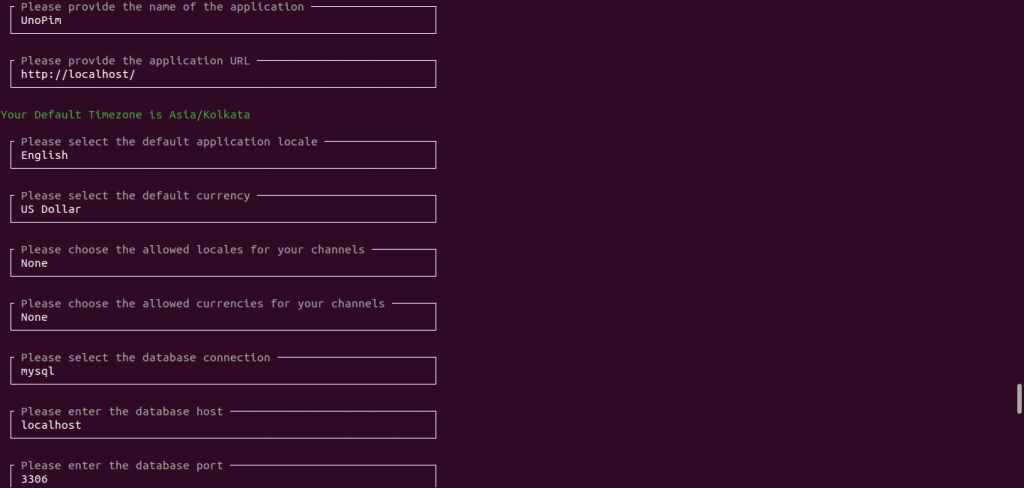
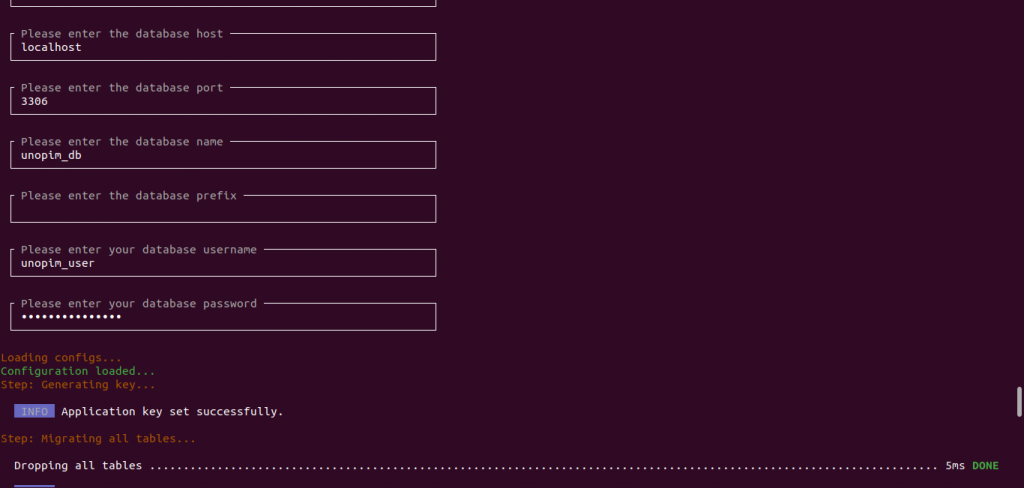
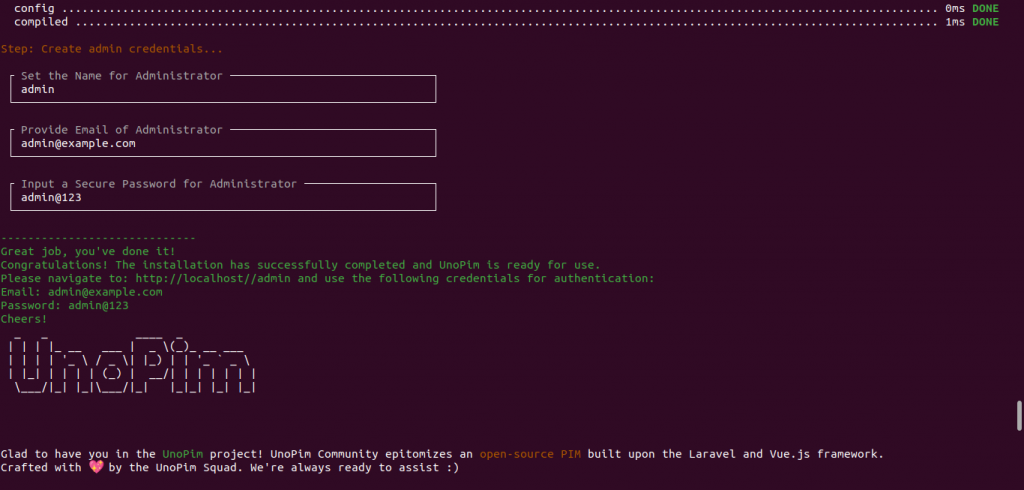
Set your admin Name, email, and password, and finish the installation.
For Example:
My admin credentials are:
ADMINISTRATOR_NAME=admin
[email protected]
ADMINISTRATOR_PASSWORD=admin@123
Step 8: Access UnoPim
Open a browser and navigate to the following URL:
|
1 |
http://localhost/ |
Log in with the email and password you set up.
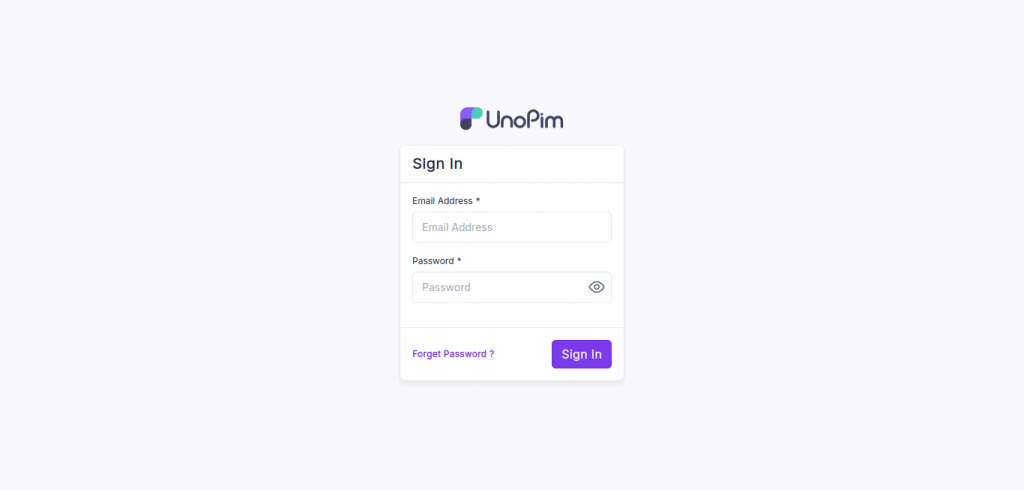
The UnoPim has been successfully installed on your server.
Need Support?
Thank You for reading this Blog!
For further more interesting blogs, keep in touch with us. If you need any kind of support, simply raise a ticket at https://webkul.uvdesk.com/en/.
You may also visit our Unopim platform and quality Unopim Shopify PIM Integration.
For further help or queries, please contact us or raise a ticket.


Be the first to comment.