In our previous blog, we covered setting up Odoo 17 on AWS. Now, let’s move forward and explore how to set up Odoo 18 on an AWS cloud server.
Prerequisites
Python version: >= 3.10
Resources: 2-core CPU & 4GB of RAM
Access: SSH connection to the server
Permissions: a user with ‘sudo’ privileges
Steps to set up Odoo 18 on the AWS server
Step 1: Update The Apt Source List
|
1 2 |
sudo -i apt-get update && apt-get upgrade -y |
apt-get update: Updates the list of available packages and their versions from the repositories.
apt-get upgrade -y: Upgrade all installed packages to their latest versions without requiring manual confirmation.

Step 2: Install The Required Python Libraries
Let’s install further Python libraries –
|
1 |
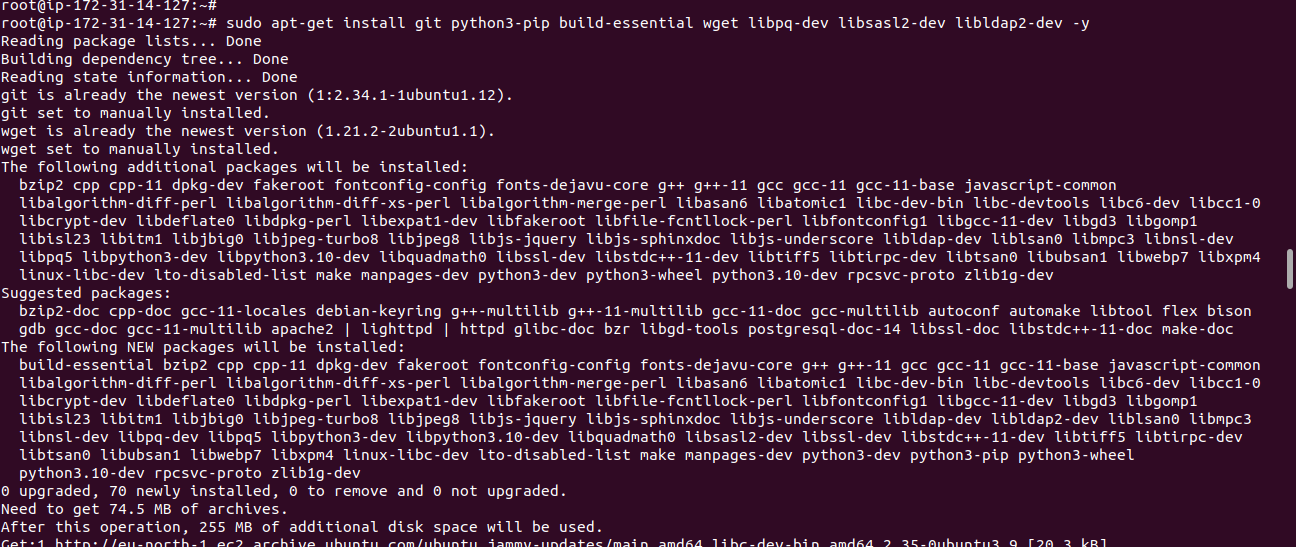
sudo apt-get install git python3-pip build-essential wget libpq-dev libsasl2-dev libldap2-dev -y |
These tools are required to –
- git: Version control system for cloning repositories.
- python3-pip: Python package installer for Python 3.
- build-essential: Includes necessary tools for building software (like gcc, make).
- wget: Utility for downloading files from the web.
- libpq-dev: Development files for PostgreSQL.
- libsasl2-dev: Development files for SASL (Simple Authentication and Security Layer).
- libldap2-dev: Development files for LDAP (Lightweight Directory Access Protocol).
- -y: Automatically answers “yes” to prompts.
Step 3: Create A User To Run The Odoo Application
|
1 |
sudo useradd -m -d /opt/odoo18 -U -r odoo18 |
Note: However, You can create your own version-specific user.
- useradd: will create a new user account.
- -m: Creates a home directory for the user.
- -d /opt/odoo18: Specifies the user’s home directory.
- -U: Creates a user group with the same name.
- -r: Creates a system account (not a regular user).

Step 4: Install & Configure The PostgreSQL Database Server
A database can be served from the local database server as well as through the AWS RDS.
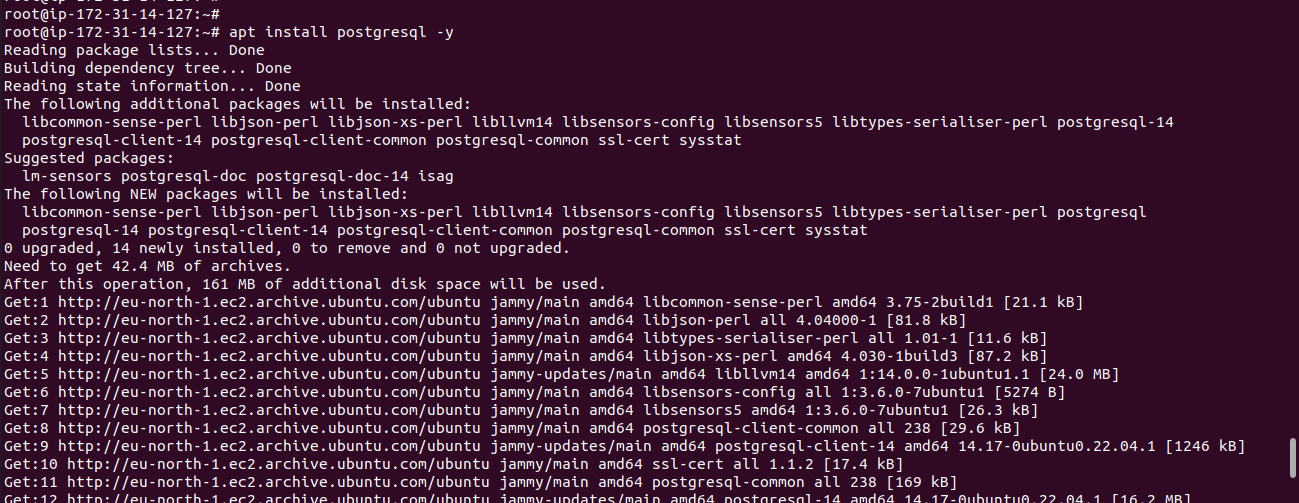
Case 1: If you are using Local Database Server (PostgreSQL)
Use this command to install the PostgreSQL server –
|
1 |
sudo apt install postgresql -y |
After installing the PostgreSQL, We will set up a new PostgreSQL user to do the interactions with the database from the odoo application.
|
1 2 3 4 |
odoo_username=odoo18 su - postgres -c "psql -U postgres -c \"CREATE ROLE $odoo_username WITH NOCREATEROLE NOSUPERUSER CREATEDB LOGIN;\"" su - postgres -c "psql -U postgres -c \"ALTER ROLE $odoo_username WITH PASSWORD 'odoo';\"" su - postgres -c "psql -U postgres -c \"ALTER USER $odoo_username WITH SUPERUSER;\"" |

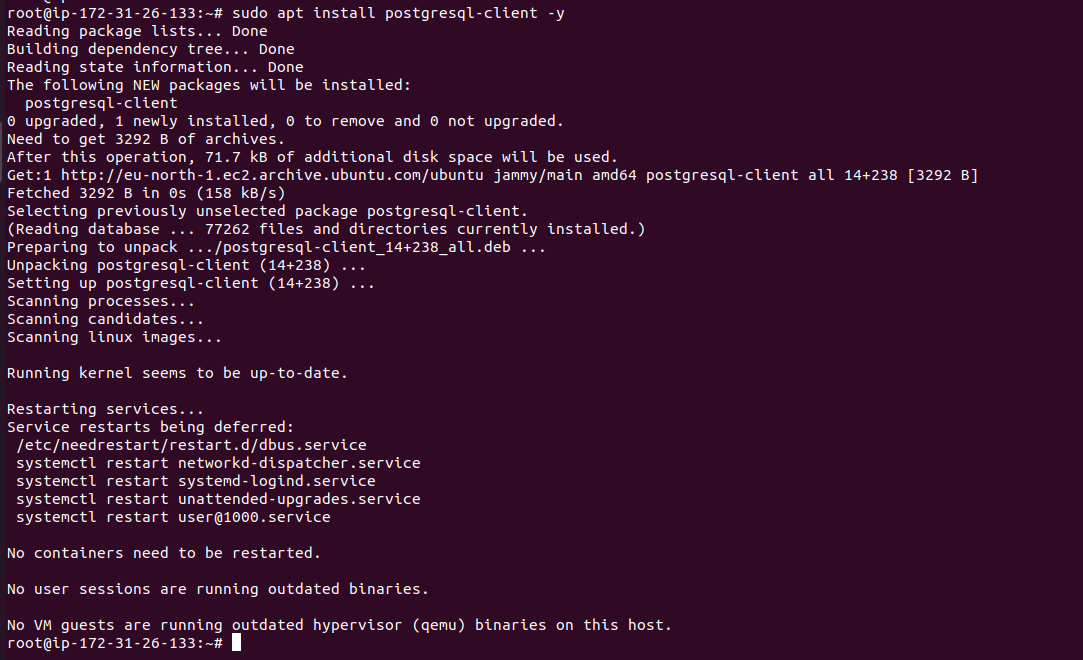
Case 2: If you are using AWS RDS
To connect to an RDS PostgreSQL instance from an Ubuntu server and create a user, you can follow these steps:
Install the PostgreSQL client on your Ubuntu server if it’s not already installed:
|
1 |
sudo apt install postgresql-client -y |
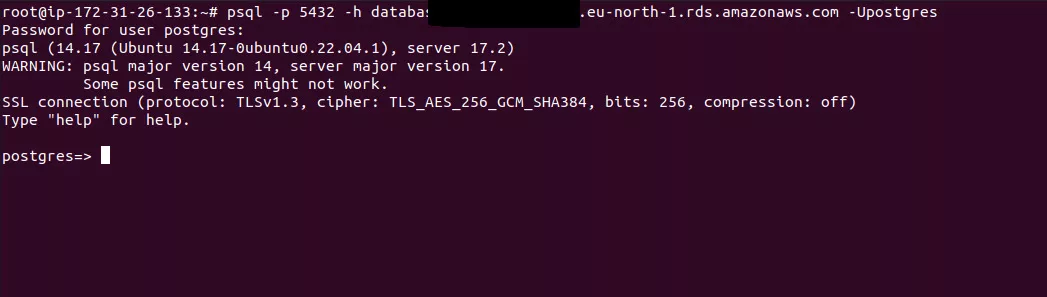
Now, you can connect to your RDS and run the following command.
|
1 |
psql -p 5432 -h your-rds-endpoint -U username |
- psql: PostgreSQL interactive terminal.
- -p 5432: Specifies the port number (default PostgreSQL port).
- -h your-rds-endpoint: Specifies the RDS endpoint.
- -U username: Specifies the username to connect with.
Now you can CREATE ROLE odoo18 WITH LOGIN PASSWORD ‘$ecretp@$$’;
|
1 |
CREATE ROLE odoo18 WITH LOGIN PASSWORD ‘$ecretp@$$’; |

Grants the ability to create new databases ‘ ALTER ROLE odoo18 WITH CREATEDB; ‘
|
1 |
ALTER ROLE odoo18 WITH CREATEDB; |

Grant all practical privileges your odoo18 ‘ GRANT rds_superuser TO odoo18; ‘
|
1 |
GRANT rds_superuser TO odoo18; |

Step 5: Installing Wkhtmltopdf
Wkhtmltopdf is used to generate PDFs from HTML, making it ideal for creating reports, invoices, or any other documents that need to be printed or archived in PDF format.
|
1 |
apt install wkhtmltopdf -y |
Step 6: Clone The latest Code From Github After Switching To The Odoo18 User
|
1 |
su - odoo18 -s /bin/bash |

|
1 |
git clone https://www.github.com/odoo/odoo --depth 1 --branch 18.0 /opt/odoo18/odoo18 |
- sudo su – odoo18 Switches to the odoo18
- git clone: Clones a repository.
- –depth 1: Fetches only the latest snapshot of the repository.
- –branch 18.0: Specifies the branch to clone.
- /opt/odoo18/odoo18: Directory where the repository will be cloned.
Once the latest code is cloned on your server, you can exit from the odoo18 user and be the root user to run further commands.
Step 7: Install Required Web Dependencies For The Odoo
|
1 2 3 |
sudo apt install -y npm sudo apt install -y node-less sudo npm install -g less less-plugin-clean-css |
- npm: Node.js is a package manager.
- node-less: LESS (Leaner Style Sheets) compiler for Node.js.
- -g: Installs packages globally.
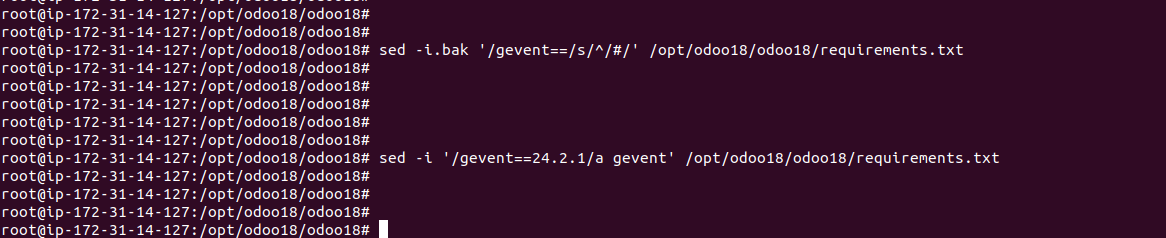
Step 8: Install Required Python 3 Dependencies For Odoo
|
1 |
cd /opt/odoo18/odoo18 |

|
1 2 |
sed -i.bak '/gevent==/s/^/#/' /opt/odoo18/odoo18/requirements.txt sed -i '/gevent==24.2.1/a gevent' /opt/odoo18/odoo18/requirements.txt |
To update the requirements.txt file, use these two sed commands.
|
1 |
pip3 install -r requirements.txt |
pip3 install -r requirements.txt: Installs Python dependencies listed in requirements.txt.
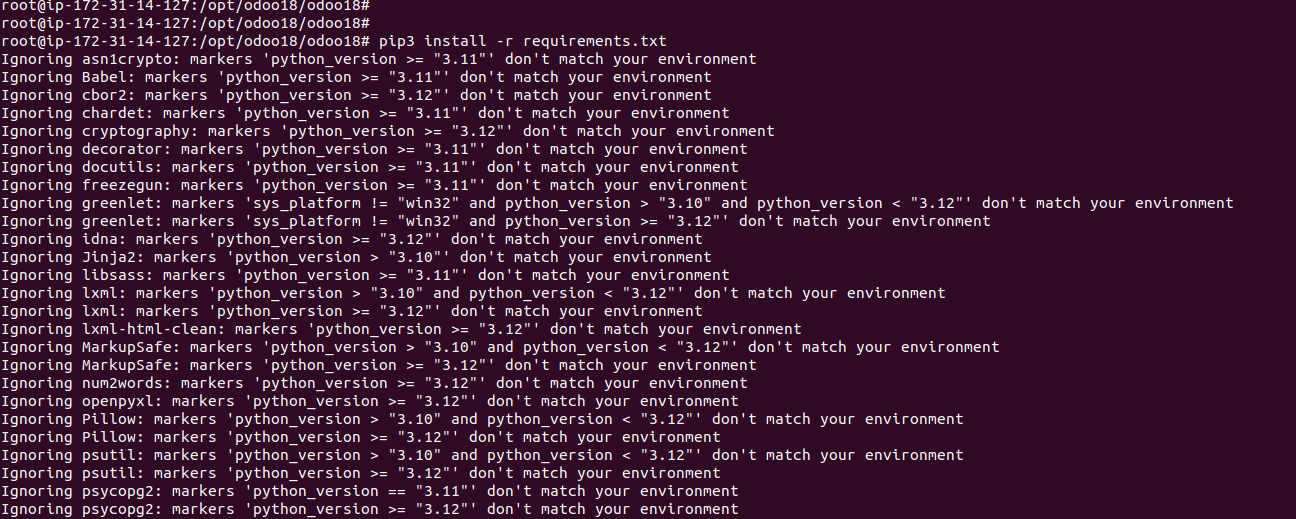
if you face cffi issue because of version incompatibility.
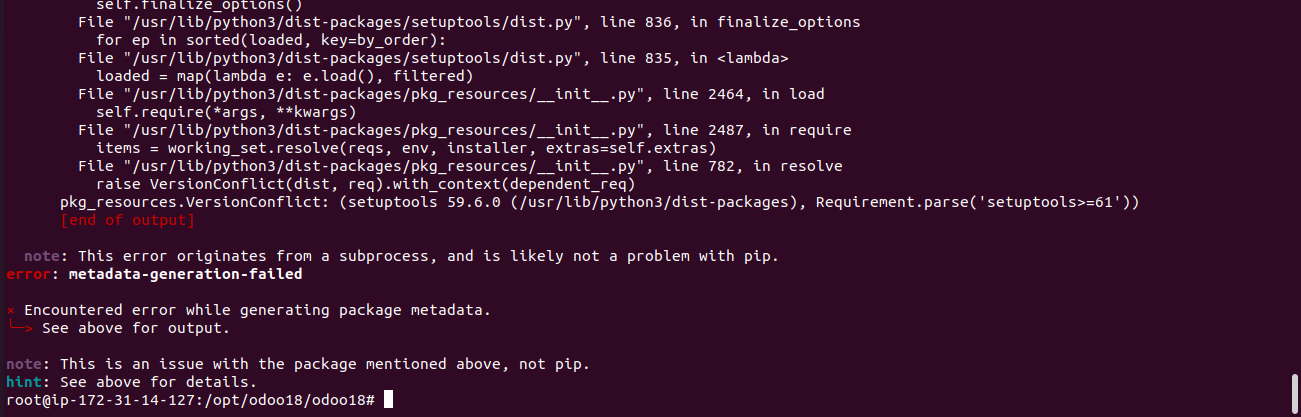
Run the below command.
|
1 |
pip3 install --upgrade pip |
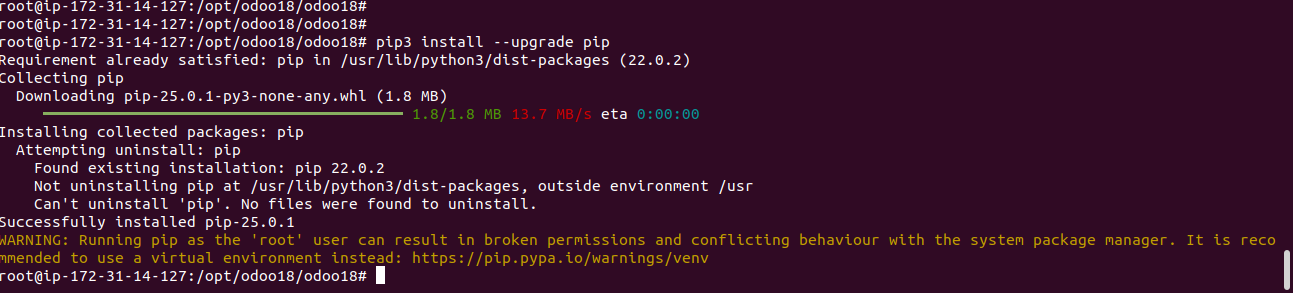
Next, run the requirements.txt file again.
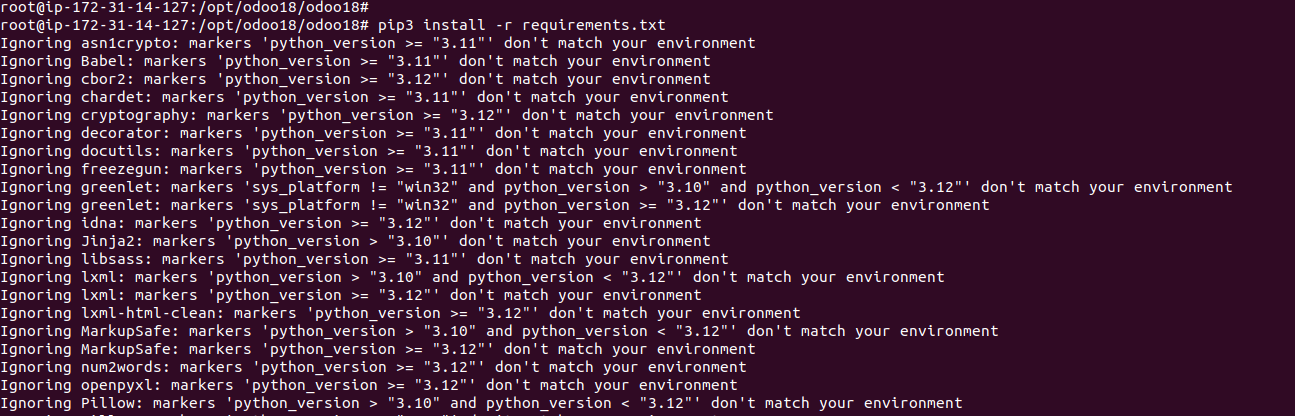
As a result, the cffi package issue has now been fixed.
Step 9: Make A Directory To Keep Track Of Odoo Logs
|
1 |
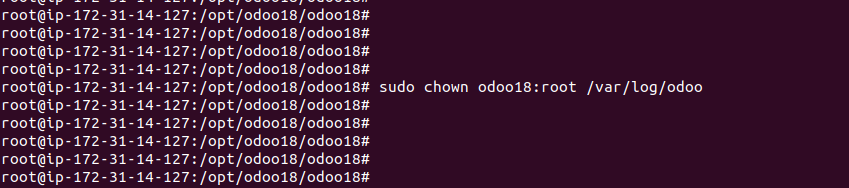
sudo mkdir /var/log/odoo |

|
1 |
sudo chown odoo18:root /var/log/odoo |
mkdir: Creates a new directory to keep track of odoo logs.
Chown: Changes file owner to odoo and group to root.
Step 10: Create A Configuration File For The Odoo
|
1 |
sudo nano /etc/odoo-server.conf |
Sample configuration file.
|
1 2 3 4 5 6 7 8 9 |
[options];This is the password that allows database operations: ; admin_passwd = admin db_host = localhost #If using RDS then define your rdsendpoint db_port = False db_user = odoo18 db_password = False #add your own password addons_path = /opt/odoo18/odoo18/addons logfile = /var/log/odoo/odoo-server.log proxy_mode = True |
Further, Set the ownership and permission to the file.
- admin_passwd: Sets the administrator password.
- db_host: Database host (set to RDS endpoint if using RDS).
- db_port: Database port.
- db_user: Database user.
- db_password: Database user password.
- addons_path: Path to Odoo add-ons.(We use webkul addons here)
- logfile: Path to the log file.
- proxy_mode: Enables proxy mode.
|
1 2 |
chown odoo18: /etc/odoo-server.conf chmod 640 /etc/odoo-server.conf |

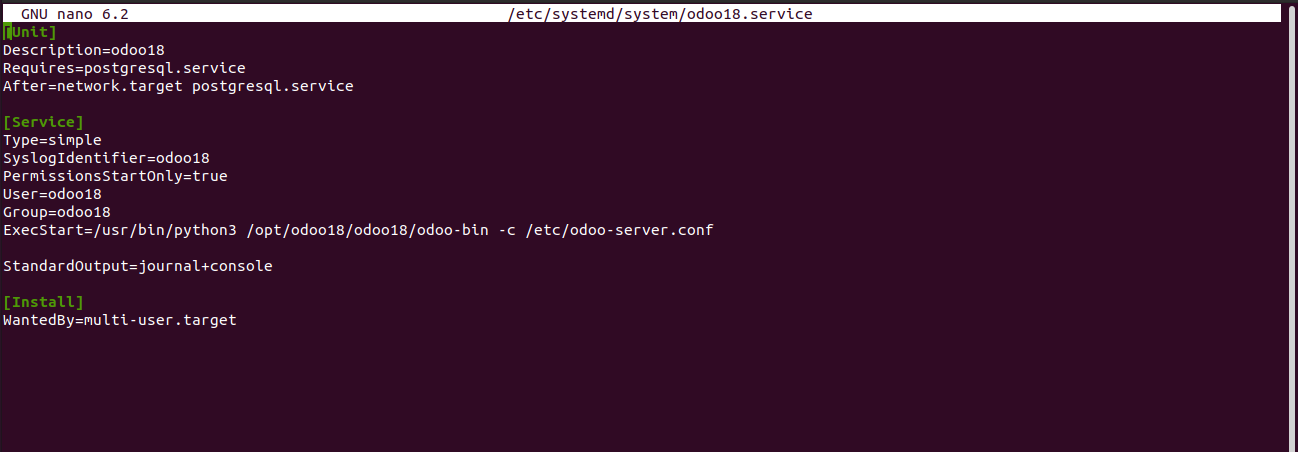
Step 11: Now Create An Odoo Boot Script
First, create a systemd service file to manage the Odoo 18 service. Then, set up a systemd unit file to handle starting, stopping, and restarting the Odoo installation.
|
1 |
nano /etc/systemd/system/odoo18.service |
|
1 2 3 4 5 6 7 8 9 10 11 12 13 14 |
[Unit] Description=odoo18 Requires=postgresql.service After=network.target postgresql.service [Service] Type=simple SyslogIdentifier=odoo18 PermissionsStartOnly=true User=odoo18 Group=odoo18 ExecStart=/usr/bin/python3 /opt/odoo18/odoo18/odoo-bin -c /etc/odoo-server.conf StandardOutput=journal+console [Install] WantedBy=multi-user.target |
Note: Copy the script to your server and update the daemon path. After saving and exiting, reload the systemd service and run Odoo. If using RDS, comment out the Requires and After lines.
|
1 2 |
systemctl daemon-reload systemctl enable --now odoo18 |

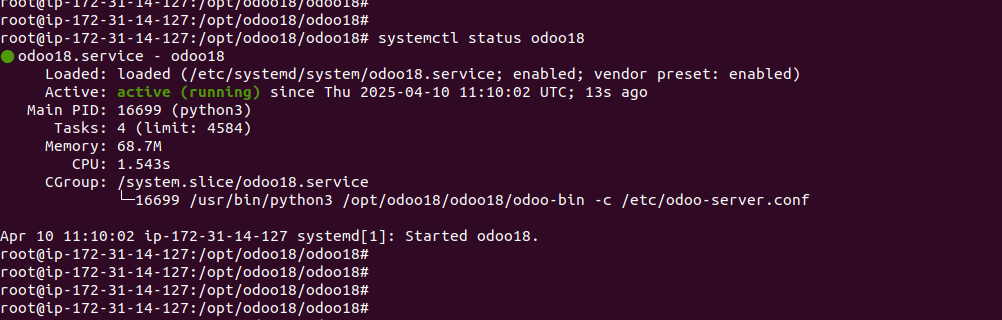
To check if Odoo is starting, simply run the following command:
|
1 |
systemctl status odoo18 |
Step 12: Monitor Odoo Service
|
1 |
tail -f /var/log/odoo/odoo-server.log |
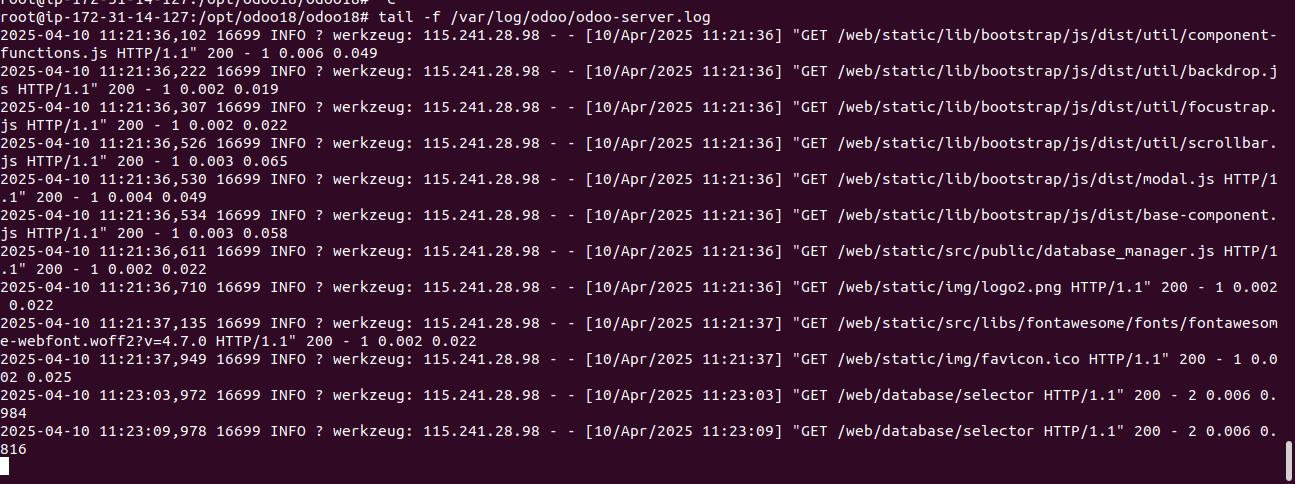
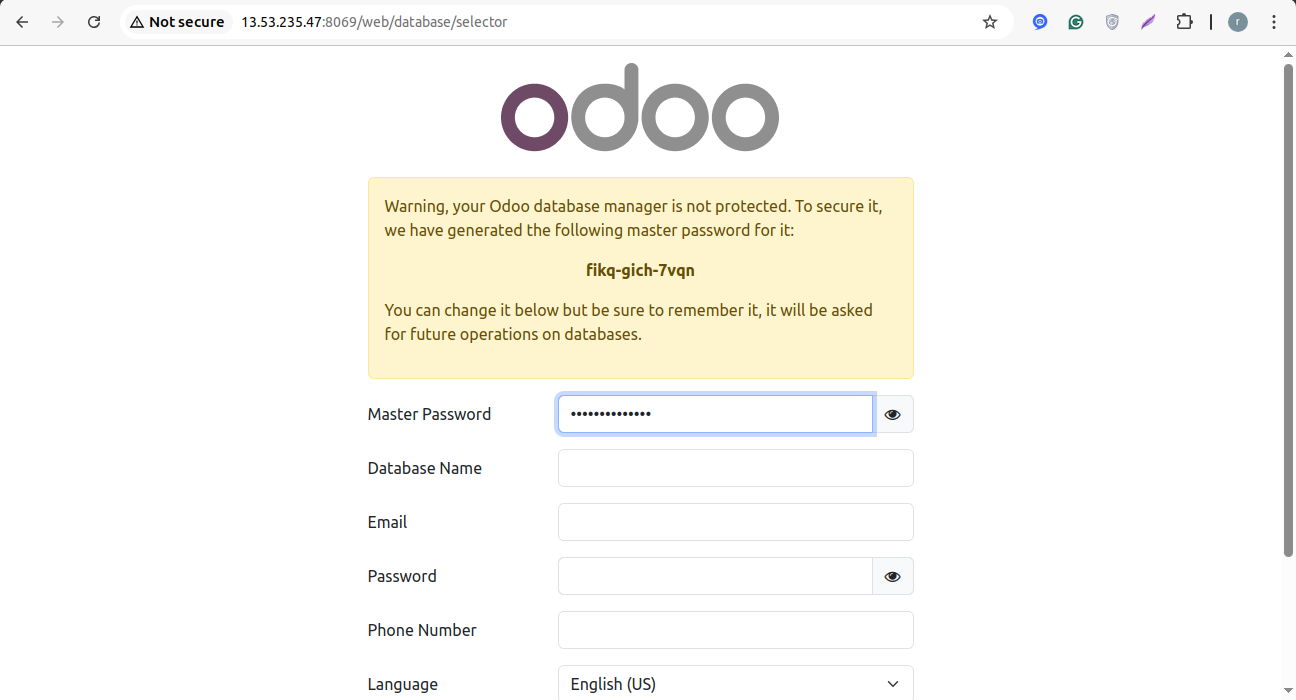
Next, open your favorite web browser and navigate to http://YOUR_SERVER_IP_ADDRESS:8069. Once there, you will see the default Odoo page.
Note – Do open the 8069 port from the AWS console in the Security group.
If you want to configure your Odoo application with Nginx, then you can refer to the Blog.
Need Support?
Thank You for reading this Blog!
For further more interesting blogs, keep in touch with us. If you need any kind of support, simply raise a ticket at https://webkul.uvdesk.com/en/. Also, visit our useful OpenCart modules.
For further help or queries, please contact us or raise a ticket.

Be the first to comment.