

In our previous blog, we got an overview of AWS auto-scaling, its features, and its applicability.
In this blog, we will begin with setting up an Auto Scaling Group and integrating it with AWS Elastic Load Balancer and AWS CloudWatch.
Let’s Start With Auto Scaling Launch Configuration
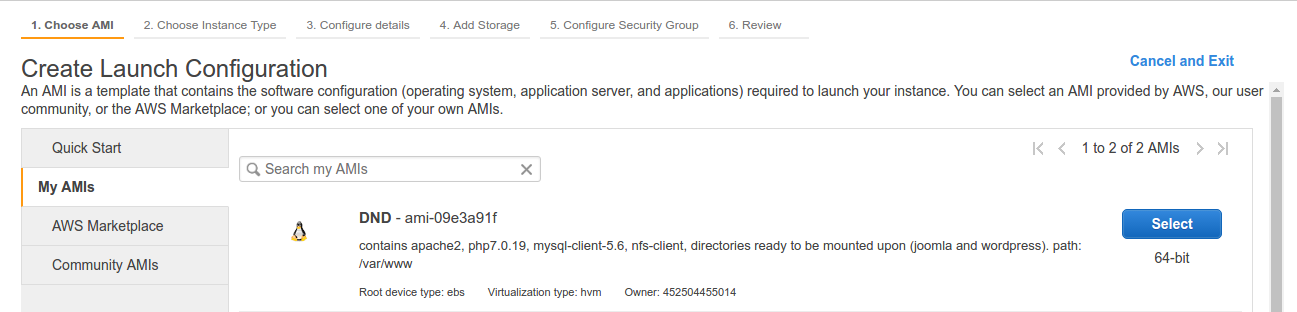
First and foremost, we will create a launch configuration that acts as a template that the auto-scaling group uses to launch EC2 instances.
It contains information about AMI ID, instance type, one or more security groups, subnet(s), key pair, user data, etc.
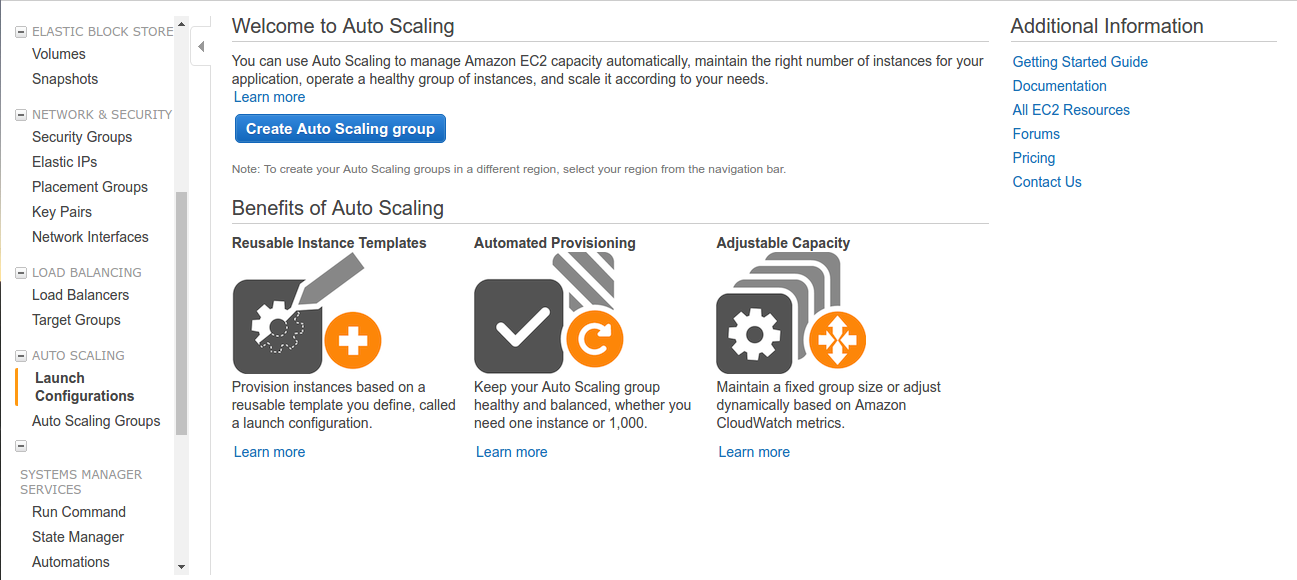
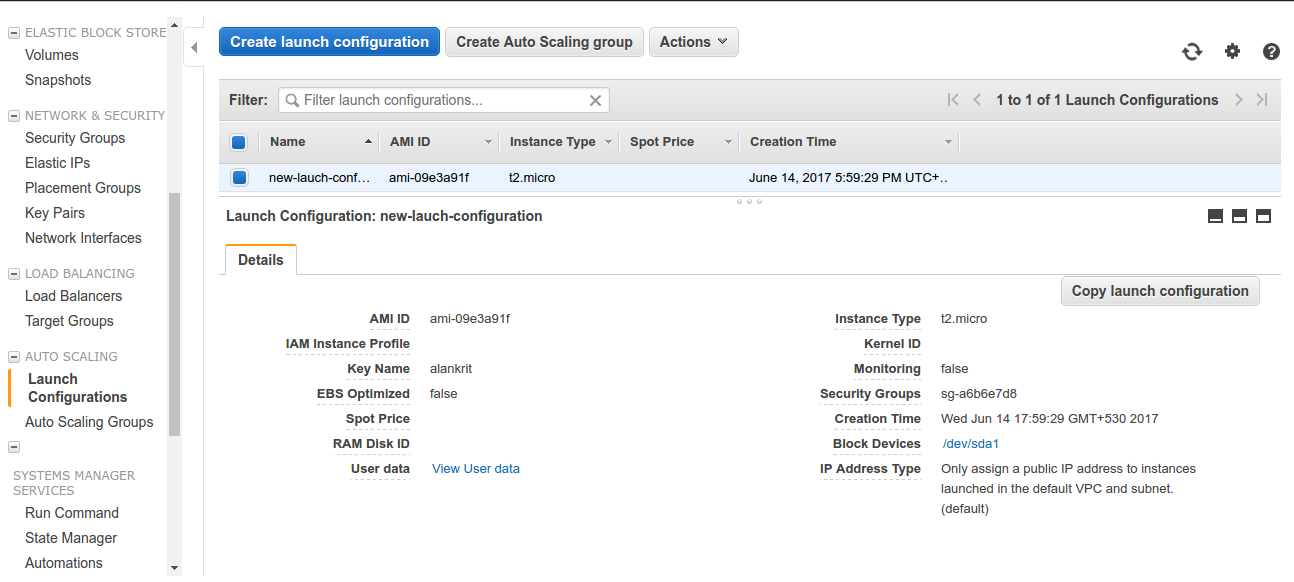
Step 1- login into your AWS account, and go to Launch Configurations under Auto Scaling Category.
Then click on ‘Create Autoscaling Group’
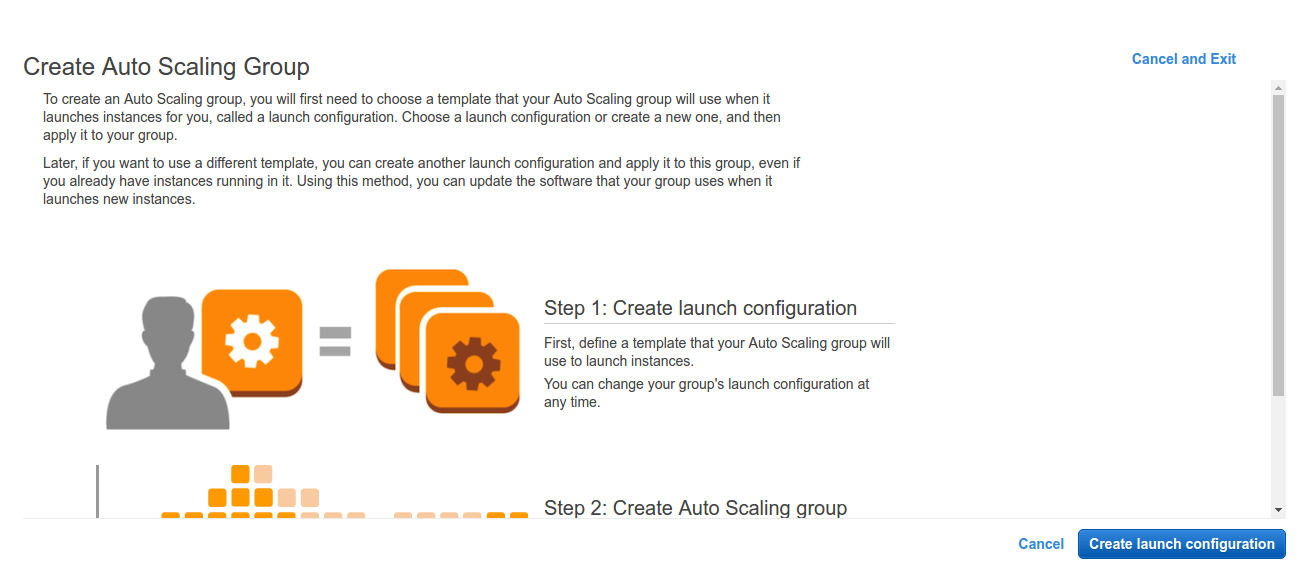
Step 2 – First, we need to create a launch configuration, so click on “Create launch configuration”.
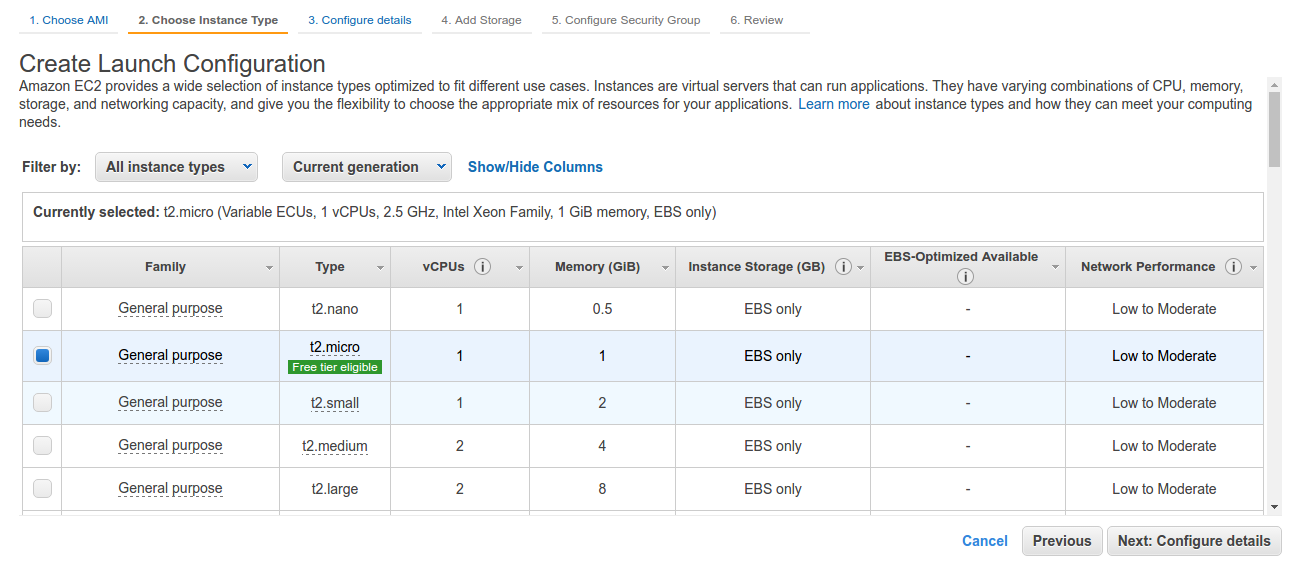
Here, we will select the t2.micro instance that comes under AWS free-tier criteria. Moving further to configure details,
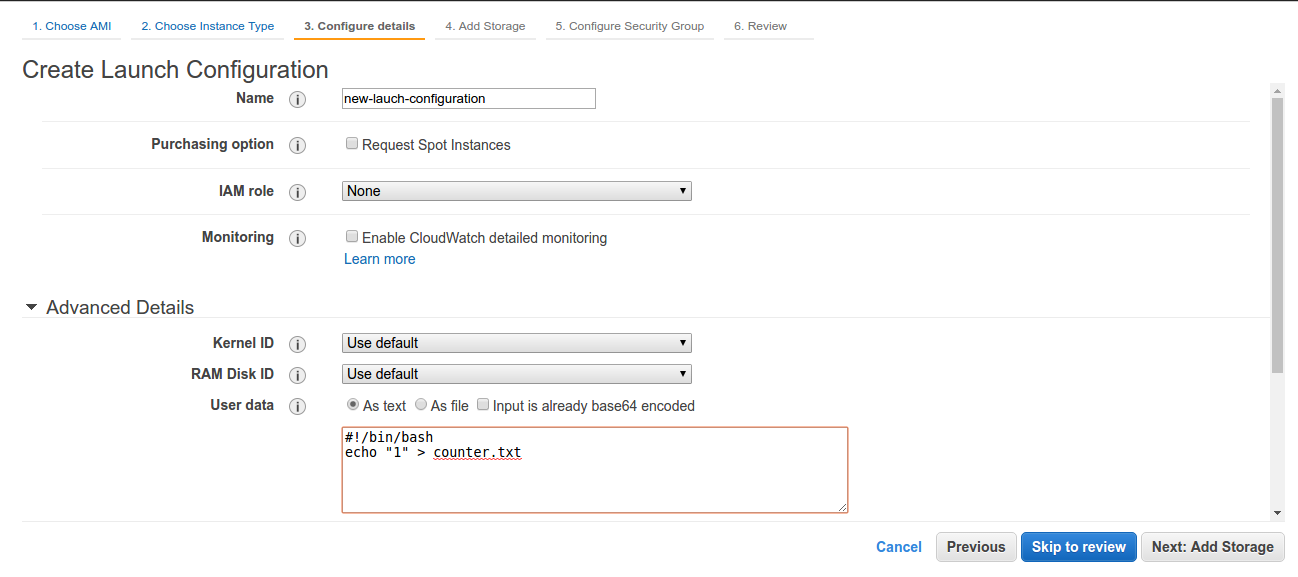
Although we have mentioned a simple bash script in user data. User data contains a set of commands that we want to get executed on the instances launched by the auto-scaling group.
At this point, we are just entering a digit in a file as an example. Now, moving on to adding storage.
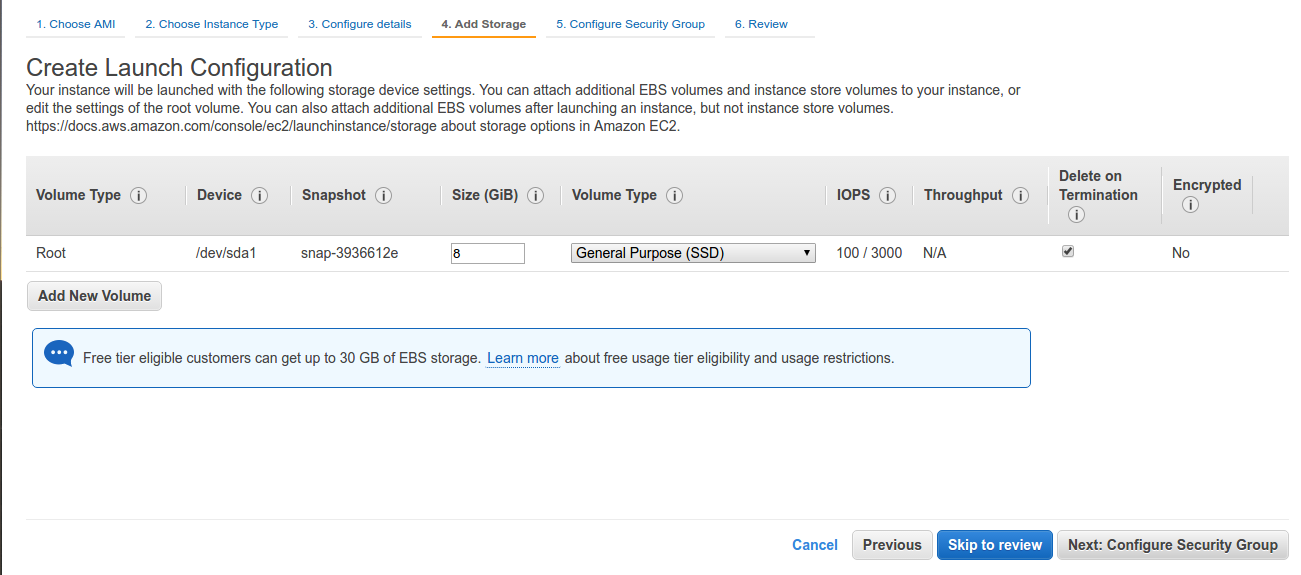
Step 3 – Taking all values as defaults, we will move on to configure the security group.
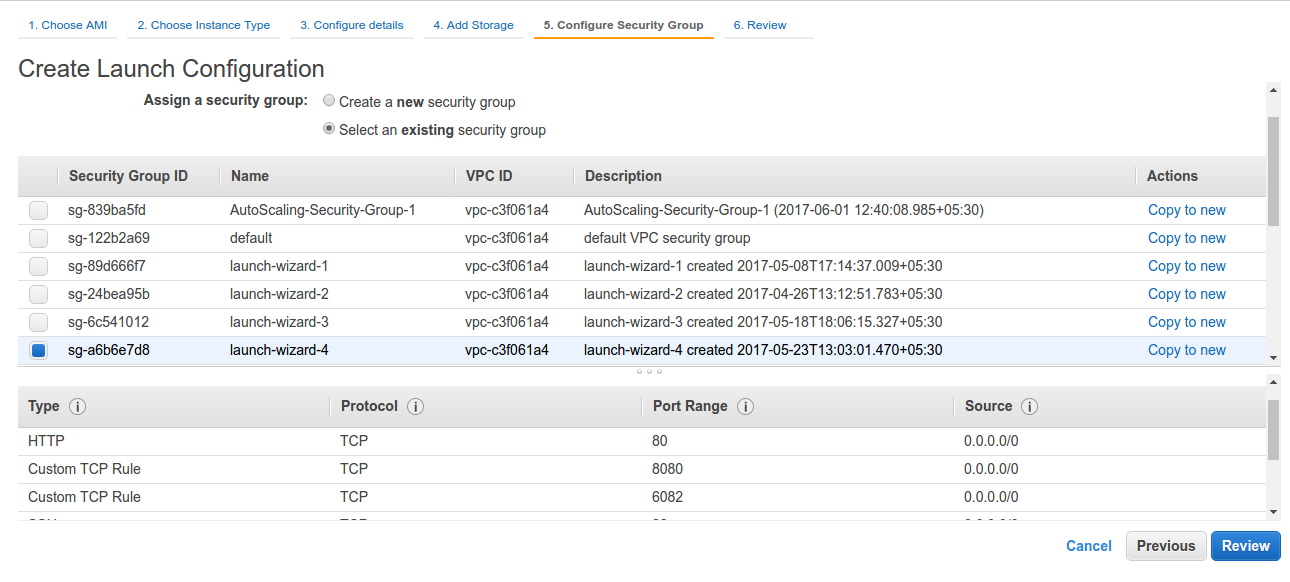
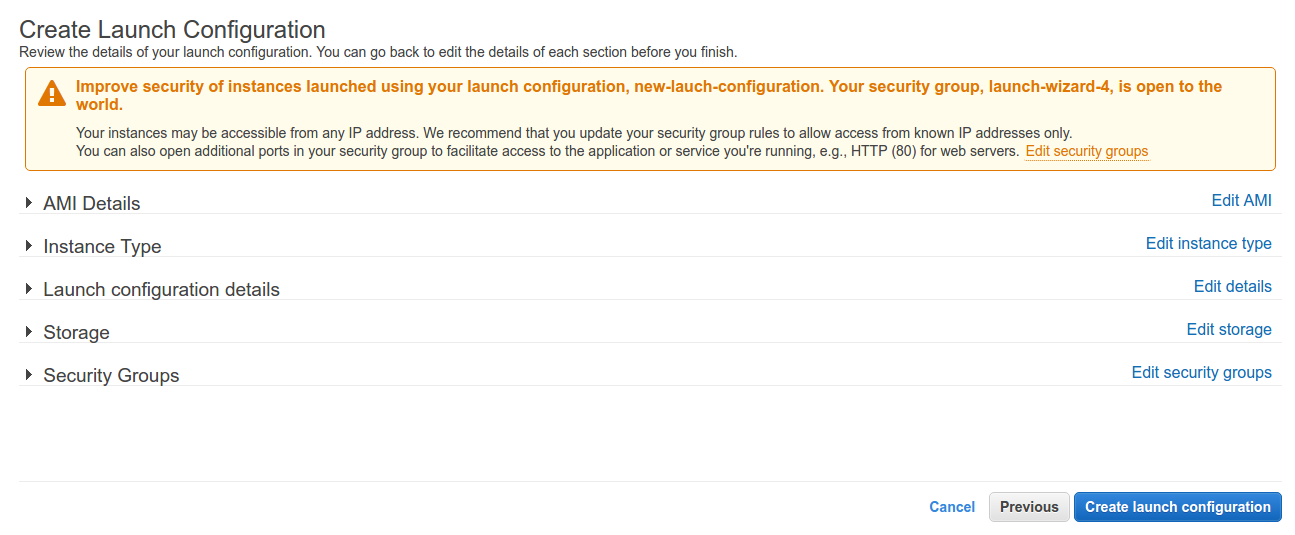
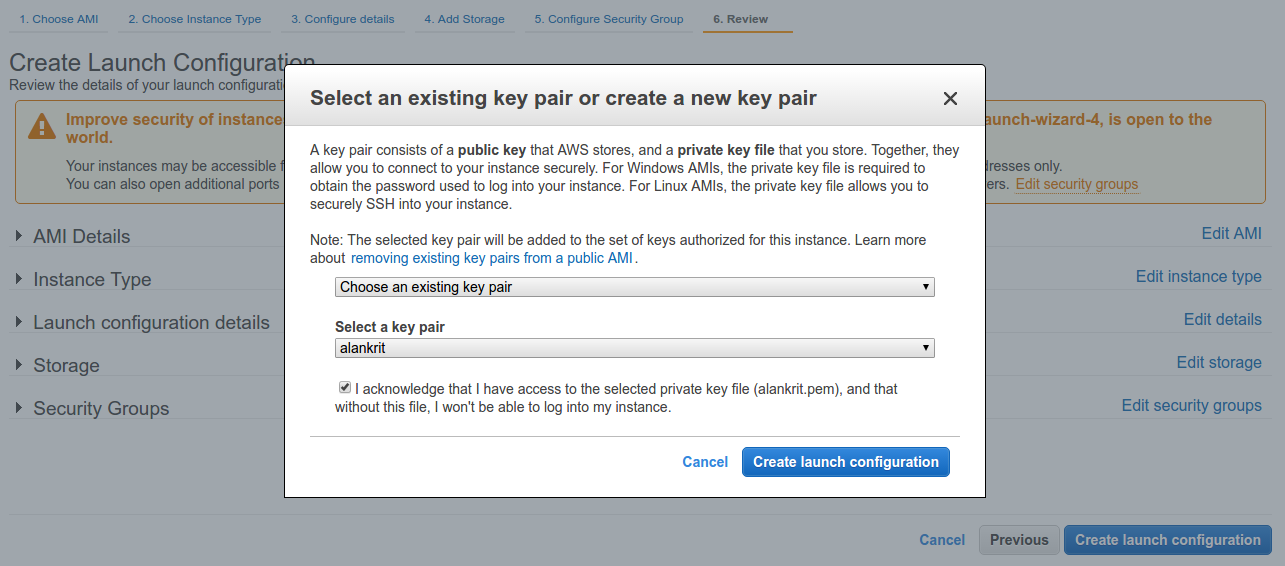
Here, we are choosing an existing key pair. We can also create a new key pair. Clicking on Create launch configuration,
Getting Started with Auto Scaling Group
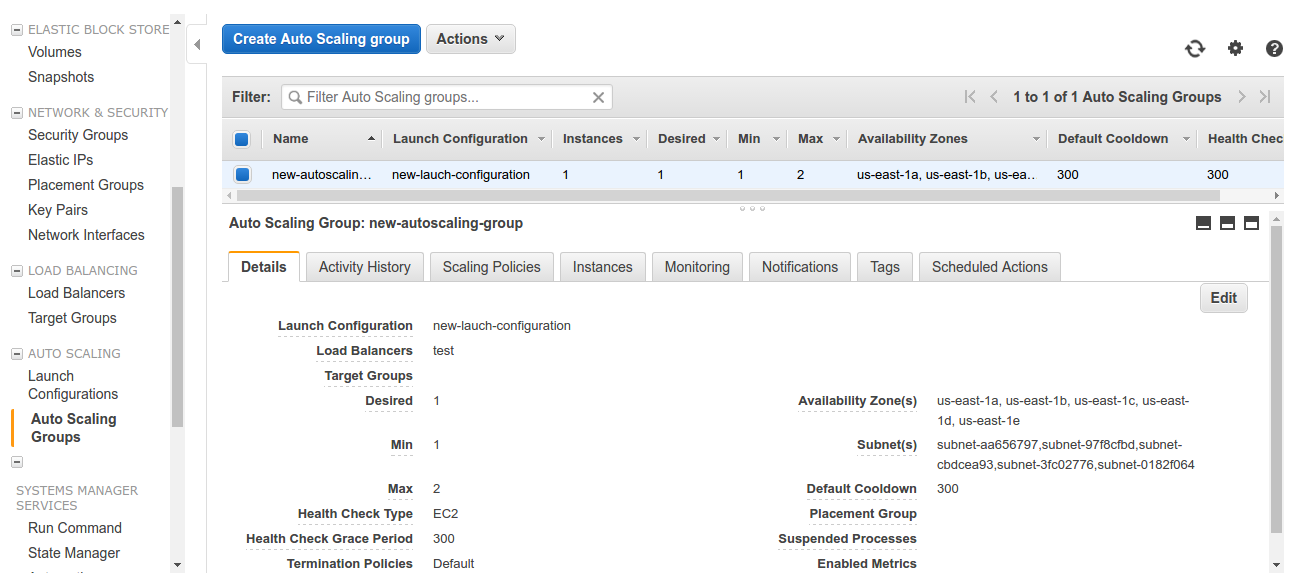
Step 1 – We have named our auto-scaling group “new-autoscaling-group”.
Group size is set to 1 which defines the number of instances that get launched after the group creation.
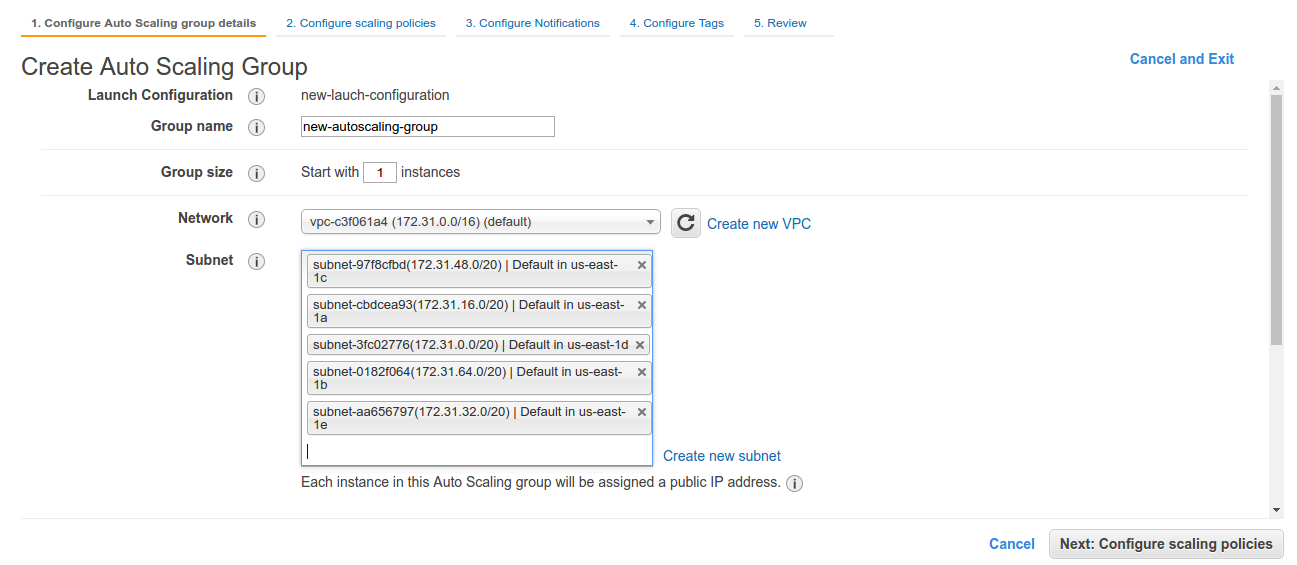
Also, we have selected our default VPC and all subnets within that region. On further scrolling down, configure advanced details as:
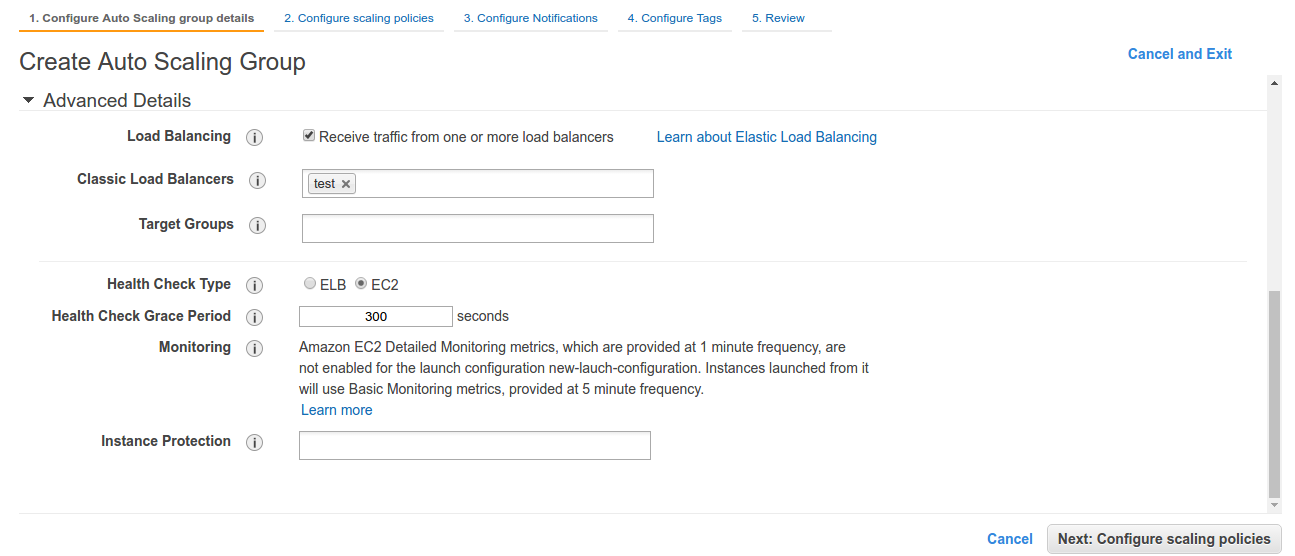
Step 2 – We will take rest of the values as default and move on to configure scaling policies.
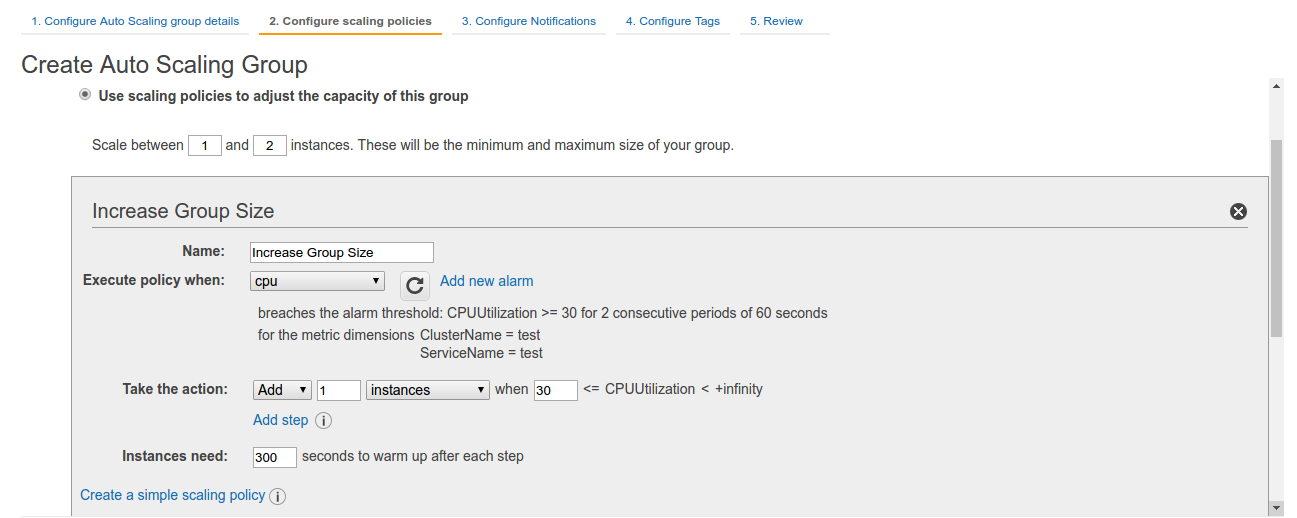
As the auto-scaling group automatically scales instances up and down, depending upon the policies created, we will choose scaling policies to adjust the capacity of this group.
Policies can be created with the help of Amazon CloudWatch. Here, we have already created an alarm for scale-out policy depending upon CPU usage.
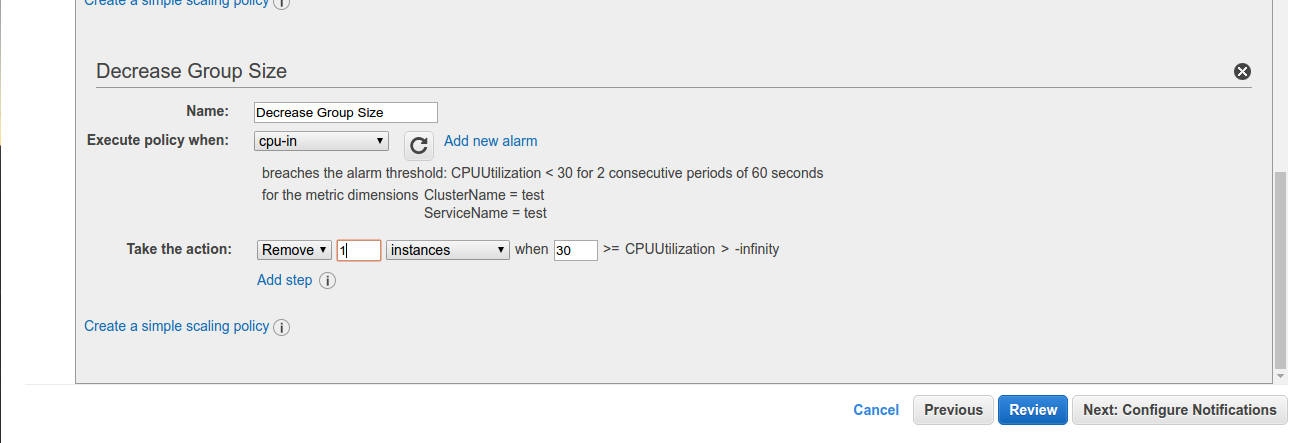
Now, moving on to create scale in policy:

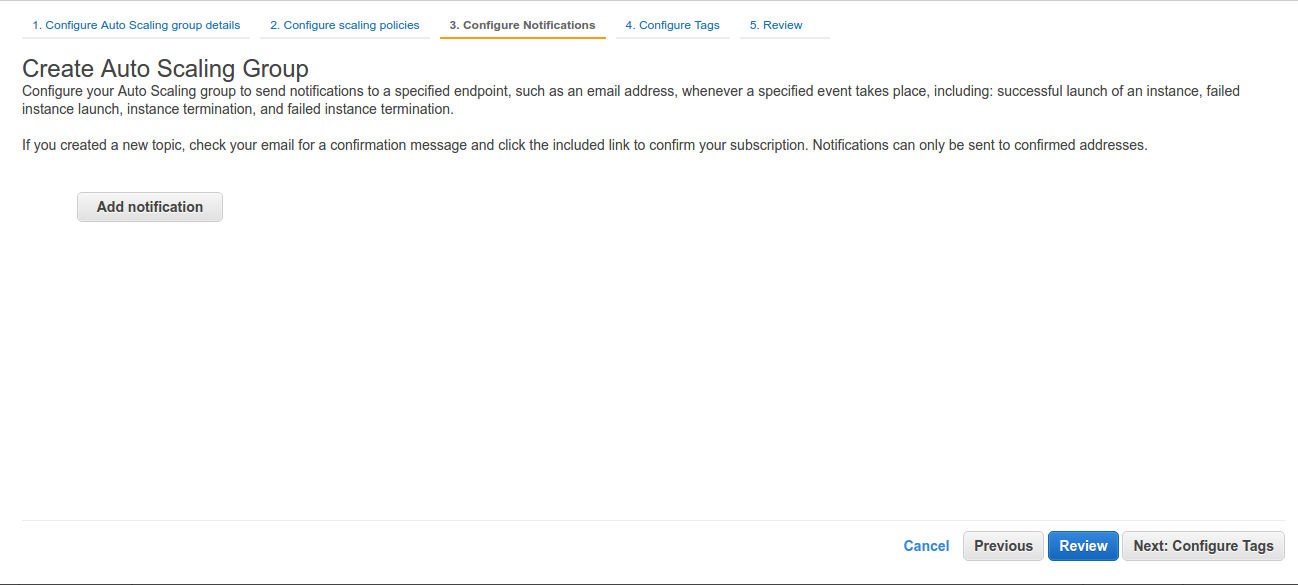
Step 3- Here we will configure no notification policies and move to a further step,
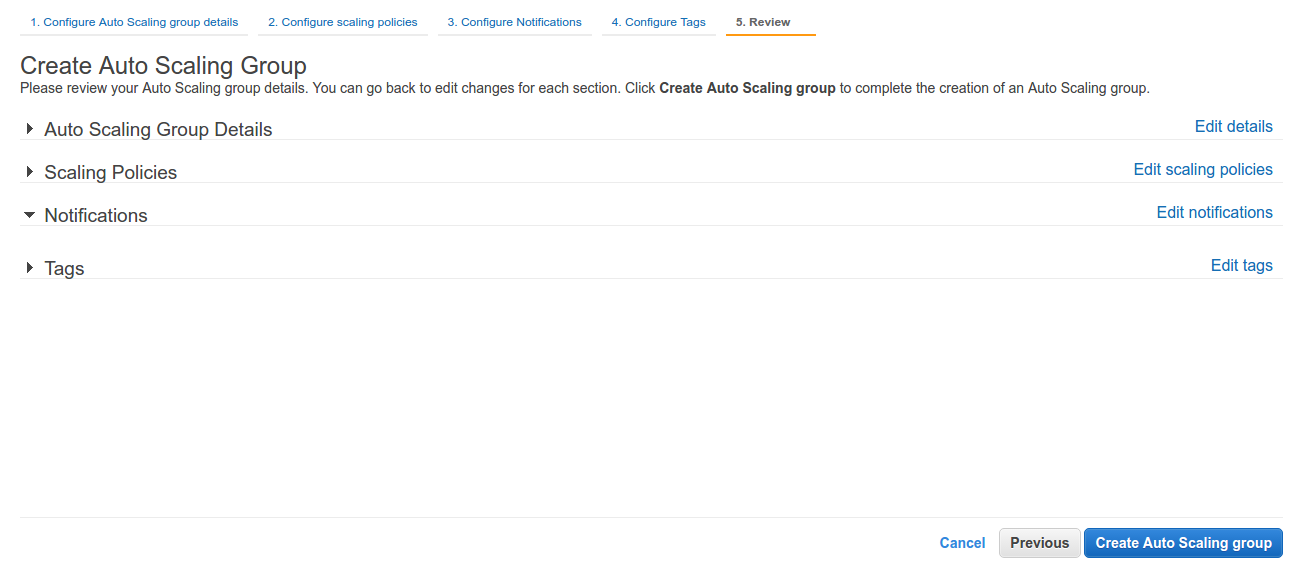
Add a tag to our group and click on review.
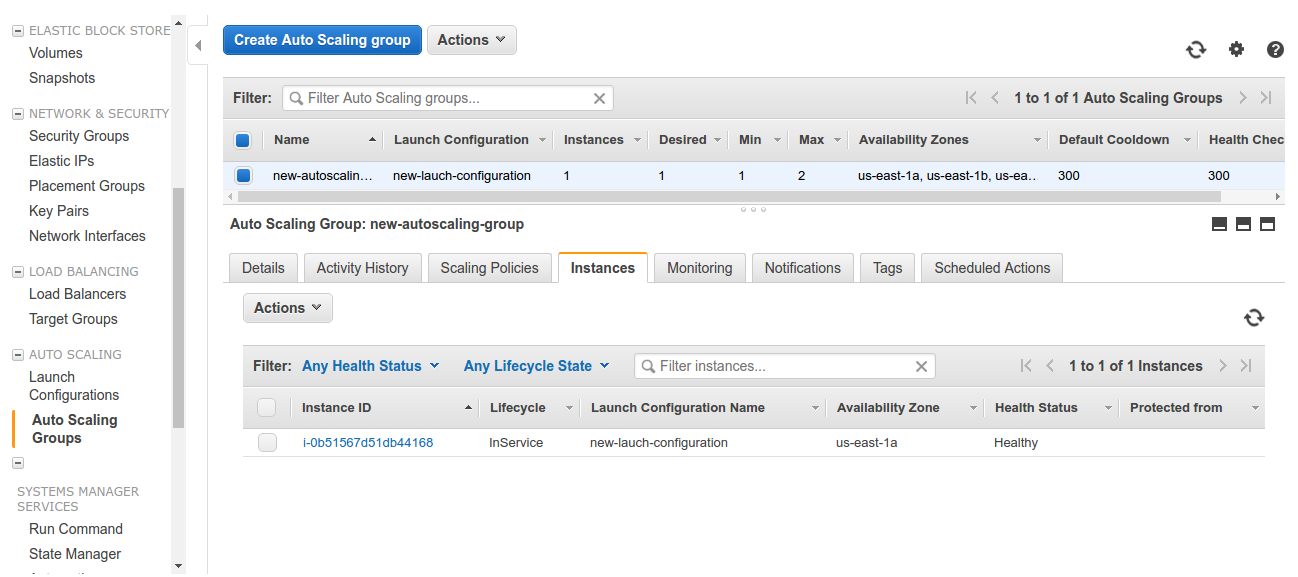
No running instance is associated with our load balancer in this auto-scaling group, so a new instance will launch using the launch configuration to meet the minimum instance count.
After passing through load balancer health checks, a new instance will be created under this group.
Although we have already created our scaling policies, we can add more alarms based on these policies by clicking on “the Scaling Policies” option. Click on add policy and create a new alarm as:
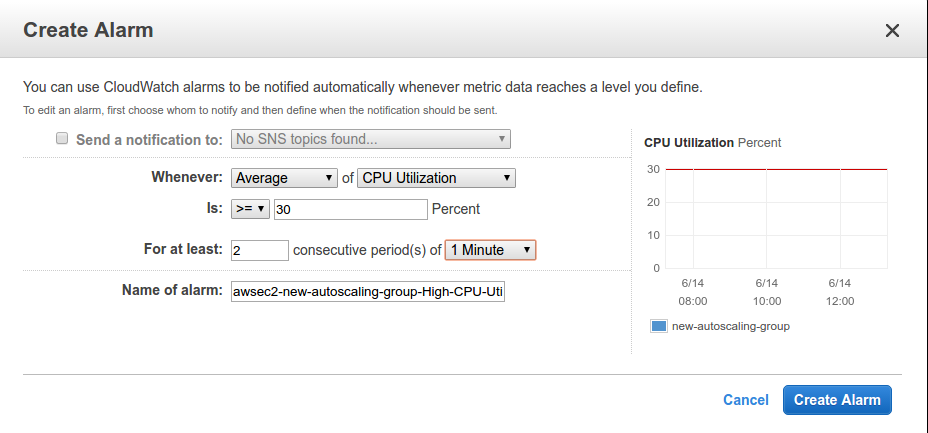
This is the same alarm that we have created for monitoring CPU usage for scale-out policies.
Conclusion
Our AWS Auto Scaling Group is all set up with integration with AWS Classic Load Balancer and AWS CloudWatch.
We can create more scaling policies for auto-scaling groups to ensure high availability and reduce server downtime.
So far we have discussed creating an Amazon auto-scaling group. In our next blog, we will discuss a complete architecture using AWS resources.
Need Support?
Thank You for reading this Blog!
For further more interesting blogs, keep in touch with us. If you need any kind of support, simply raise a ticket at https://webkul.uvdesk.com/en/.
For further help or queries, please contact us or raise a ticket.