Pimcore version 6 is officially rolled out. You can visit GitHub to find the Source Code for Pimcore 6.
This blog will explain how to install Pimcore 6 on Ubuntu 16.04.
The following guide assumes you’re using a typical LAMP environment, please have a look at System Requirements and ensure your system is ready for Pimcore.
1. System Requirements
Webserver
- Apache >= 2.2
- mod_rewrite
- .htaccess support (
AllowOverride All)
- Nginx
PHP >= 7.1
Required Settings and Modules & Extensions
memory_limit>= 512Mupload_max_filesizeandpost_max_size>= 100M (depending on your data)- pdo_mysql or mysqli
- iconv
- dom
- simplexml
- gd
- exif
- file_info
- mbstring
- zlib
- zip
- intl
- opcache
- Composer
- imagick (if not installed gd is used instead but with less supported image types)
- curl (required if Google APIs are used)
- phpredis (recommended cache backend adapter)
- graphviz (for rendering workflow overview)
Database Server
- MariaDB >= 10.0.0.5
- MySQL >= 5.6.4
Please ensure you have installed all required packages to ensure proper locale support by PHP. On Debian based systems, you can use the following command to install all required packages: apt-get install locales-all (on some systems there may be a reboot required).
Browser Requirements
Pimcore supports always the latest 2 versions of all 4 major desktop browsers at the time of a release.
- Google Chrome (Recommended)
- Mozilla Firefox
- Microsoft Edge
- Apple Safari
- Microsoft Internet Explorer (only version 11)
2. Create Database
Pimcore requires a standard MySQL database, the only thing you should assure is that the database uses utf8mb4 as a character set.
If you create a new database just set the character set to utf8mb4.
|
1 |
mysql -u root -p -e "CREATE DATABASE database_name charset=utf8mb4;" |
3. Install Pimcore
The easiest way to install Pimcore is from your terminal using Composer, Change into the root folder of your project.
|
1 2 3 4 5 6 7 8 |
cd /your/project COMPOSER_MEMORY_LIMIT=-1 composer create-project pimcore/demo my-project cd ./my-project ./vendor/bin/pimcore-install |
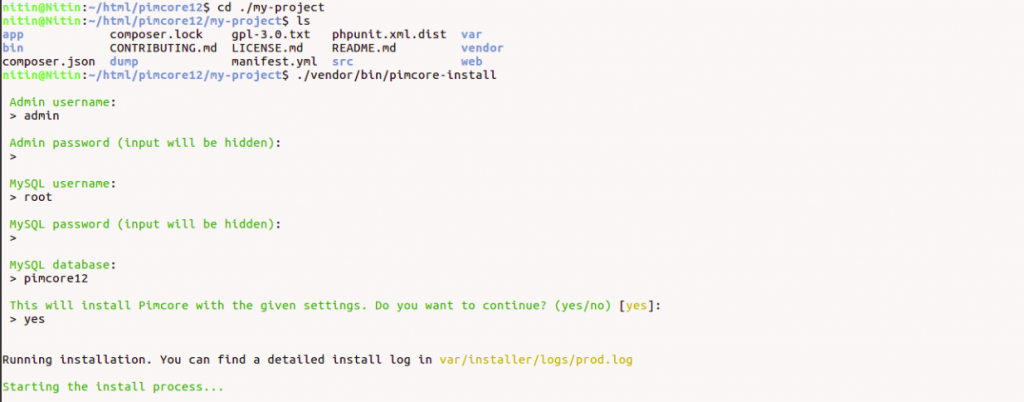
This launches the interactive installer with a few questions like admin username and password along with database details as shown in the image below. Make sure that you set the memory_limit to at least 512M in your php.ini file.
Once the installation is completed successfully, we need to create a virtual host for Pimcore instance in apache configuration files, in most of Linux distributions you can create a virtual host in file present on the path “/etc/apache2/sites-available/000-default.conf” and virtual host configuration will look like as shown below-
|
1 2 3 4 |
<VirtualHost *:80> ServerName pimcore6.webkul.com DocumentRoot /home/nitin/html/pimcore12/my-project/web </VirtualHost> |
Make host entry in /etc/hosts
|
1 |
127.0.0.1 pimcore6.webkul.com |
Open pimcore6.webkul.com (Your website) in the browser. If you see this page then you have successfully installed Pimcore 6.
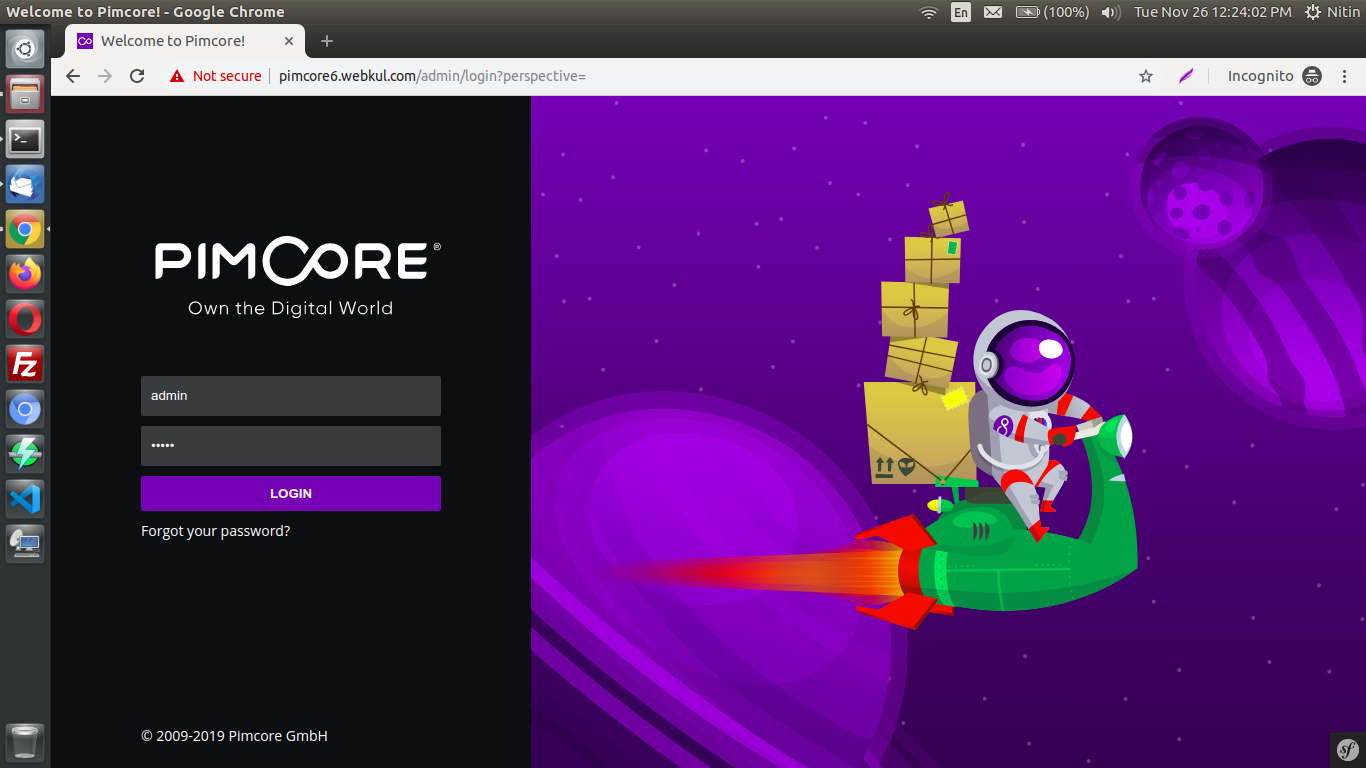
To access the Backend hit your website URL along with admin as shown in the image below and enter the login credentials you have set while installing it.
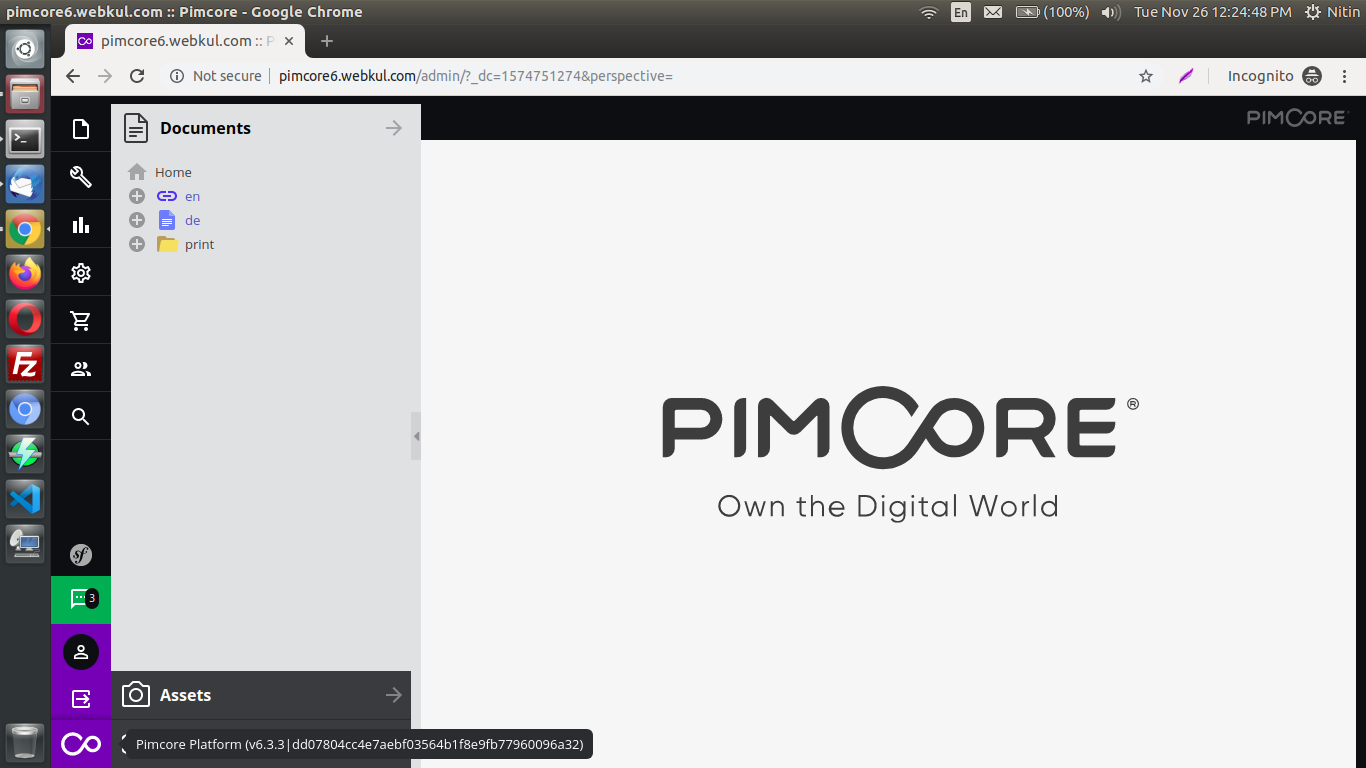
After login to the admin panel successfully, it will redirect you to the dashboard as shown in the image given below.
In case of any help or query, please contact us or raise a ticket.


Be the first to comment.