Let’s check out how to install Bagisto with CloudPanel on an Ubuntu host.
I assume you have already set up CloudPanel on your cloud server, such as AWS EC2, or on any other cloud server that uses Debian.
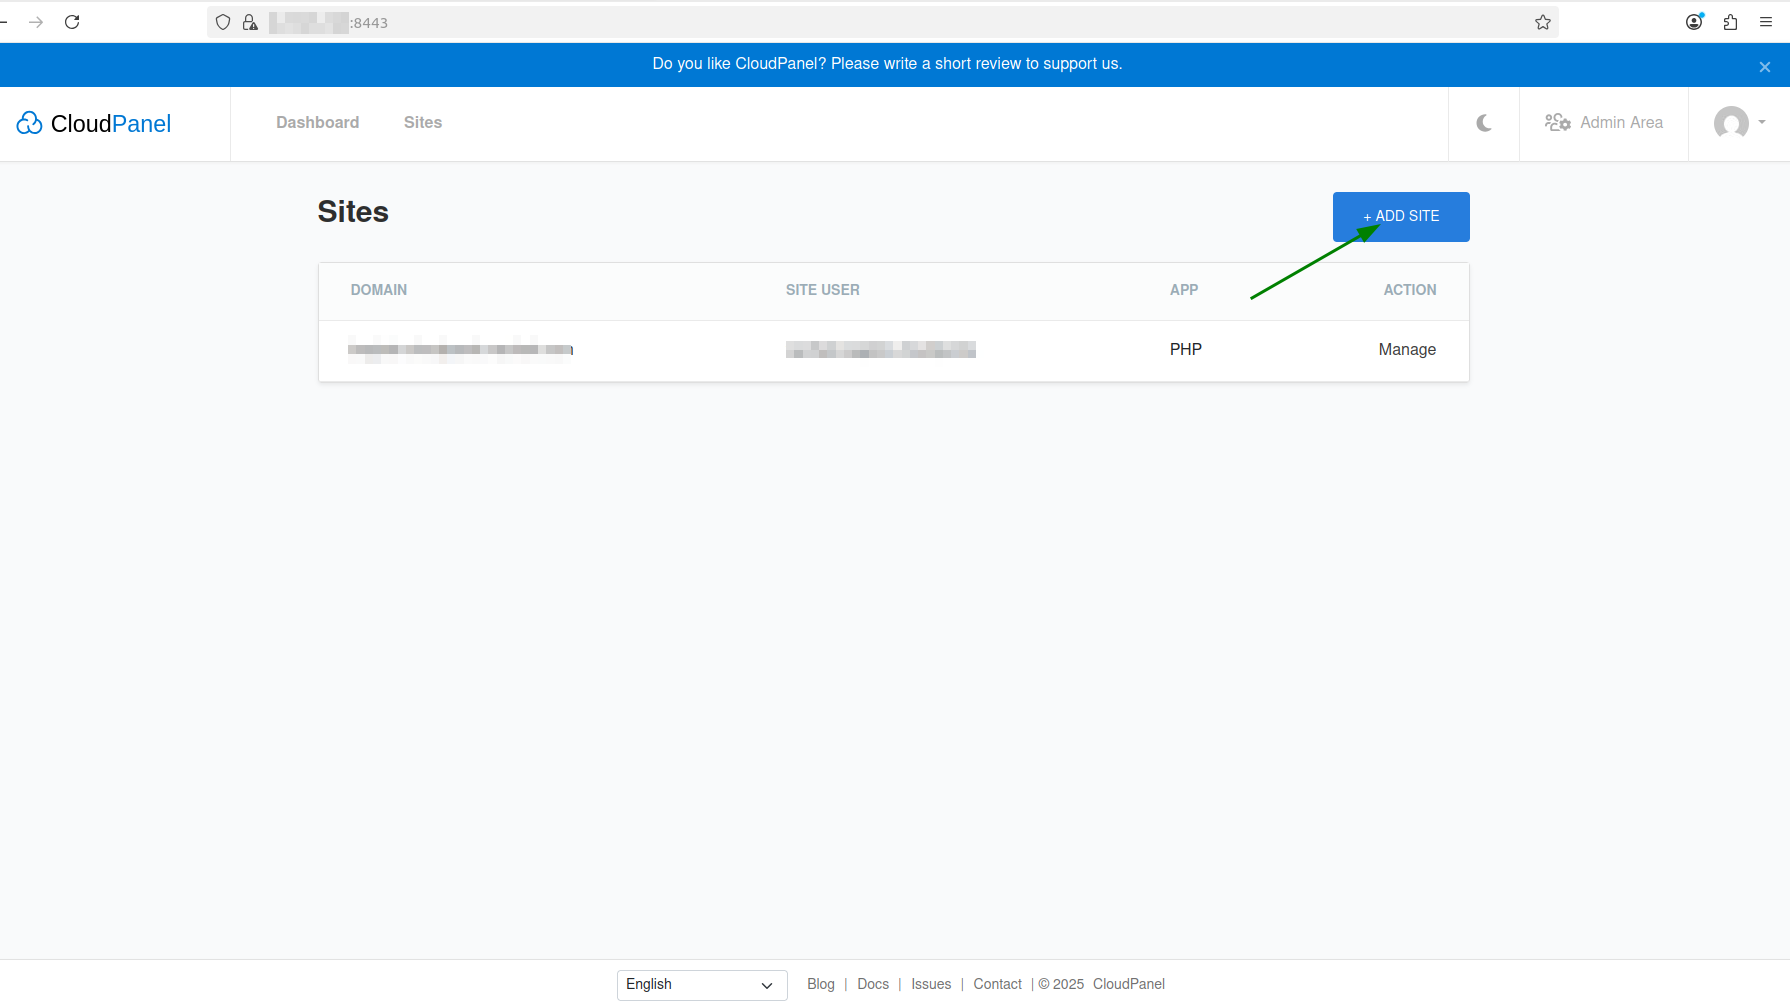
Once you log into the CloudPanel admin, just click on ‘+ Add Site’. I’ve also included screenshots for every step.
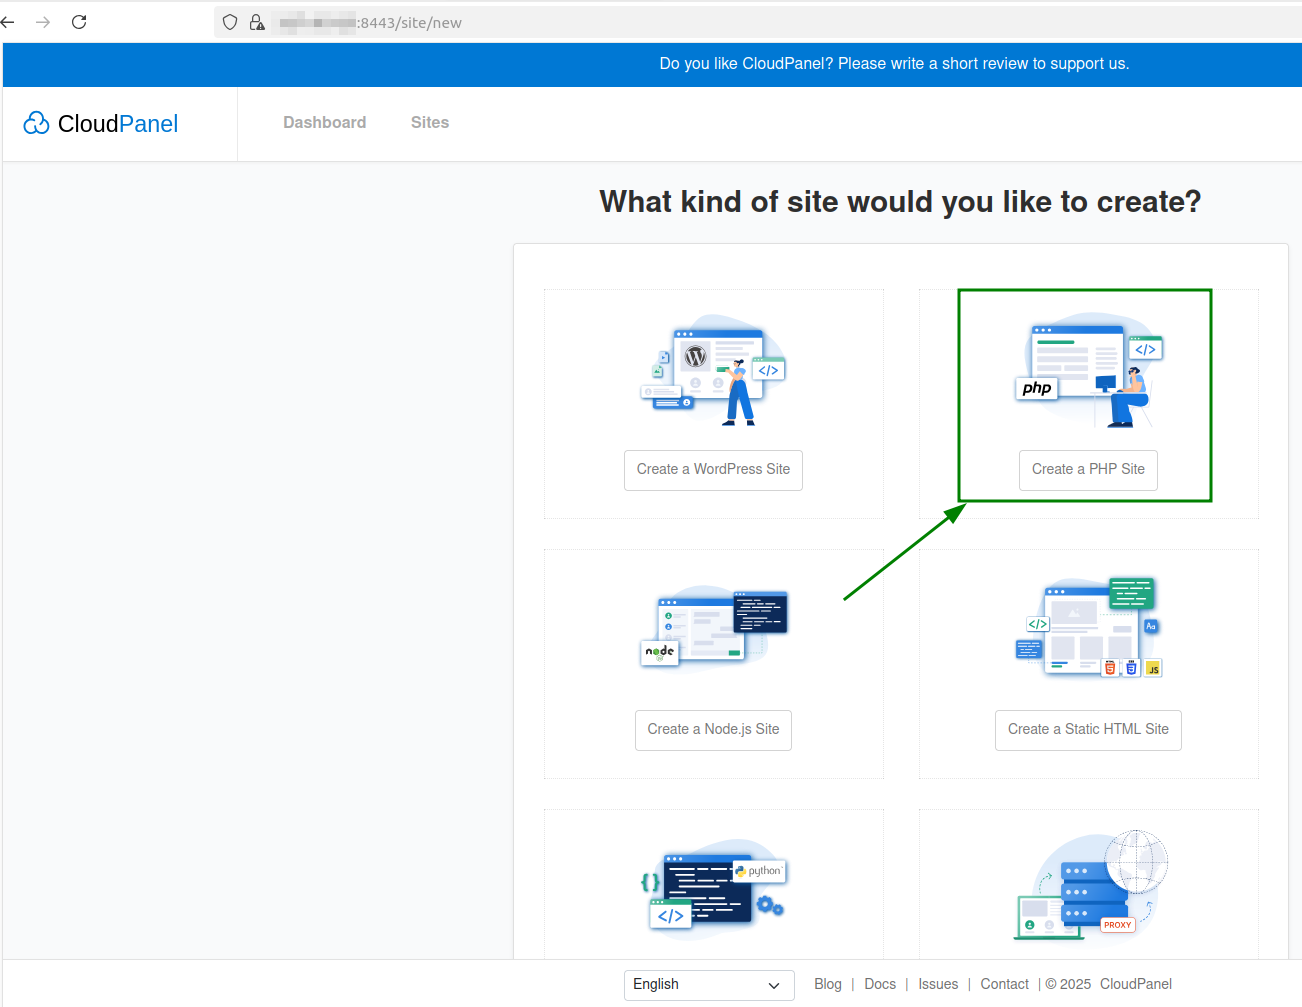
Here, you can find the choice to make several sites. Just click on Create a PHP Site.
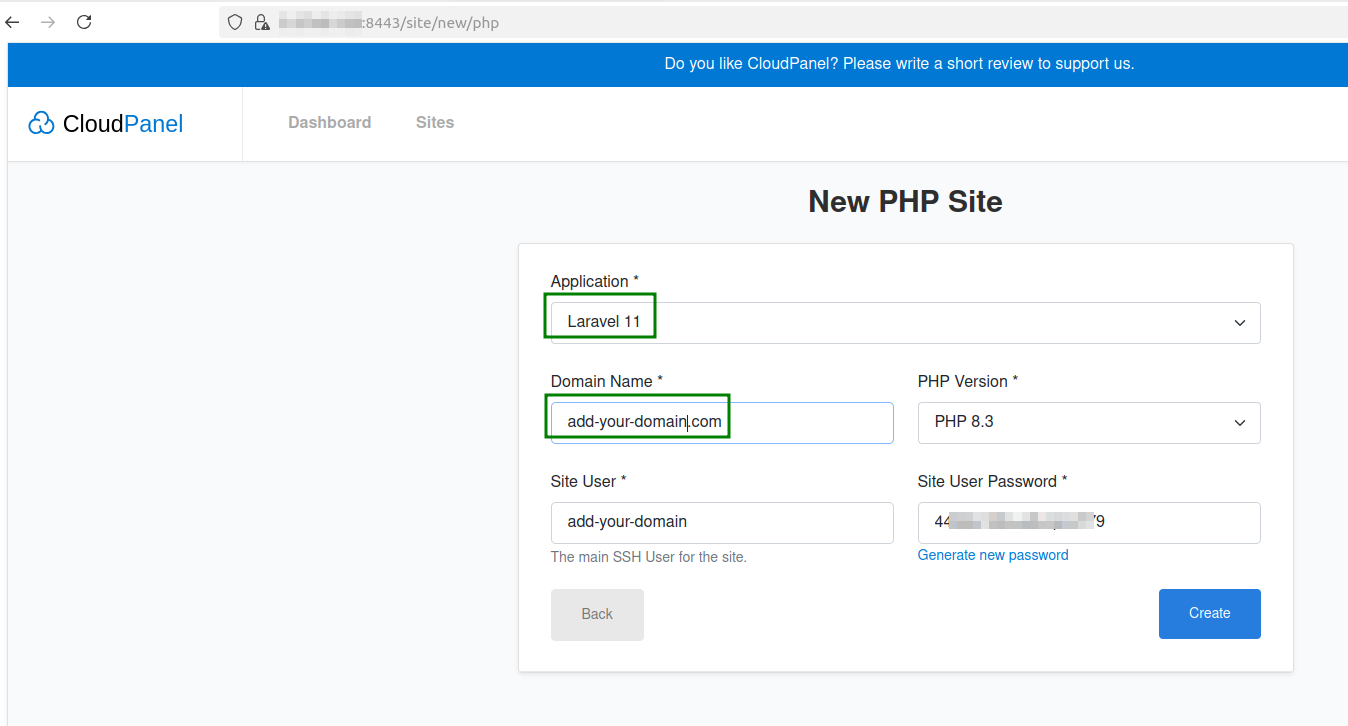
In this section, we will be using Bagisto version 2.3.6, which is built on Laravel 11. So, make sure to include your domain name here.
Then, click on Create. You will find your domain shown under the site. After that, click on Manage in the Action section.
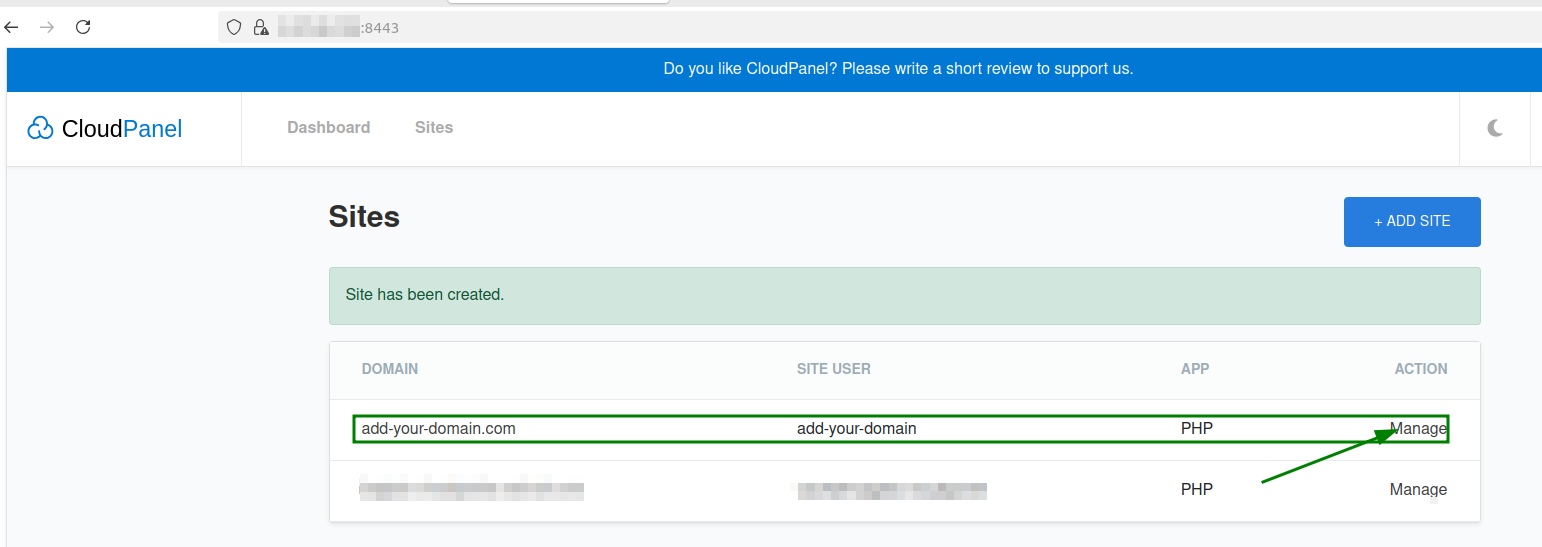
When you hit Manage, you’ll see the control view of the site where you can make and change your updates.
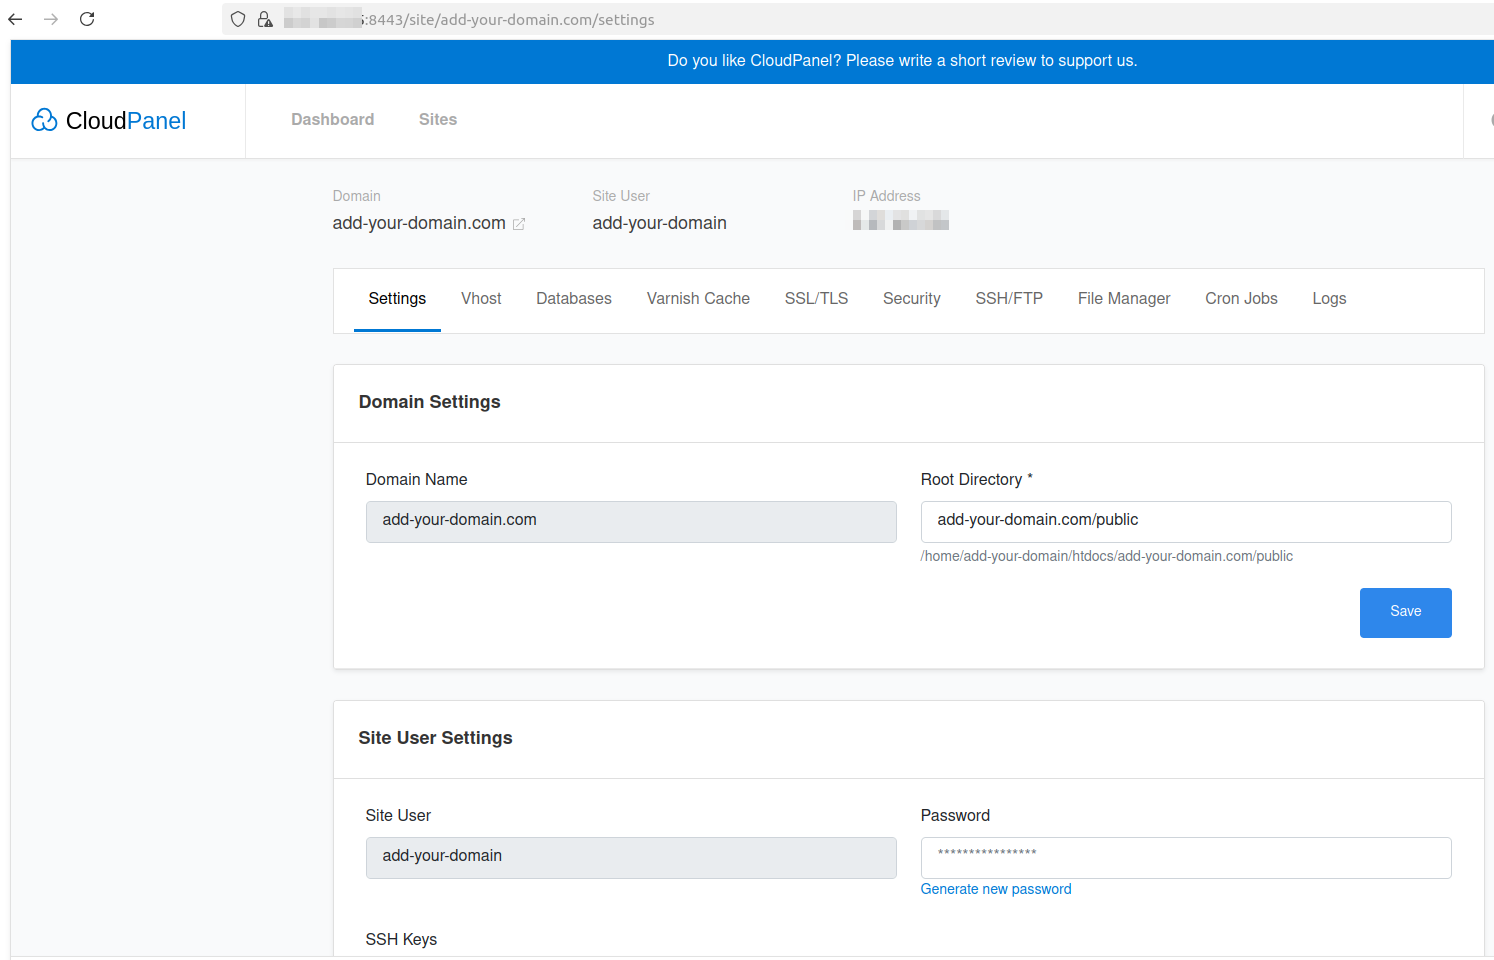
The domain you want to use, like the one I used in my blog, add-your-domain.com, has to be linked to the same CloudPanel server IP in your DNS settings.
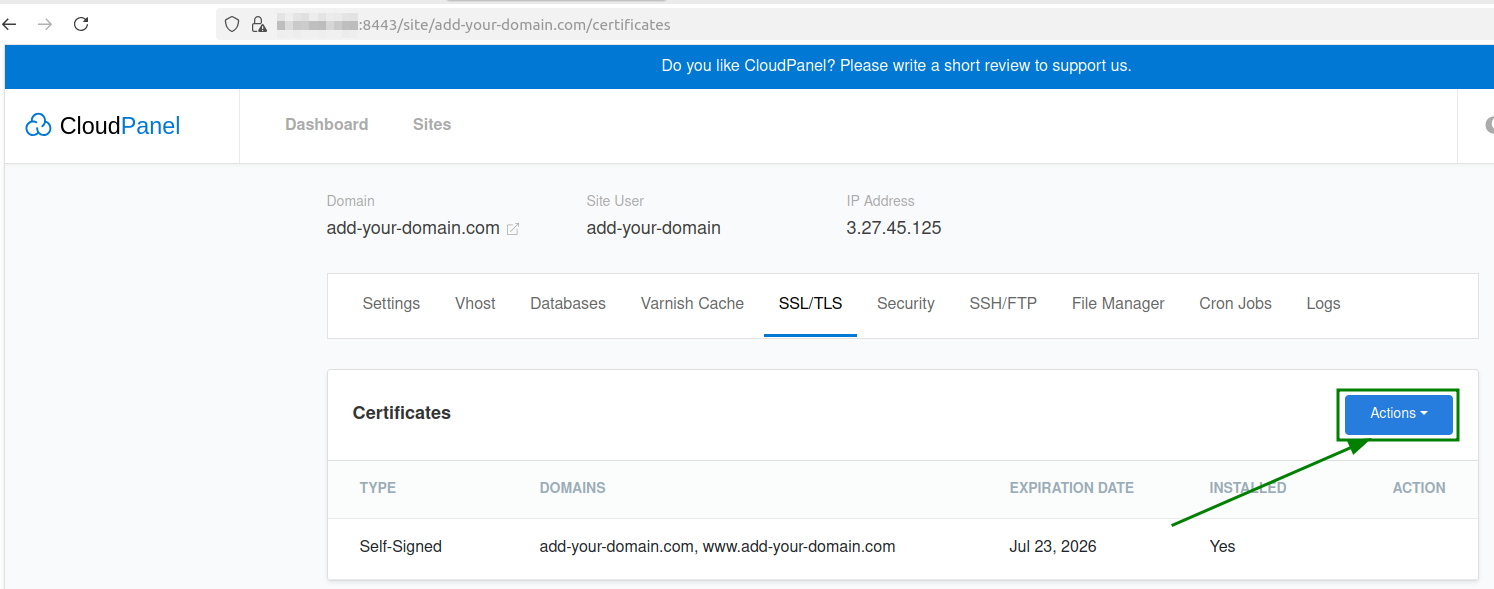
Here, you can also manually upload your SSL certificates.
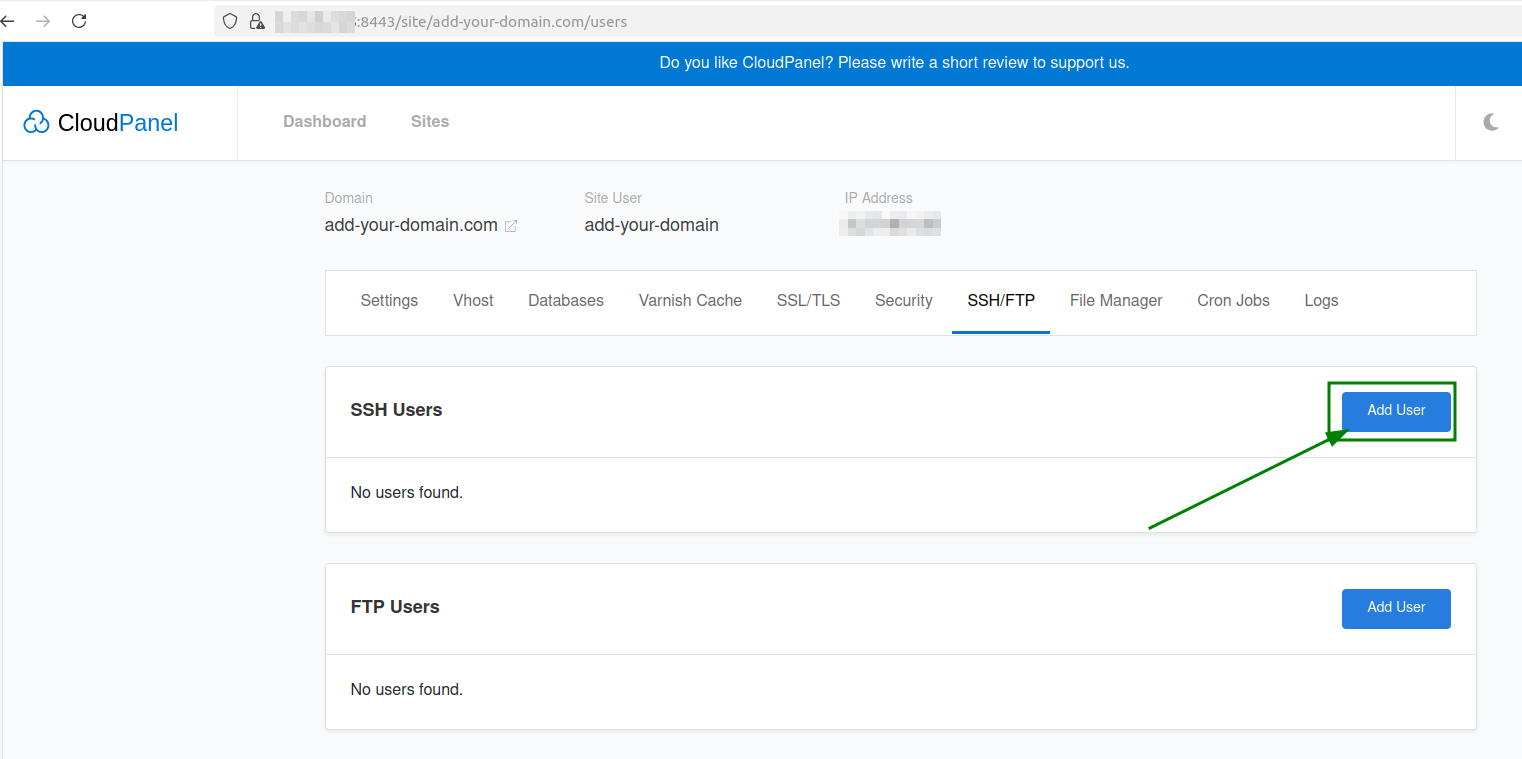
You can also use SSH, but first, you have to make a user and create SSH keys with ssh-keygen, and then you need to upload the public key.
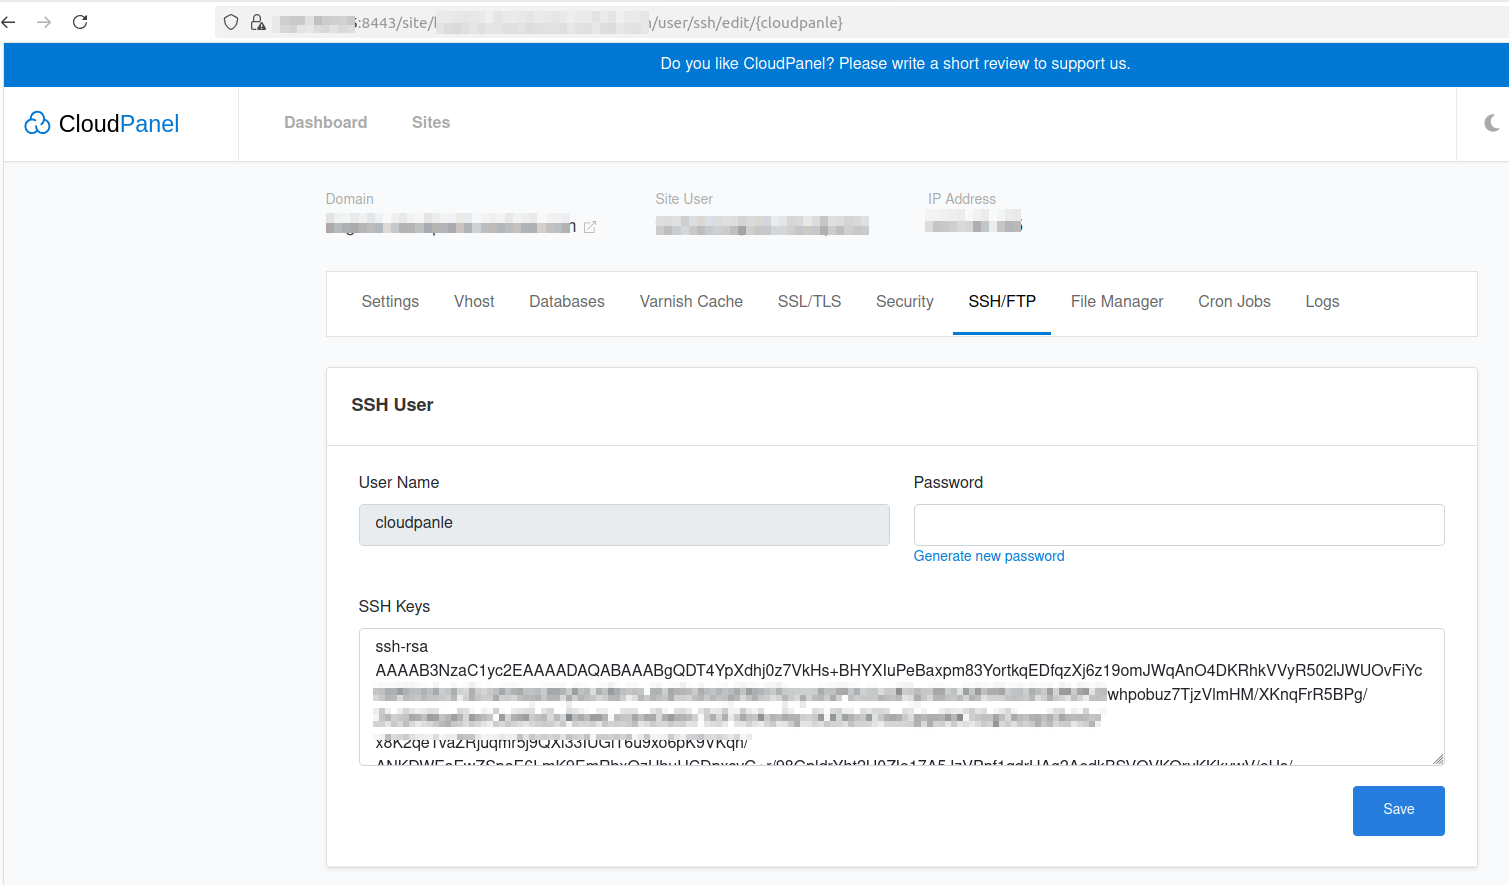
For instance, I made a user called ‘cloudpanel’ and uploaded the public key that I created with ssh-keygen.
To set up Bagisto, we have to execute a few commands on the server using the CLI. This requires a terminal, so we need to connect through SSH.
When you SSH into the server, the user you made for your site add-your-domain.com will have the path /home/add-your-domain/htdocs/add-your-domain.com/public
This will act as a symlink to /home/cloudpanel/htdocs/add-your-domain.com/public
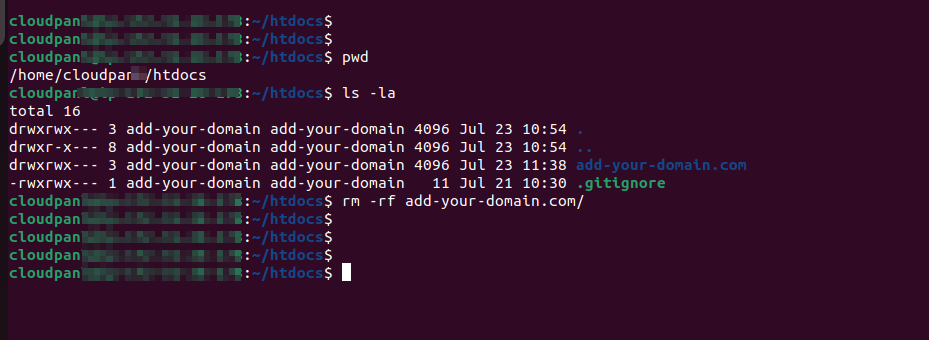
Navigate to the folder /home/cloudpanel/htdocs and delete the add-your-domain.com directory, since add-your-domain.com is the default document root established by CloudPanel.
Bagisto has a public directory that is part of its project.
Now, we are going to copy the Bagisto repository into this specific location and change the name of the copied Bagisto folder to add-your-domain.com.
This way, Bagisto’s public directory will be used automatically.
|
1 |
git clone https://github.com/bagisto/bagisto |

Use this command to copy the repository to the same location, and then use the command below to set the repository back to a certain version, like git reset –hard v2.3.6.
|
1 |
git reset --hard v2.3.6 |

Now, you have to change the name of the Bagisto folder to the domain name you deleted before, just like it shows in the screenshot.
This will properly set up both the old document root and Bagisto’s document root.
Next, go to the /home/cloudpanel/htdocs/add-your-domain.com folder and change the name of the .env.example file to .env.

Now, head over to CloudPanel and set up a database, along with a user and password for that database. We will use these details in the .env file.

Press the ‘Add Database’ button to set up the database and user.
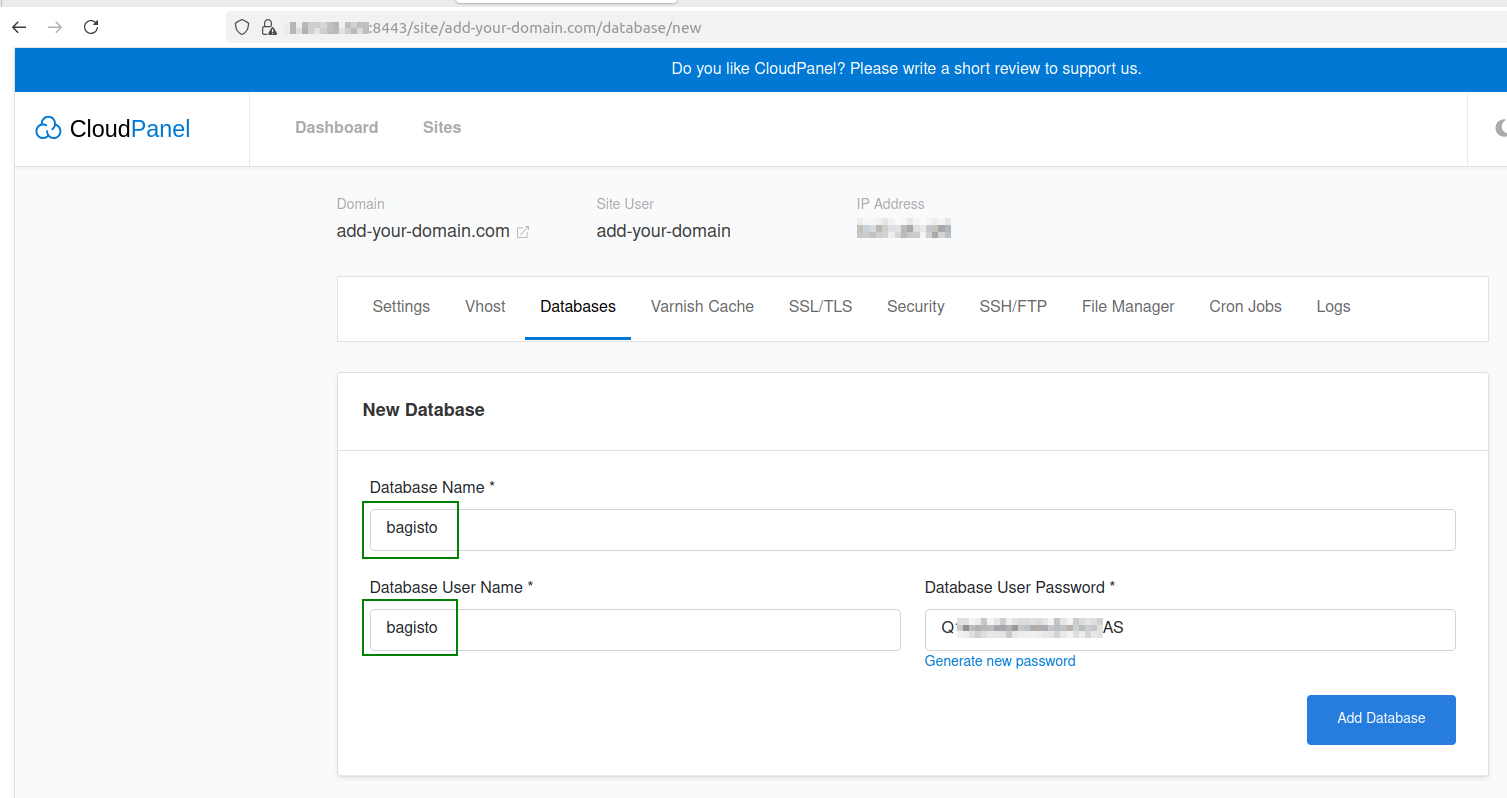
Make sure to use this database name, username, and password when you install it.
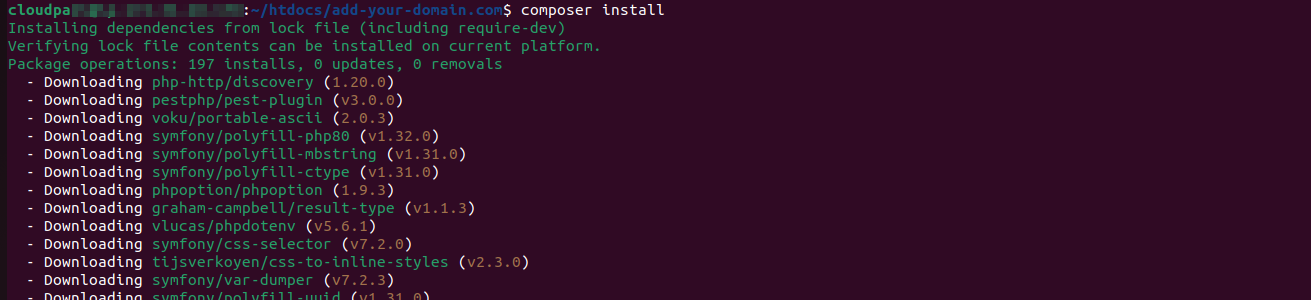
Open the terminal and type the command composer install.
|
1 |
composer install |
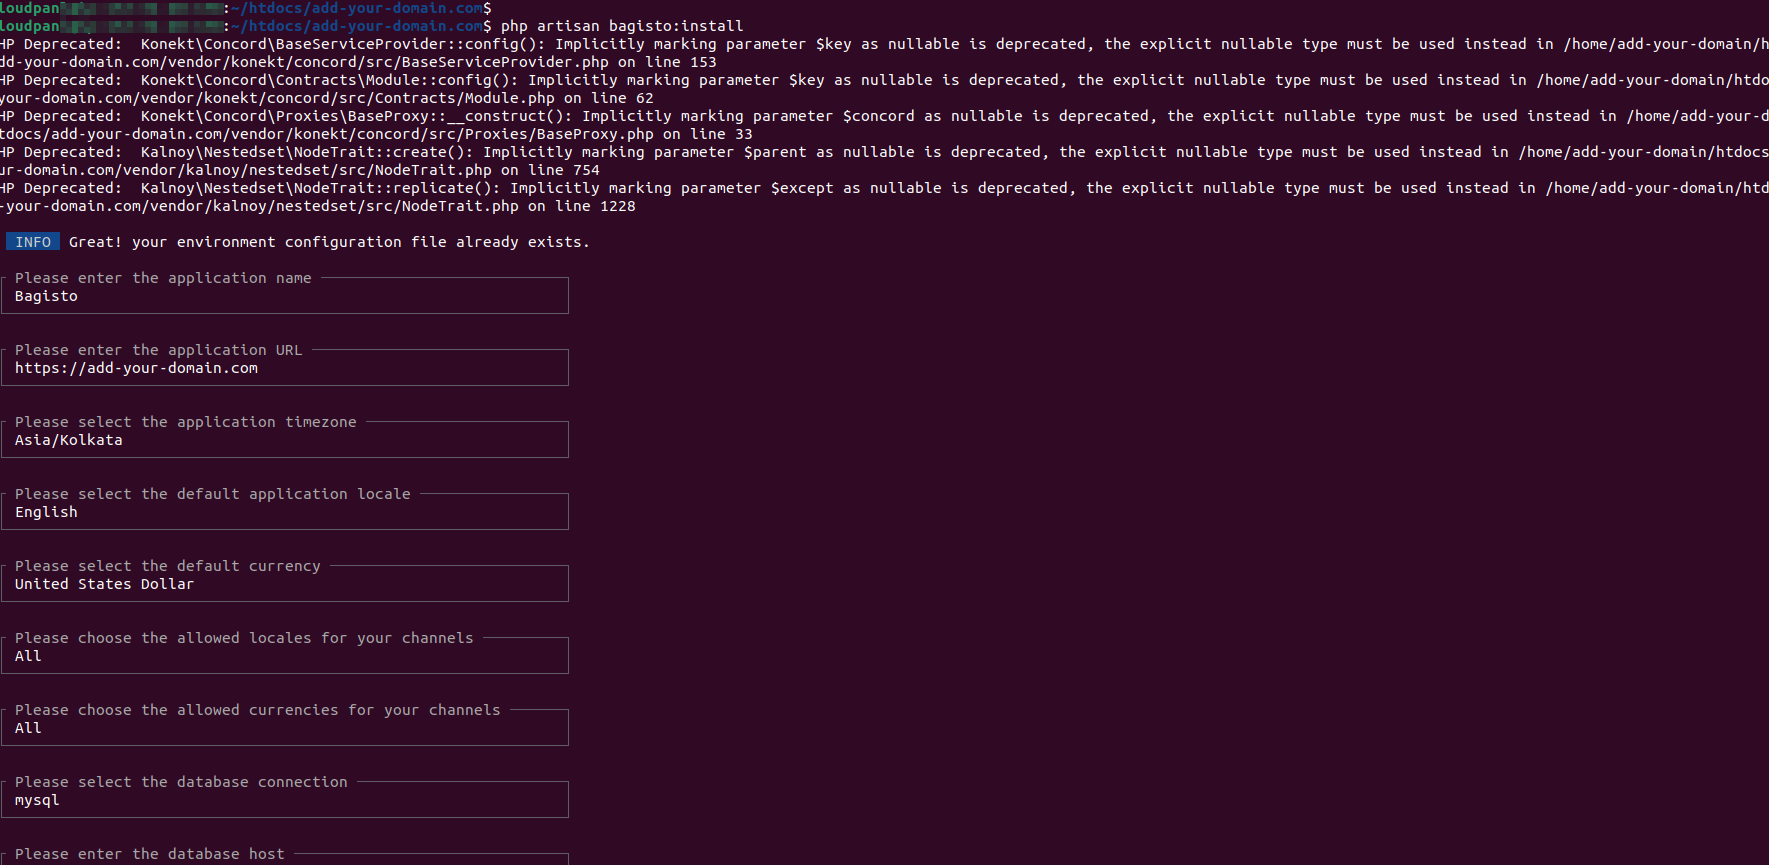
Next, type in this command: php artisan bagisto:install. It will ask you for your domain name and database information, so ensure you provide them accurately.
|
1 |
php artisan bagisto:install |
Head over to the path /home/cloudpanel/htdocs and execute these commands related to permissions.
|
1 |
chmod -R 775 add-your-domain.com/ |
Now, when you enter your URL in the browser, your website will be live and working.

Be the first to comment.