This guide shows you how to install and access Odoo 18.0 on AWS EC2 using a pre-configured AMI with Nginx, PostgreSQL 16, and Python 3.12.3 in a virtual environment.
Odoo is an open-source business application suite that helps you manage sales, inventory, CRM, invoicing, website, and more—all from a unified interface.
Prerequisites for Odoo AMI Installer
- Allow TCP ports 22 (SSH), 80 (HTTP), and 443 (HTTPS) in your EC2 Security Group.
- Use a t3.medium or larger EC2 instance for smooth performance.
- Assign an Elastic IP to your EC2 instance to ensure consistent access and domain configuration.
- Point your domain (e.g.,
yourcompany.com) to your EC2 Elastic IP by creating an A record in your domain registrar’s DNS settings. - Disable the DNS proxy to allow Let’s Encrypt to verify your domain.
Installation Steps
Step 1: Launch the EC2 Instance
- From the AWS EC2 Console, launch a new instance using the Odoo 18.0 AMI.
- Wait for the instance to be in “running” state.
Step 2: Access Your EC2 Instance
- Set correct permissions on your PEM key:
|
1 |
chmod 400 your-key-file.pem |
- Connect to the server using SSH:
|
1 |
ssh -i your-key-file.pem ubuntu@your-instance-ip |
Replace your-key-file.pem with your PEM file name, and your-instance-ip with your server’s public or Elastic IP.
Step 3: Run the SSL Script
Before running the SSL script, make sure your domain is properly configured.
First, point your domain to the EC2 instance’s Elastic IP by setting up the A record correctly in your DNS settings.
Next, if you’re using Cloudflare or another DNS provider with proxy enabled, temporarily disable it so Let’s Encrypt can access your domain and complete the verification process.
|
1 |
sudo bash /home/ubuntu/ssl_configuration.sh |
The script will:
- Verify DNS resolution.
- Install Certbot if not already present.
- Generate an SSL certificate using Let’s Encrypt.
- Configure Nginx to serve Odoo over HTTPS.
Step 4: Access the Odoo Web Interface
Open your browser and go to https://yourdomain.com.
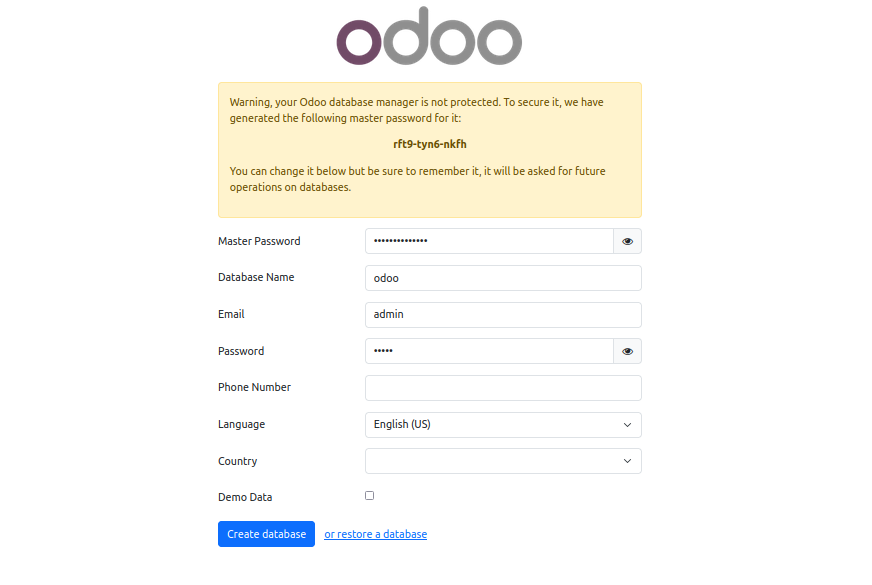
You will be directed to the Odoo database creation screen.
- Enter a database name.
- Set the master password (as configured in the Odoo setup).
- Create your admin email and password.
- Click “Create Database” to complete the setup.
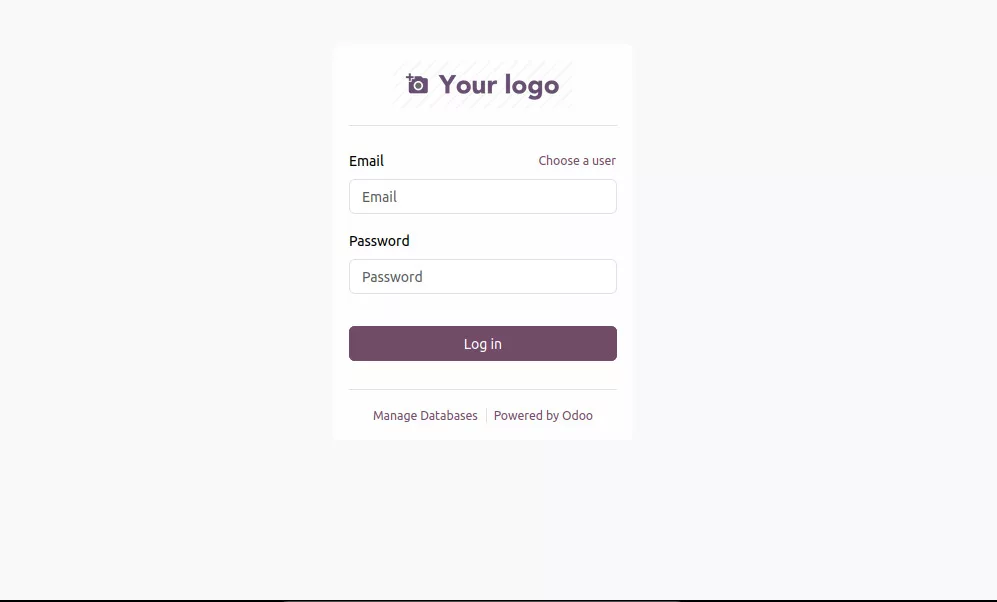
Step 5: Start Using Odoo
After setup, you’ll be logged into the Odoo backend.
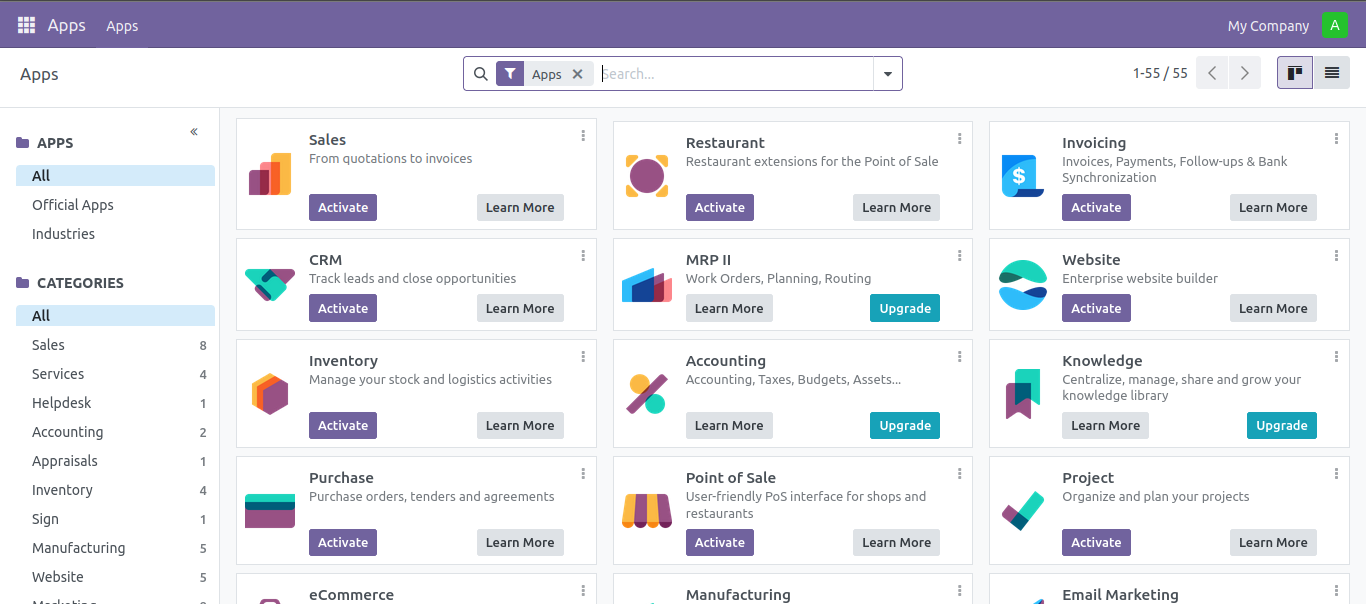
From here, you can:
- Install core apps like CRM, Sales, Inventory, and Website.
- Customize settings and user access.
- Start managing your business operations.
Post-Installation Notes
- Your Odoo configuration files are located in /etc/odoo.conf
- Odoo runs as a systemd service:
|
1 |
sudo systemctl status odoo |
Need Help?
If you require support or detailed setup instructions, please contact the AMI provider, Webkul Pvt. Ltd., or refer to the official Odoo documentation for community support and development resources.