In this tutorial, we will learn how to setup Magento-2.4.5 on AWS Elastic Compute Cloud(EC2).
What is Magento?
Magento is an eCommerce website platform owned by Adobe that specializes in eCommerce websites. Magento users have access to hundreds of unique features that help them connect with their customers and sell their products.
Requirements to install Magento-2.4.5 :
- Ubuntu 22.04
- Web-server: Apache2
- System Requirements 4 GB of RAM, 4 CPU Cores, 25 GB of Disk space
- MySQL 8.0
- PHP8.1
Contents
Step1. Install Apache2
Step2. Install MySQL and create a database for magento2
Step3. Install PHP and the required extension
Step4. Install Elasticsearch
Step5. Install Composer
Step6. Download and Install Magento2
Step7. Create and configure Vhost for apache2
Step 1: Install Apache2
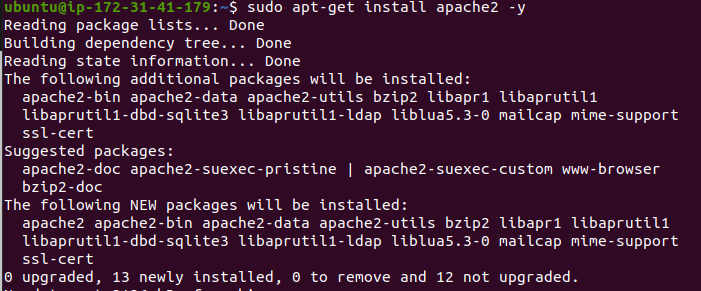
we’ll start by updating the local package and installing apache2
$ sudo apt-get update
$ sudo apt-get install apache2 -y
Step 2: Install MySQL And Create Database For Magento2.4.5
There are two cases to use MySQL’s database host:
- Localhost MySQL Database Server
- AWS RDS(Relational Database Service)
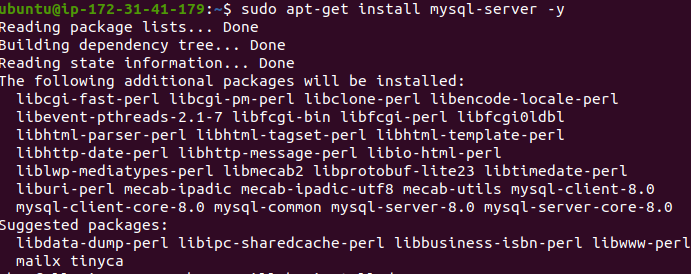
Case-1 – Localhost MySQL Database Server
$ sudo apt-get install mysql-server -y
Login with the root user
$ mysql -u root -p
$ SELECT user,authentication_string,plugin,host FROM mysql.user;
$ CREATE USER ‘magento2’@’localhost’ IDENTIFIED BY ‘your_secure_password’;
$ ALTER USER ‘magento2’@’localhost’ IDENTIFIED WITH mysql_native_password BY ‘your_secure_password’;
$ CREATE DATABASE magento2;
$ GRANT ALL PRIVILEGES ON magento2.* TO ‘magento2’@’localhost’ WITH GRANT OPTION;
$ exit
Case-2 – AWS RDS(Relational Database Service)
Create a new MySQL user for magento2
Login with the root user
$ mysql -u admin -p -h **yourRDShostendpoint**
$ SELECT user,authentication_string,plugin,host FROM mysql.user;
$ CREATE USER ‘magento2’@’%’ IDENTIFIED BY ‘your_secure_password’;
$ ALTER USER ‘magento2’@’%’ IDENTIFIED WITH mysql_native_password BY ‘your_secure_password’;
$ CREATE DATABASE magento2;
$ GRANT ALL PRIVILEGES ON magento2.* TO ‘magento2’@’%’ WITH GRANT OPTION;
$ exit
Step 3: Install PHP And the Required Extension
In this step, we will install PHP. Magento 2.4.5 require PHP 8.1.
Run System updates.
$ sudo apt-get update

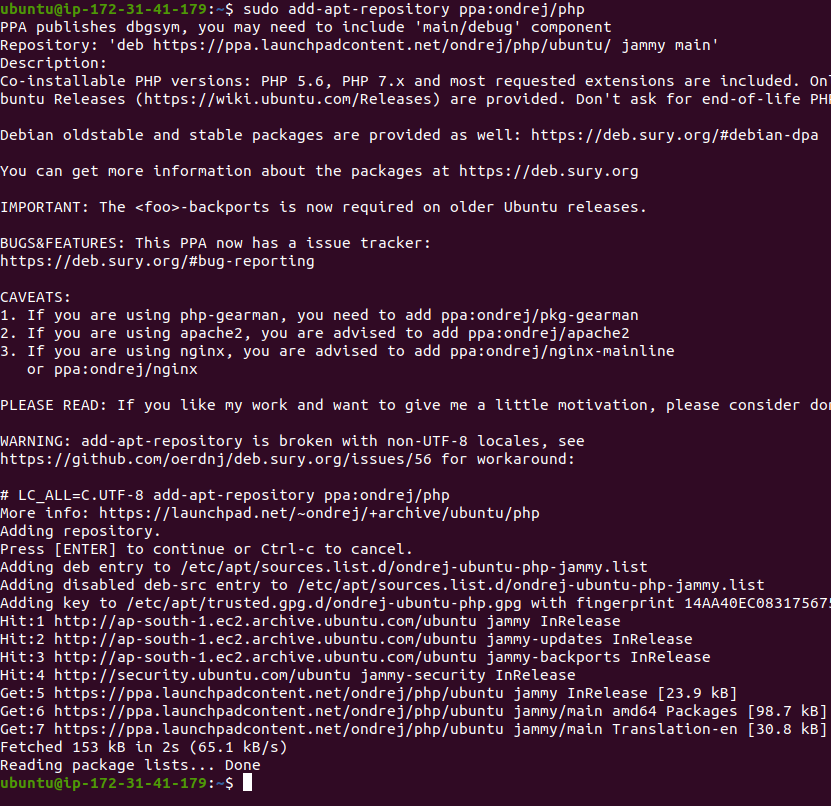
Add Ondrej sury PPA repository
$ sudo add-apt-repository ppa:ondrej/php
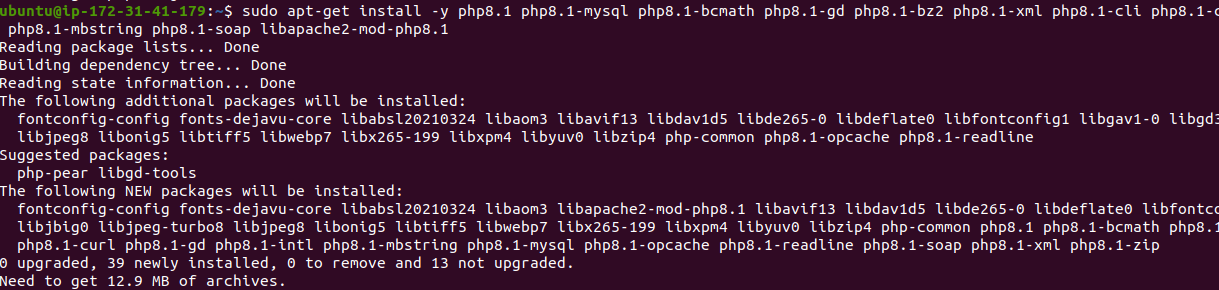
Install PHP 8.1 and packages with the command:
$ sudo apt-get install -y php8.1 php8.1-mysql php8.1-bcmath php8.1-gd php8.1-bz2 php8.1-xml php8.1-cli php8.1-common php8.1-intl php8.1-curl php8.1-zip php8.1-mbstring php8.1-soap libapache2-mod-php8.1
Enable the Apache rewrite module
$ sudo a2enmod rewrite
$ sudo systemctl restart apache2

In the php.ini file, search and change the following values below.
max_execution_time=18000
max_input_time=1800
memory_limit=4G
save the file and reload the apache2 server.
$ sudo systemctl reload apache2
Step 4: Install Elasticsearch
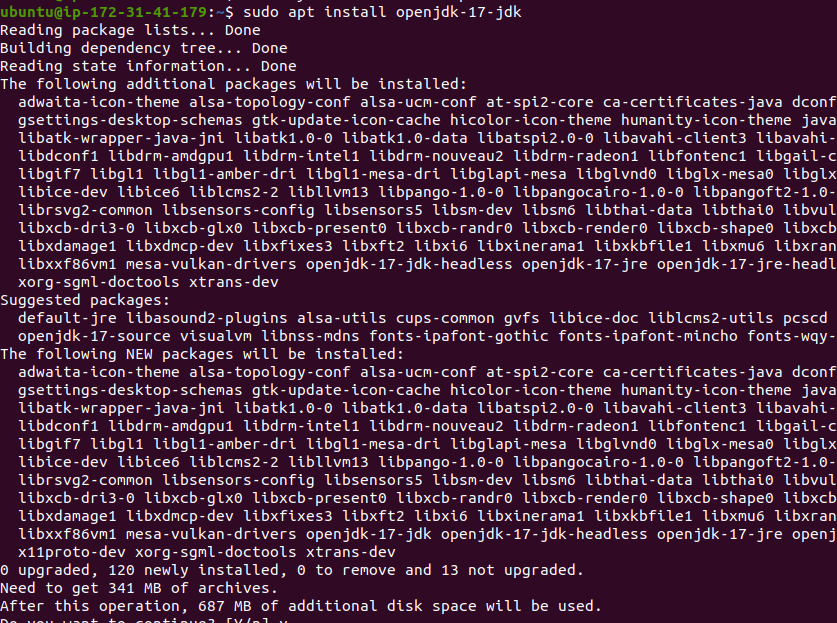
First, we will install Openjdk17 (Java) as Elasticsearch runs on Java:
$ sudo apt install openjdk-17-jdk
The first step is to import the GPG key for Elasticsearch packages using the following command:
$ sudo curl -sSfL https://artifacts.elastic.co/GPG-KEY-elasticsearch | sudo gpg –no-default-keyring –keyring=gnupg-ring:/etc/apt/trusted.gpg.d/magento.gpg –import
Then you need to add the Elasticsearch repository to the system using the following command:
$ sudo sh -c ‘echo “deb https://artifacts.elastic.co/packages/7.x/apt stable main” > /etc/apt/sources.list.d/elastic-7.x.list’
$ sudo chmod 666 /etc/apt/trusted.gpg.d/magento.gpg

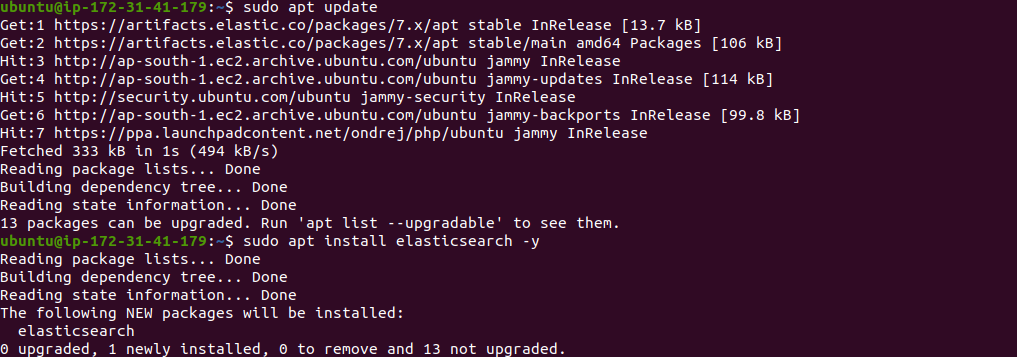
After completing the above steps, you must first update the cache using the following commands. Then install Elasticsearch packages on the system:
$ sudo apt update
$ sudo apt install elasticsearch -y
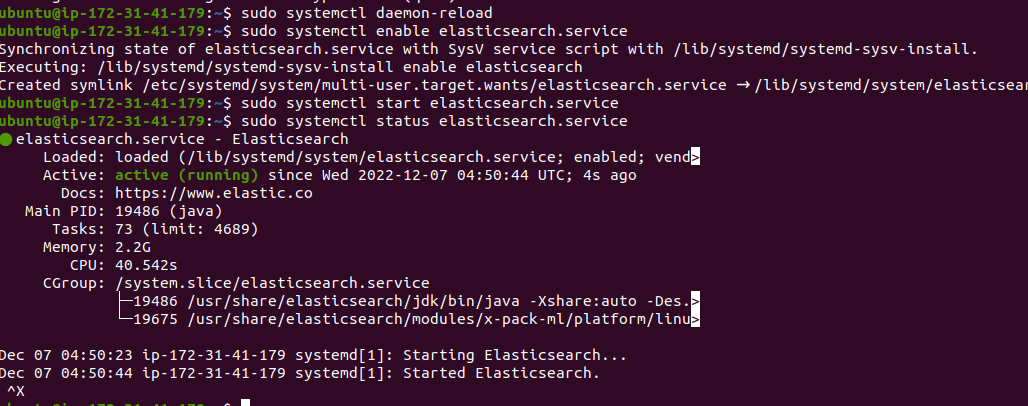
Finally, you can use the following commands start and enable the Elasticsearch service:
$ sudo systemctl daemon-reload
$ sudo systemctl enable elasticsearch.service
$ sudo systemctl start elasticsearch.service
Check the status of the elastic search service
$ sudo systemctl status elasticsearch.service
Step 5: Install Composer
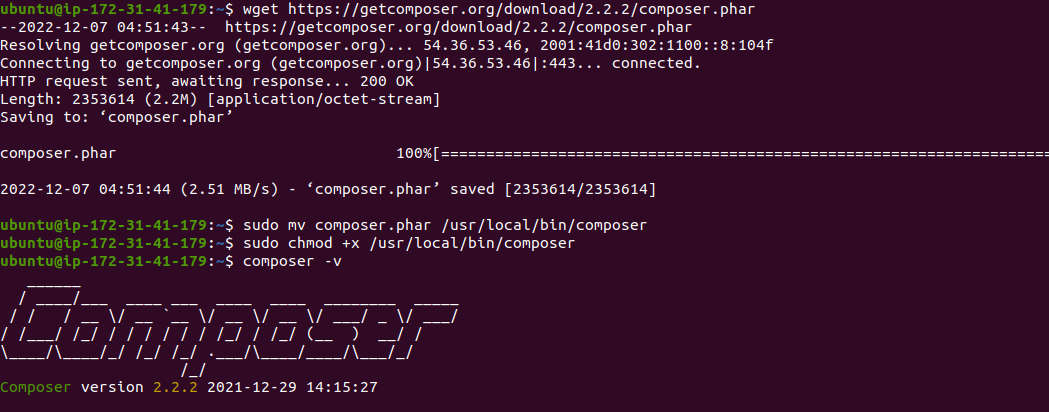
Installing Composer:
$ wget https://getcomposer.org/download/2.2.2/composer.phar
$ sudo mv composer.phar /usr/local/bin/composer
$ sudo chmod +x /usr/local/bin/composer
check the composer version by cmd:
$ composer -v
Step 6: Download and Install Magento2.4.5
$ cd /var/www/html
Go to the webserver directory and run command
$ sudo composer create-project –repository-url=https://repo.magento.com/ magento/project-community-edition=2.4.5 magento2

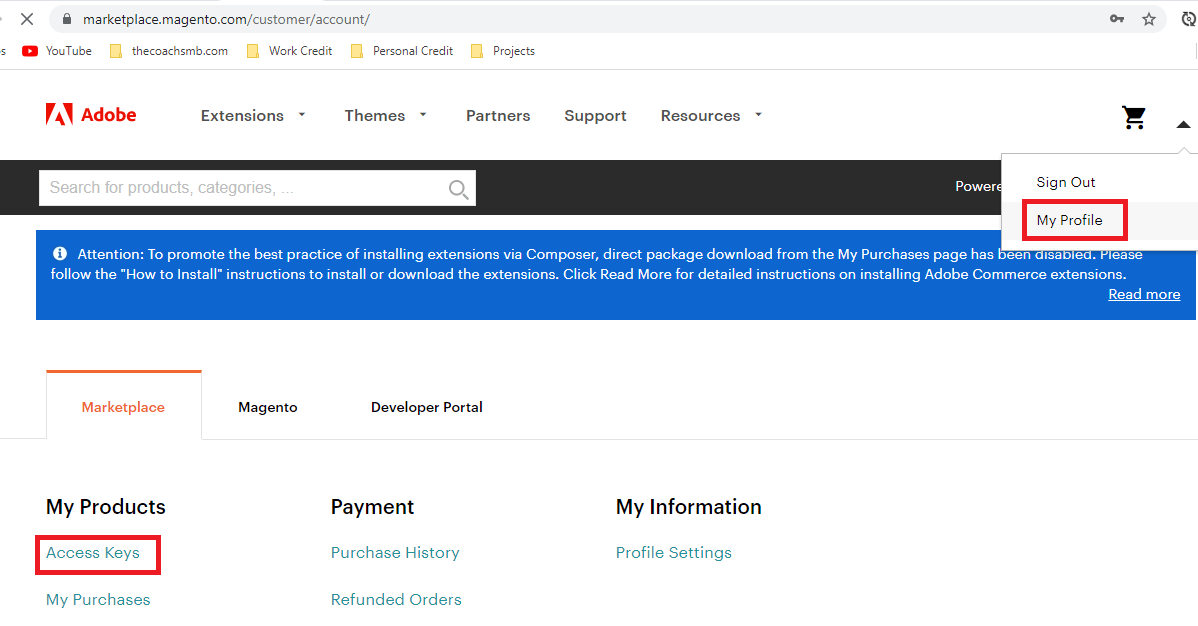
After the above command, Magento authenticates you by Access Token where the user is public access key and the password is the private access key.
Below is an image for your reference for the access token.
Now, set file permissions.
$ cd /var/www/html/magento2
$ sudo find var generated vendor pub/static pub/media app/etc -type f -exec chmod g+w {} +
$ sudo find var generated vendor pub/static pub/media app/etc -type d -exec chmod g+ws {} +
$ sudo chown -R user_name:www-data .
$ sudo chmod u+x bin/magento

Install Magento
$ bin/magento setup:install –base-url=http://PublicIP –db-host=**localhost*/*yourRDShostendpoint** –db-name=magento2 –db-user=magento2 –db-password=**DBuserPassword** –admin-firstname=admin –admin-lastname=admin –[email protected] –admin-user=admin –admin-password=admin123 –language=en_US –currency=USD –timezone=America/Chicago –use-rewrites=1
Wait until the installation is successful and you will get the admin URL at last of completion.

Note:
–base-url= use domain or server name/IP as your need.
Change your –db-host, –db-name, –db-user and –db-password as you created on your server
Step 7: Create and configure Vhost for apache2
$ sudo nano /etc/apache2/sites-available/magento.com.conf
<VirtualHost *:80>
ServerAdmin webmaster@localhost
DocumentRoot /var/www/html/magento2/pub
ServerName localhost
ErrorLog ${APACHE_LOG_DIR}/error.log
CustomLog ${APACHE_LOG_DIR}/access.log combined
<Directory "/var/www/html">
AllowOverride all
</Directory>
</VirtualHost>
In above code use the server name as your need. Save and exit, then
$ sudo a2ensite magento.com.conf
$ sudo systemctl restart apache2
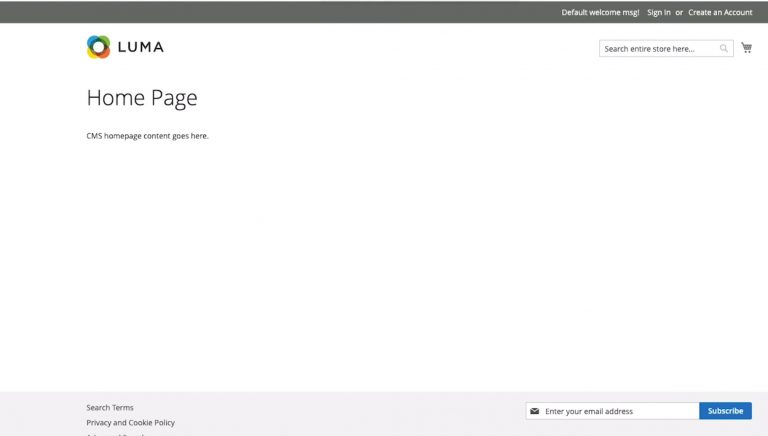
Browse your URL http://PublicIP then you get this type of luma page front as in below image.
For Magento 2 Elastic search, please follow the –
Our Cloudkul Blogs
Elasticsearch, Fluentd, and Kibana (EFK)
Setting up Elasticsearch, Logstash, and Kibana for centralized logging
Managing and Monitoring Magento 2 logs with Kibana
Our store modules –
You may also visit our Magento development services and quality Magento 2 Extensions.
For further help or query, please contact us or raise a ticket.