What OroCommerce really is?
OroCommerce is a flexible open-source B2B eCommerce platform built from the ground up. With the most robust set of out-of-the-box features, the platform can be customized to fit any B2B, B2B2B, B2B2C and B2C commerce need. OroCommerce offers the eCommerce solution that manufacturers, distributors, wholesalers, retailers, and brands need. The solution can be offered as a SaaS/cloud environment as well as an on-premise setup.
1. Server-side Requirements
Resources
Resources configuration depends on the data size and number of active users and integrations. Typical setup could be done on a single server with a minimum of 4 CPU cores, 4GB RAM and a fast hard drive (SSD is recommended).
Operating Systems
Linux distributions (RedHat, Ubuntu, Debian, CentOS) are recommended for the production setup.
Software
Oro applications are compatible with most web servers with PHP support, but we recommend the following configuration:
Webserver
PHP
- PHP >= 7.1
PHP Settings
Few updates to default PHP configuration settings should be done in php.ini for the webserver and CLI:
- date.timezone must be set
- detect_unicode must be disabled
- memory_limit should be 512M or above
If the xdebug is installed (which is not recommended in the production setup):
- xdebug.scream must be disabled
- xdebug.show_exception_trace must be disabled
- xdebug.max_nesting_level above 100
By default, max_execution_time value equals 30 seconds. In case of using the Schema update option, it is recommended to increase this value.
PHP Extensions
- ctype
- curl
- fileinfo
- gd
- intl (ICU library 4.4 and above)
- json
- mbstring
- openssl
- mysql
- pcre
- simplexml
- tokenizer
- xml
- zip
- imap
Note:- It is recommended to disable phar PHP extension to reduce the risk of PHP unserialization vulnerability.
Database Server
- MySQL >= 5.7.26
Other tools
- NodeJS >= 6.14
- npm >= 5.6.0
- Git >= 1.8.3
- composer >= 1.6.4
Client-side Requirements
On the client-side, Oro applications could be used with most of the graphical browsers on any operating system. Recommended and supported browsers are:
- Mozilla Firefox
- Google Chrome
- Microsoft Internet Explorer 11 and above
- Safari
2. Create Database
|
1 |
mysql -u root -p -e "CREATE DATABASE database_name;" |
3. Install Orocommerce
The easiest way to install Pimcore is from your terminal using Composer, Change into the root folder of your project.
|
1 2 3 4 5 6 7 8 |
cd /your/project composer create-project oro/commerce-crm-application oroapp --repository=https://satis.oroinc.com cd oroapp php ./bin/console oro:install --env=prod --timeout=0 |
When you will create project using the composer it will ask for several details like database host, username, password, and port and when we will start the orocommerce installation, it will cross-check all the prerequisites required for it, In case if anything is missing it will give you an error and after fulfilling the requirements you can start the installation again.
Note:- it will ask you if you need to install it with sample data or not, you can proceed as per your requirements.
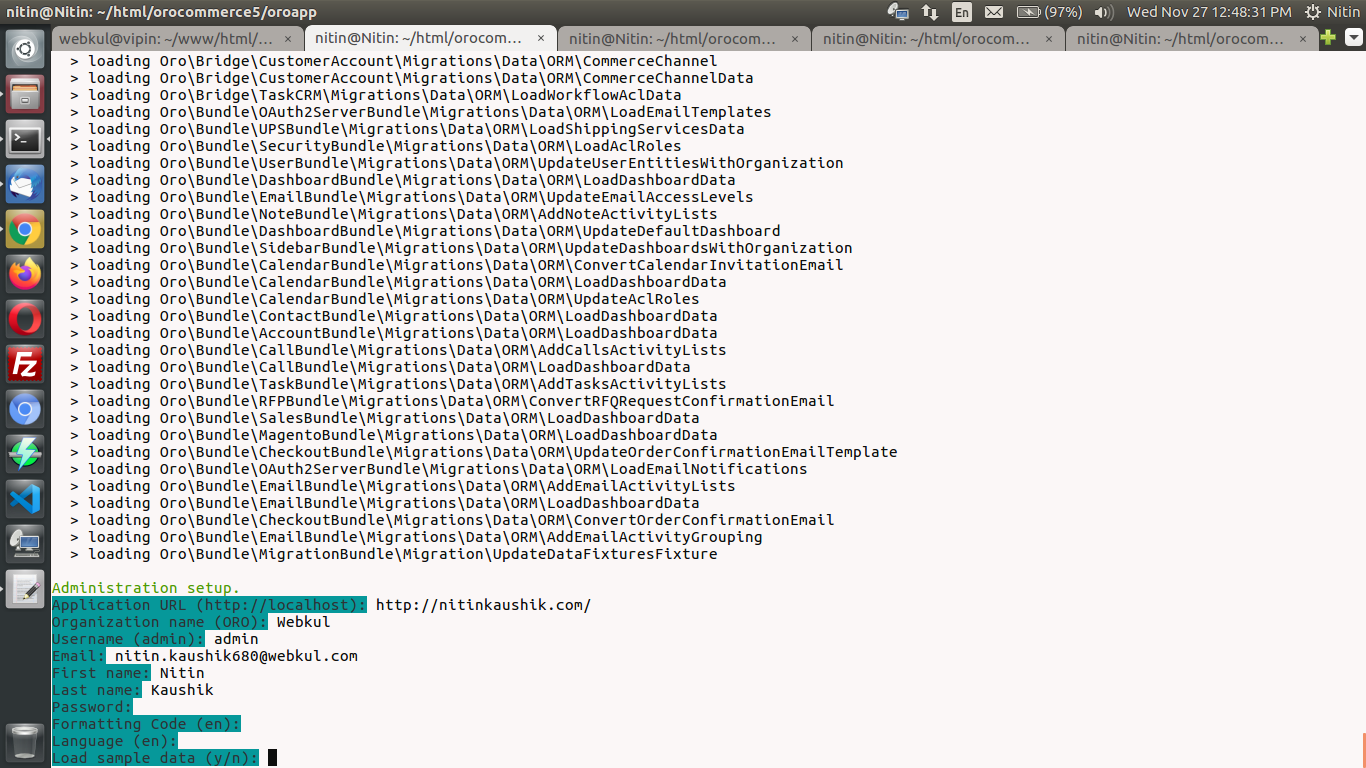
When the installation is about to get completed, it will ask you to setup Application URL, Organization name, admin username, password, and e-mail id to configure admin panel as shown in the image below-
Once the installation is completed successfully, we need to create a virtual host for Orocommerce instance in apache configuration files, in most of Linux distributions you can create a virtual host in file present on the path “/etc/apache2/sites-available/000-default.conf” and virtual host configuration will look like as shown below-
|
1 2 3 4 |
<VirtualHost *:80> ServerName wkorocommerce.com DocumentRoot /home/webkul/www/html/orocommerce/orocommerce-application/public </VirtualHost> |
Make host entry in /etc/hosts
|
1 |
127.0.0.1 wkorocommerce.com |
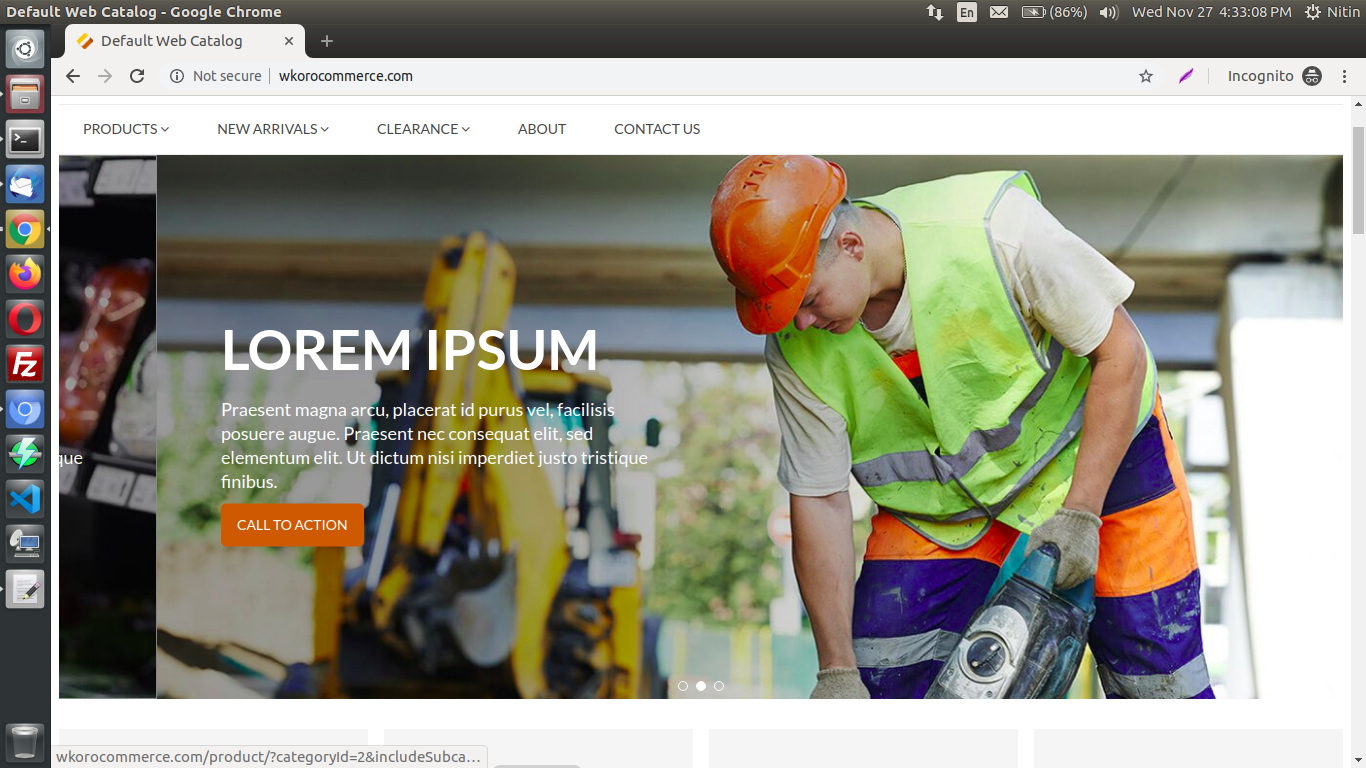
Open wkorocommerce.com (Your website) in the browser. If you see this page then you have successfully installed orocommerce 4.0
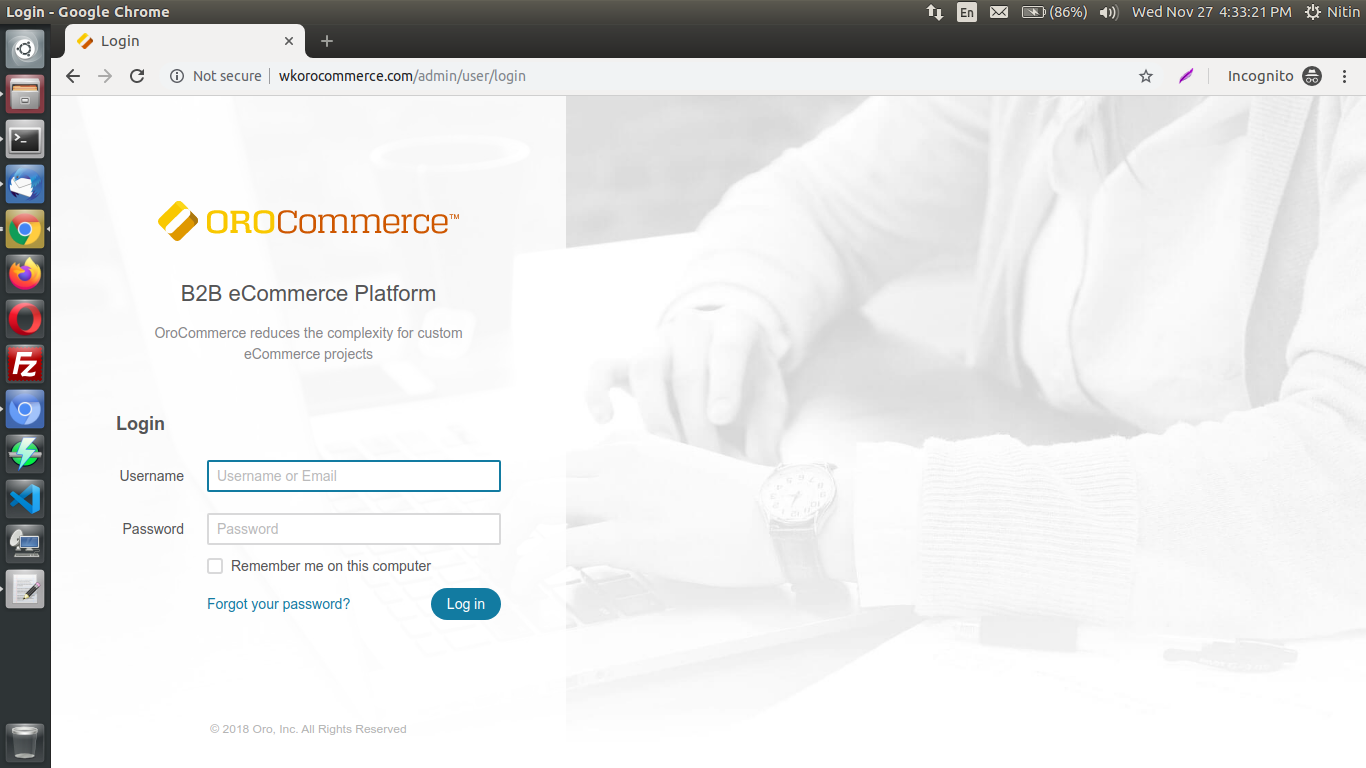
To access the Backend hit your website URL along with admin as shown in the image below and enter the login credentials you have set while installing it.
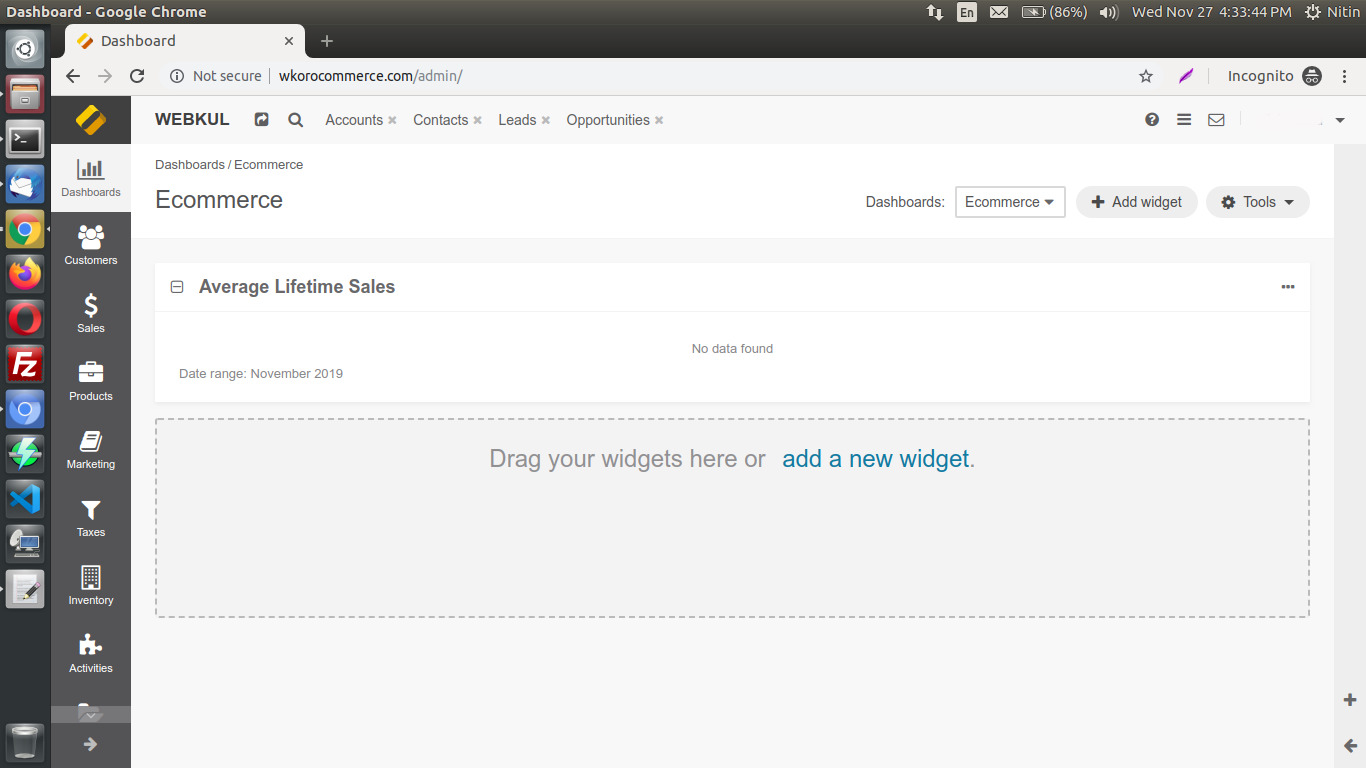
After login to the admin panel successfully, it will redirect you to the dashboard as shown in the image given below.
In case of any help or query, please contact us or raise a ticket.