In our previous blog http://cloudkul.com/blog/introduction-to-efs/, we have discussed about Amazon elastic file system on an introductory note and a brief overview about few available storage options for ec2 instances. Now we will create an elastic file system and mount it up on an EC2 instance.
Getting Started with EFS
First things first, login to your AWS account and go to https://console.aws.amazon.com/efs.
 Click on ‘Create file system’ and it will be followed up by,
 You will find values already entered for default VPC for the region you are already in and mount targets already created for each availability zones in that region. Also, you can remove the mount targets for the regions where your EC2 instances are not present. Completion of file system setup autogenerates IP address and DNS name. Moving on to Next step, configuring optional settings as,
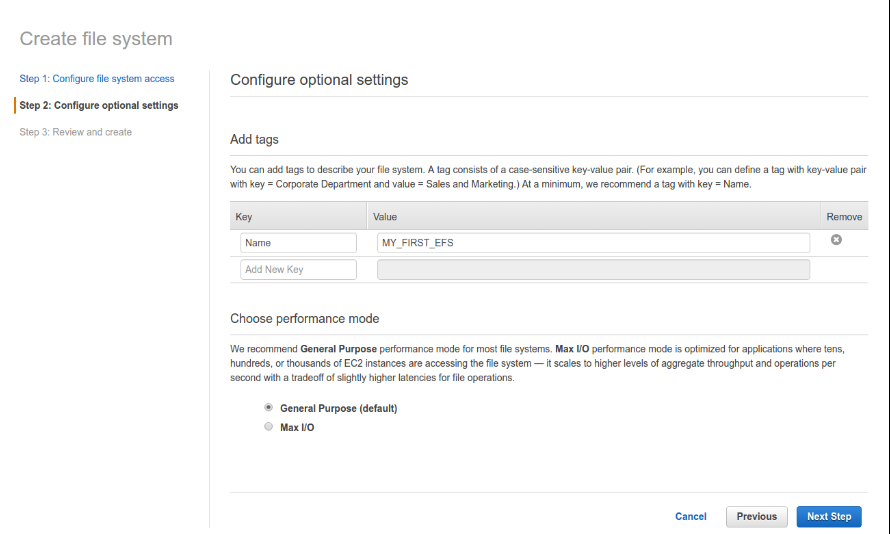 Also, add tags to your EFS and choose performance mode. Considering our needs and requirements, we go for default value and proceed to reviewing our step and launch our elastic file system.
 Now, review your configuration and create the file system. It will take some time in processing. As you see Life cycle state “Available”, your EFS is ready to use.
 Note your File system id, IP address, mount target ID, security groups etc. Now you can secure your file system by granting permissions to specific IAM users, setting up access control list etc. We here restrict our file system usage from security groups. Go to your EFS security group associated with the mount targets and add a rule about inbound traffic for EFS. Here we allow instances in a specific security group to access the file system.
 Now your EFS is all ready to be mounted up. Click on Amazon EC2 mount instructions and follow the instructions. Login to your EC2 instances and configure the EFS client.
EFS Client Configuration
Here file system name is “efs”. You can replace it by your own file name. After mounting up, the file system will appear like a local set of directories and files.
|
1 2 3 4 |
sudo su apt-get install nfs-common mkdir your_file_or_directory_name mount -t nfs4 -o nfsvers=4.1,rsize=1048576,wsize=1048576,hard,timeo=600,retrans=2 fs-70830639.efs.us-east-1.amazonaws.com:/ your_file_or_directory_name |
Whatever you add in this directory will persist even after detaching the file system. You can detach this file system and mount it on another EC2 instance. Although, we will need to re-mount our file system every time the server reboots. In order to ensure automated mount-up, we should create its entry in /etc/fstab file as mentioned in AWS docs.
|
1 |
mount-target-DNS:/ efs-mount-point nfs4 nfsvers=4.1,rsize=1048576,wsize=1048576,hard,timeo=600,retrans=2,_netdev 0 0 |
Where mount-target-DNS: / is the DNS name for the file system that you want to mount and efs-mount-point is the mount point for the EFS file system on your EC2 instance. Each file system has a unique DNS name for each availability zone in which you have created a mount target.
To unmount your file system,
|
1 |
umount your_file_or_directory_name |
So far we have discussed how to mount EFS on a single EC2 instance. It can mounted on multiple instances, hence shareable. In our next blog, we will discuss integration of EFS with Amazon ECS.